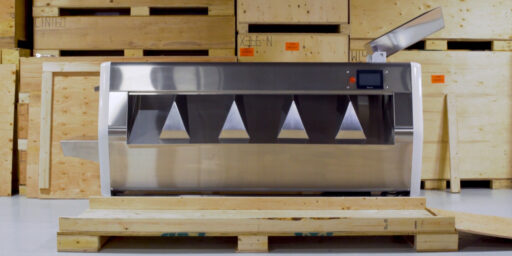
Belt & Roller Removal
Mobius M9 Sorter
Belt & Roller Removal
Removal and installation of the belts and rollers of the Mobius M9 Sorter
Step by Step
01
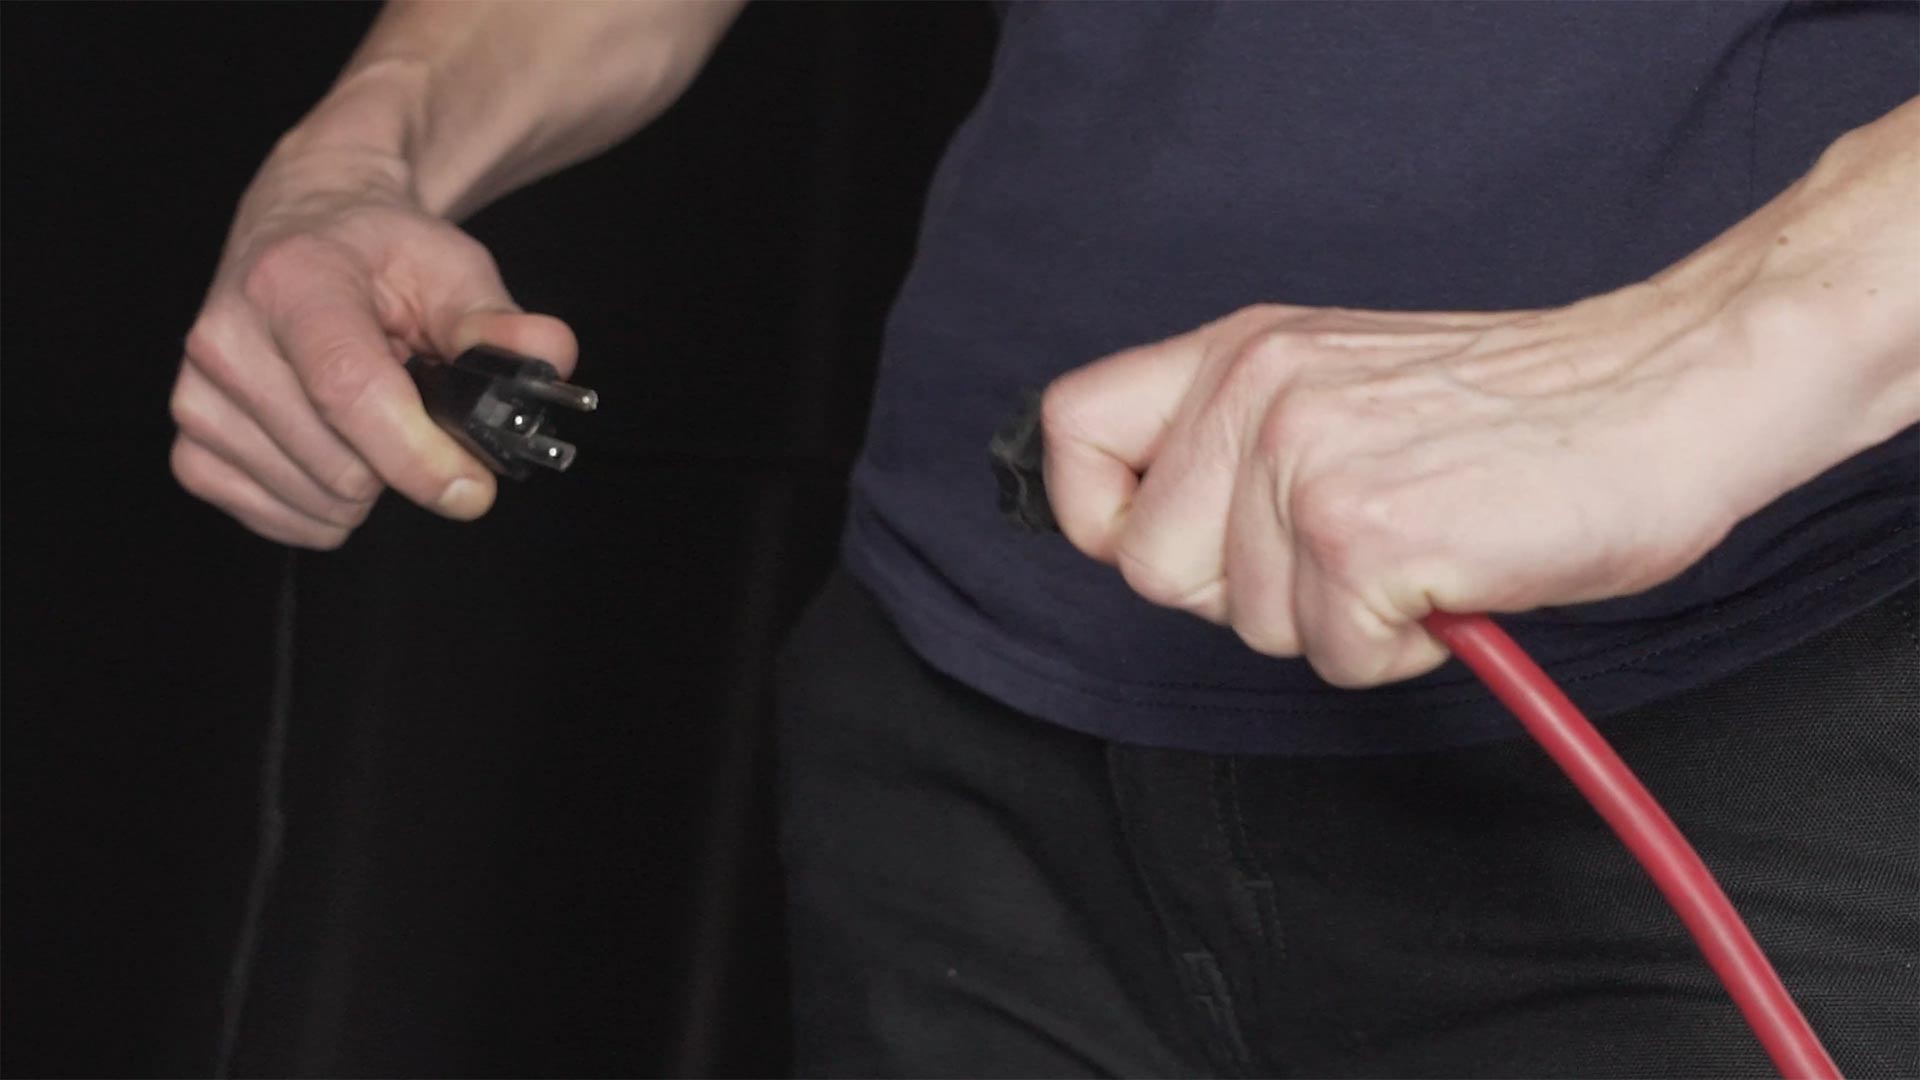
To start, unplug the machine.
02
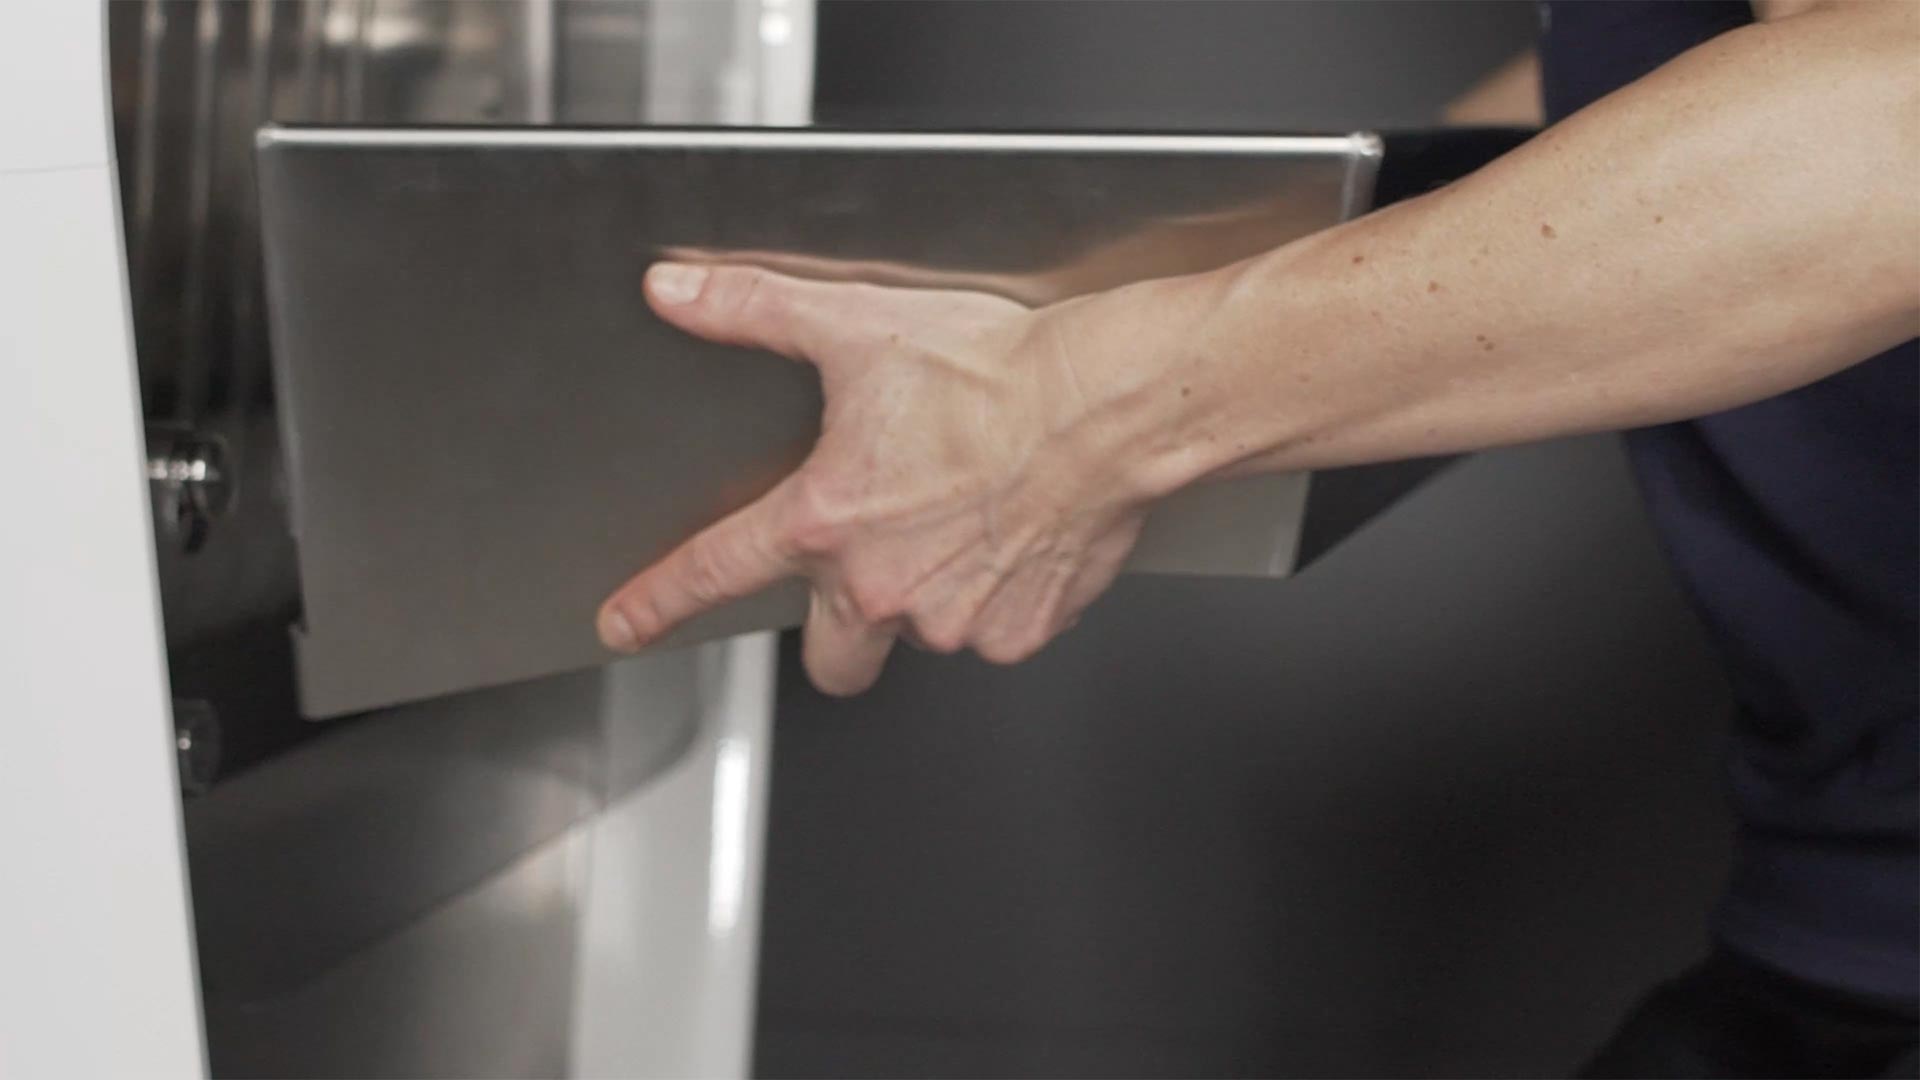
Then remove the overflow shelf and side panels.
03
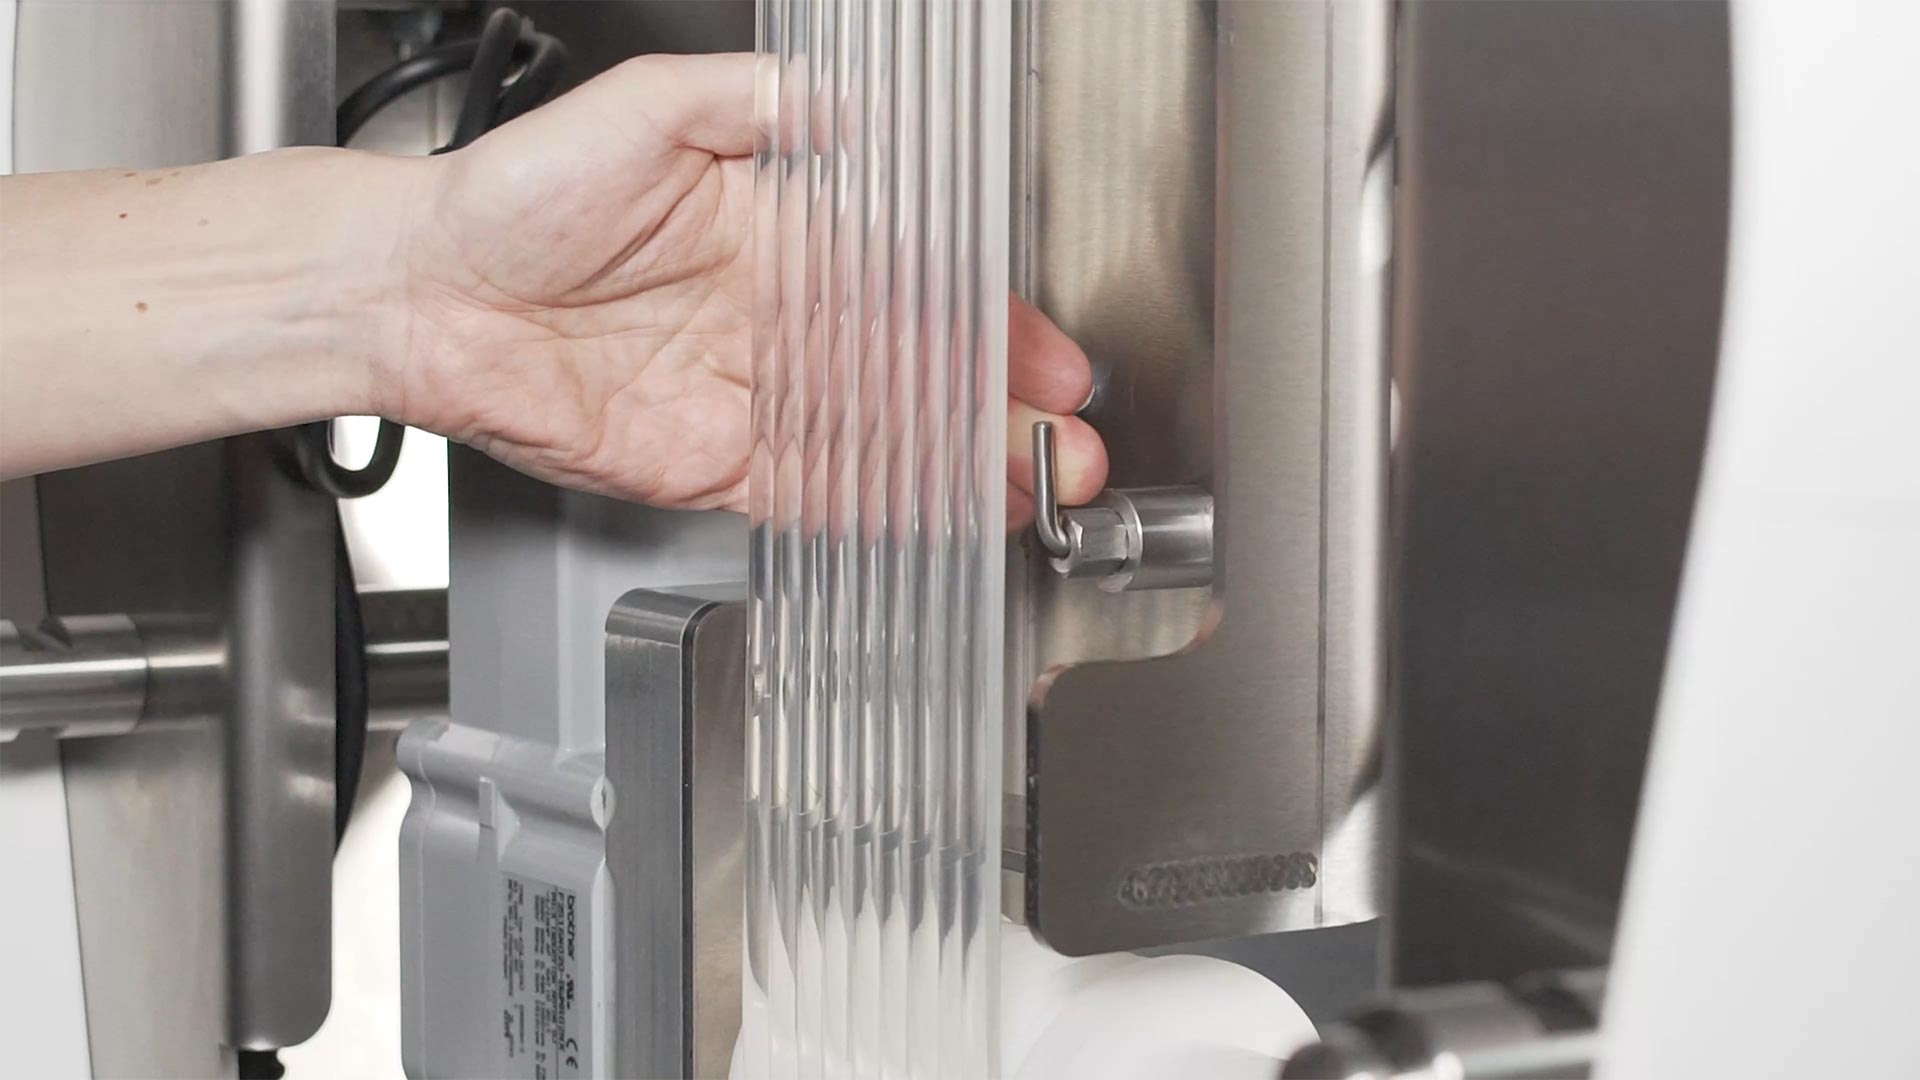
Locate the belt tensioner on the infeed side of the M9, pull out the adjustment plunger.
04
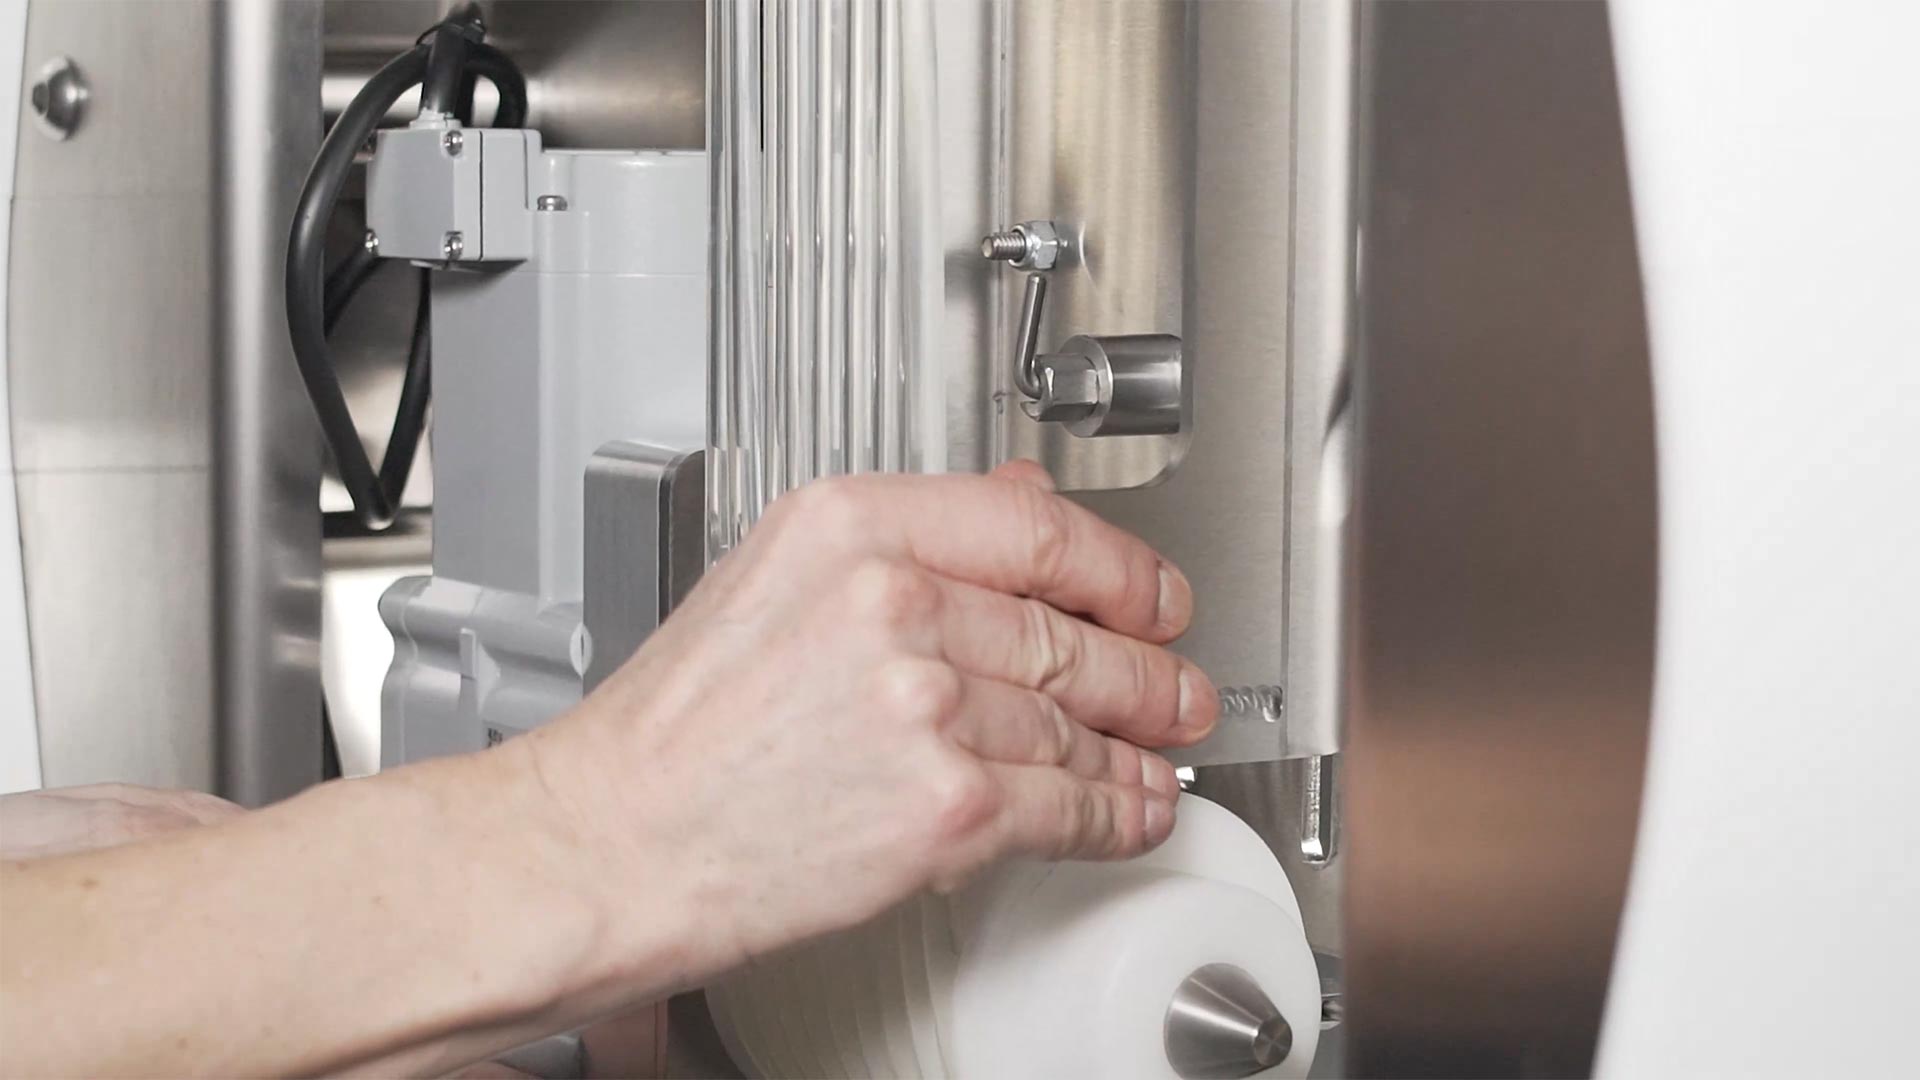
Move the entire assembly up to the maximum height, which will take the tension off the belts.
05
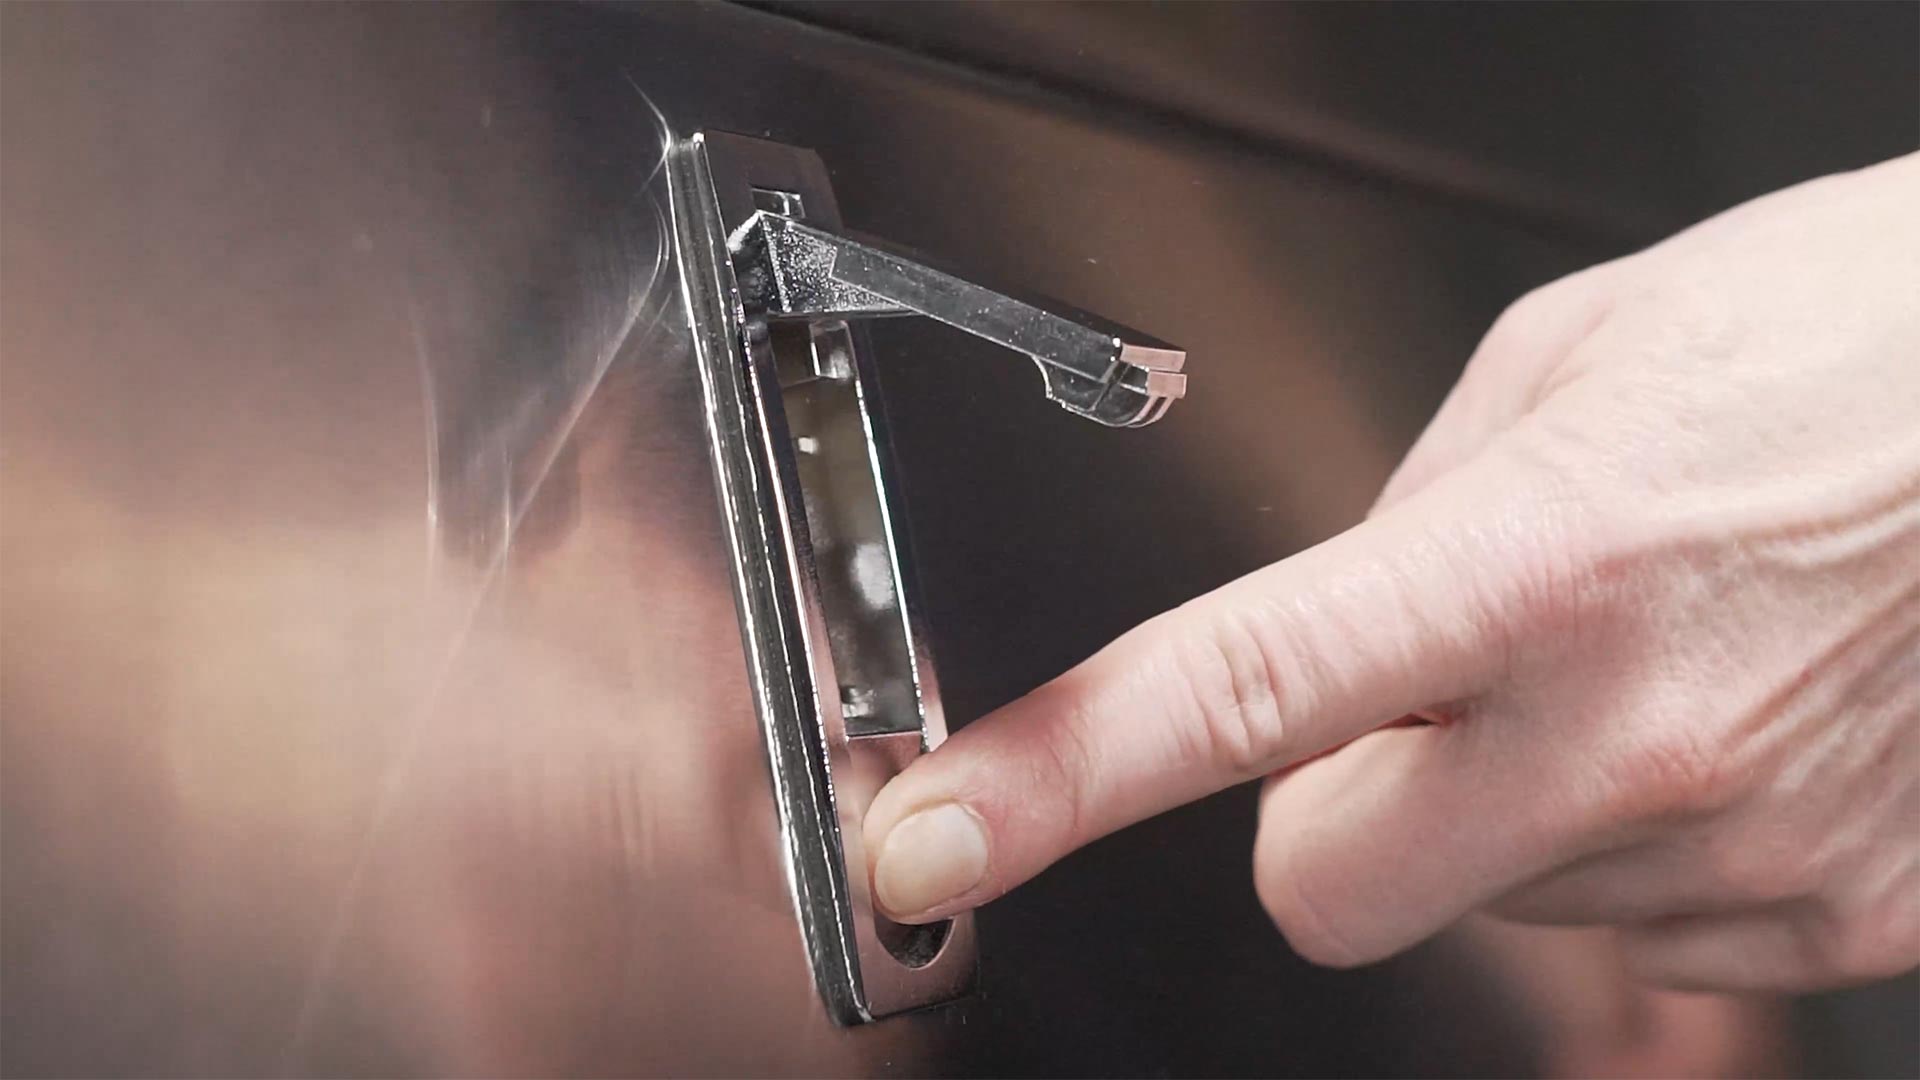
Move to the back side of the Sorter and open the tailgate by releasing the two compression latches.
06
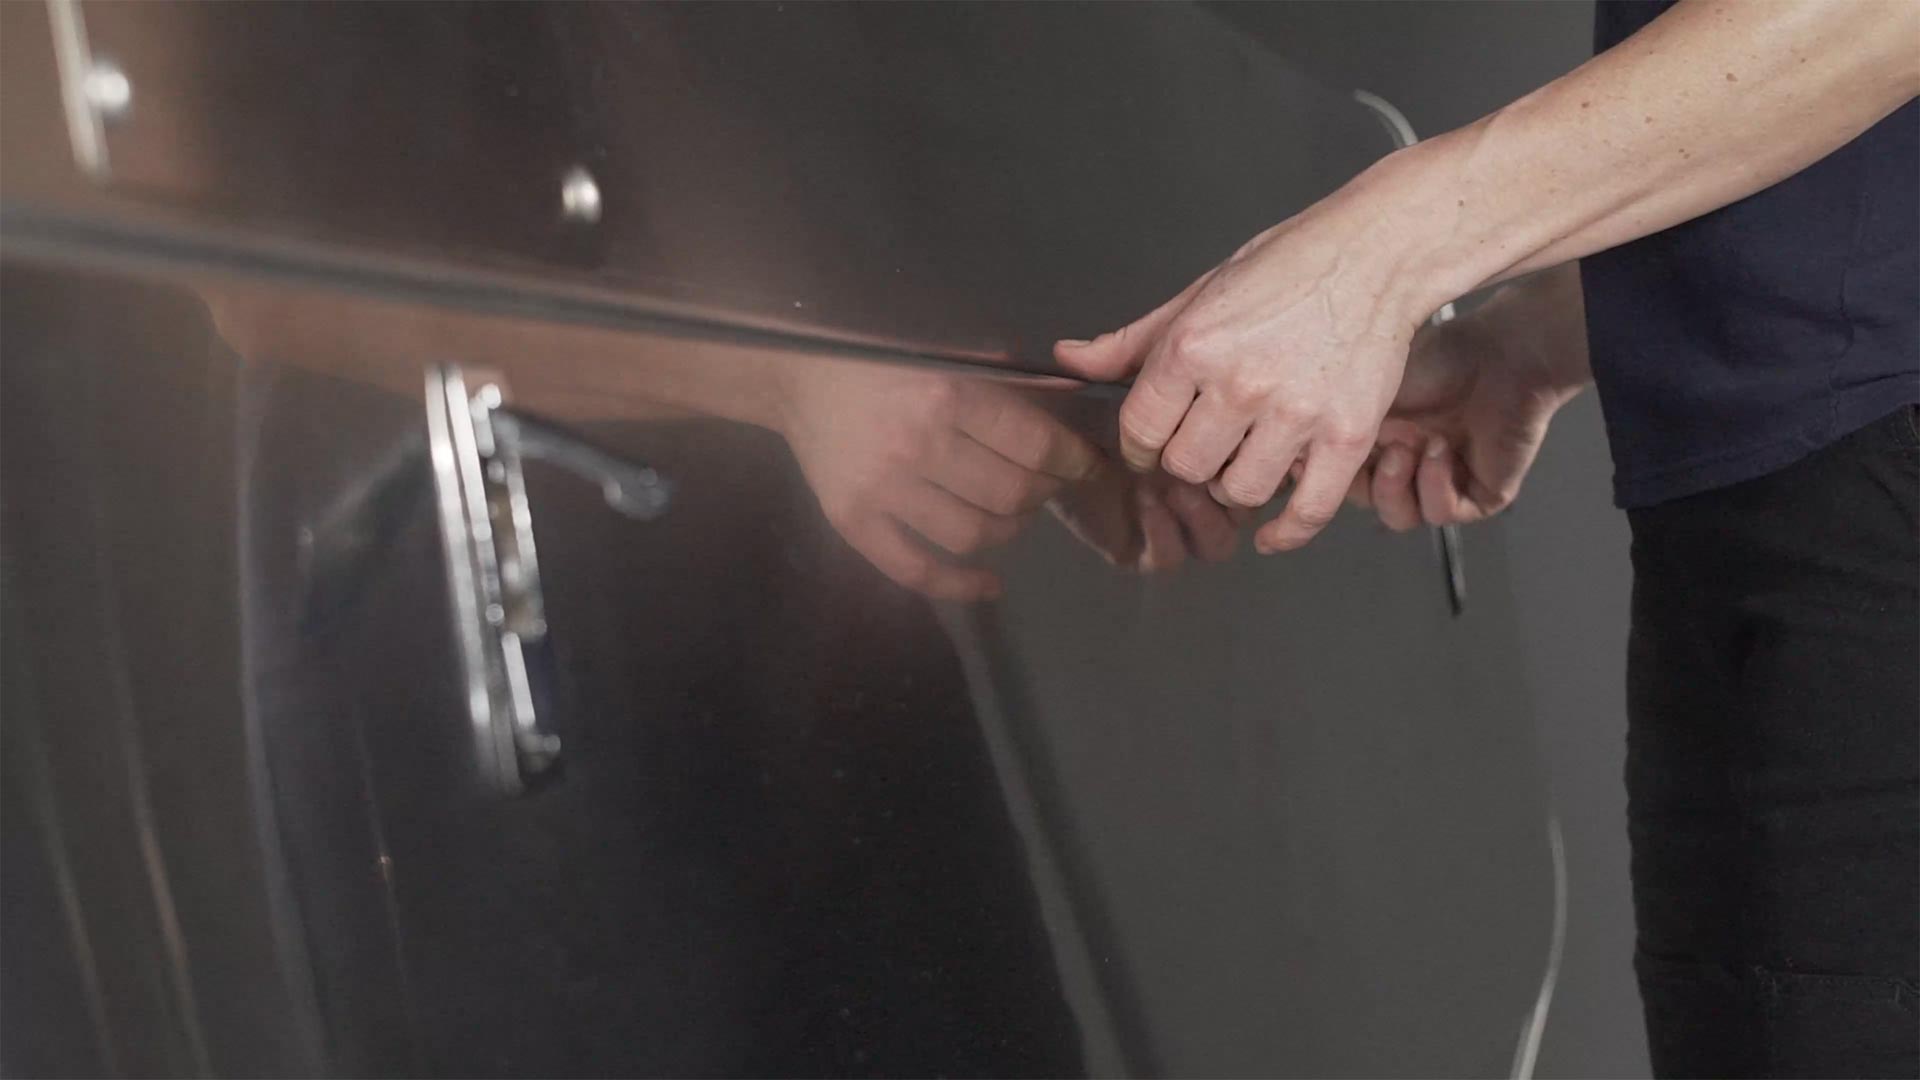
You can now lower the door and get access to the components inside the machine.
07
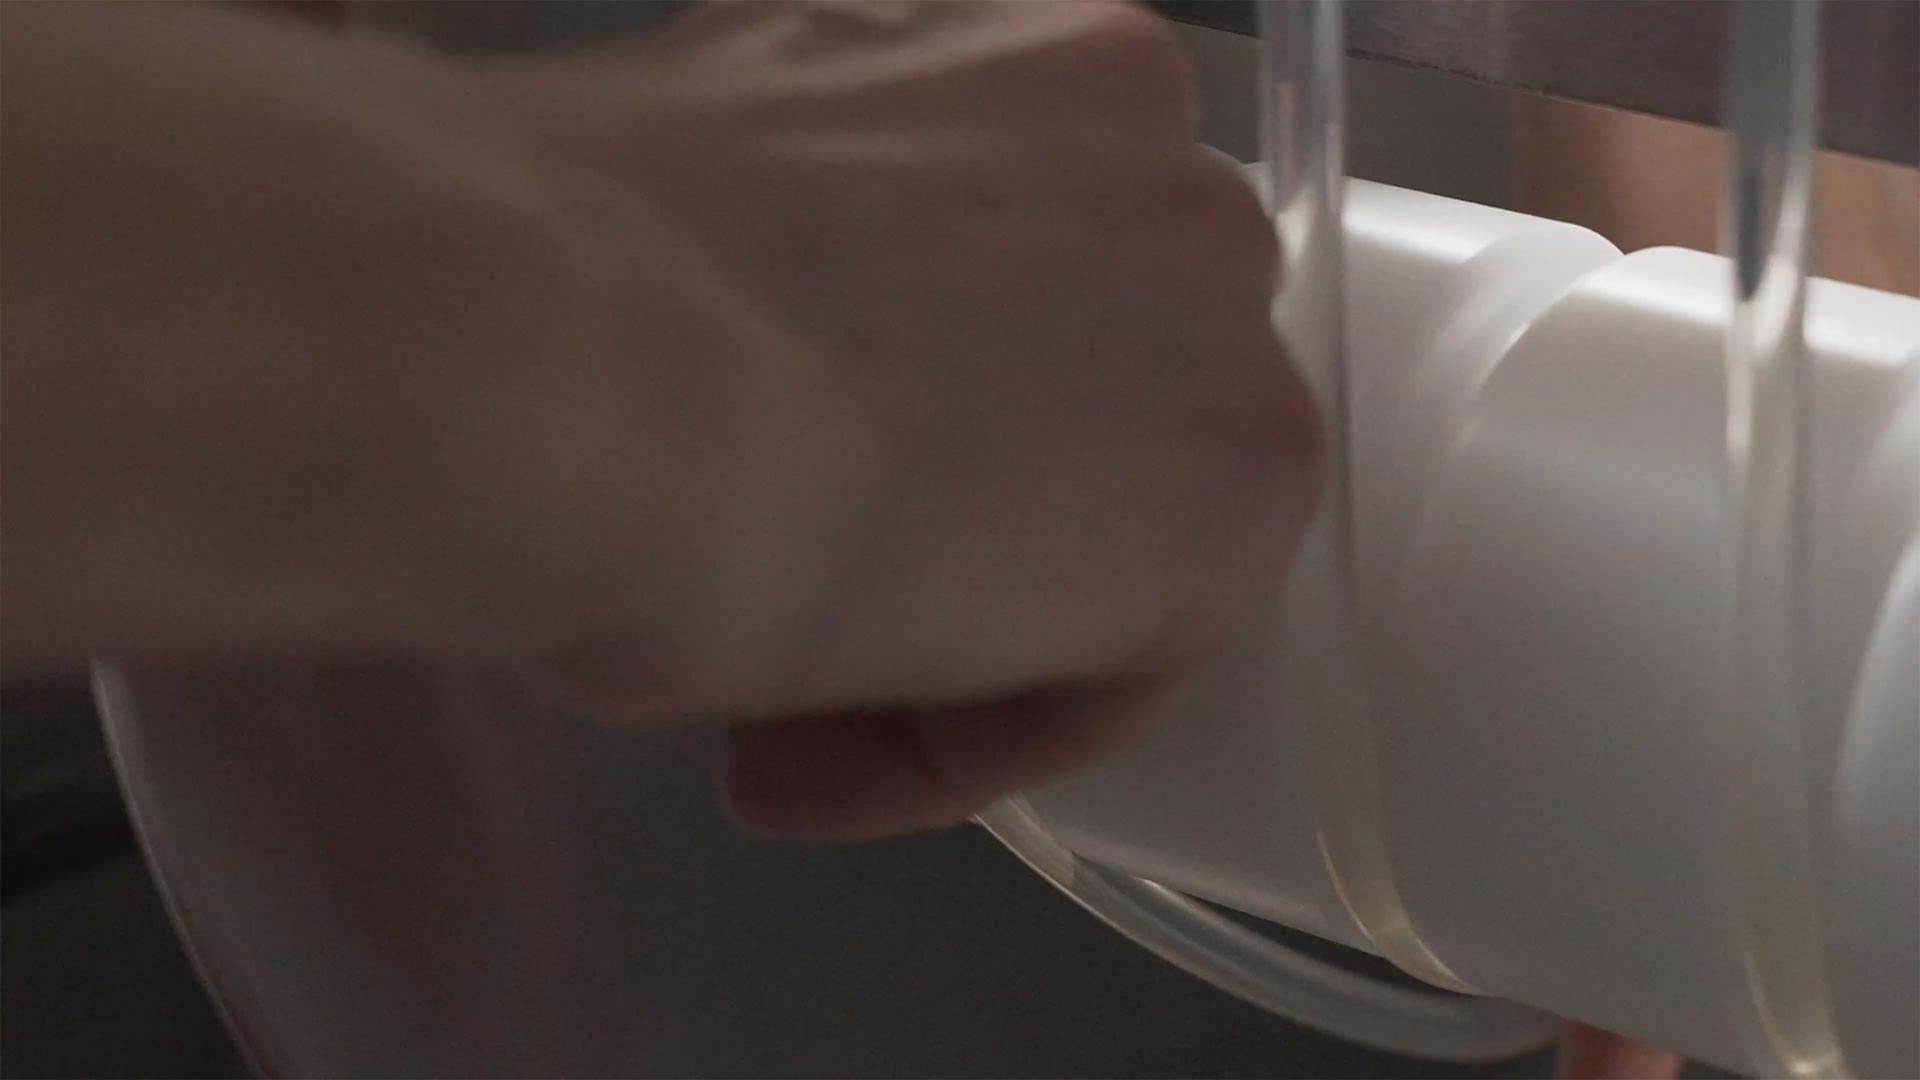
Working through the openings on the two ends and the tailgate, pull a belt away from the four rollers and out of the machine.
08
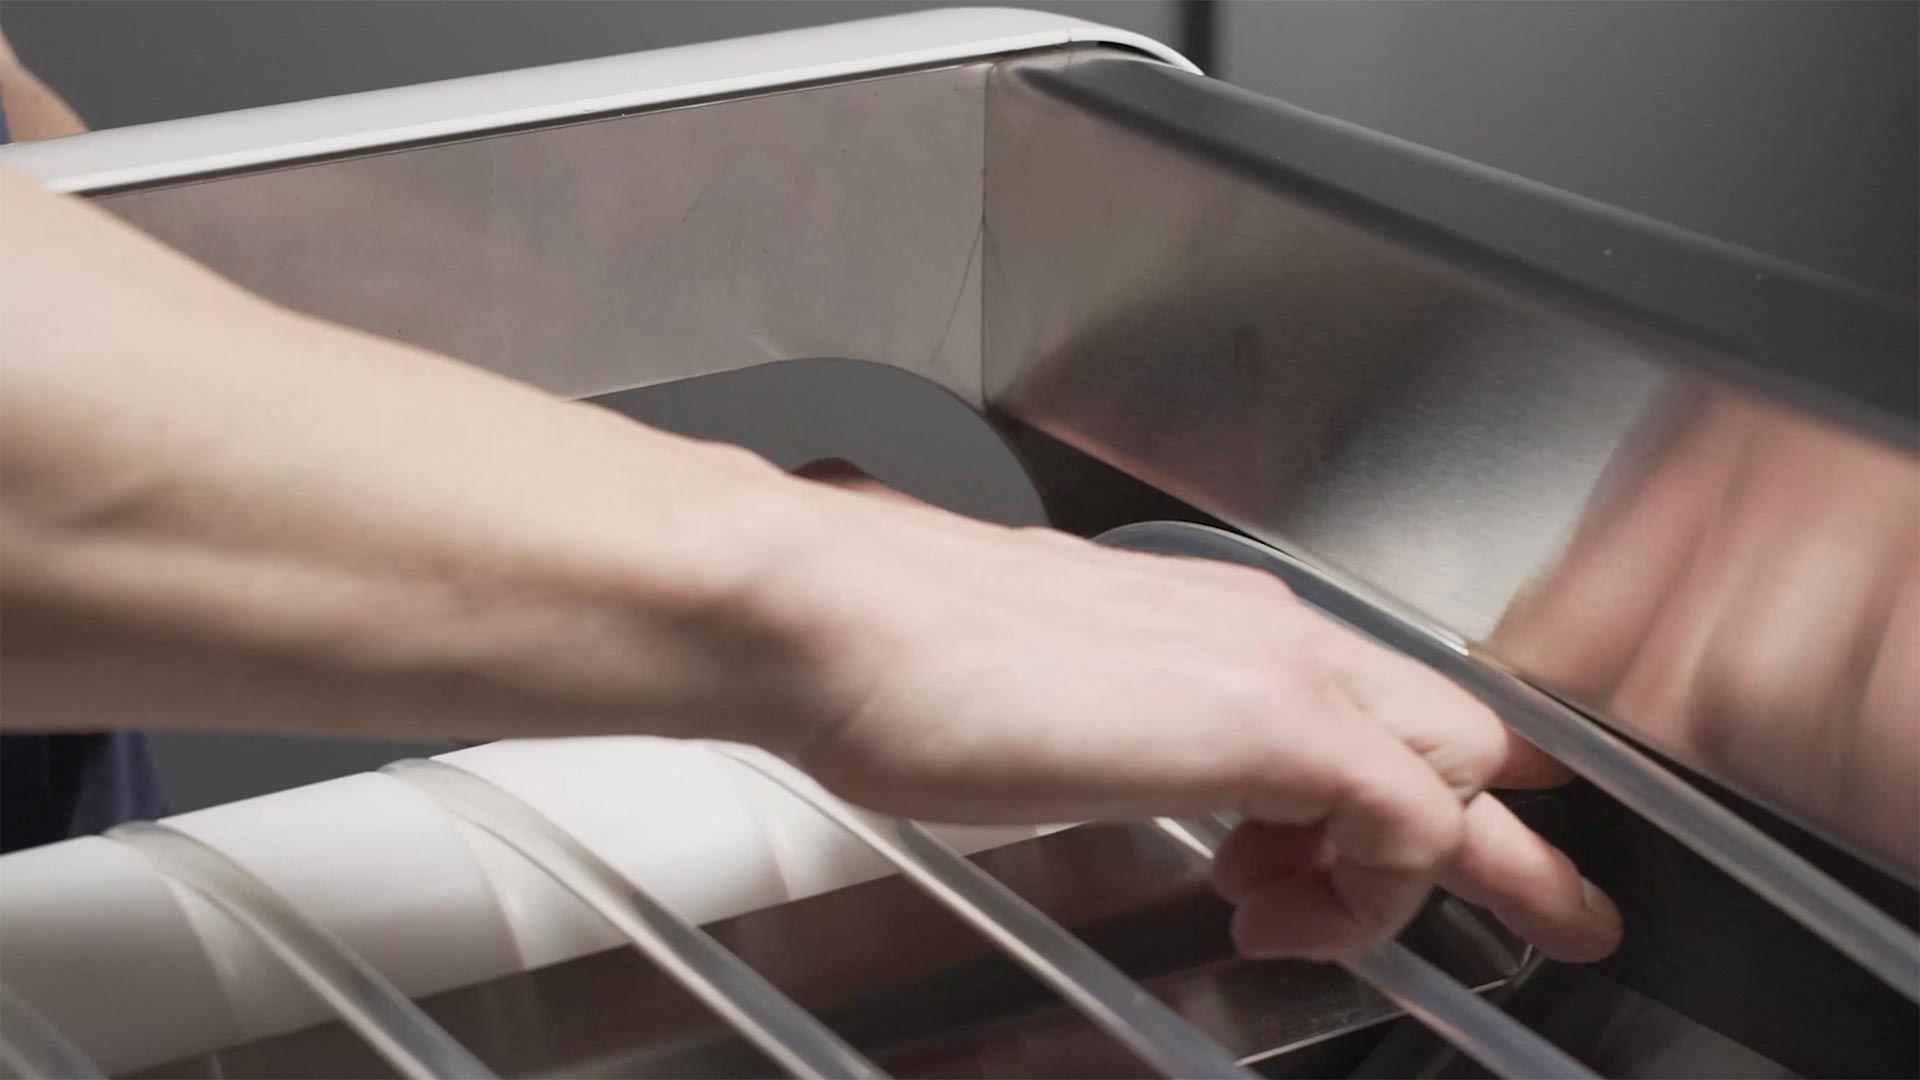
As necessary, proceed with removing some or all of the rest of the belts in the same manner.
09
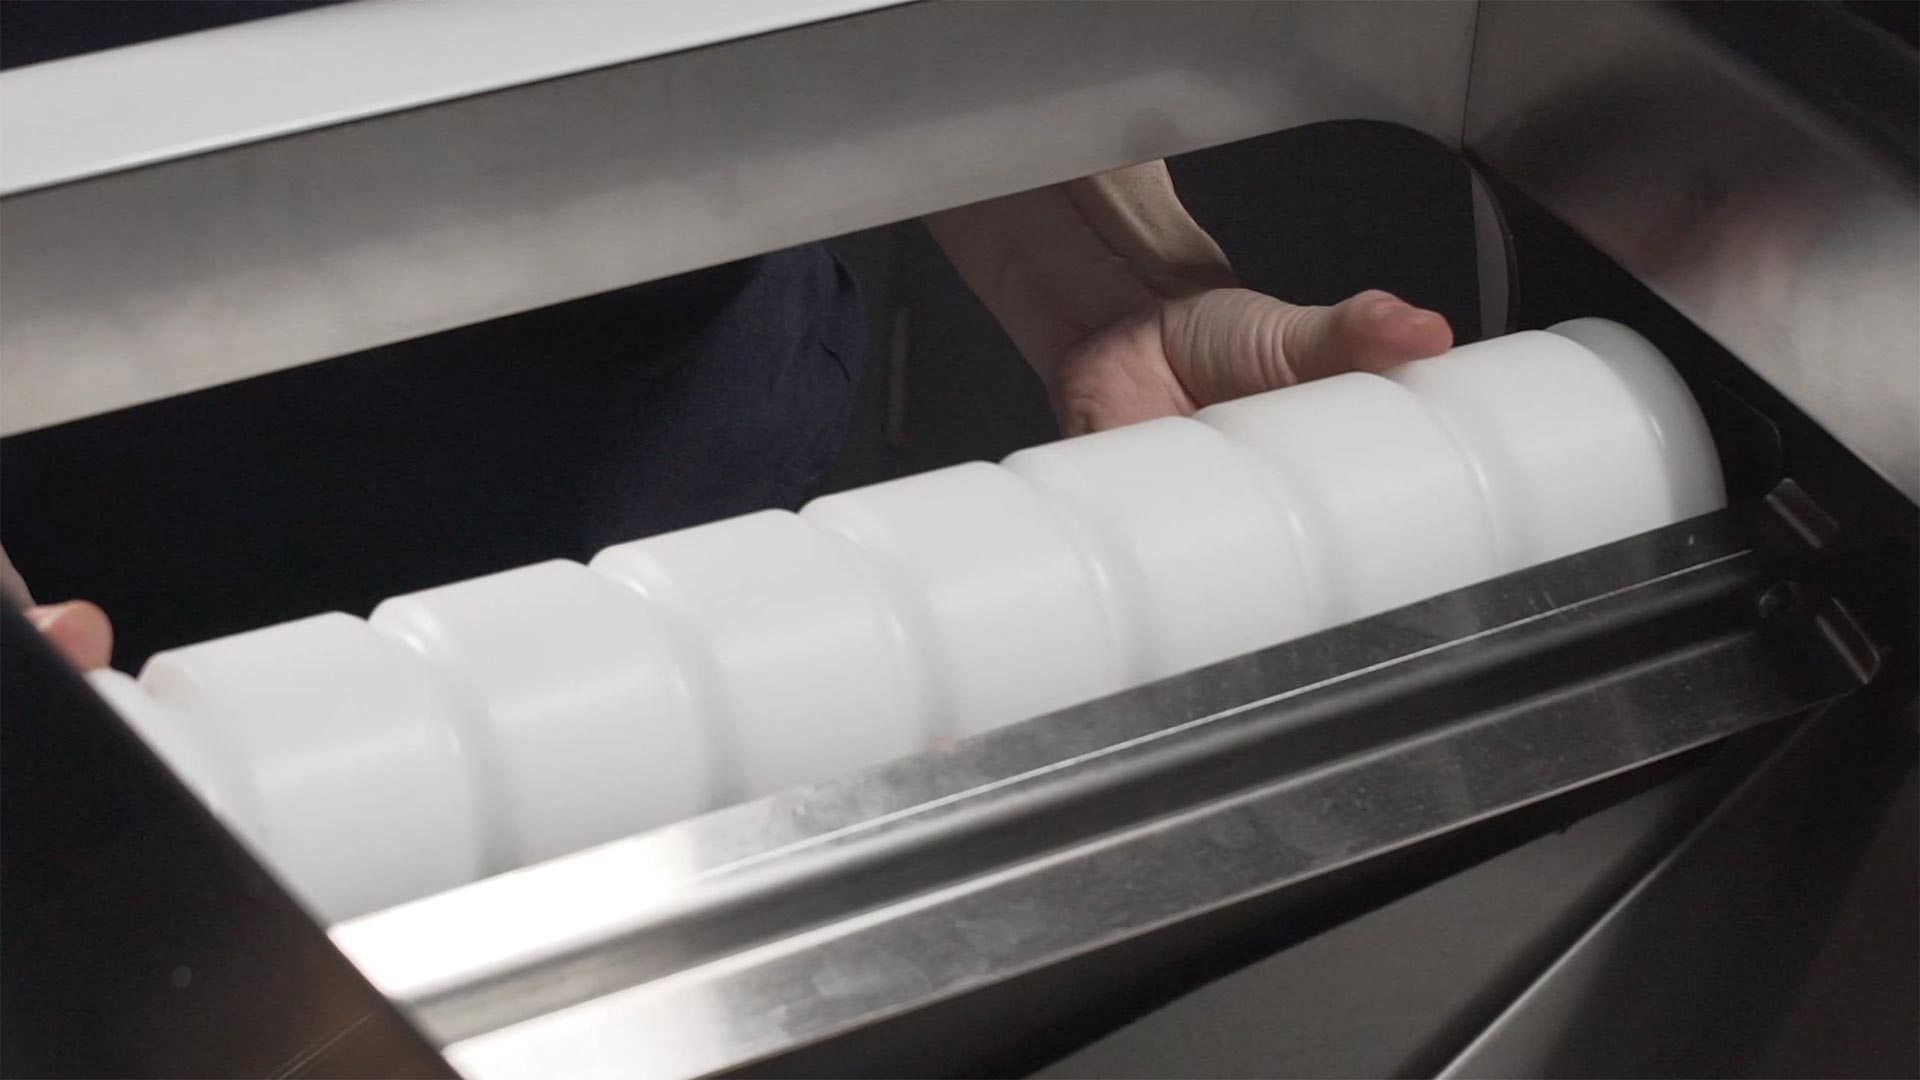
Removing the rollers can be done with or without the belts in place. So long as there is no tension on the belts, it is easy to work around them.
10
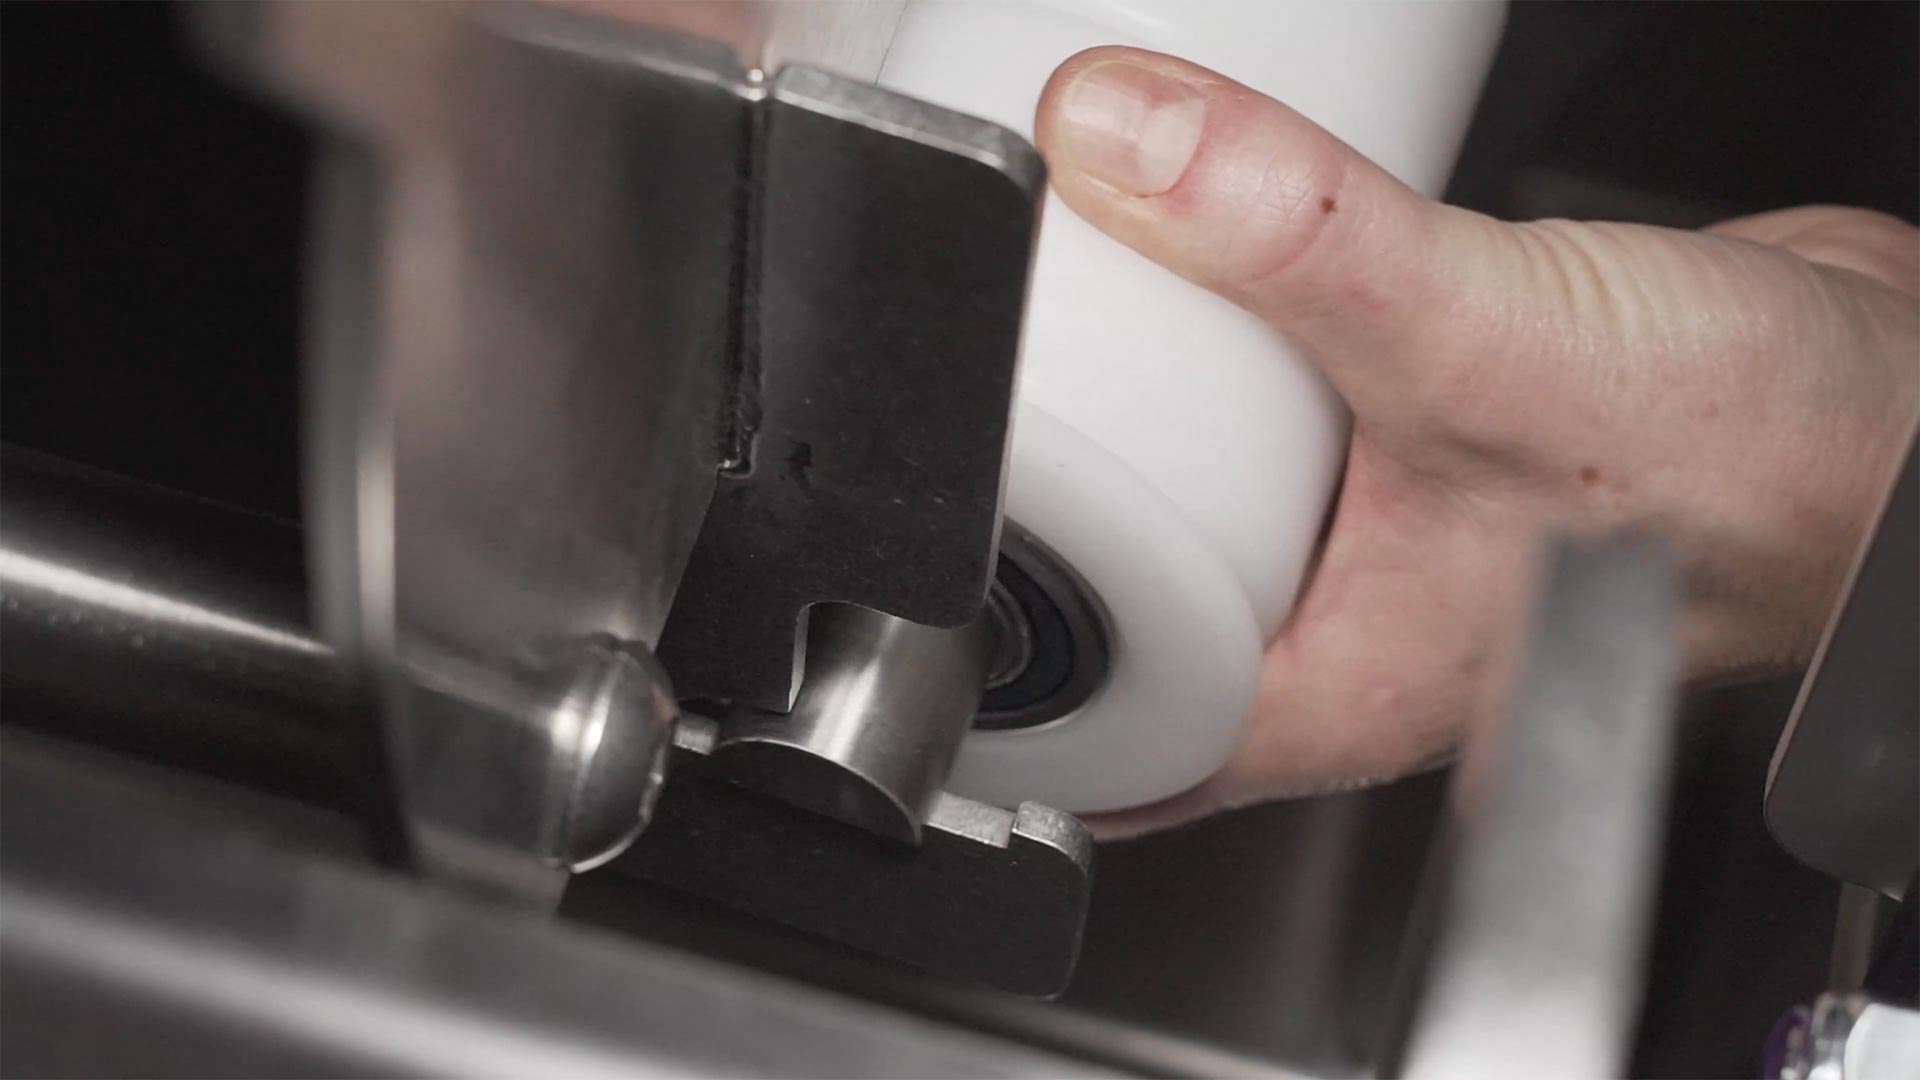
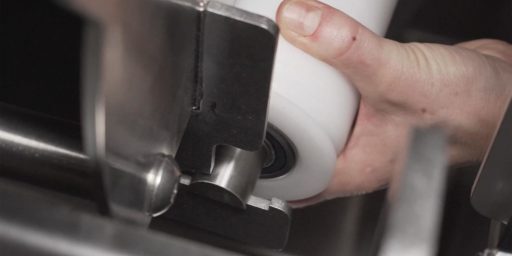
Both rollers on the outfeed side and the top roller on the infeed side can be removed by simply lifting them out of their cradling brackets.
11
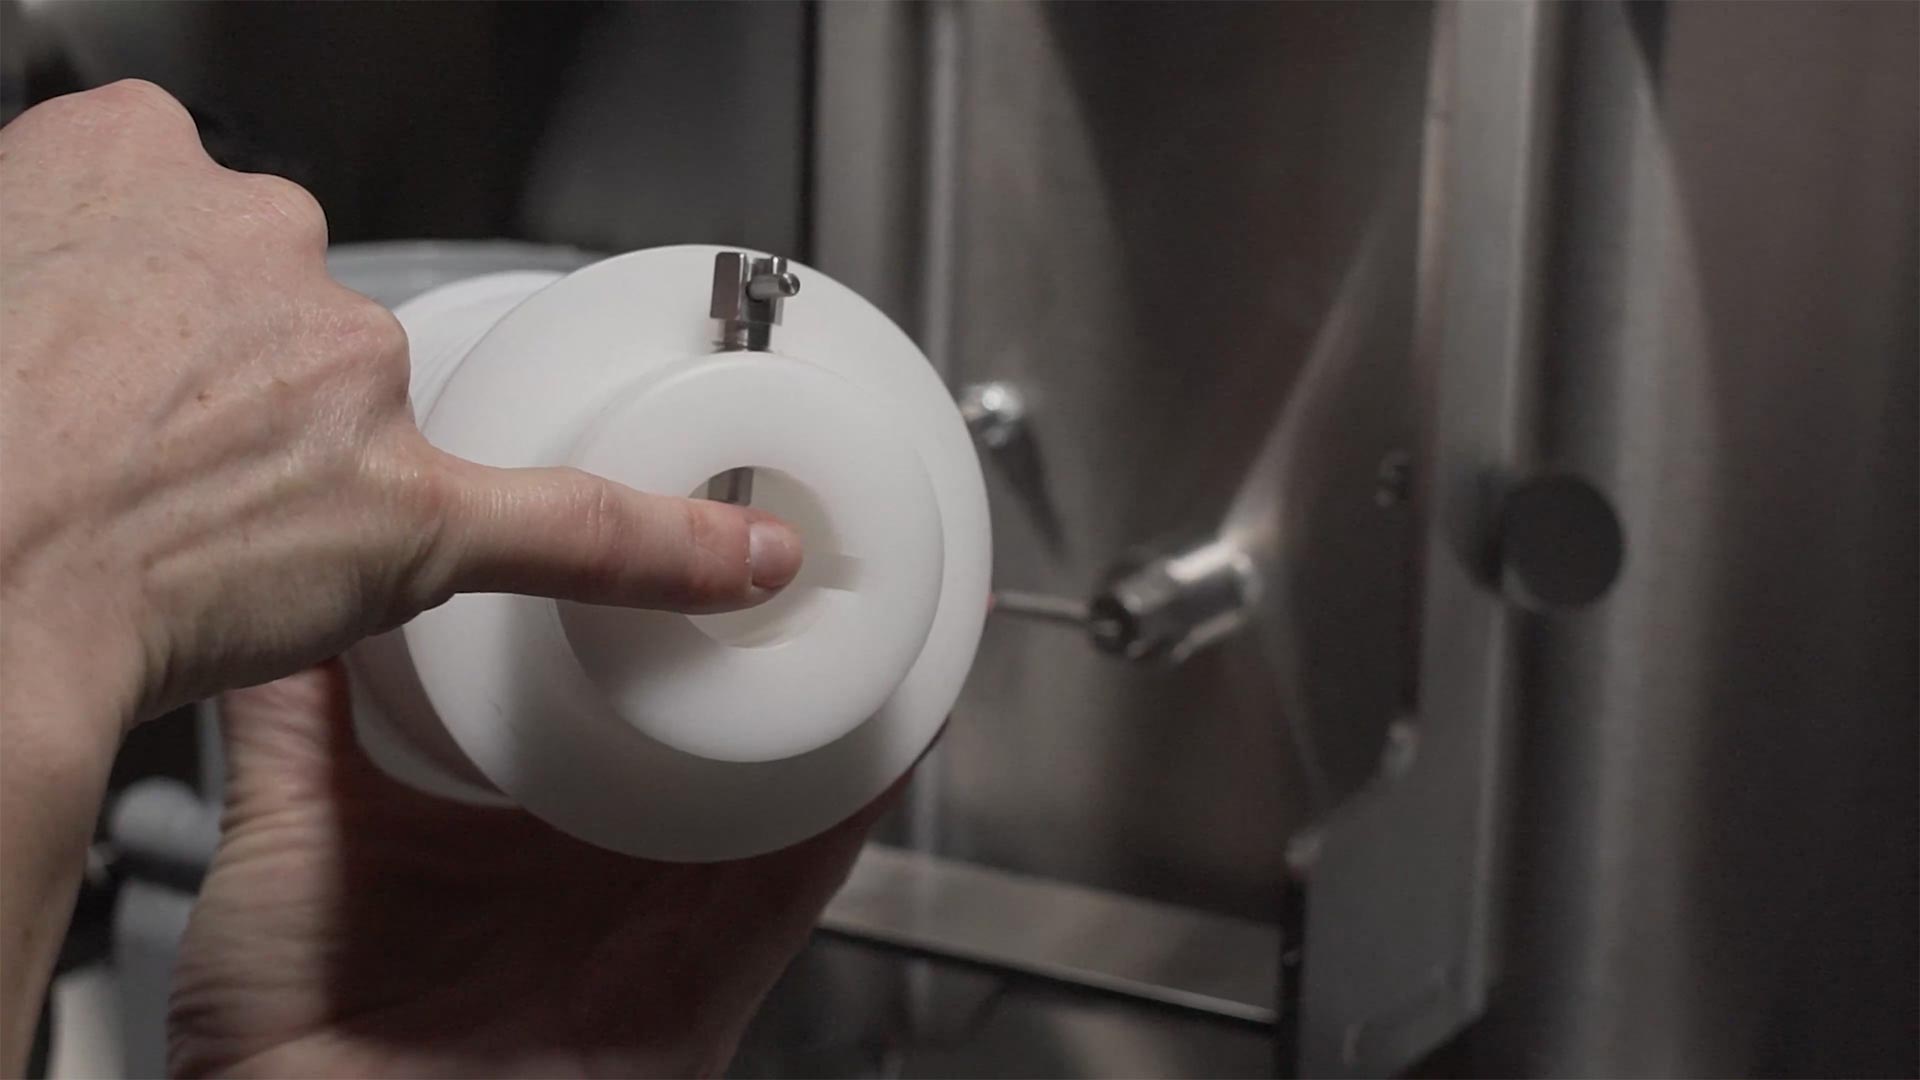
The bottom, or drive, roller on the infeed side is secured in place with a locating pin. Pull up on the pin to release the roller and pull it out of its cradling bracket.
12
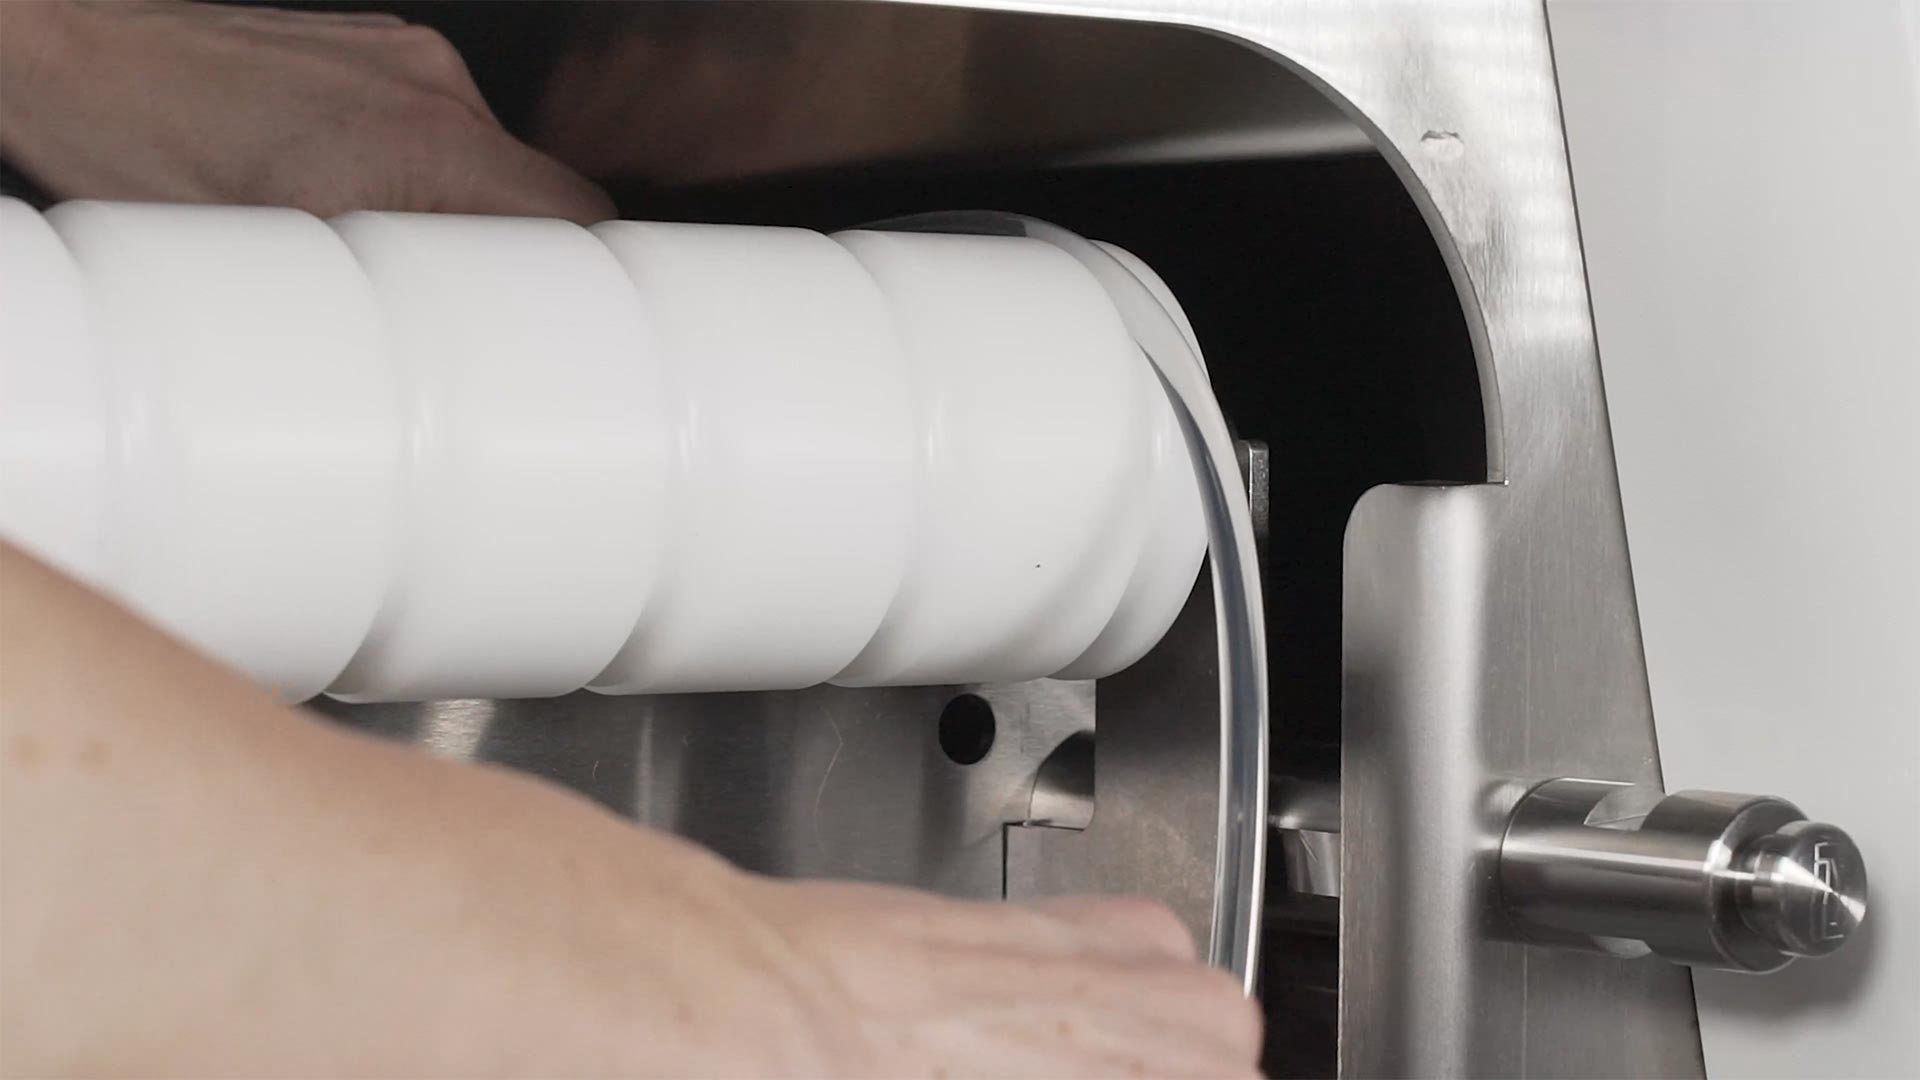
To re-install the rollers and belts, simply reverse the process. Start with the belt tension assembly set to the highest position so that you have maximum slack to work with.
Reposition the four rollers, ensuring the flat part of each shaft sits flush against the bracket and the locating pin on the drive roller is secured in place.
13
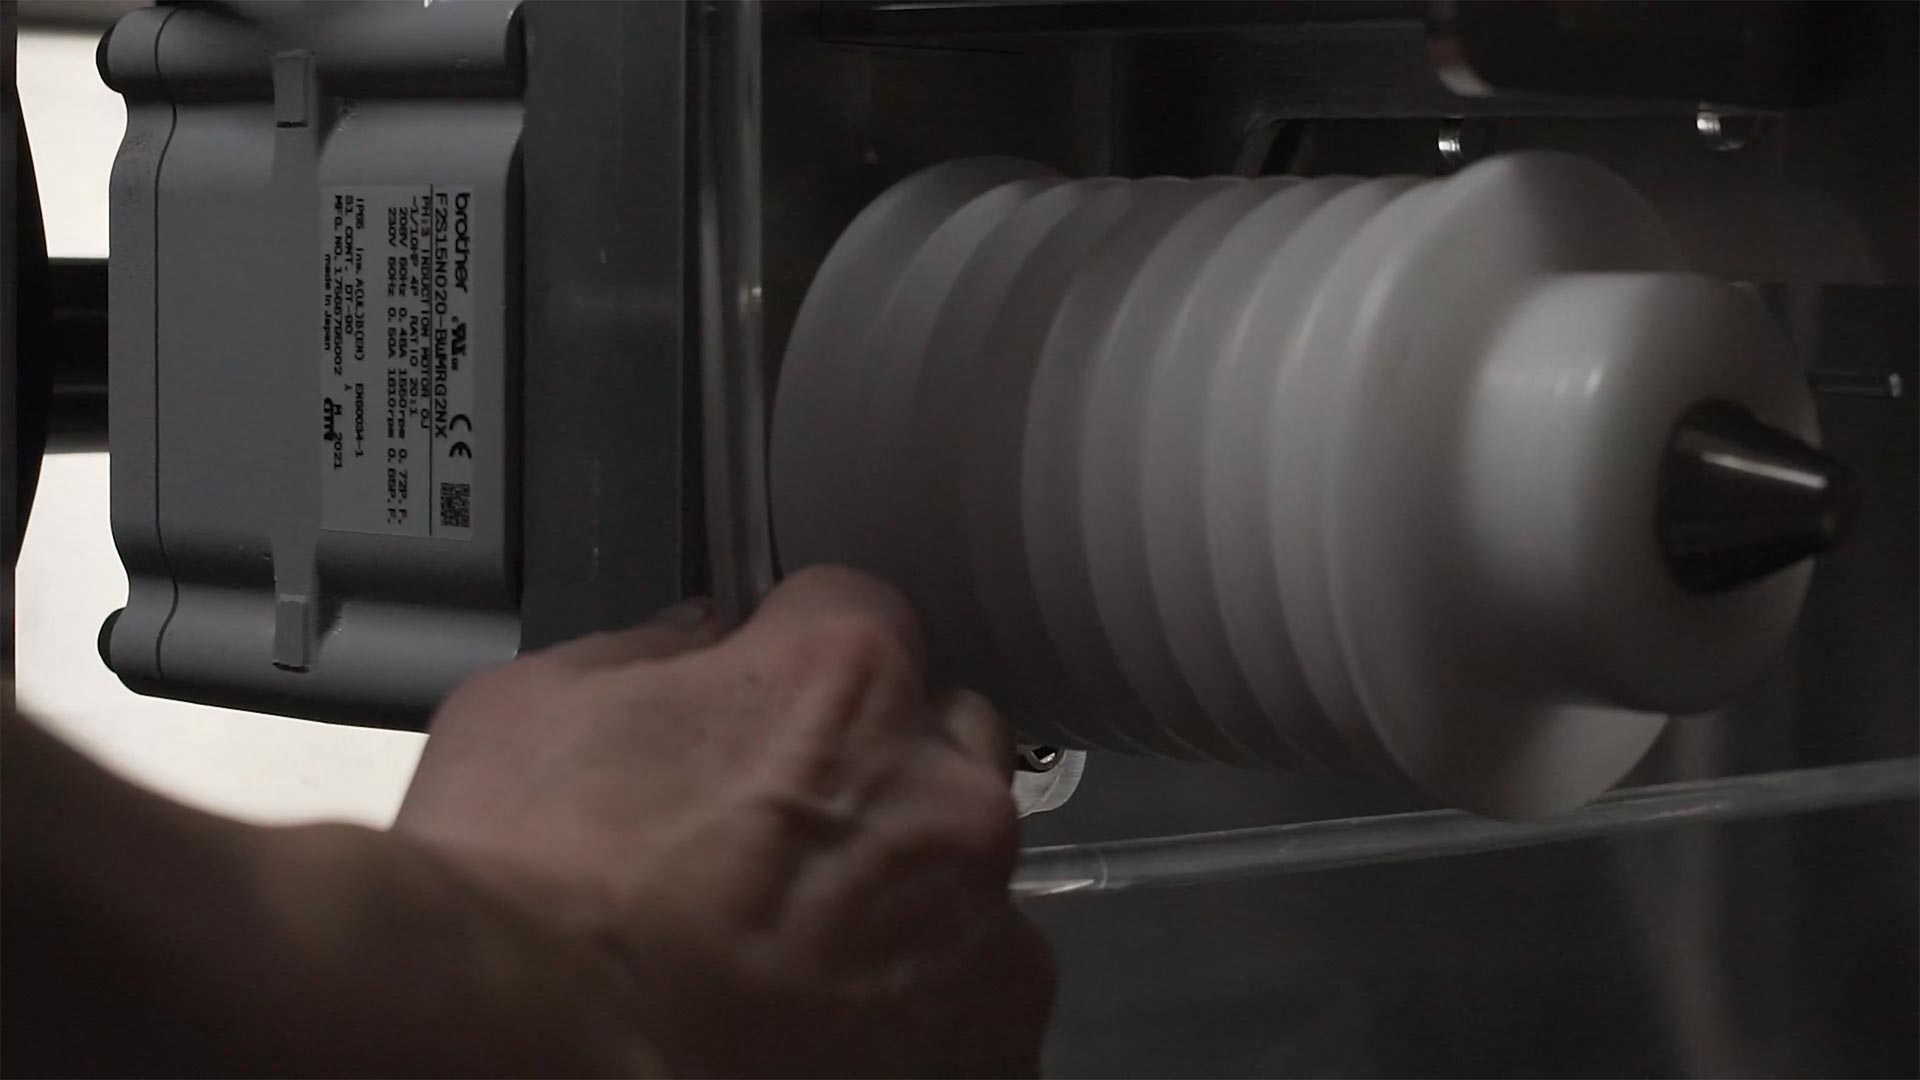
To reinstall a belt, start by working it onto each of the four rollers, aligning it into the same channel on each roller.
14
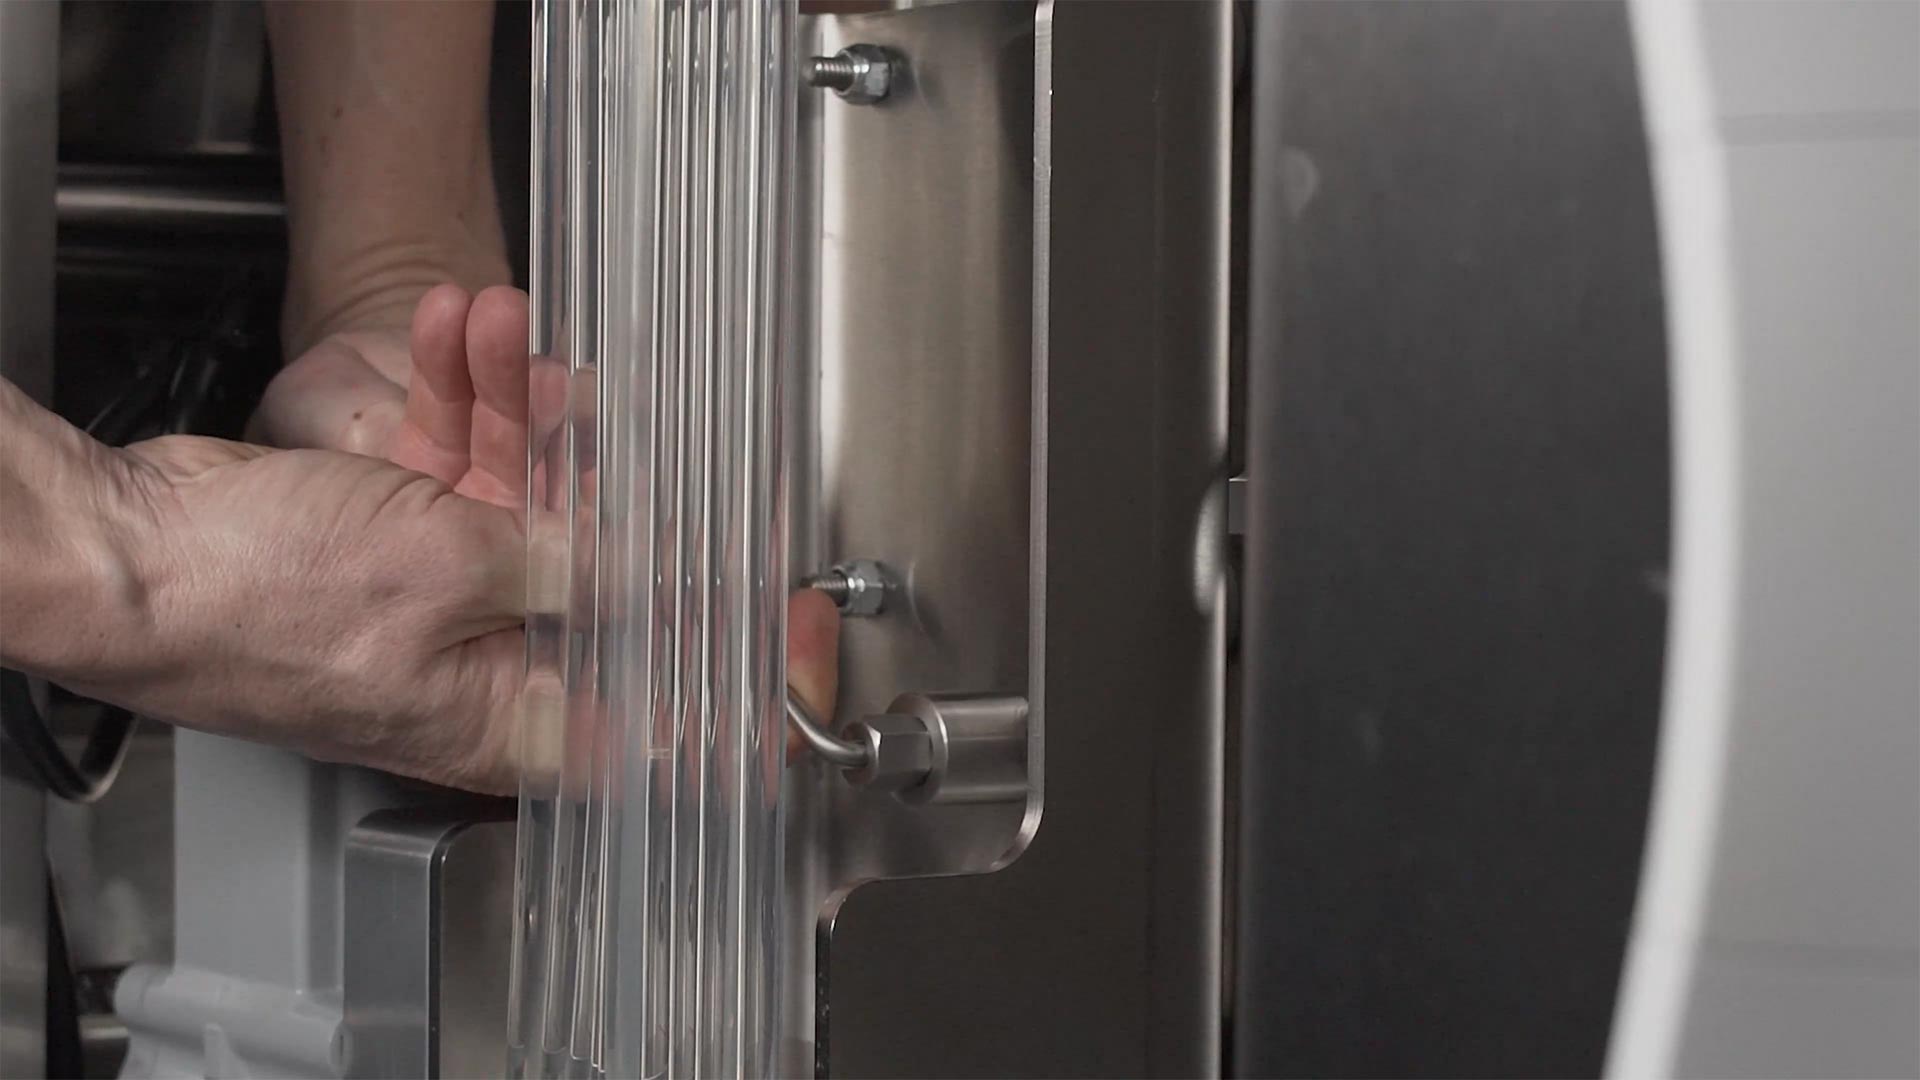
Once all of the rollers and belts are in place, pull the adjustment plunger and lower the tension assembly to the desired position.
15
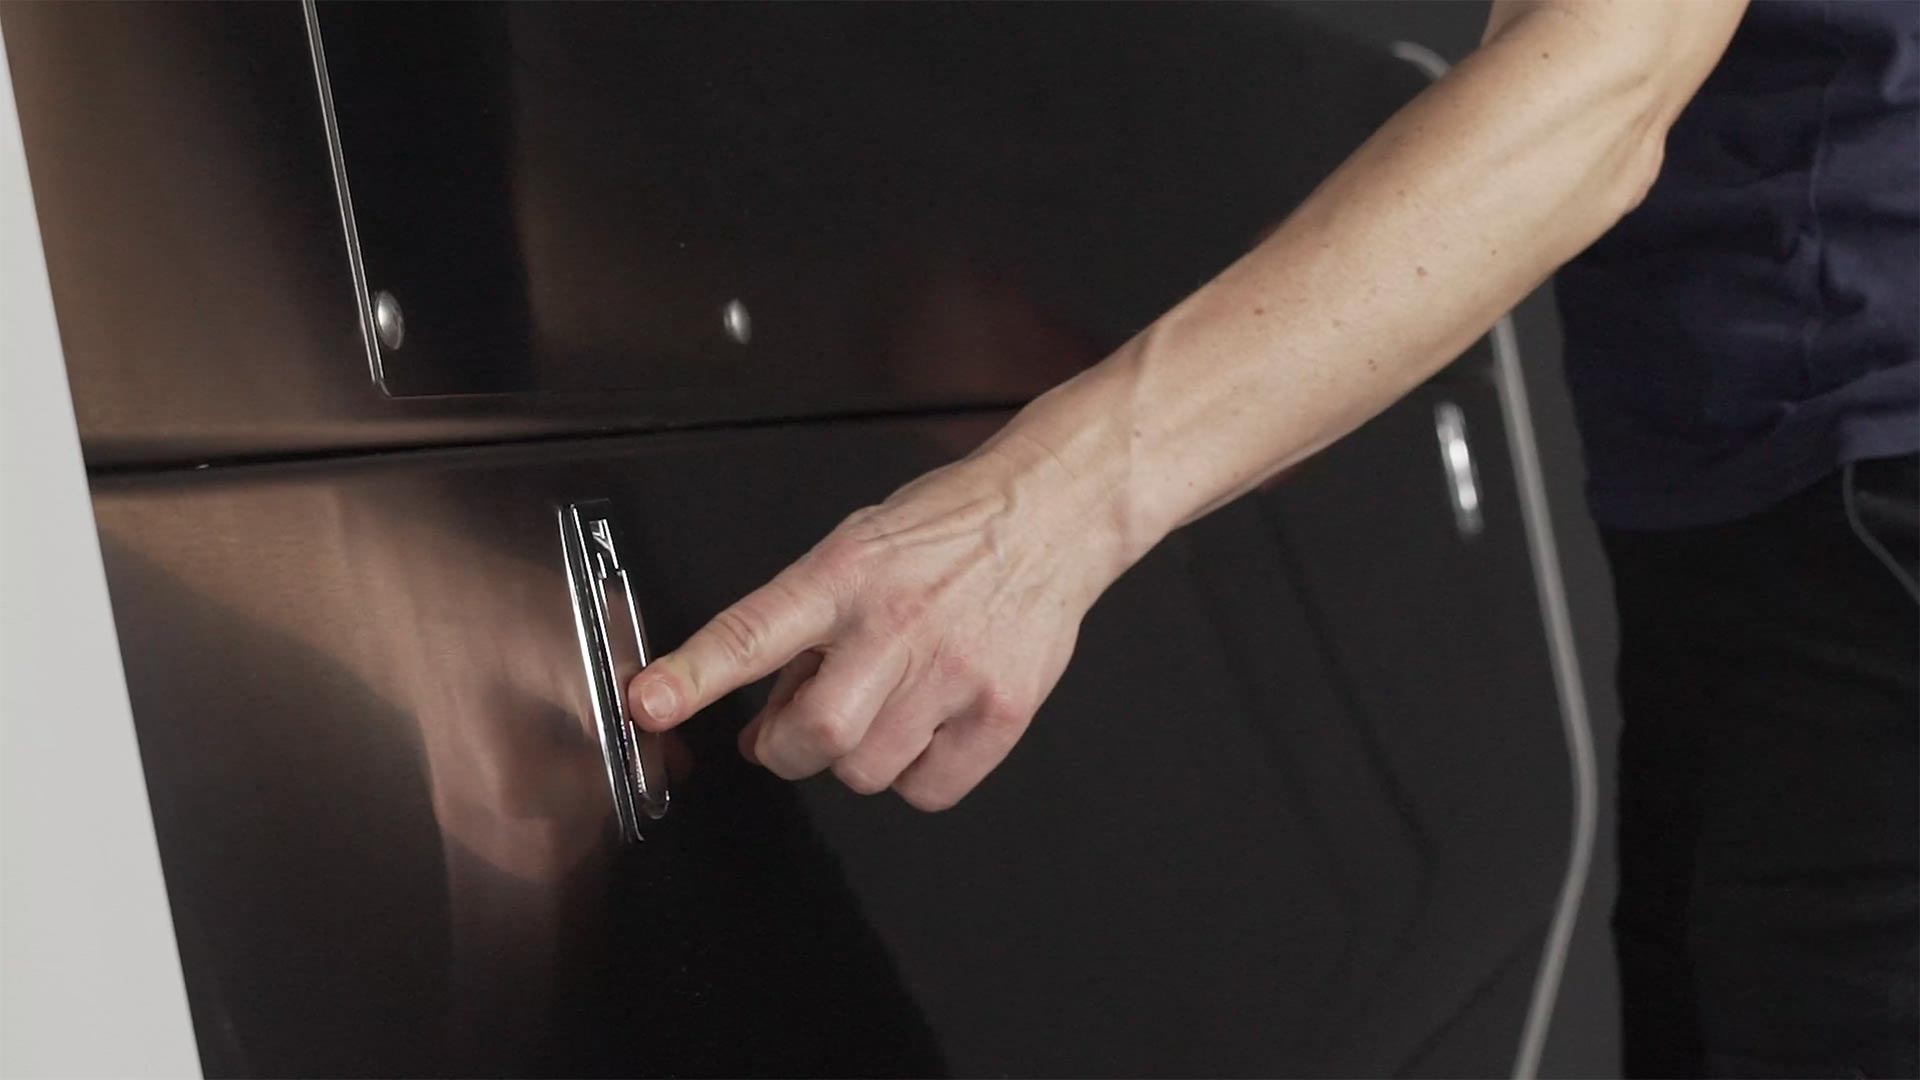
Close up the tailgate.
16
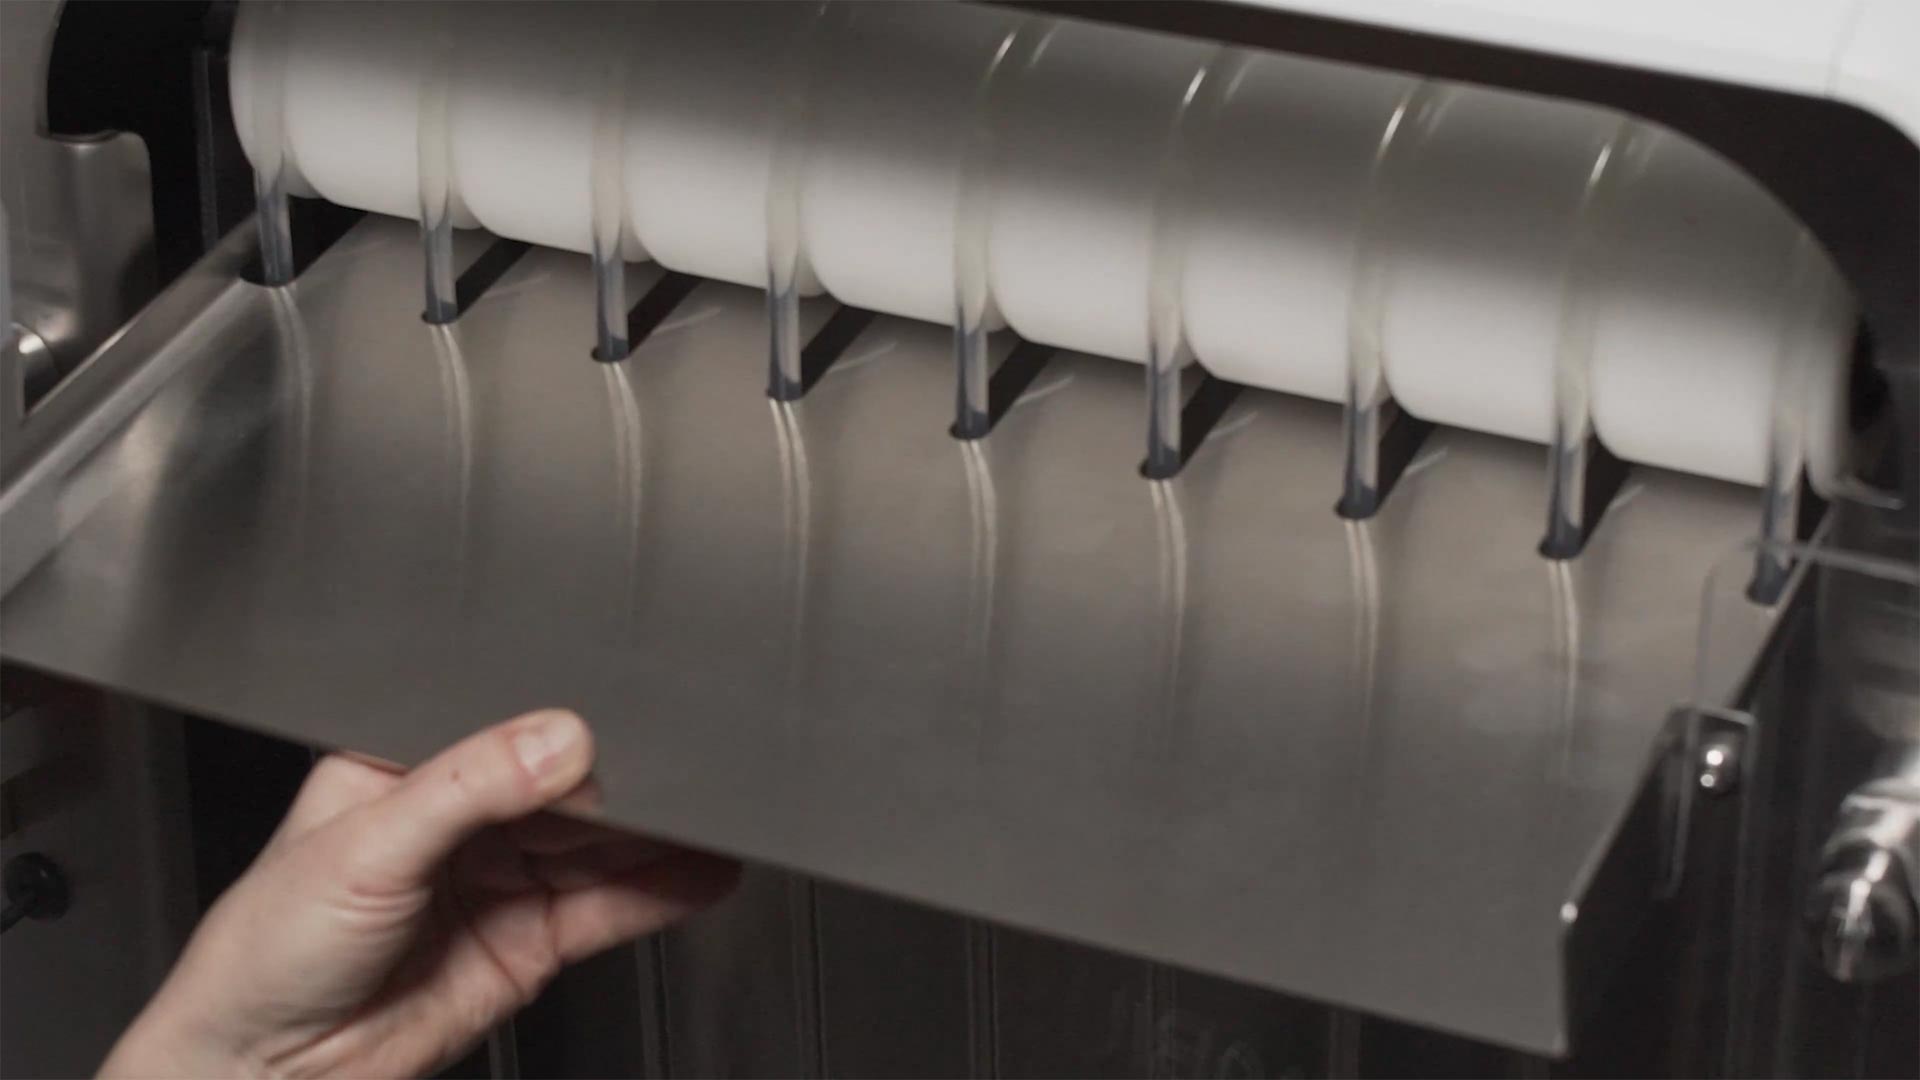
Replace the side panels and overflow shelf and you’re ready to get fired up again with your Mobius M9 Sorter.
