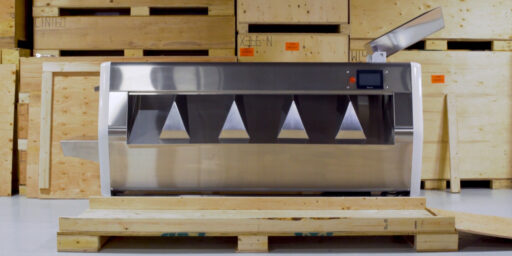
M9 Sorter Uncrating & Assembly
Mobius M9 Sorter
Uncrating & Assembly
HOW TO REMOVE THE SORTER OUT OF THE SHIPPING CRATE.
Getting Yourself Setup
01
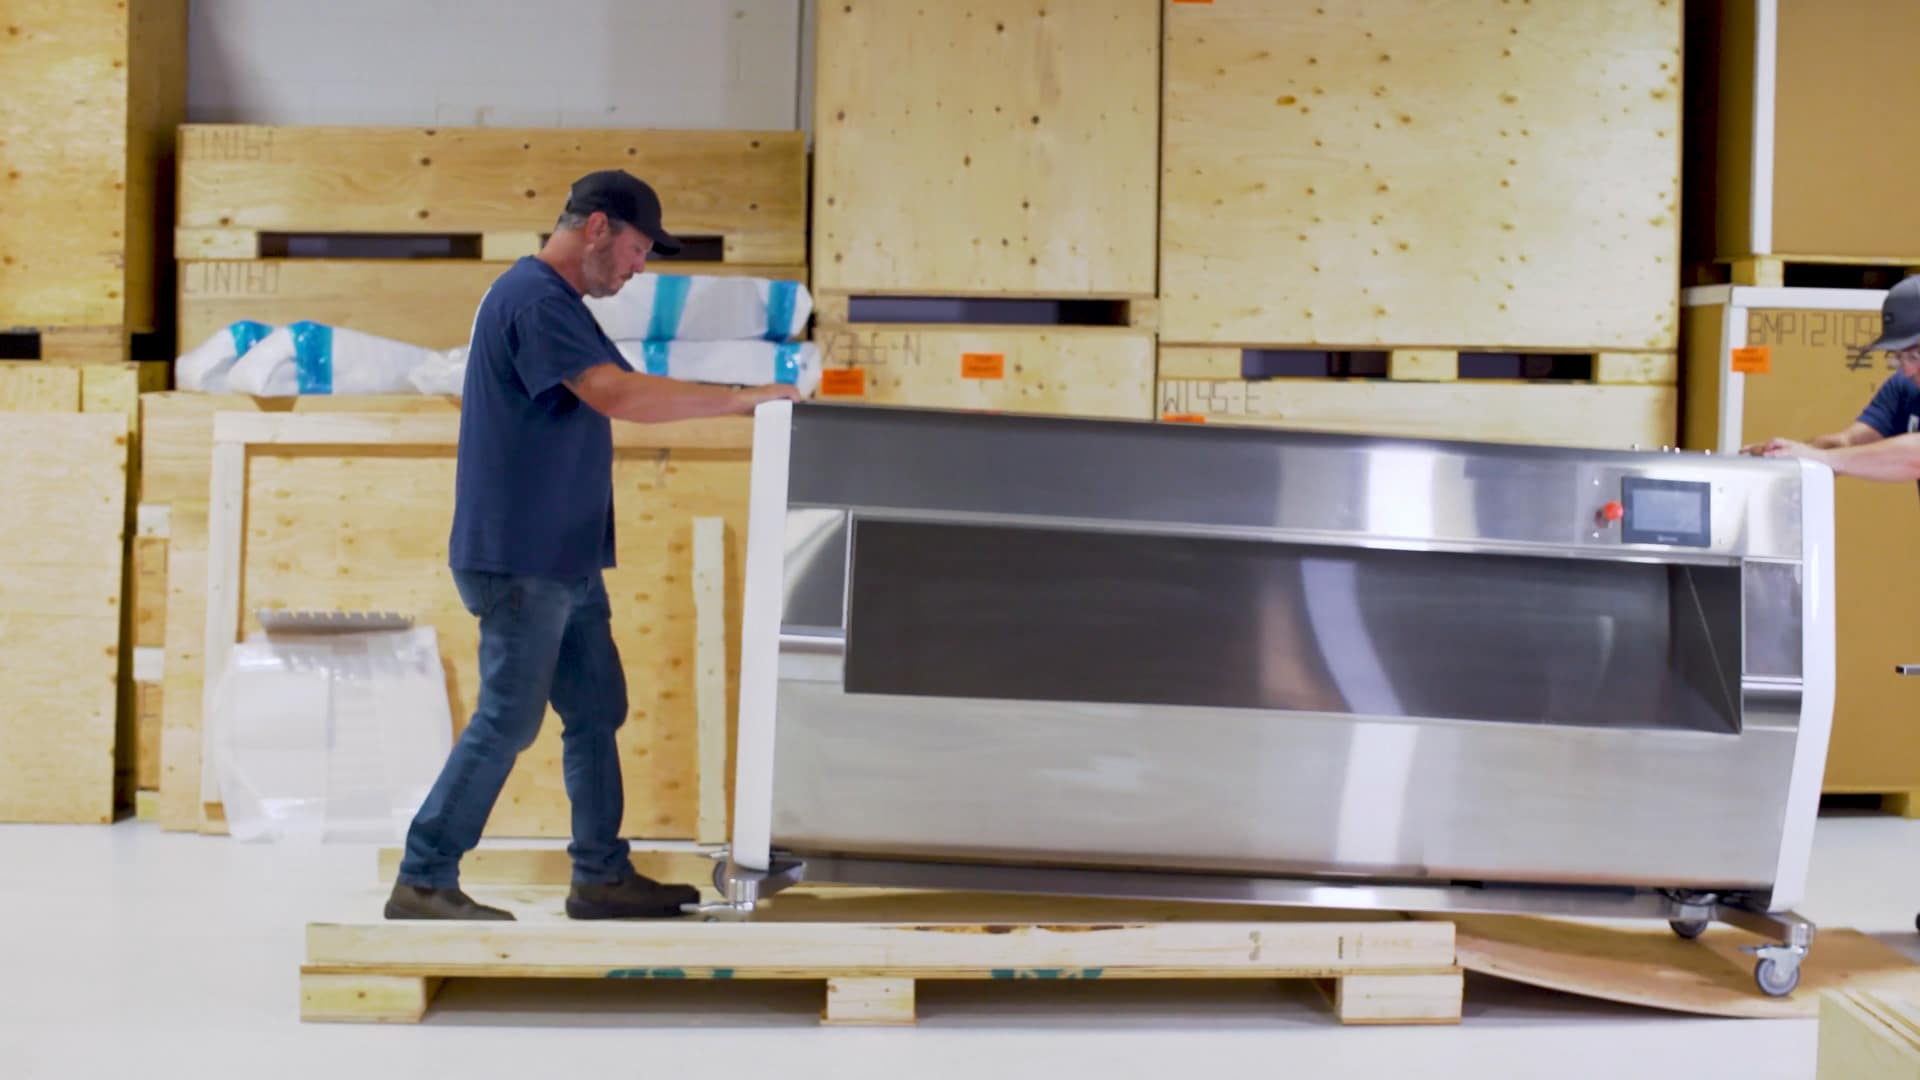
The Mobius M9 is a pretty sizable machine, so set yourself up in an area with enough clearance to access all sides of the crate. Once the crate top and side panels are removed, the machine will be rolled off the end of the crate base, so you’ll also want to leave enough space at one end to accommodate this.
02
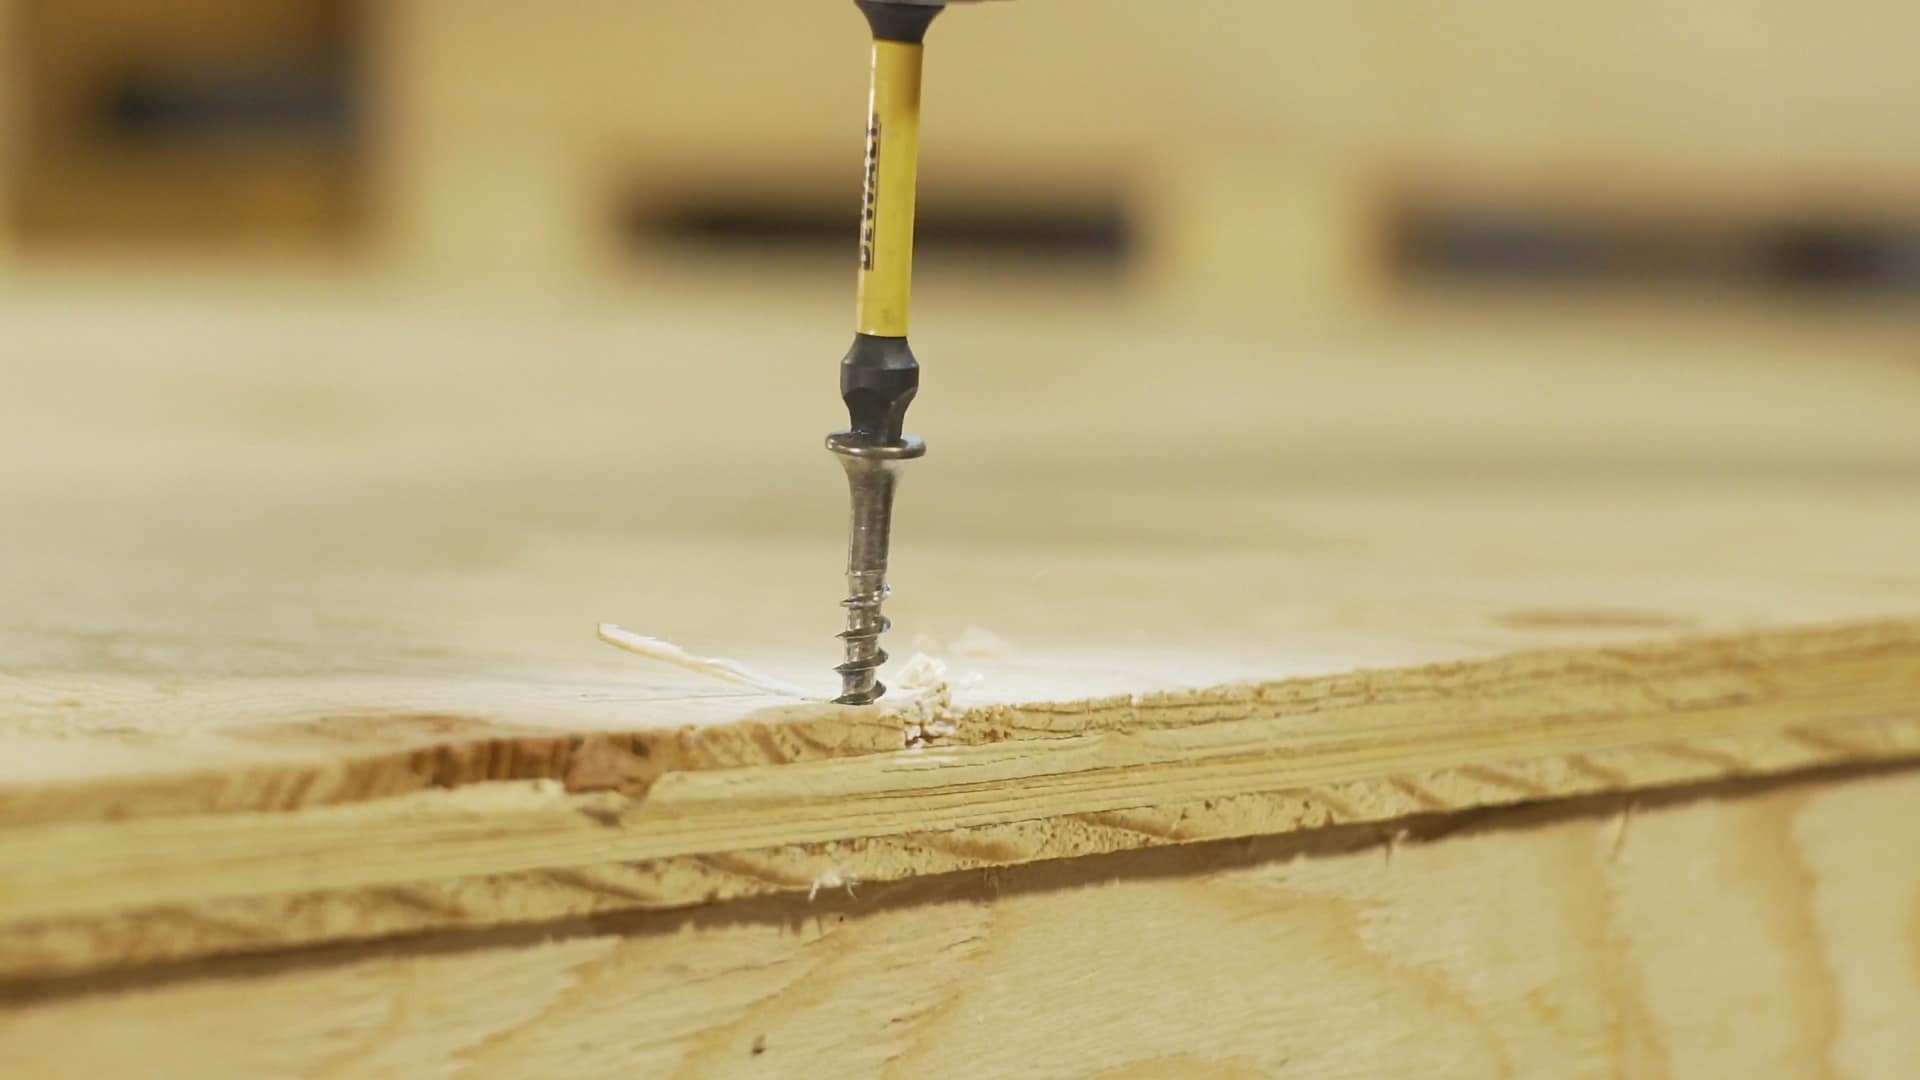
As for tools, you’ll need a drill with a Philips head bit and a 5/16ths hex wrench. You will also need to have a total of three people to carry out the uncrating process.
Uncrating Your M9 Sorter
01
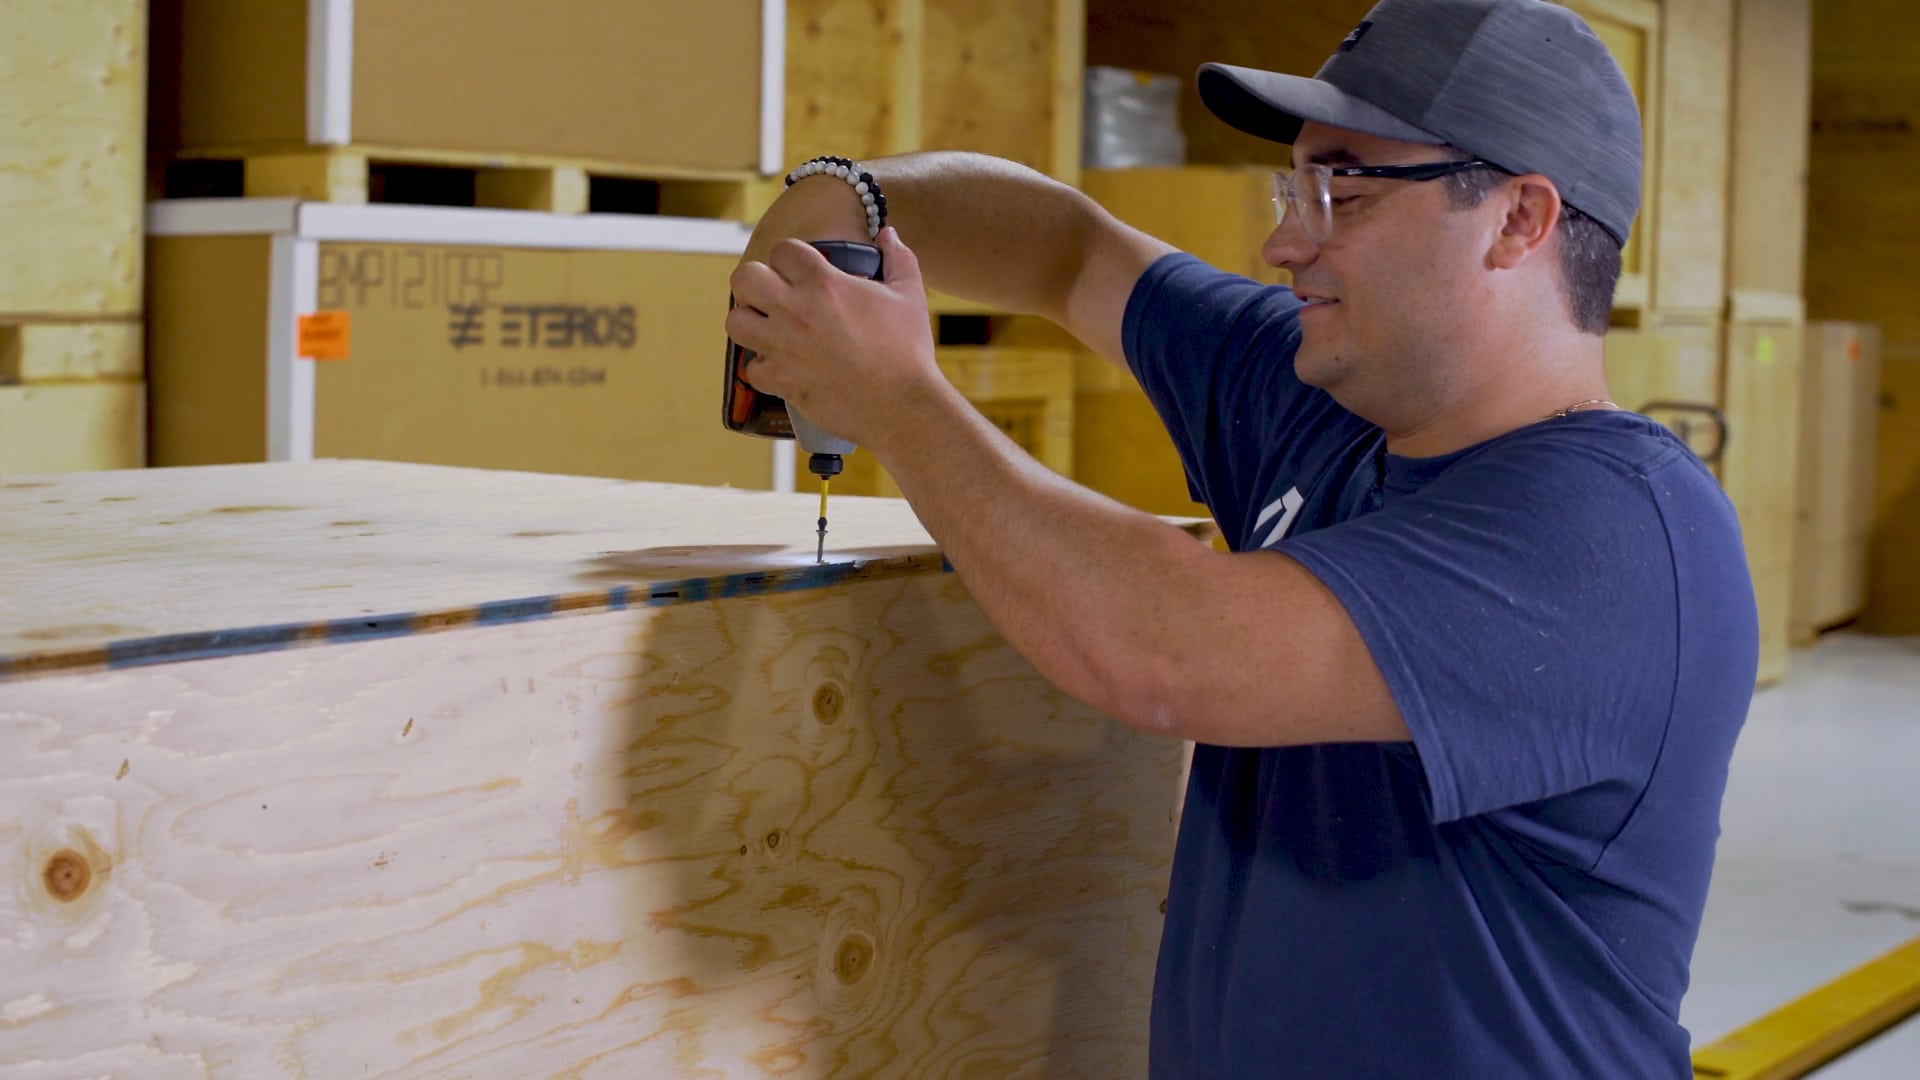
First up, remove the screws securing the top panel of the crate and set this panel aside. Next, remove the two screws from each end of the side panel that hold the inner 2 x 4s in place. Now, remove the screws along the bottom of each long side panel and set these panels aside. Finally, remove the screws holding the end panels in place and set these panels aside.
02
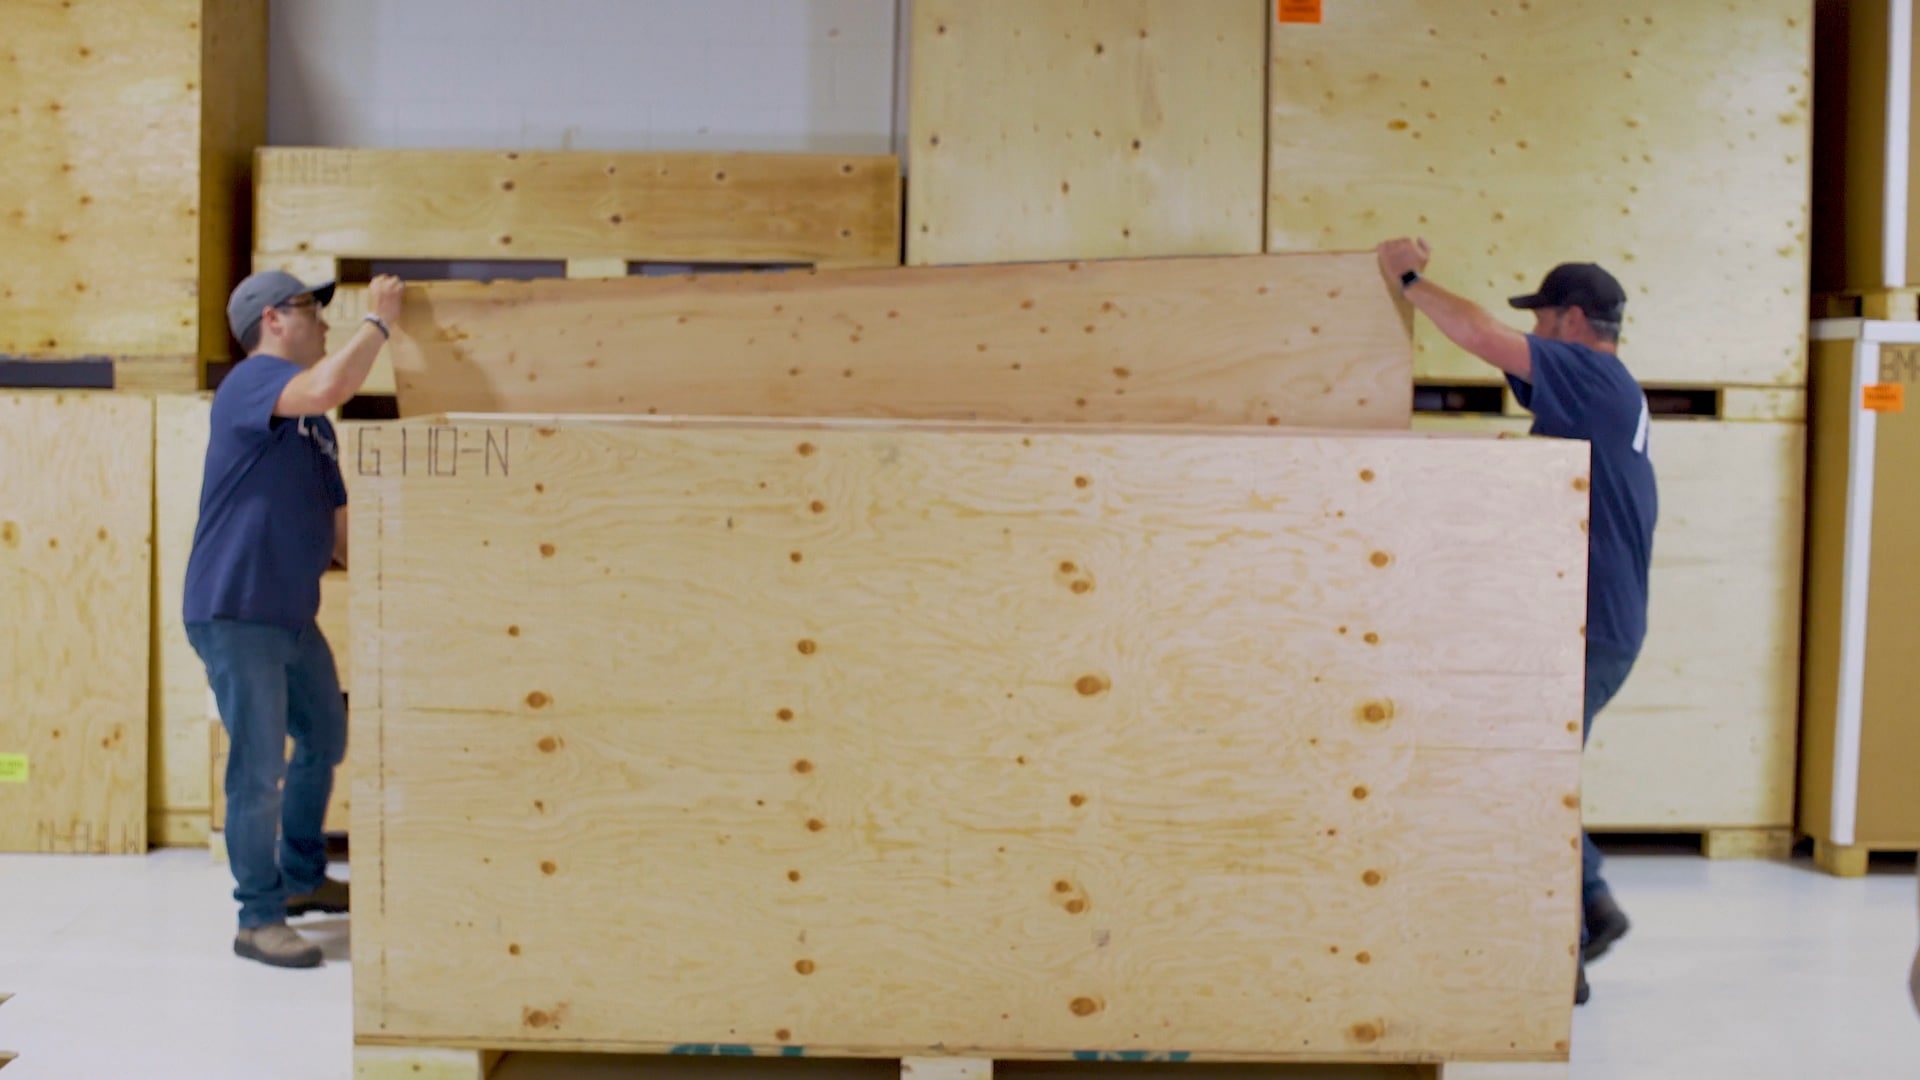
Start to disassemble the crate, and put the panels aside.
03
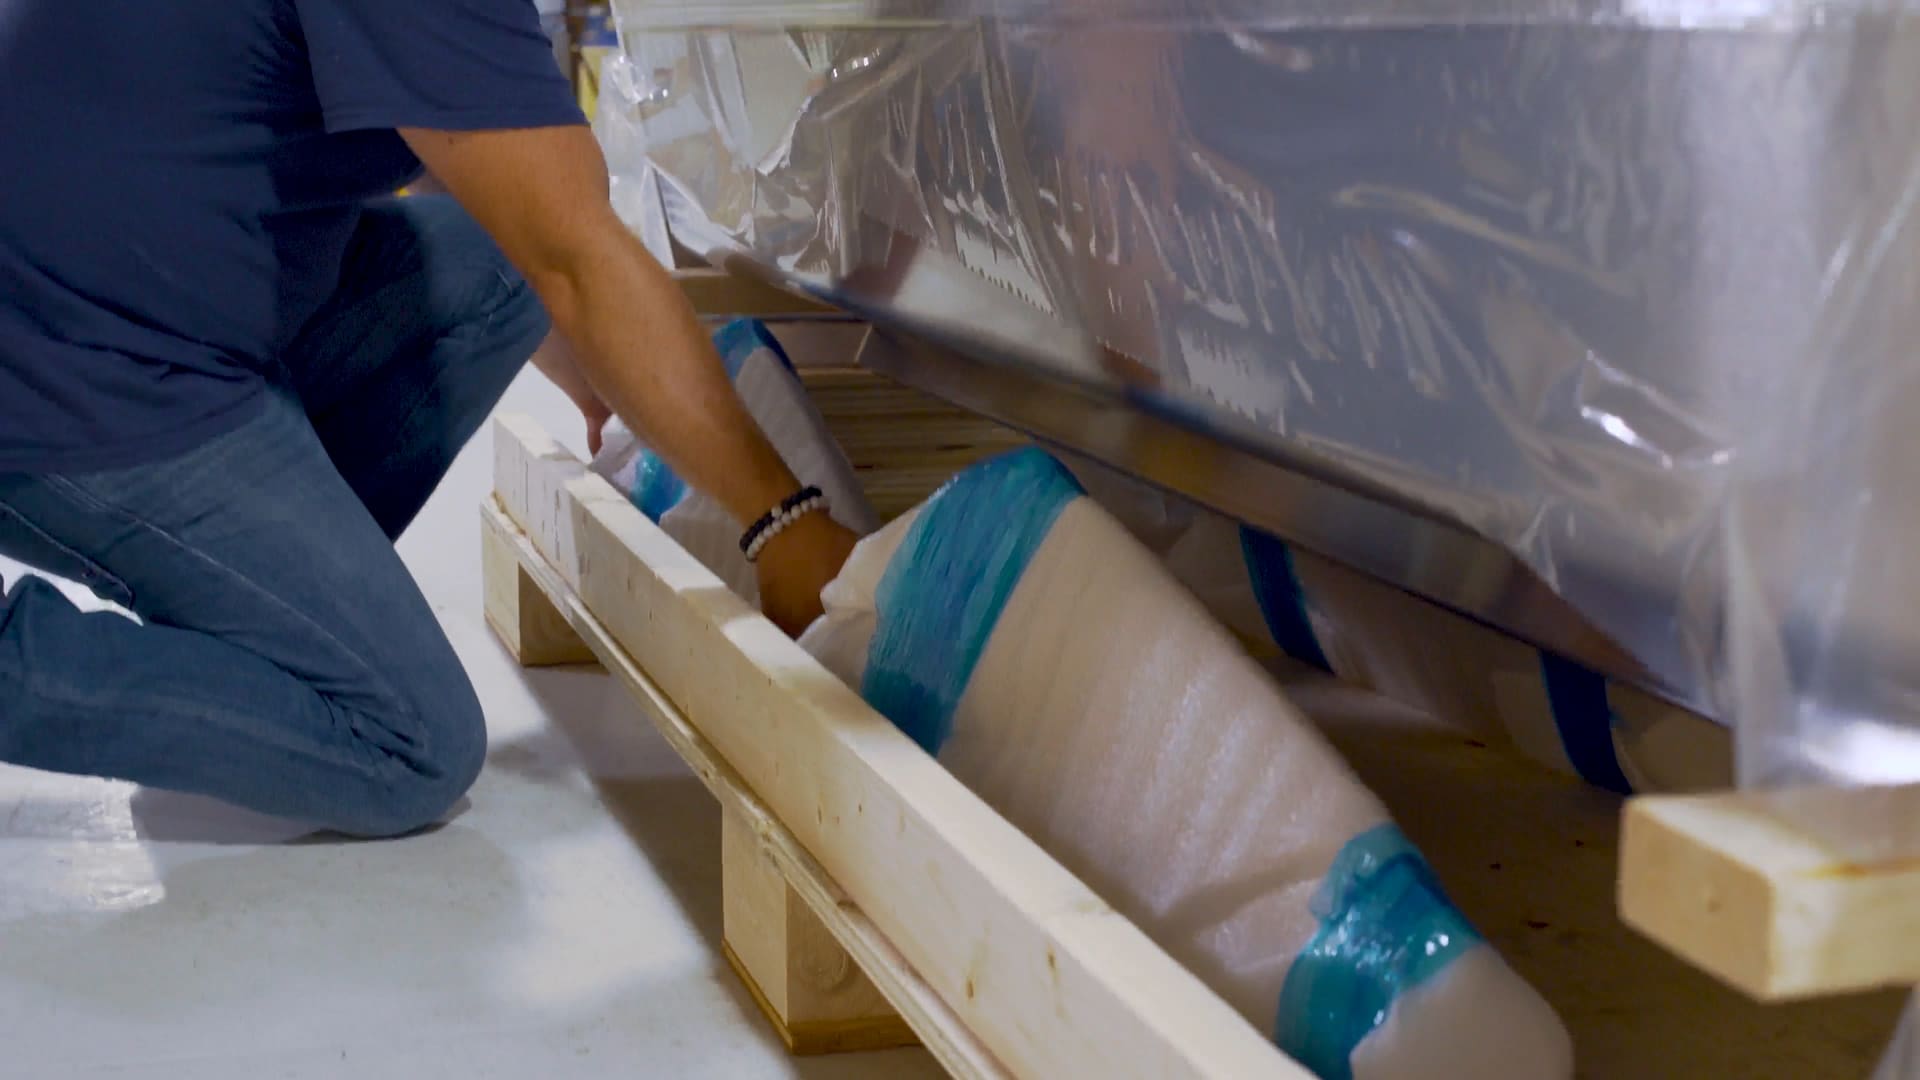
Before we move the machine off the crate base, it’s a good idea to set aside all of the loose parts that we will later be installing on the machine. Some of these parts are resting on the crate base under the machine and some are packed inside the machine.
04
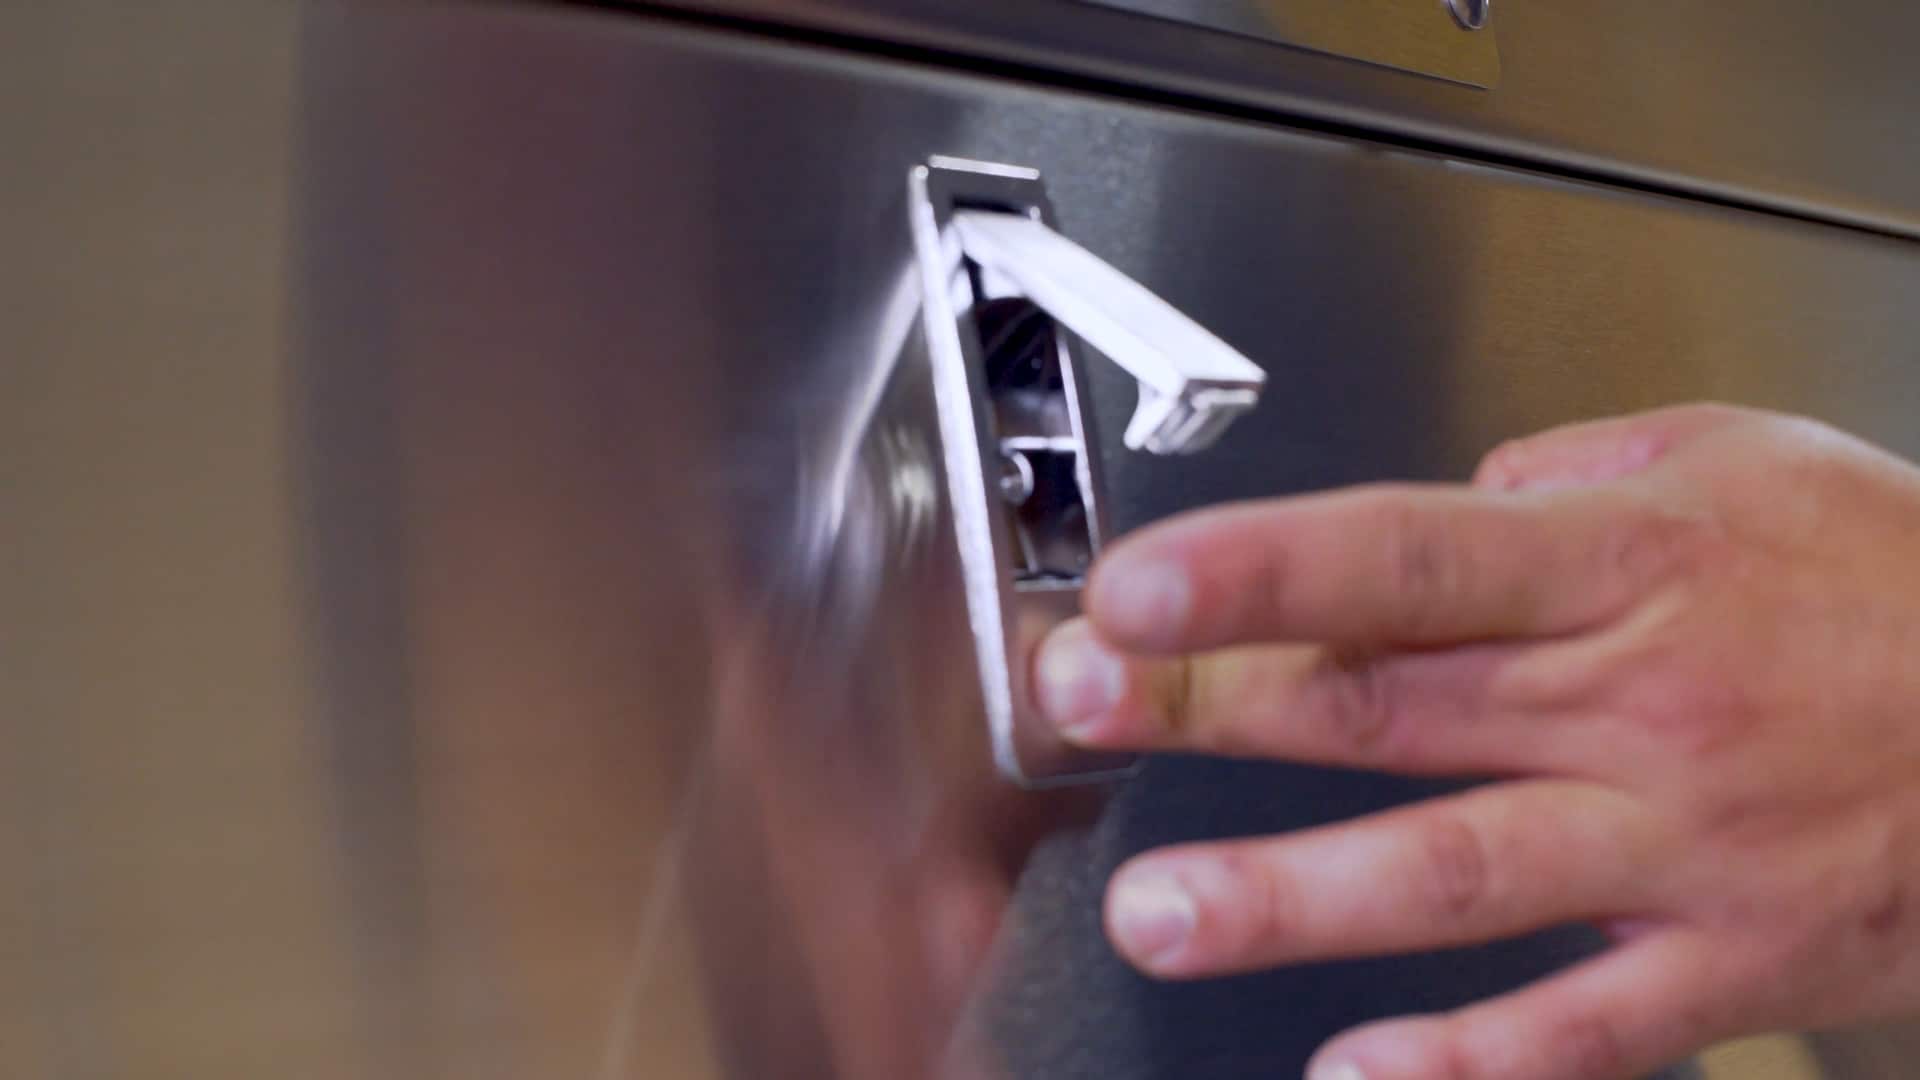
To get to the parts that are packed inside the machine, pop open the tabs on the rear access panel.
05
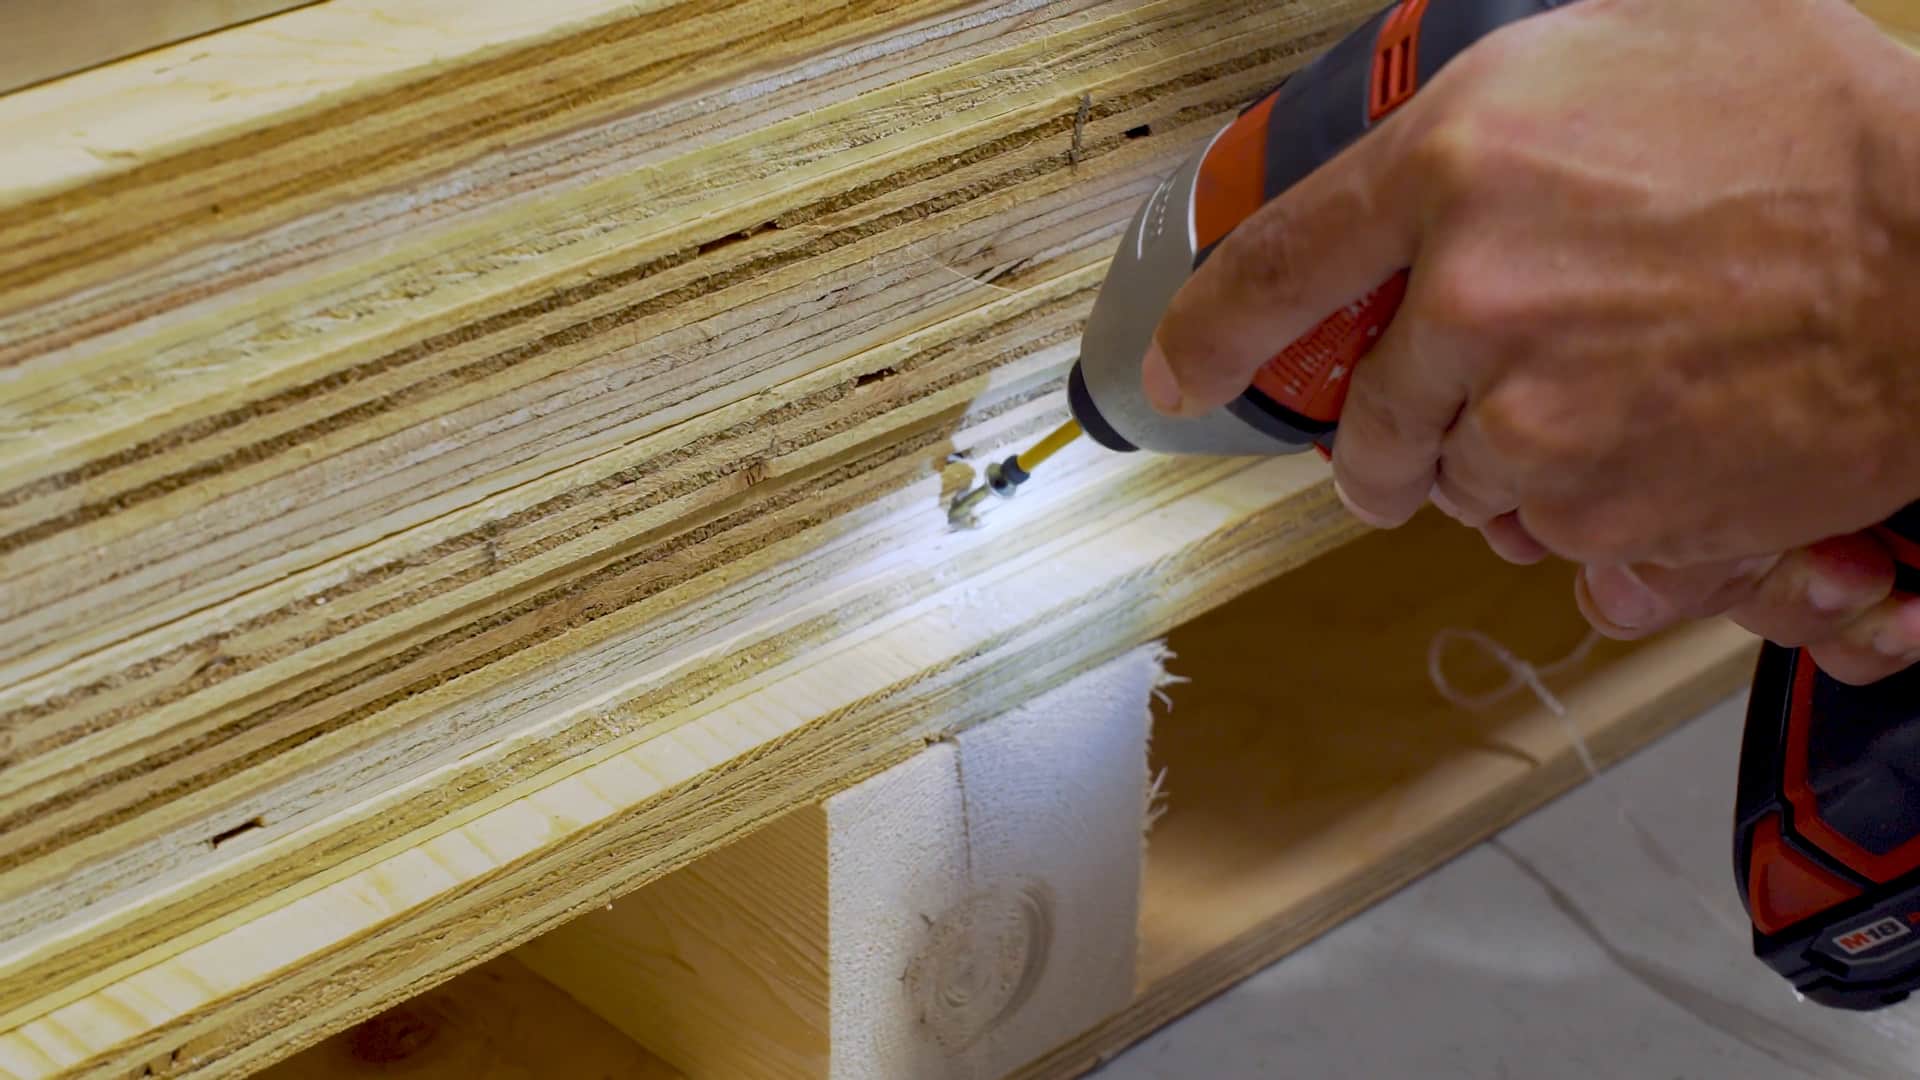
To start, locate and remove the screws that are securing the wooden blocks in place at each end of the machine.
06
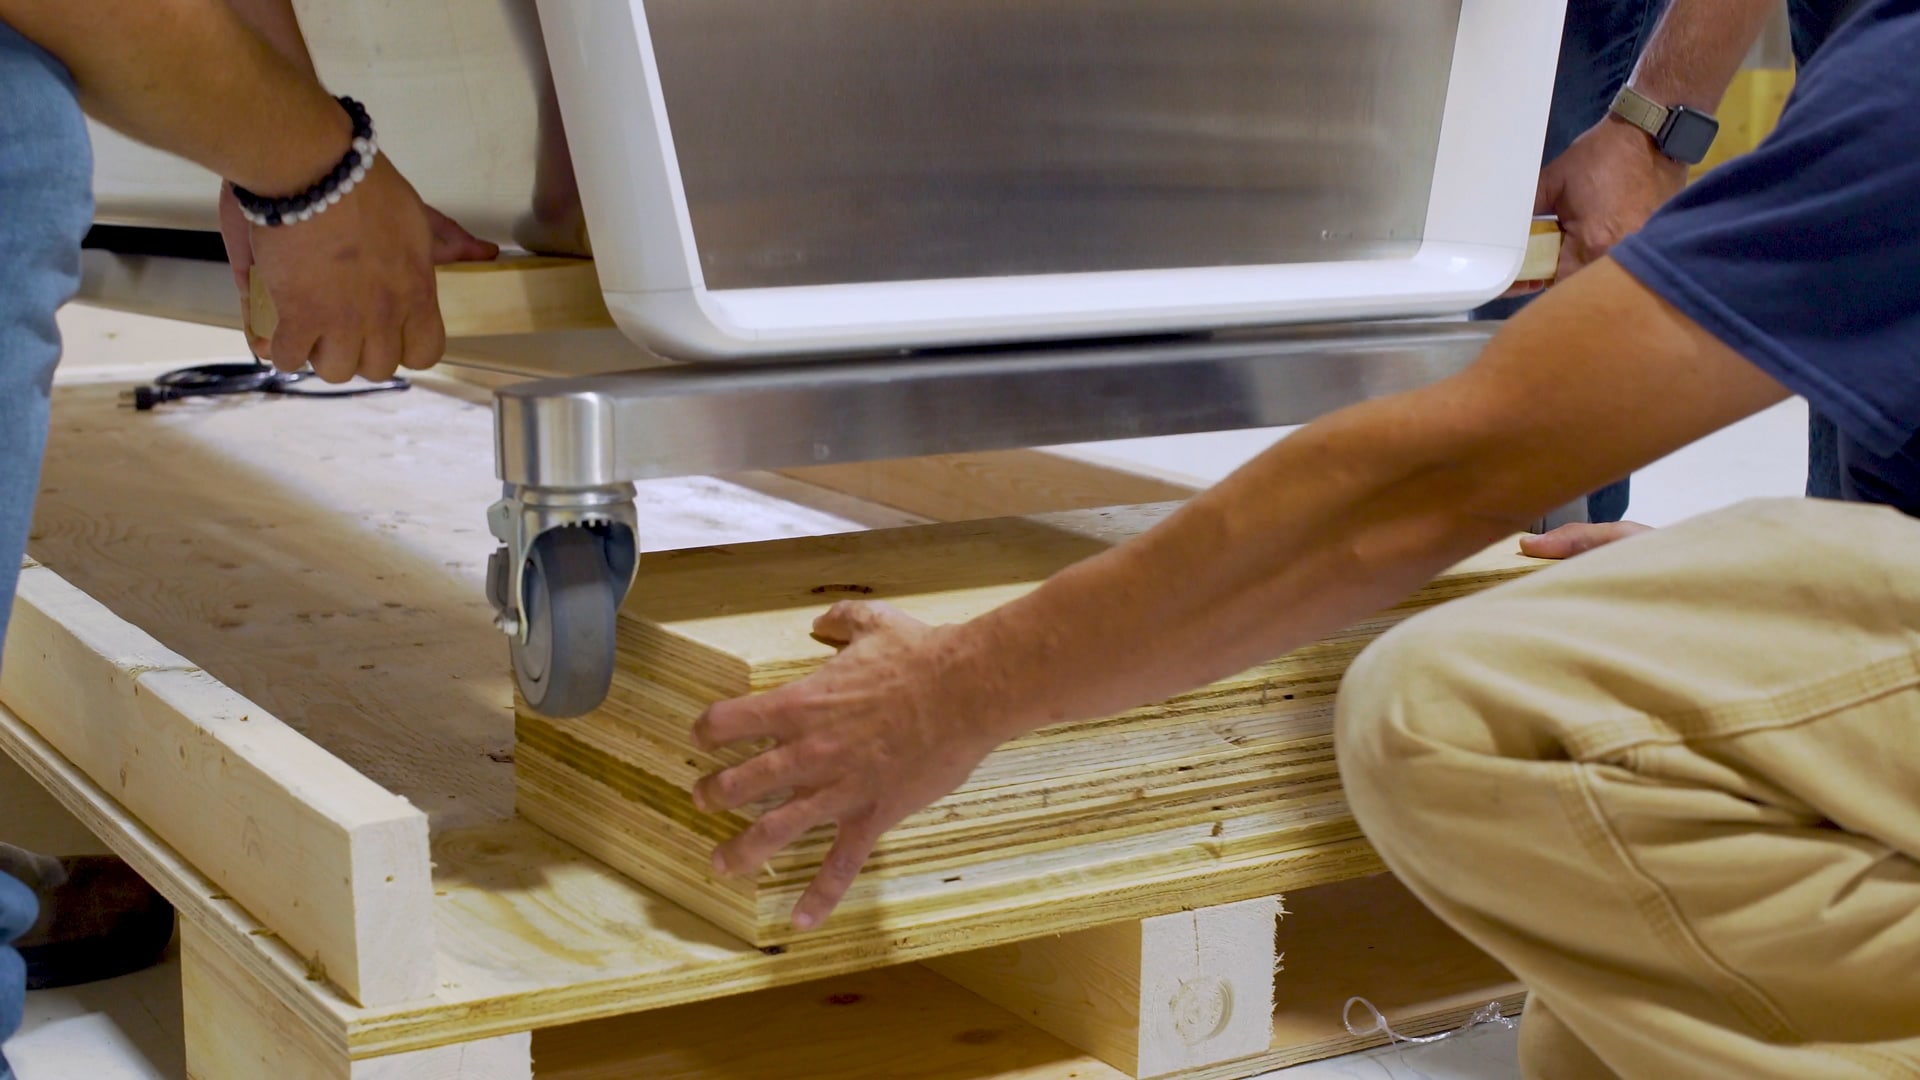
This is where you’ll need to enlist the help of a couple of friends or colleagues.
Position a person on either side of the Sorter on one end and a third person at that same end, near the wooden block.
07
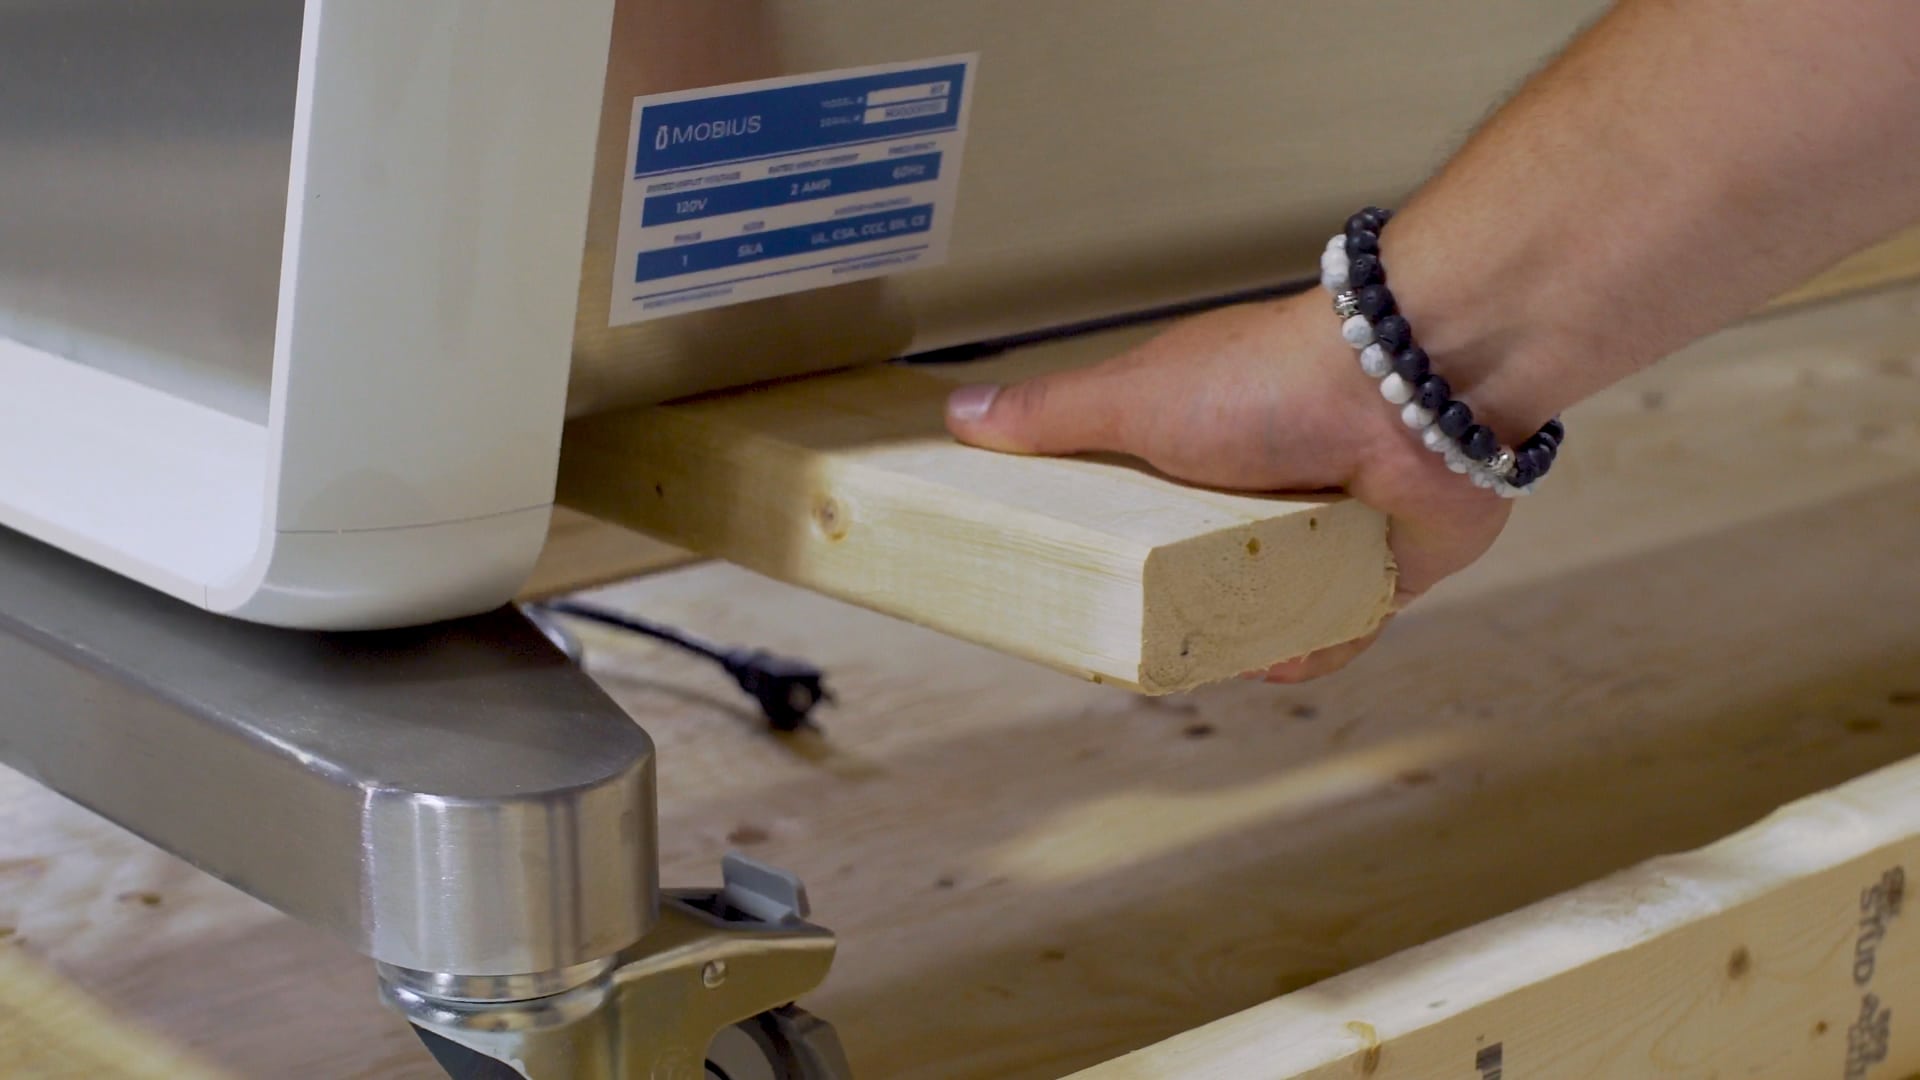
Using the 2 x 4 that spans the crate between the machine base and unibody as a lever, have the two people on either side lift the machine up a few inches so that the third person can slide out the wooden block.
08
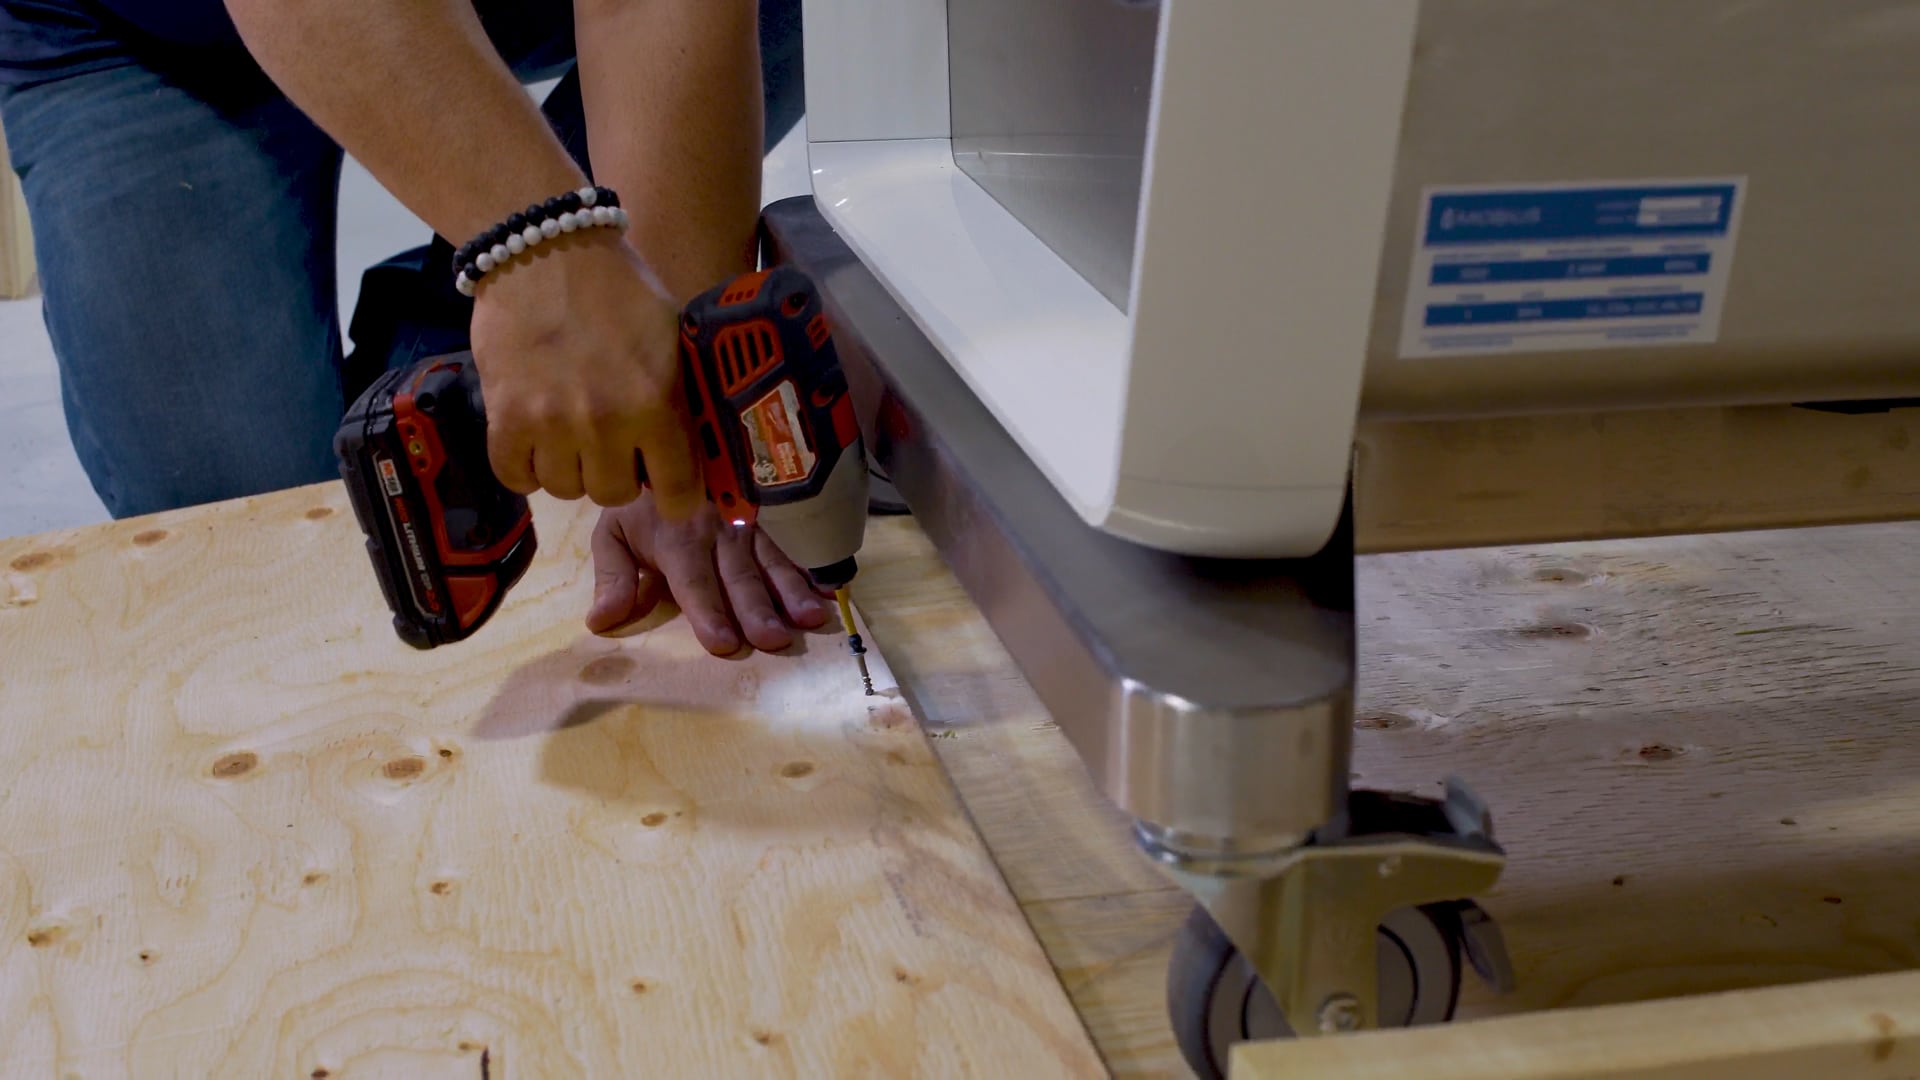
Now we are going to use one of the end panels from the crate as a ramp so that the machine can be rolled off the crate base. Using the lip of the crate base for support, place an end panel down as a ramp and secure it into place with a wood screw.
09
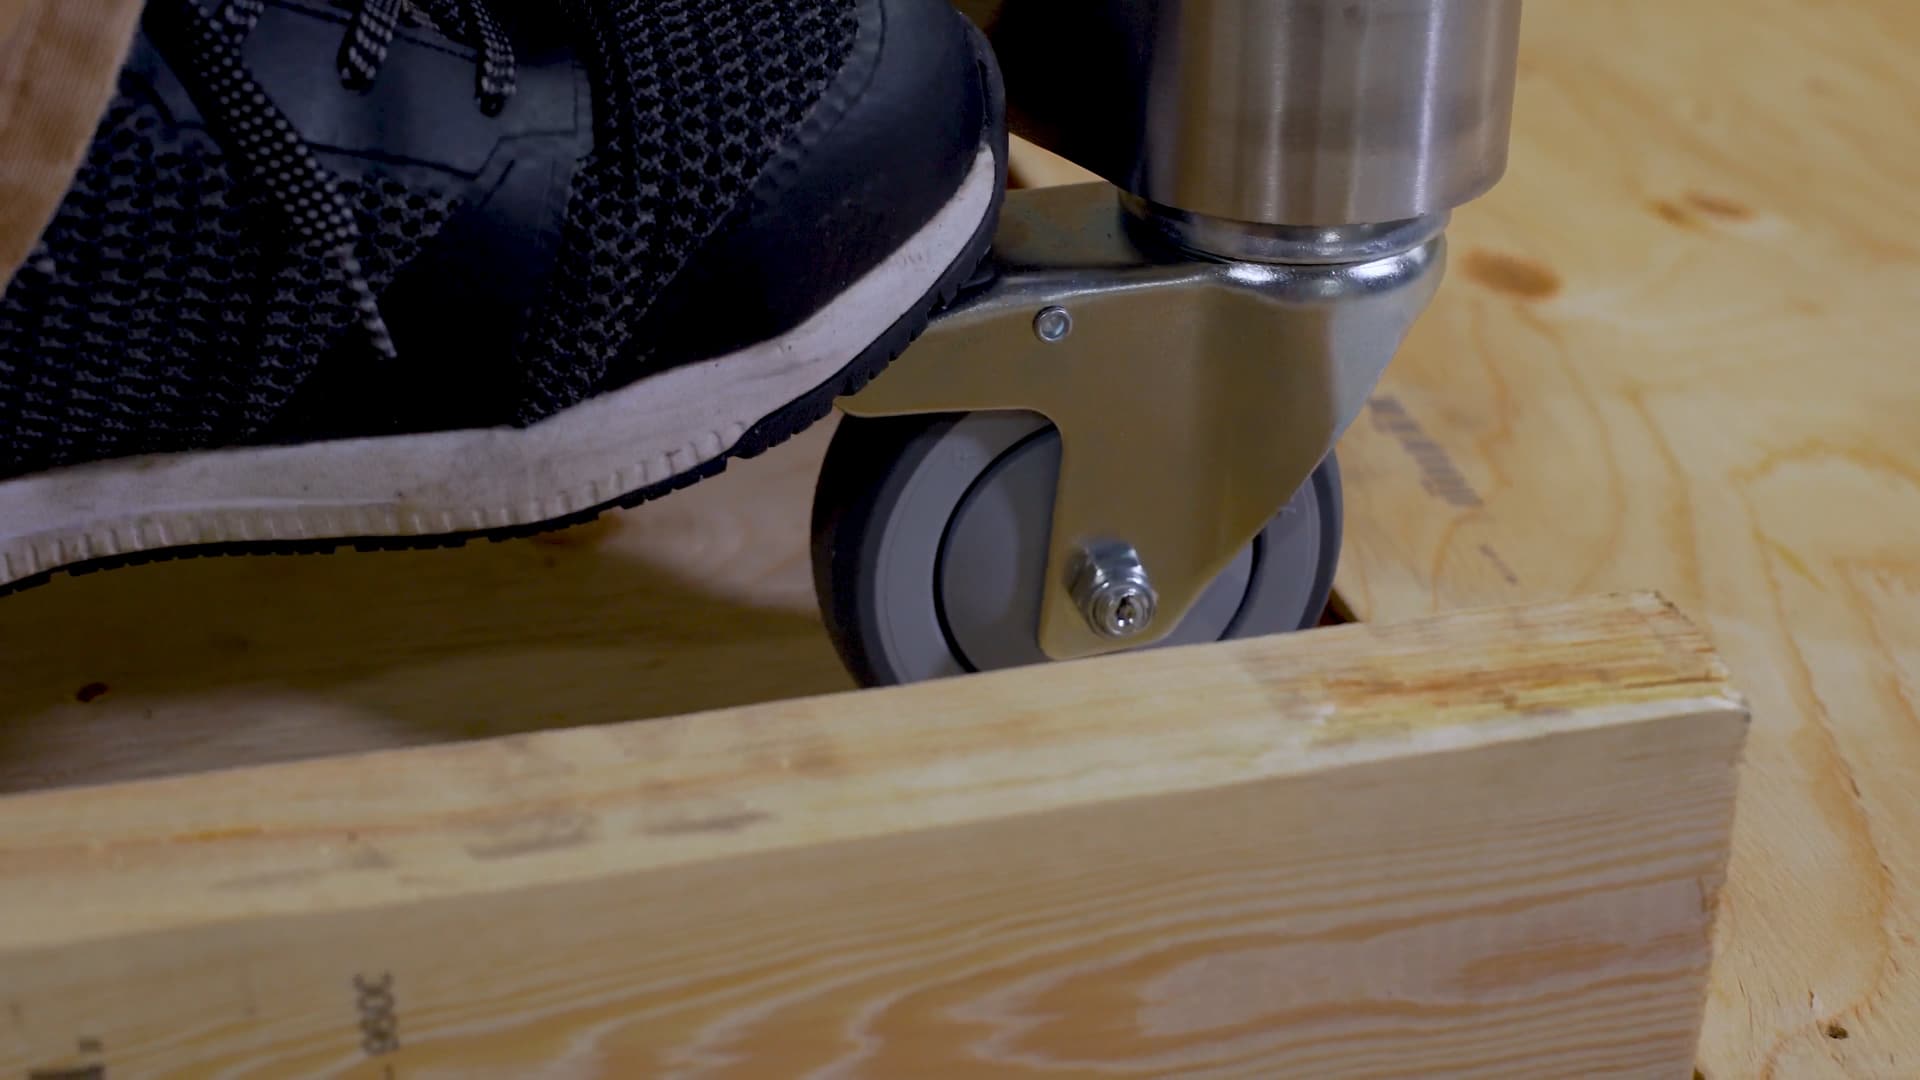
Now you’re ready to unlock the casters.
10
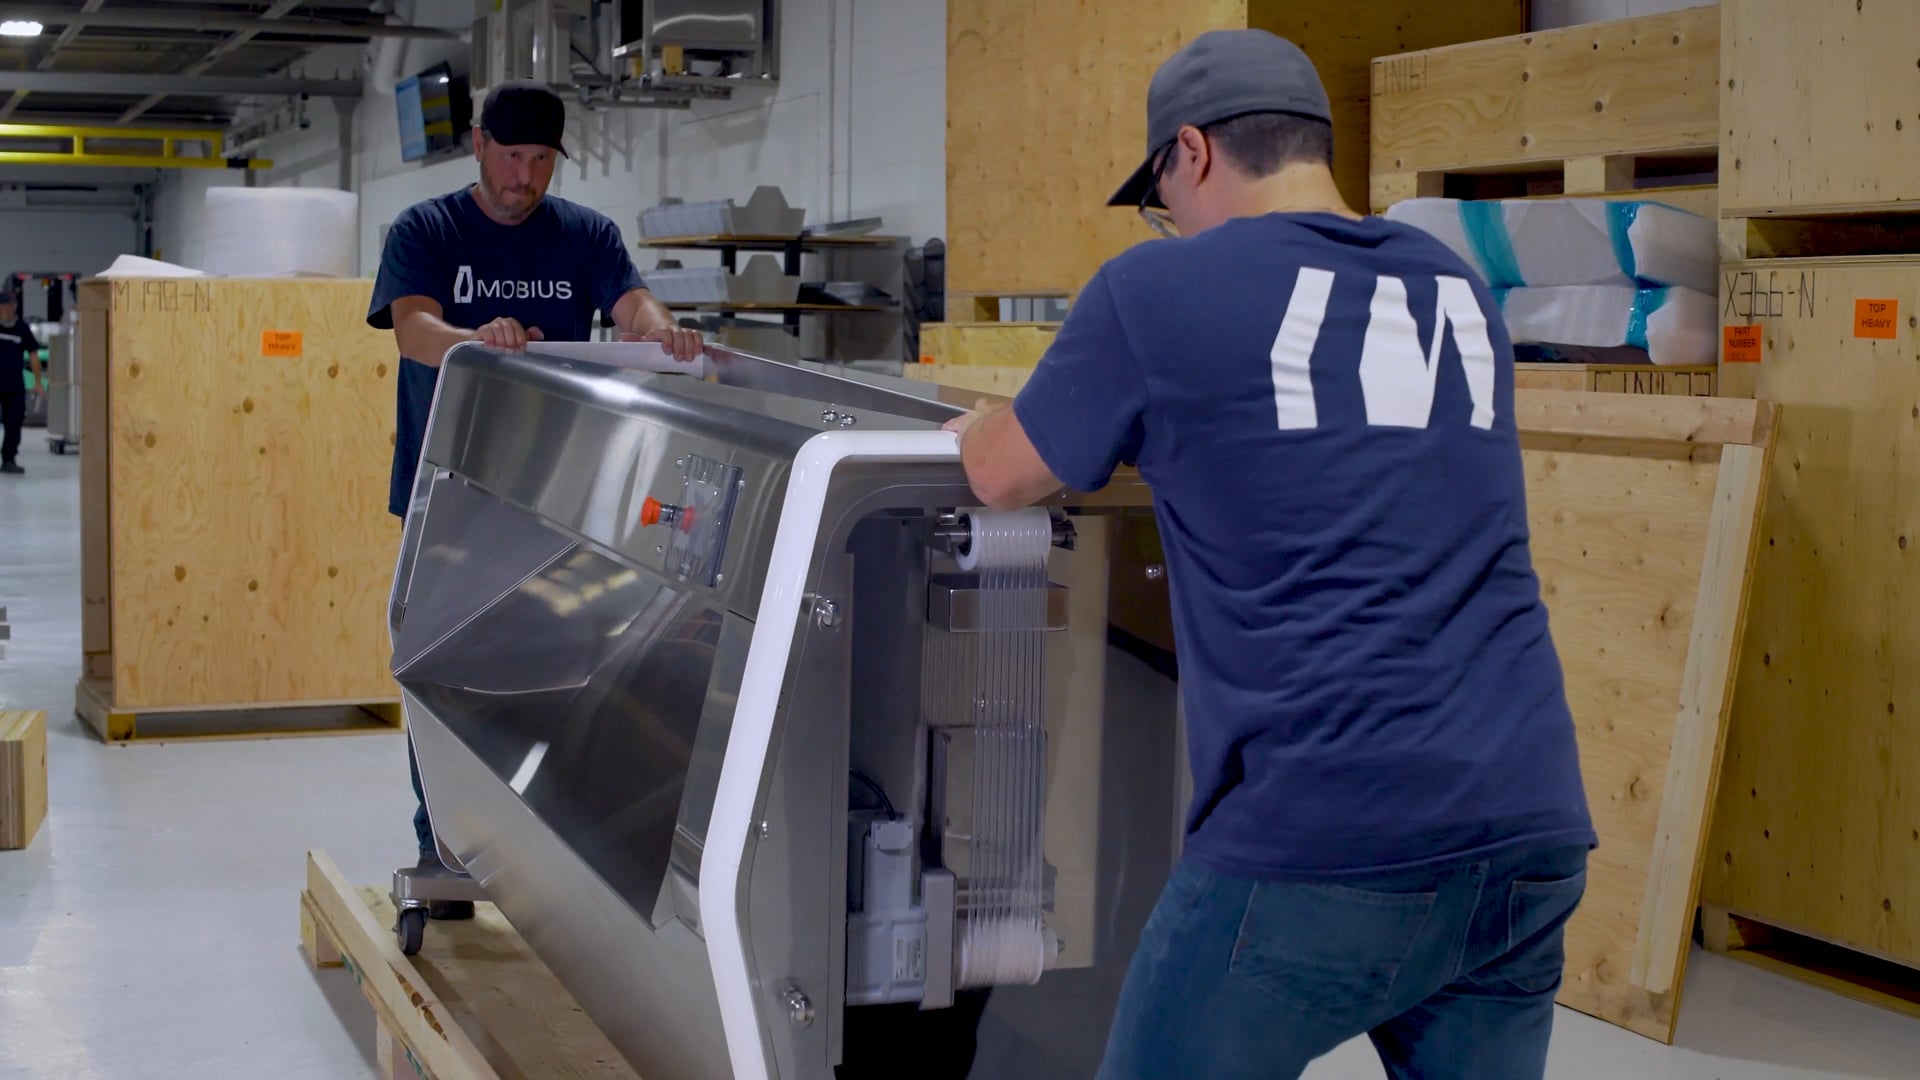
Now with the help of your colleagues, carefully roll the M9 off the crate base via the ramp you’ve created.
Setting up Your M9 Sorter
01
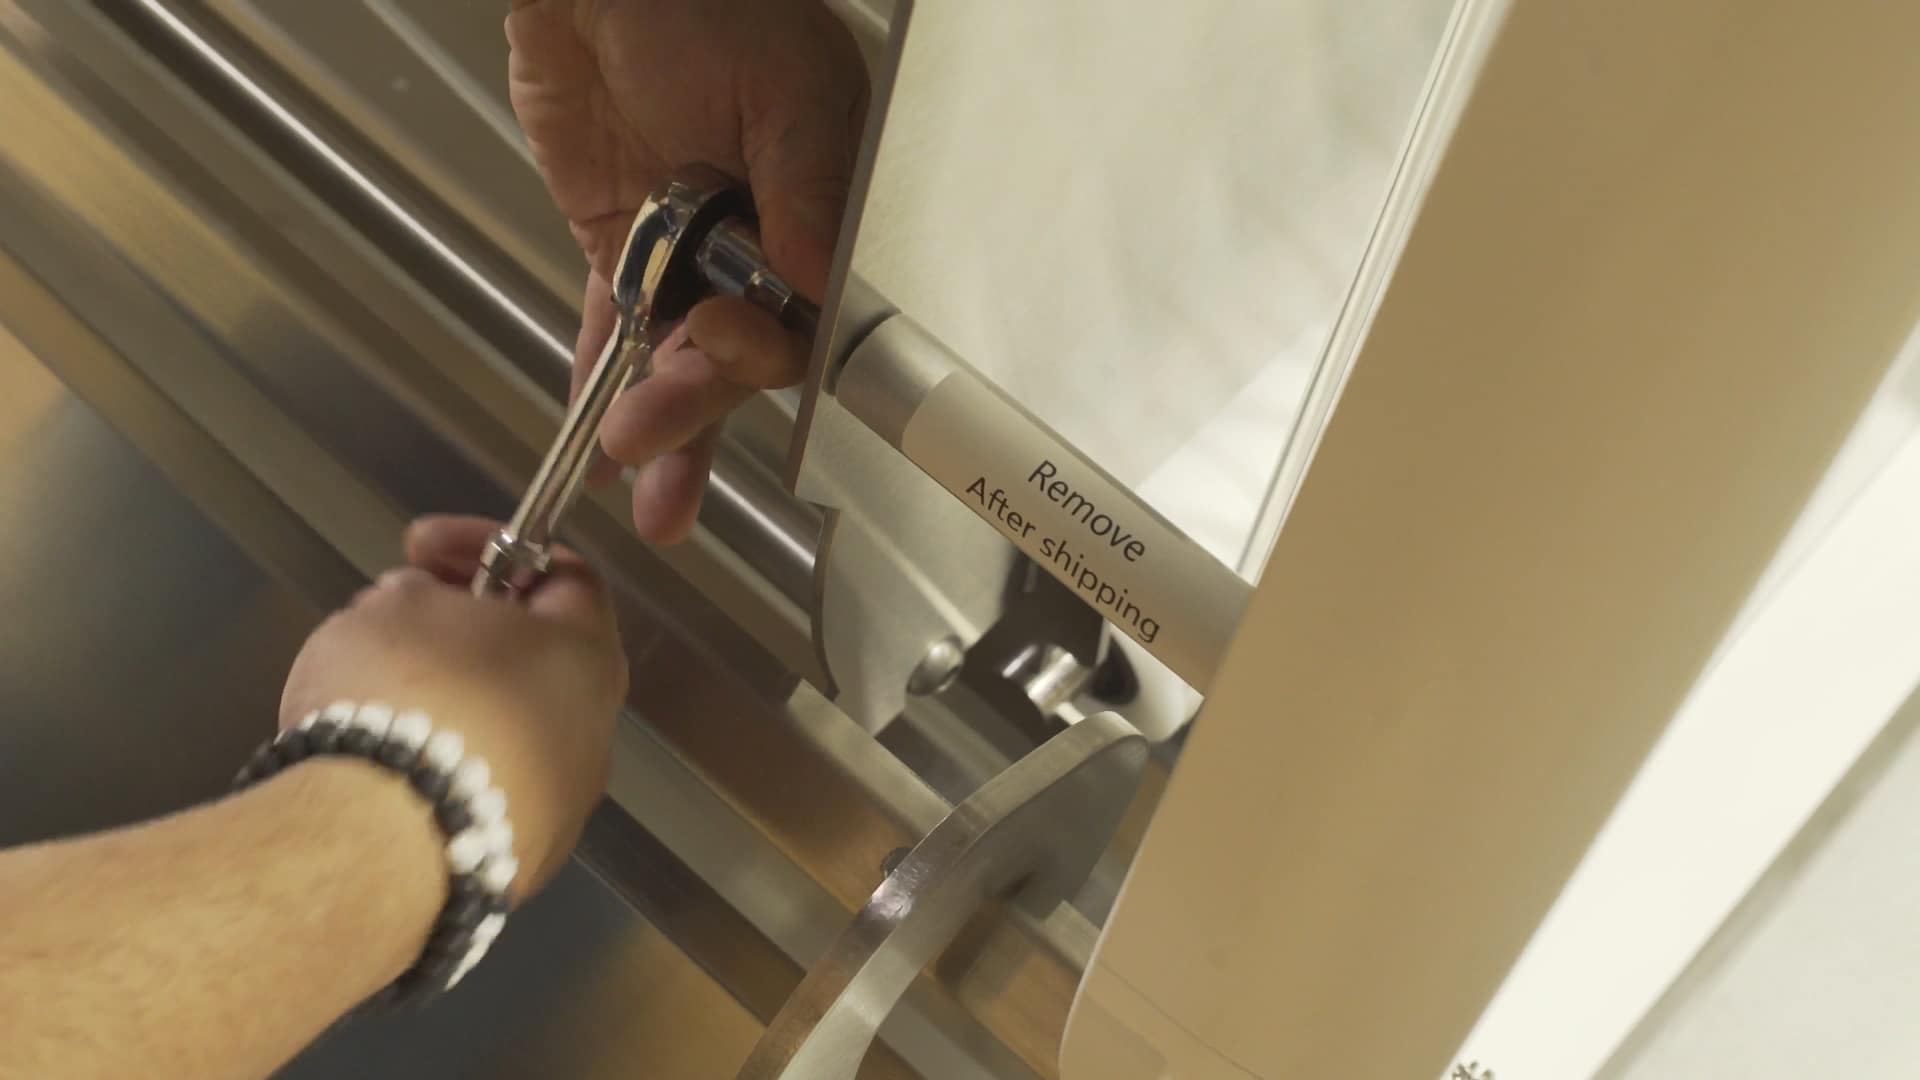
Begin by removing the shipping standoffs that are there to give the body rigidity during transport. Open the back cover of the machine and locate the two standoffs labeled “Remove after shipping”. Using a 5/16ths hex wrench, unscrew the bolts on the standoffs and set these pieces aside. They are not needed for normal assembly and operation of the M9 so can be disposed of.
02
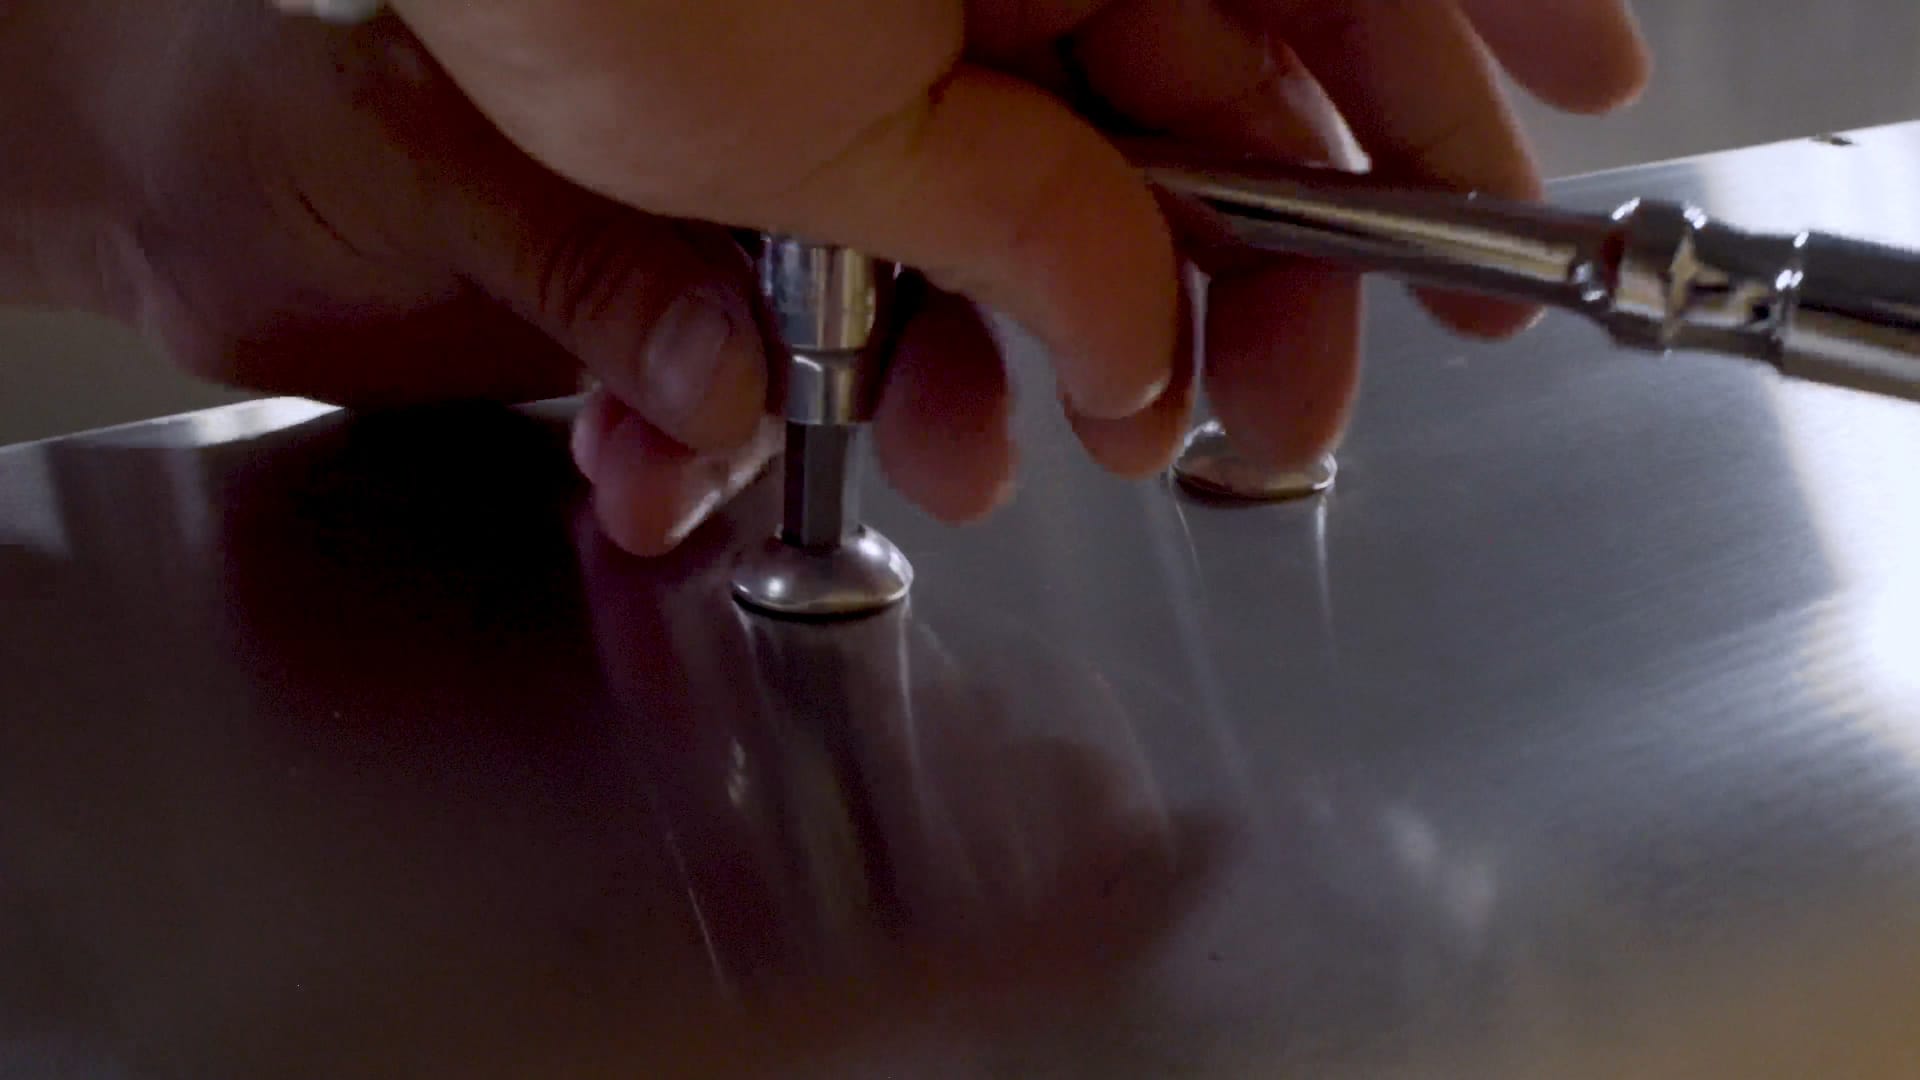
Next, we’ll get the feed area sorted. The blocks for the feed hopper are mounted inside the machine for shipping, so begin by removing these four bolts with your hex wrench and mounting the blocks on the top side of the machine, channels facing inwards.
03
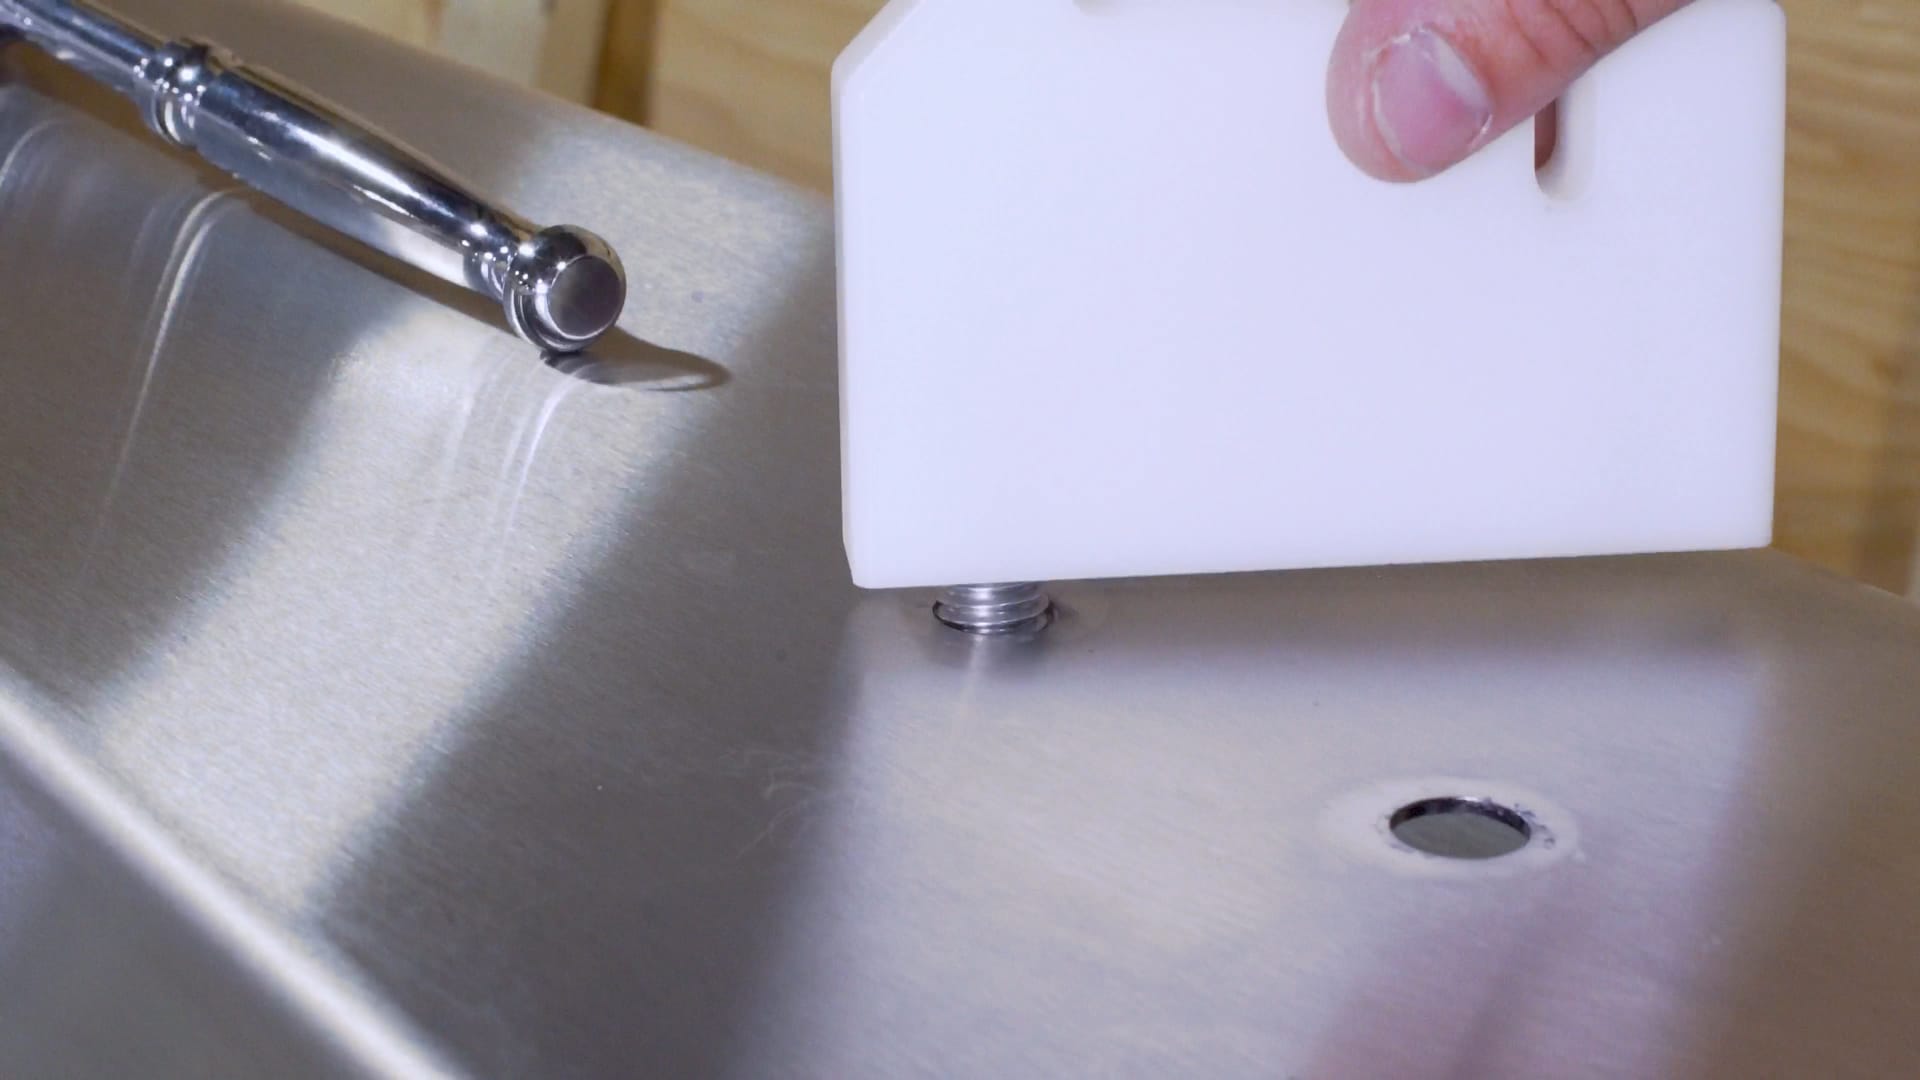
Now reverse the feed hopper blocks and screws and tighten the bolts to the blocks from undereneath.
04
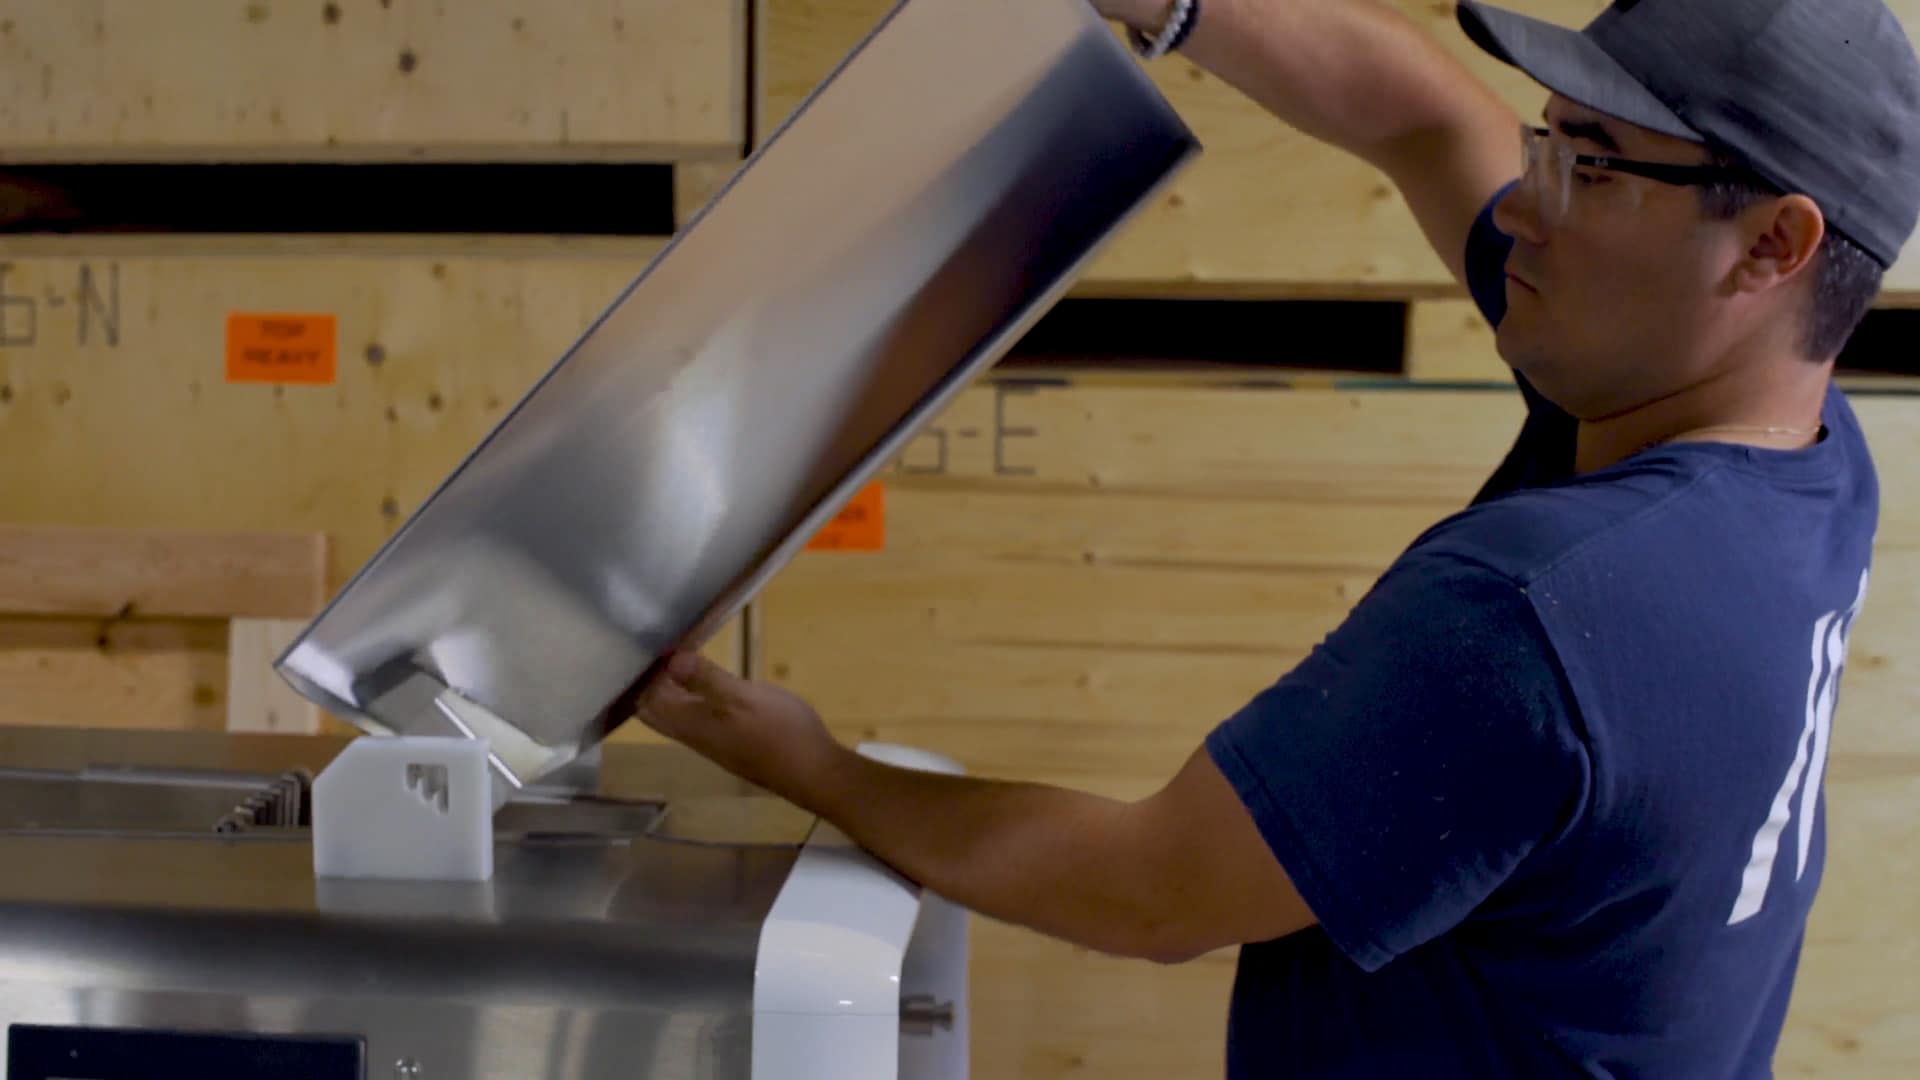
Once you have both feed hopper blocks installed properly, you can now install the hopper into the blocks.
05
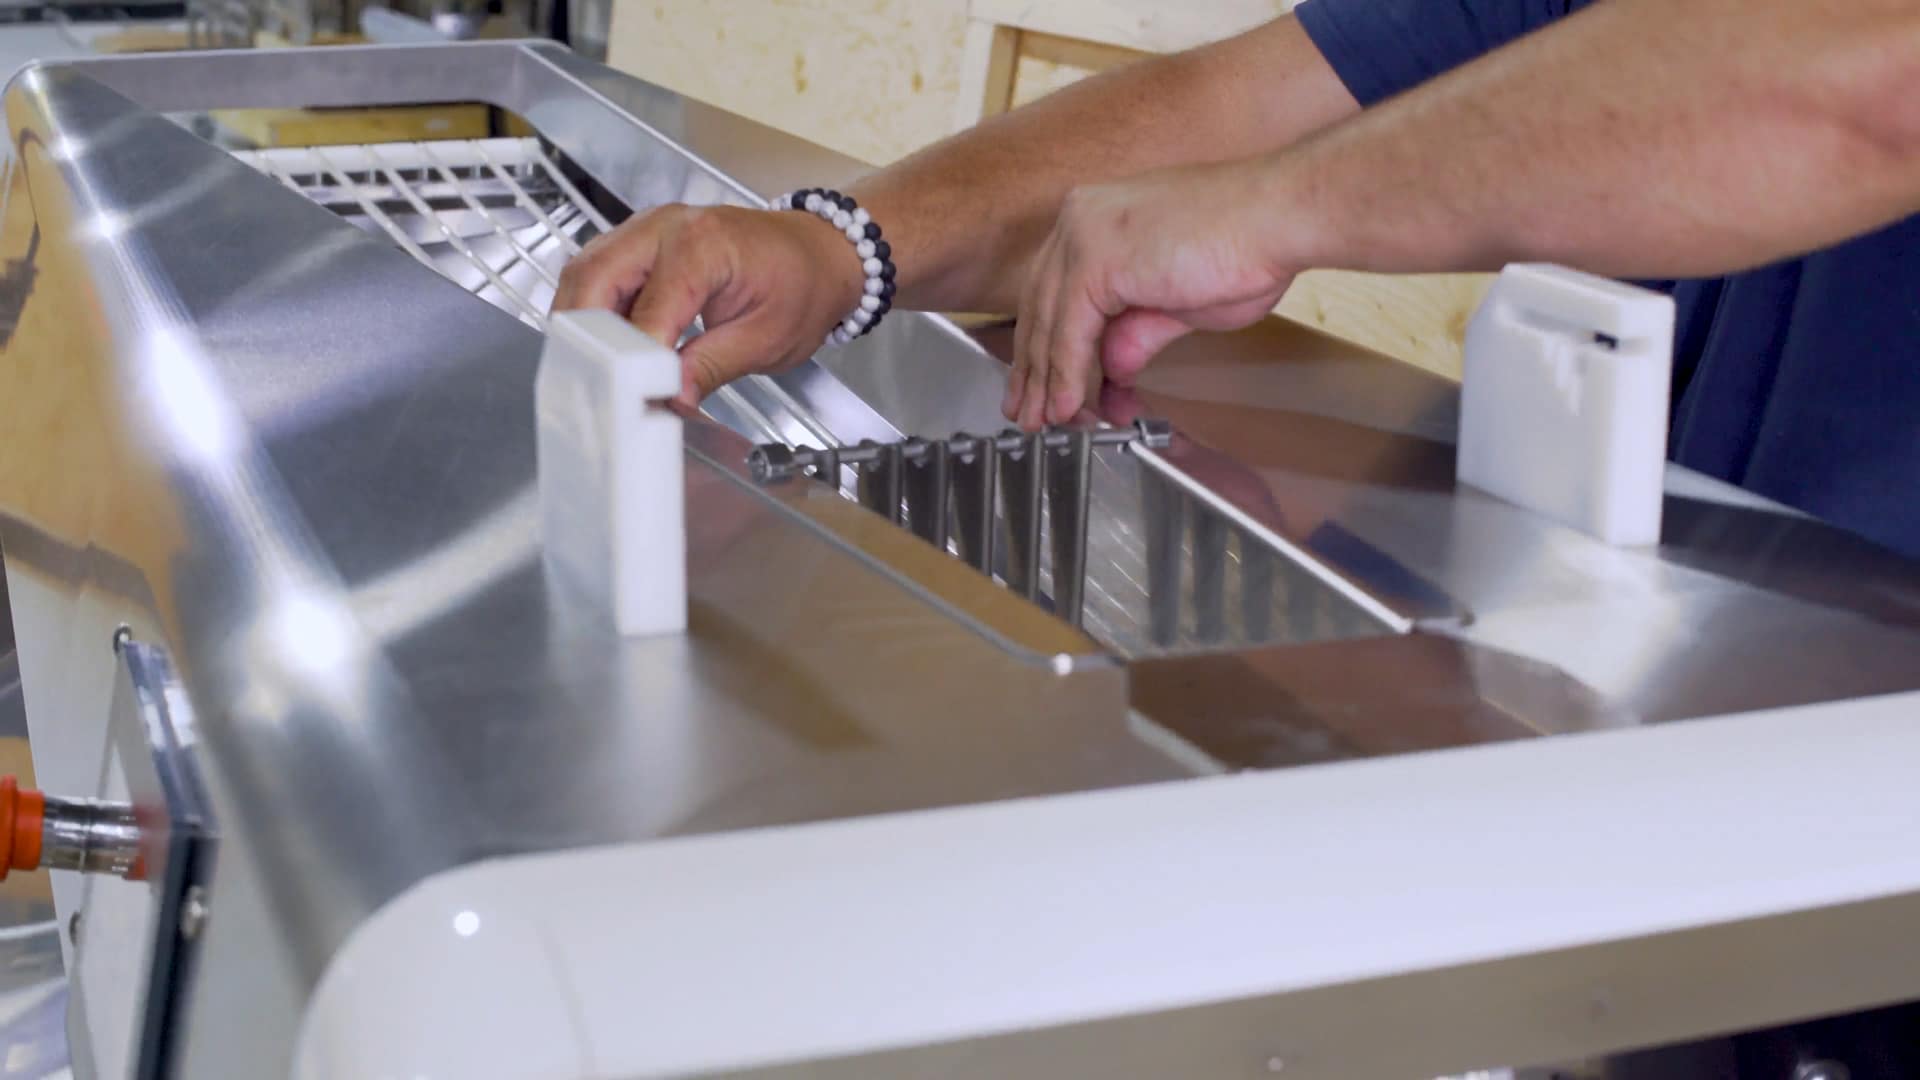
The inlet guide can now be installed. If you are hand-feeding the M9, install the feed hopper that came included with your machine.
If you are pairing your M9 with the Mobius Autofeed Conveyor, the feed hopper for that is included in the Autofeed Conveyor crate. Both styles of hopper use the same mounting blocks to attach to the machine body.
06
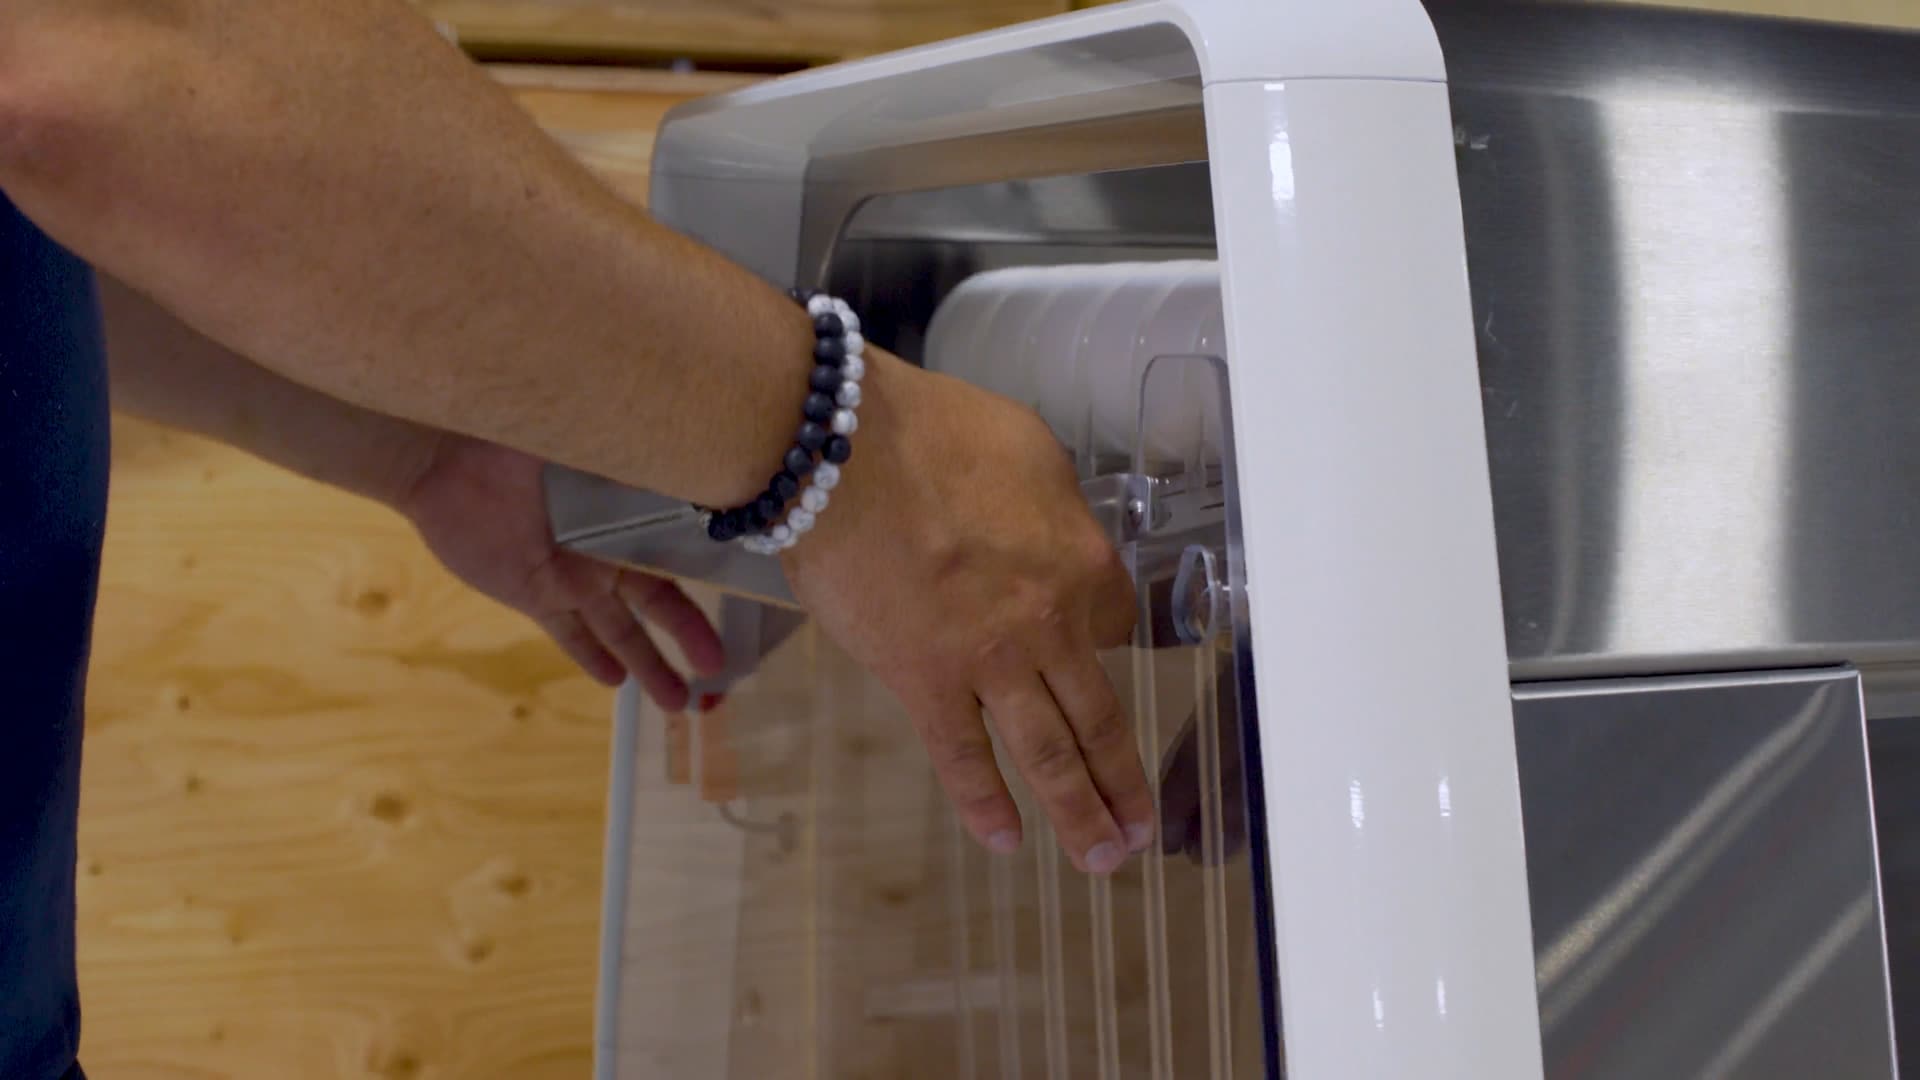
Install the inlet cover on the infeed side of the machine and the outlet cover on the outfeed side of the machine, ensuring that the bands are positioned between the metal grooves on the outlet cover.
07
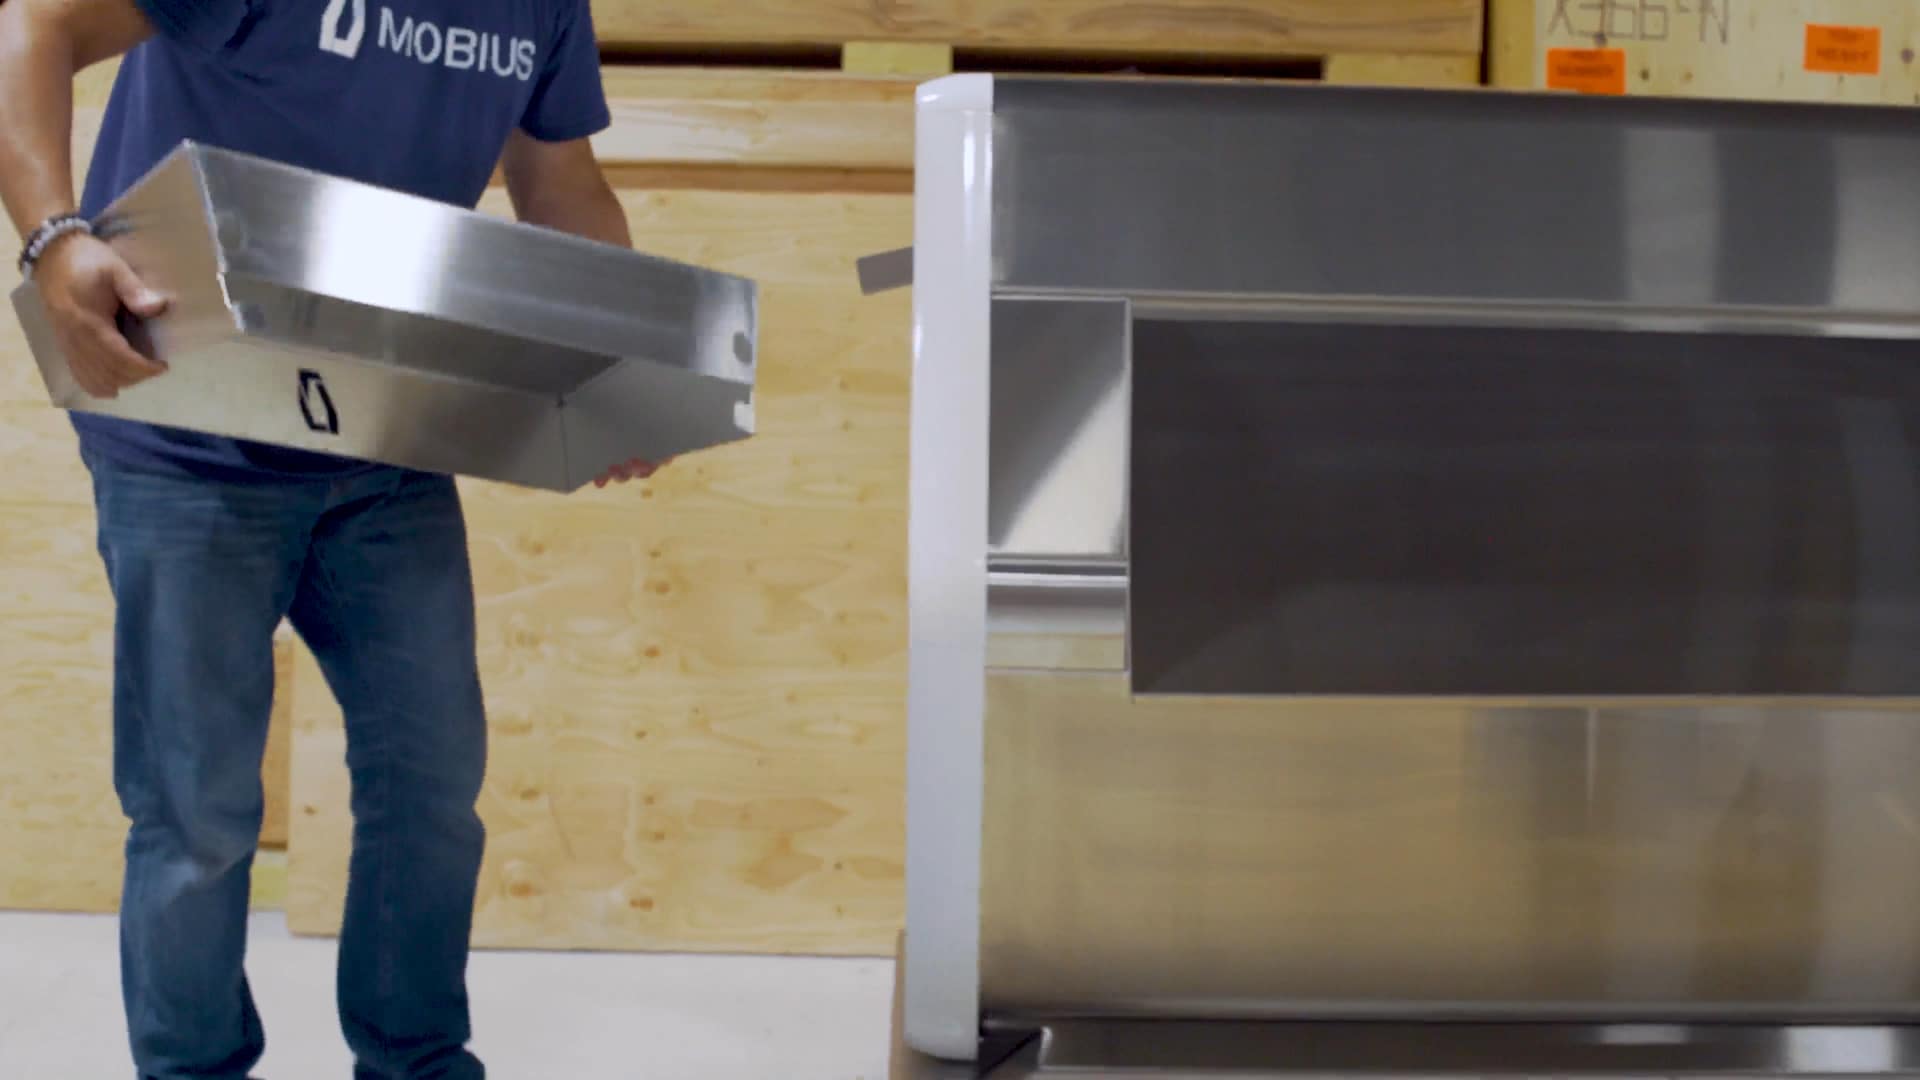
Install the tote shelf on the outfeed end of the machine.
08
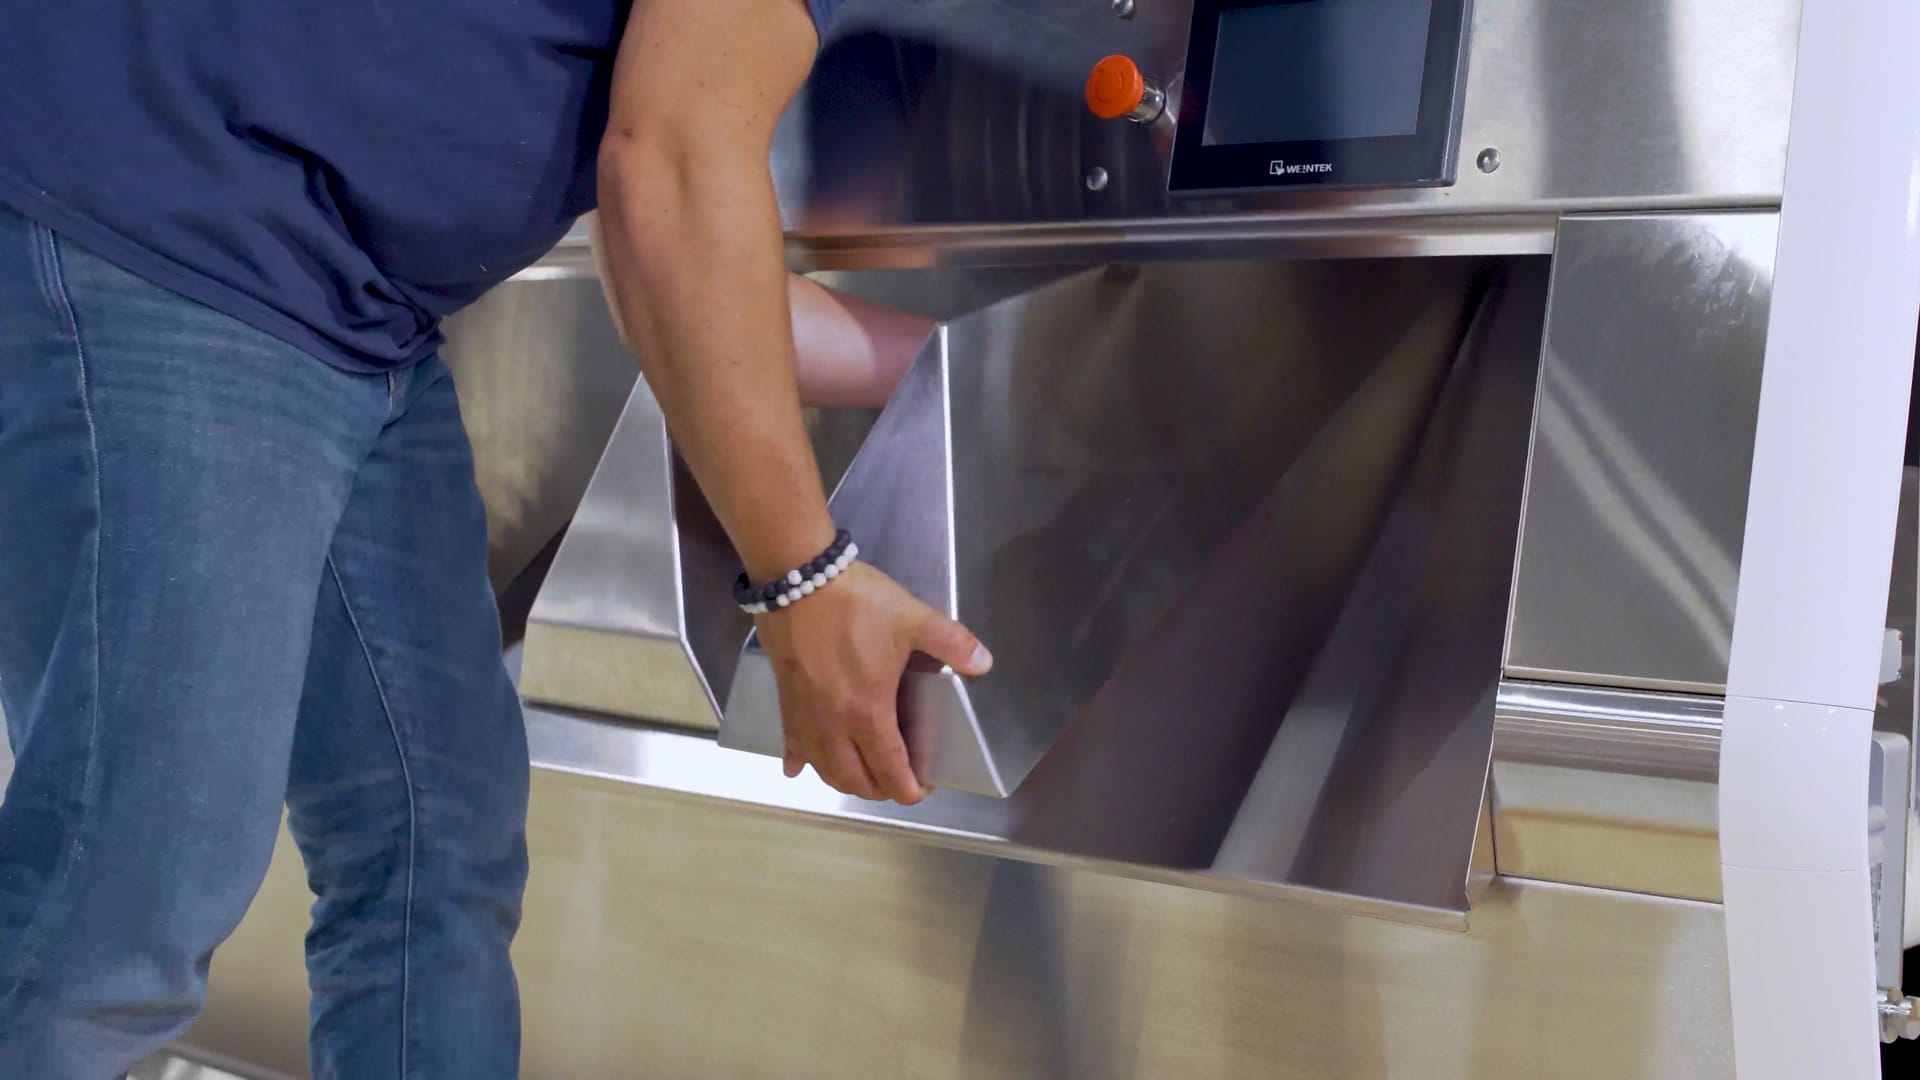
Finally, install the desired number of dividers on the sorting shelf by hooking them on the upper lip of the angled shelf.
09
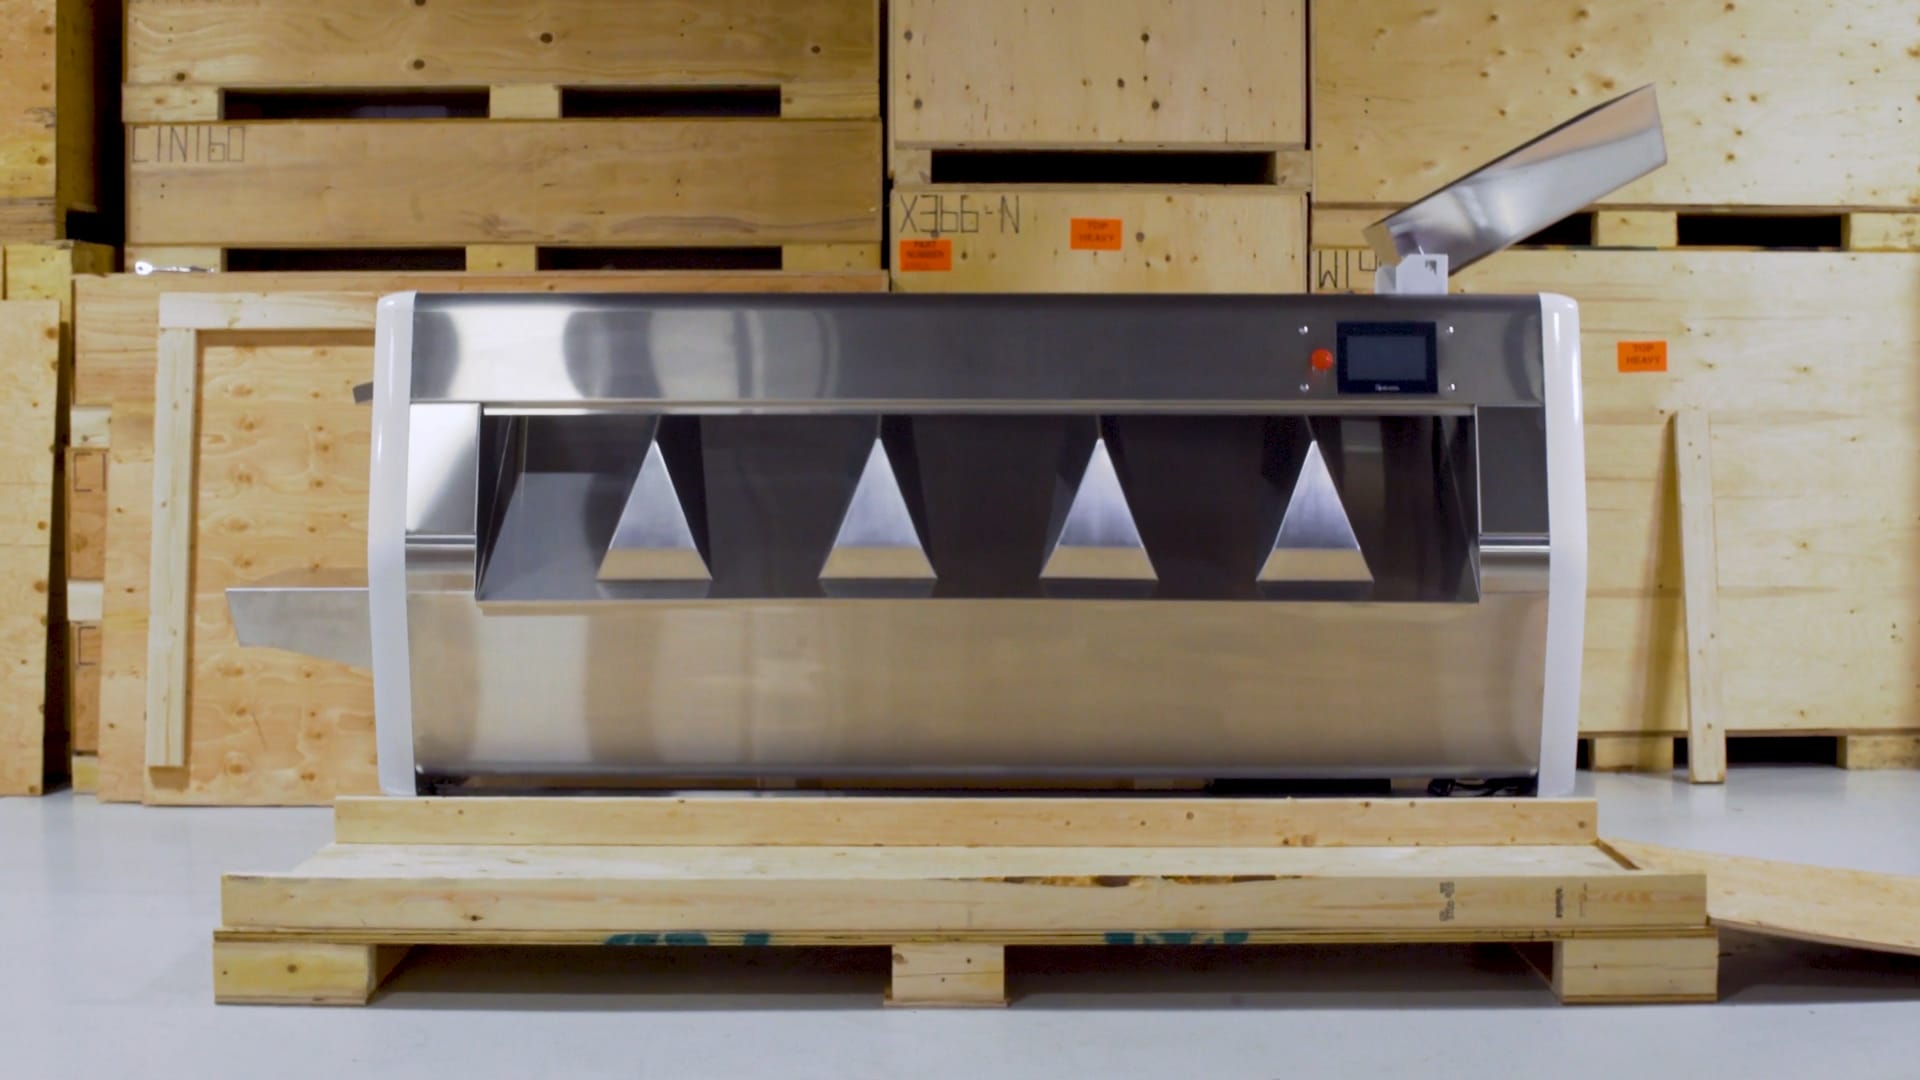
That’s it! Your new Mobius M9 Sorter is ready to put into action!
