How to Clean your Cannabis Trimmer and GET YOUR LIFE BACK
We’ve been getting this question every day since the very beginning: “How do you clean the M108? How easy is it to clean?”
The frequency we get this question just reinforces our belief that the absolute worst thing about the current crop of trimmers on the market today is how difficult and time consuming it is to clean them. Disassembling and re-assembling is a pain, there are lots of hidden or hard-to-reach parts, and if you use an external trim separator unit… well, you probably don’t have any hobbies because cleaning an external separator will pretty much take up all your spare time.
When we built the M108, we needed to make it easier to clean. MUCH easier. We drew up a set of rules that we used to guide our process:
- Assembly and disassembly should be easy, require no tools, and require no adjusting (after re-assembly.)
- There should be no hidden or hard-to-reach parts anywhere on the machine.
- No hoses, and no external separator. It must be built into the body of the machine.
- All internal, plant-touching components must be smooth and non-reactive, which makes cleaning easier.
- It needs to be a semi-closed system, which will keep the environment around the machine cleaner, including the floor and the air.
When the first production models were sent out for field tests we were finally able to evaluate how close we came to the above goals. NAILED IT. The M108 is both easier and faster to clean than any other trimming machine on the market, by a landslide. To illustrate, here are the quick steps you would take to clean your M108 after a session:
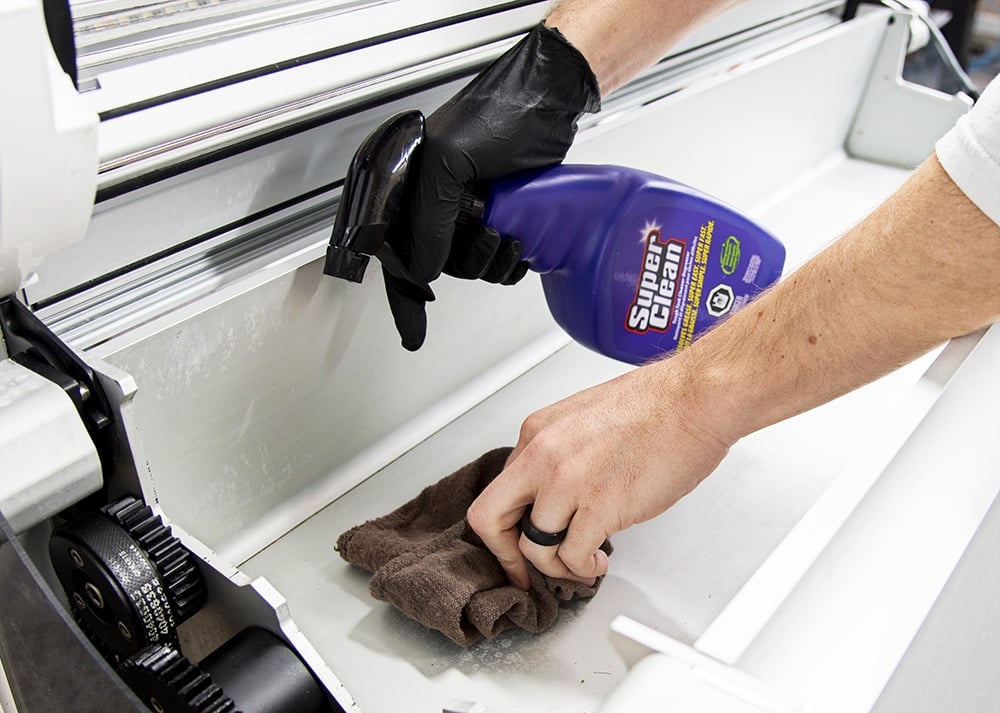
- Fill the Tumbler Tub (included with every M108) with water and whatever cleaning solution you prefer to use (we use SuperClean™). Put the tumbler, blade cartridges, and tumbler brush in the tub to soak.
- Remove the Trim Tote, Integrated Separation System (ISS), and fan assembly housing and place on a flat surface (ideally on a painted or smoothed surface that won’t scratch the components). Spray these components with your cleaning solution.
- Spray the interior of the lid and body with cleaning solution.
- Wipe clean the internal surfaces of the machine body. Wipe dry.
- Remove components from Tumbler Tub (after 15 minute soak) and spray/rinse with pressure washer. Set aside to dry or wipe dry.
- Spray/rinse the internal and external surfaces of the Trim Tote, ISS and fan assembly housing with pressure washer. Set aside to dry or wipe dry.
- Optional: When everything is dry, swab test plant-touching surfaces. Any surfaces that exceed swab test limit can be rinsed again with water, or wiped with diluted isopropyl (Note: DO NOT use isopropyl on tumbler end caps).
- That’s it. Then you just put it back together and you’re good to go.
After a trimming session, a team of 2 can complete this entire process in 1 hour. Then you can both spend your whole afternoon on your new hobbies. So, what will it be, crocheting or haiku writing?
Like I said: NAILED IT.


