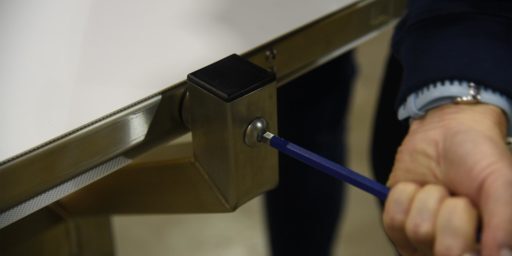
Conveyor Uncrating & Assembly
Mobius Infeed/Outfeed Conveyor
Uncrating
Properly remove the contents from your conveyor crate
Step by Step Uncrating
01
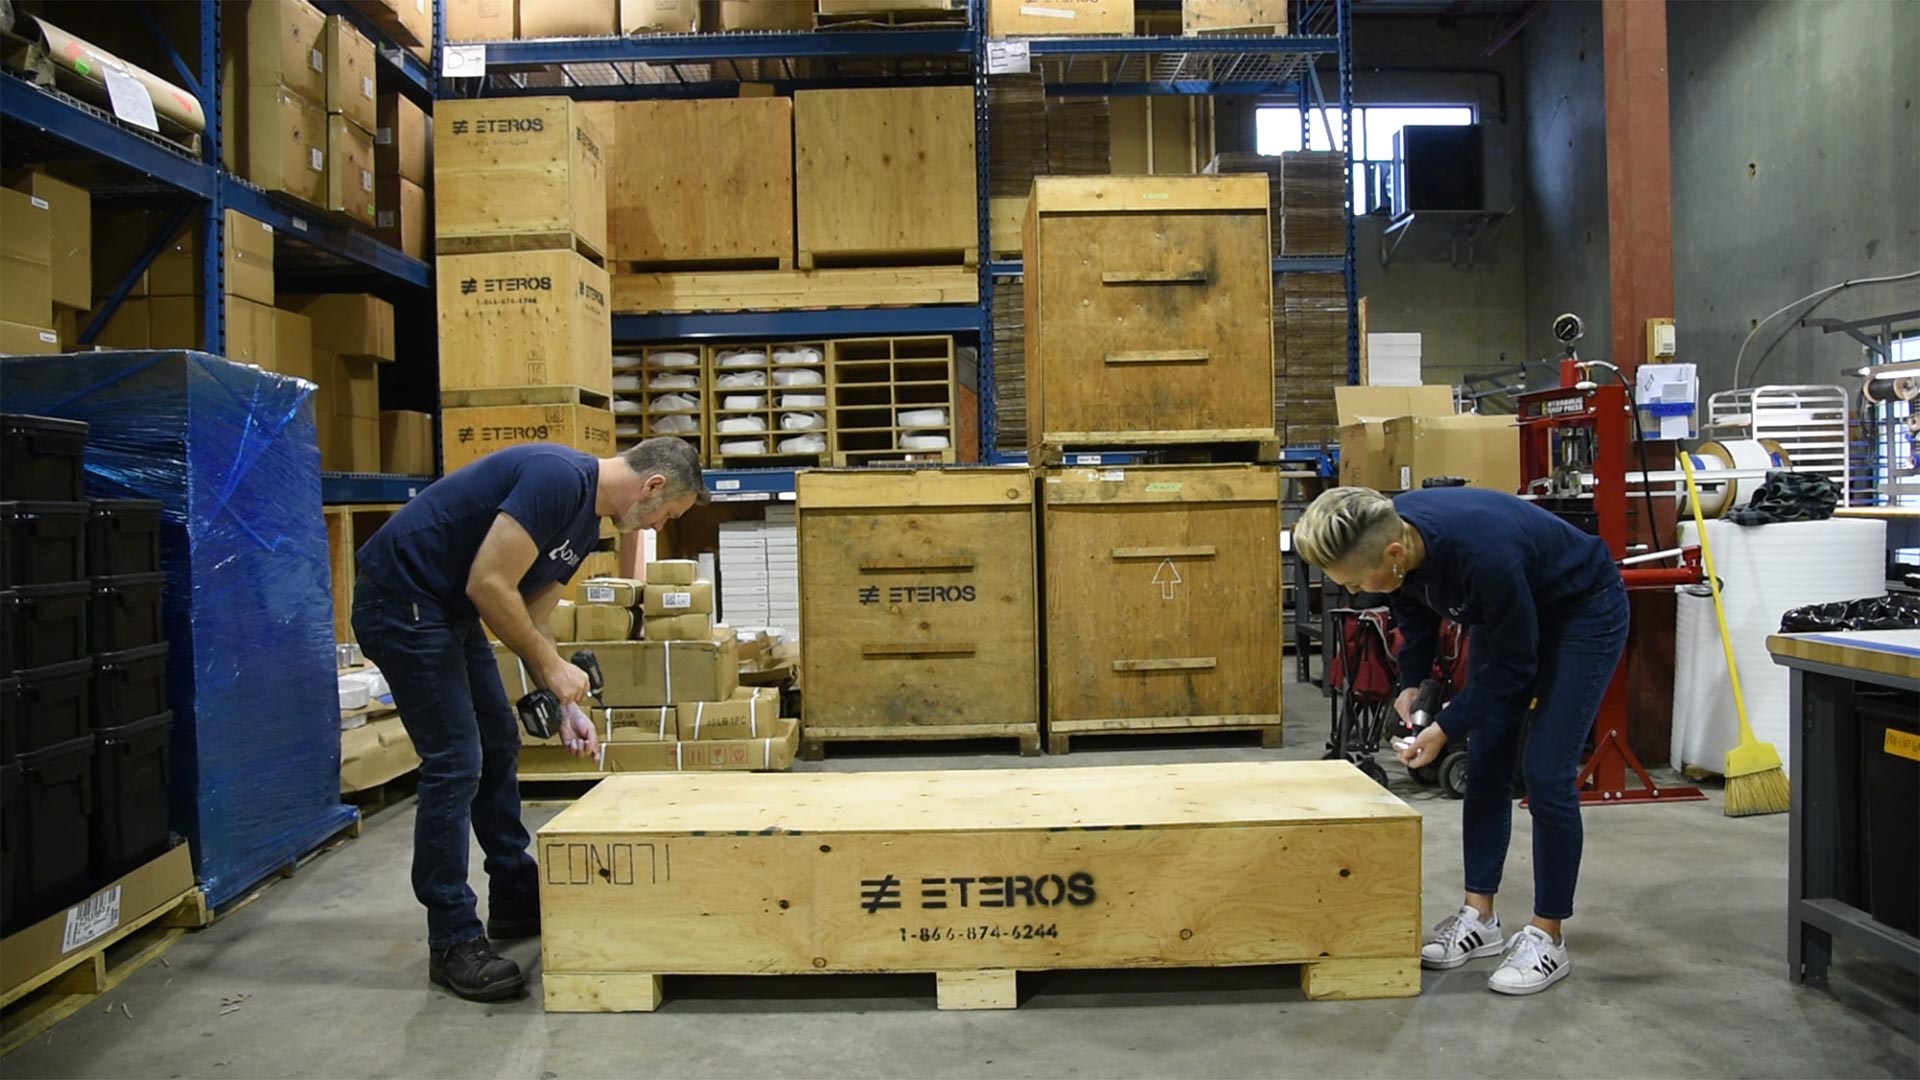
Unscrew and remove the lid of the crate.
02
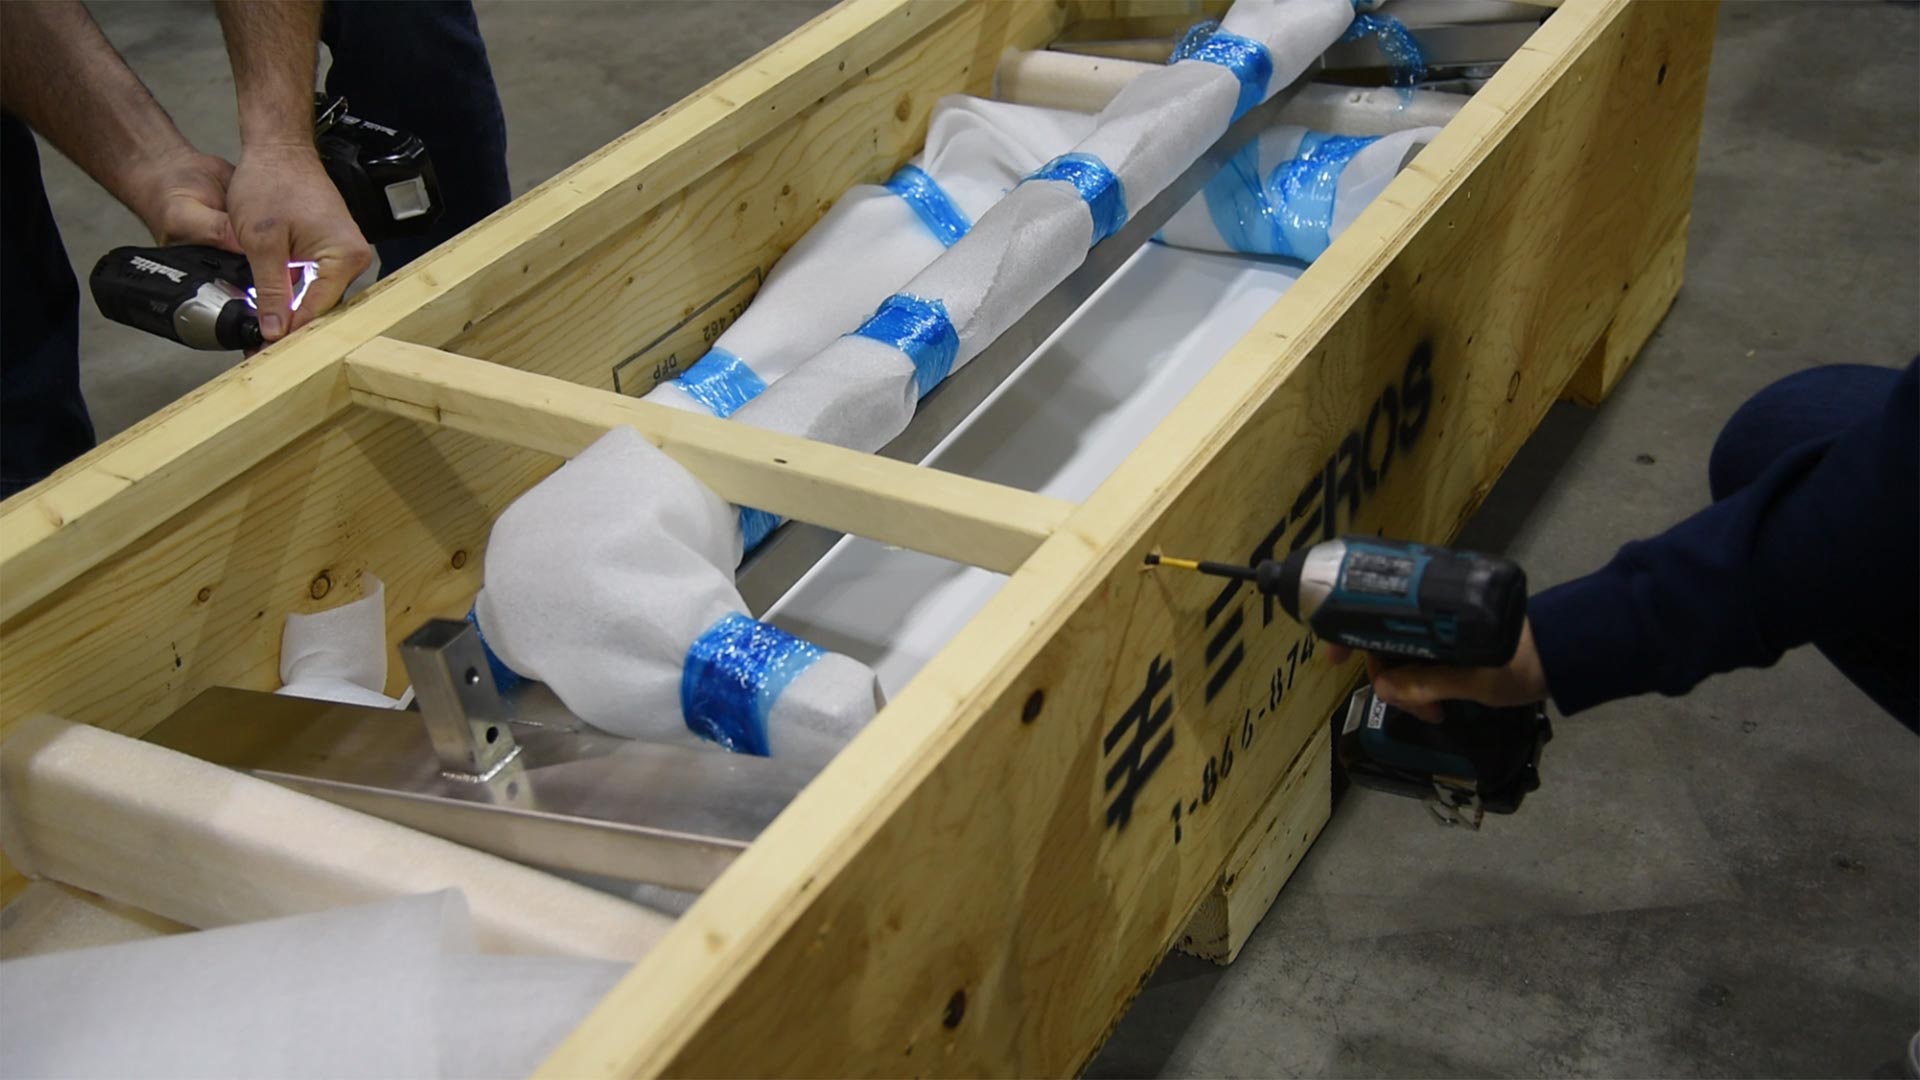
Unscrew crate braces to access and remove contents from inside.
03
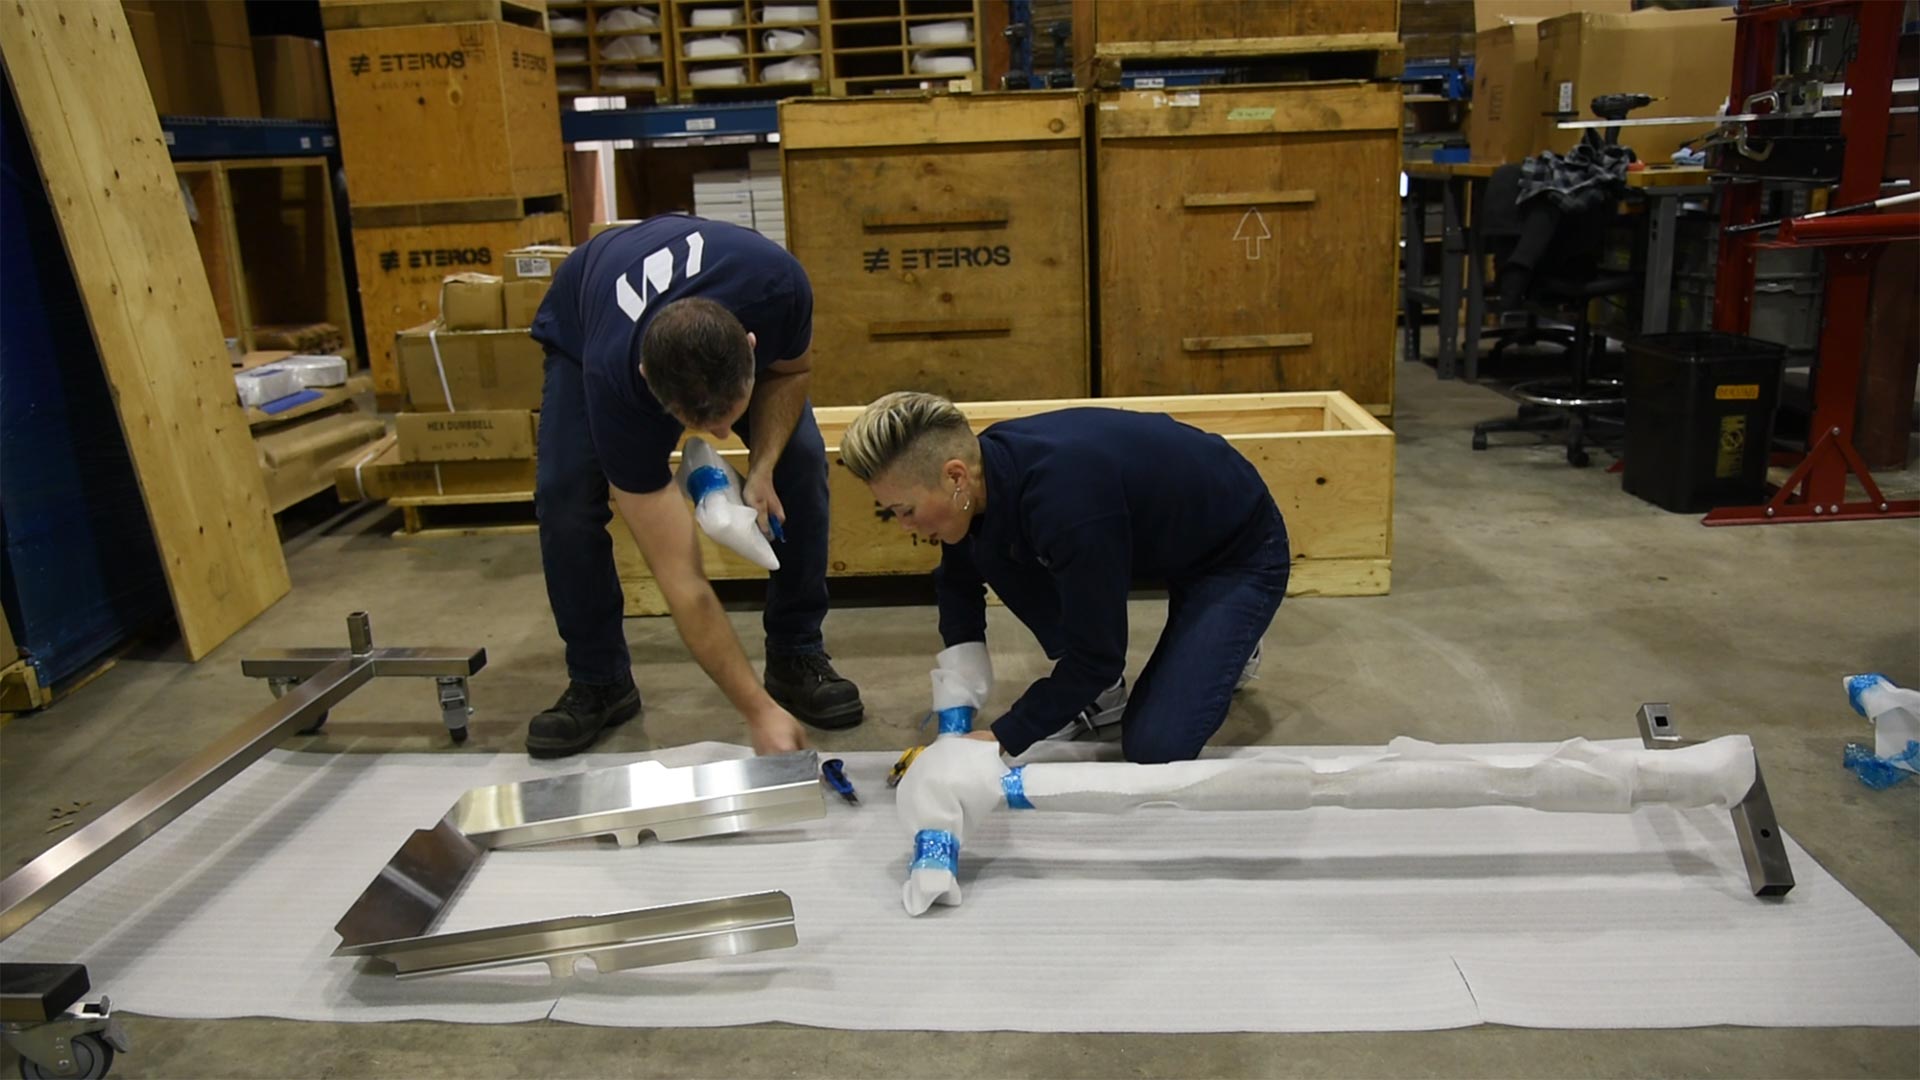
With the braces removed, you can now set aside all the contents from the crate.
04
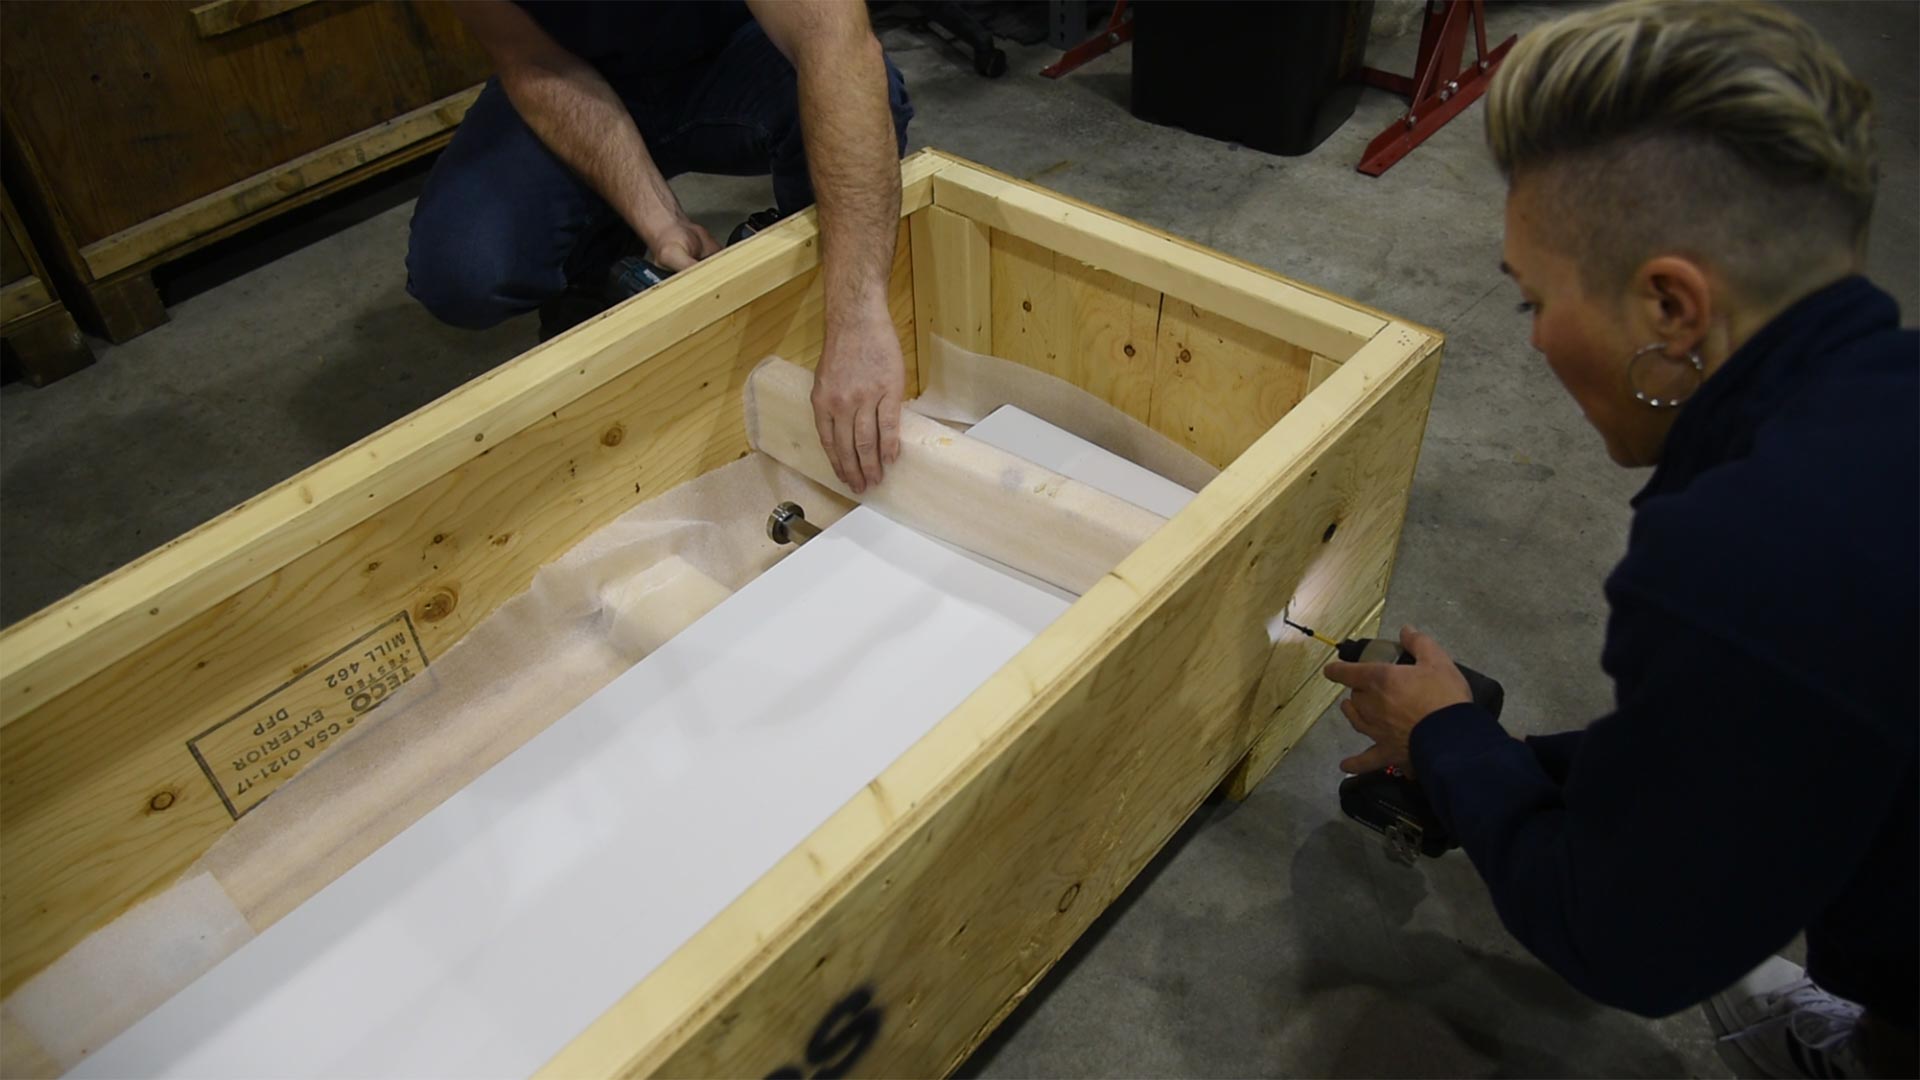
Now, you can access and remove the braces holding down the conveyor.
05
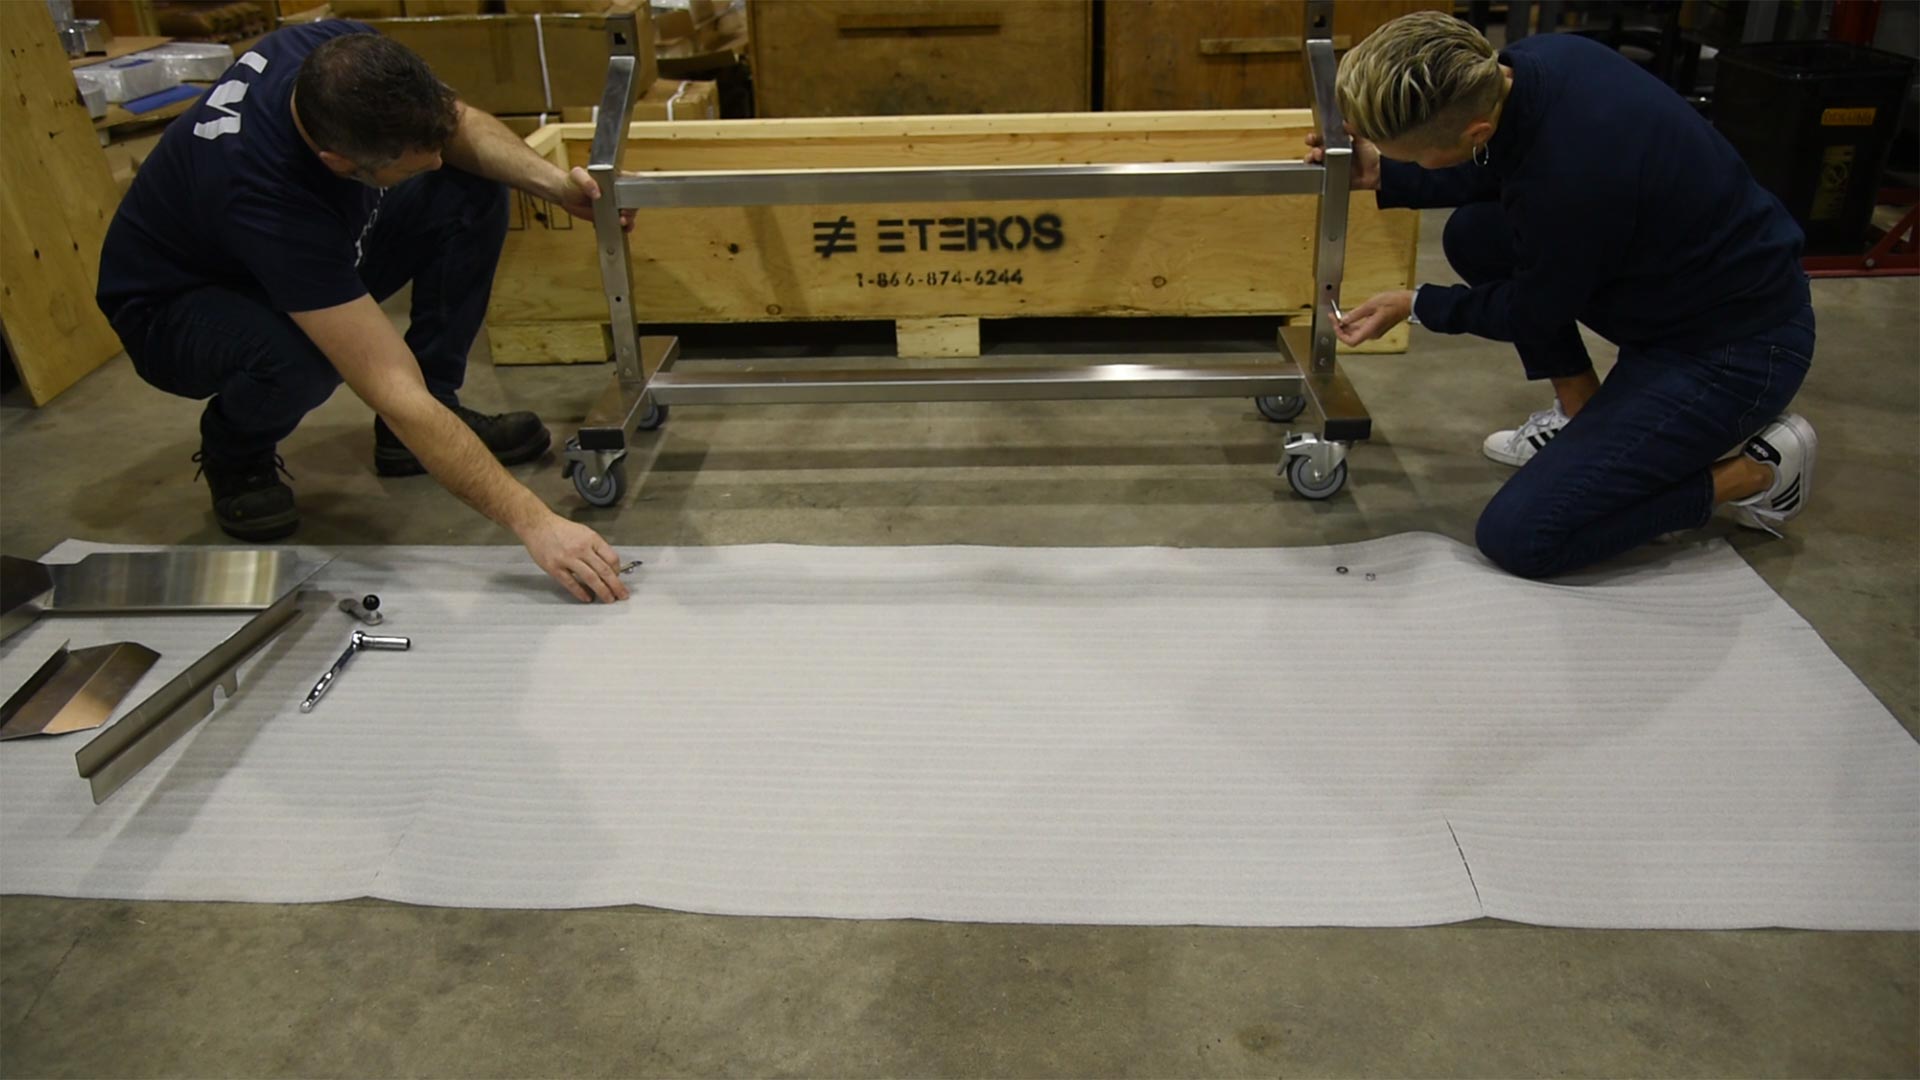
With all the parts accessible, you can no start assembling your conveyor.
06
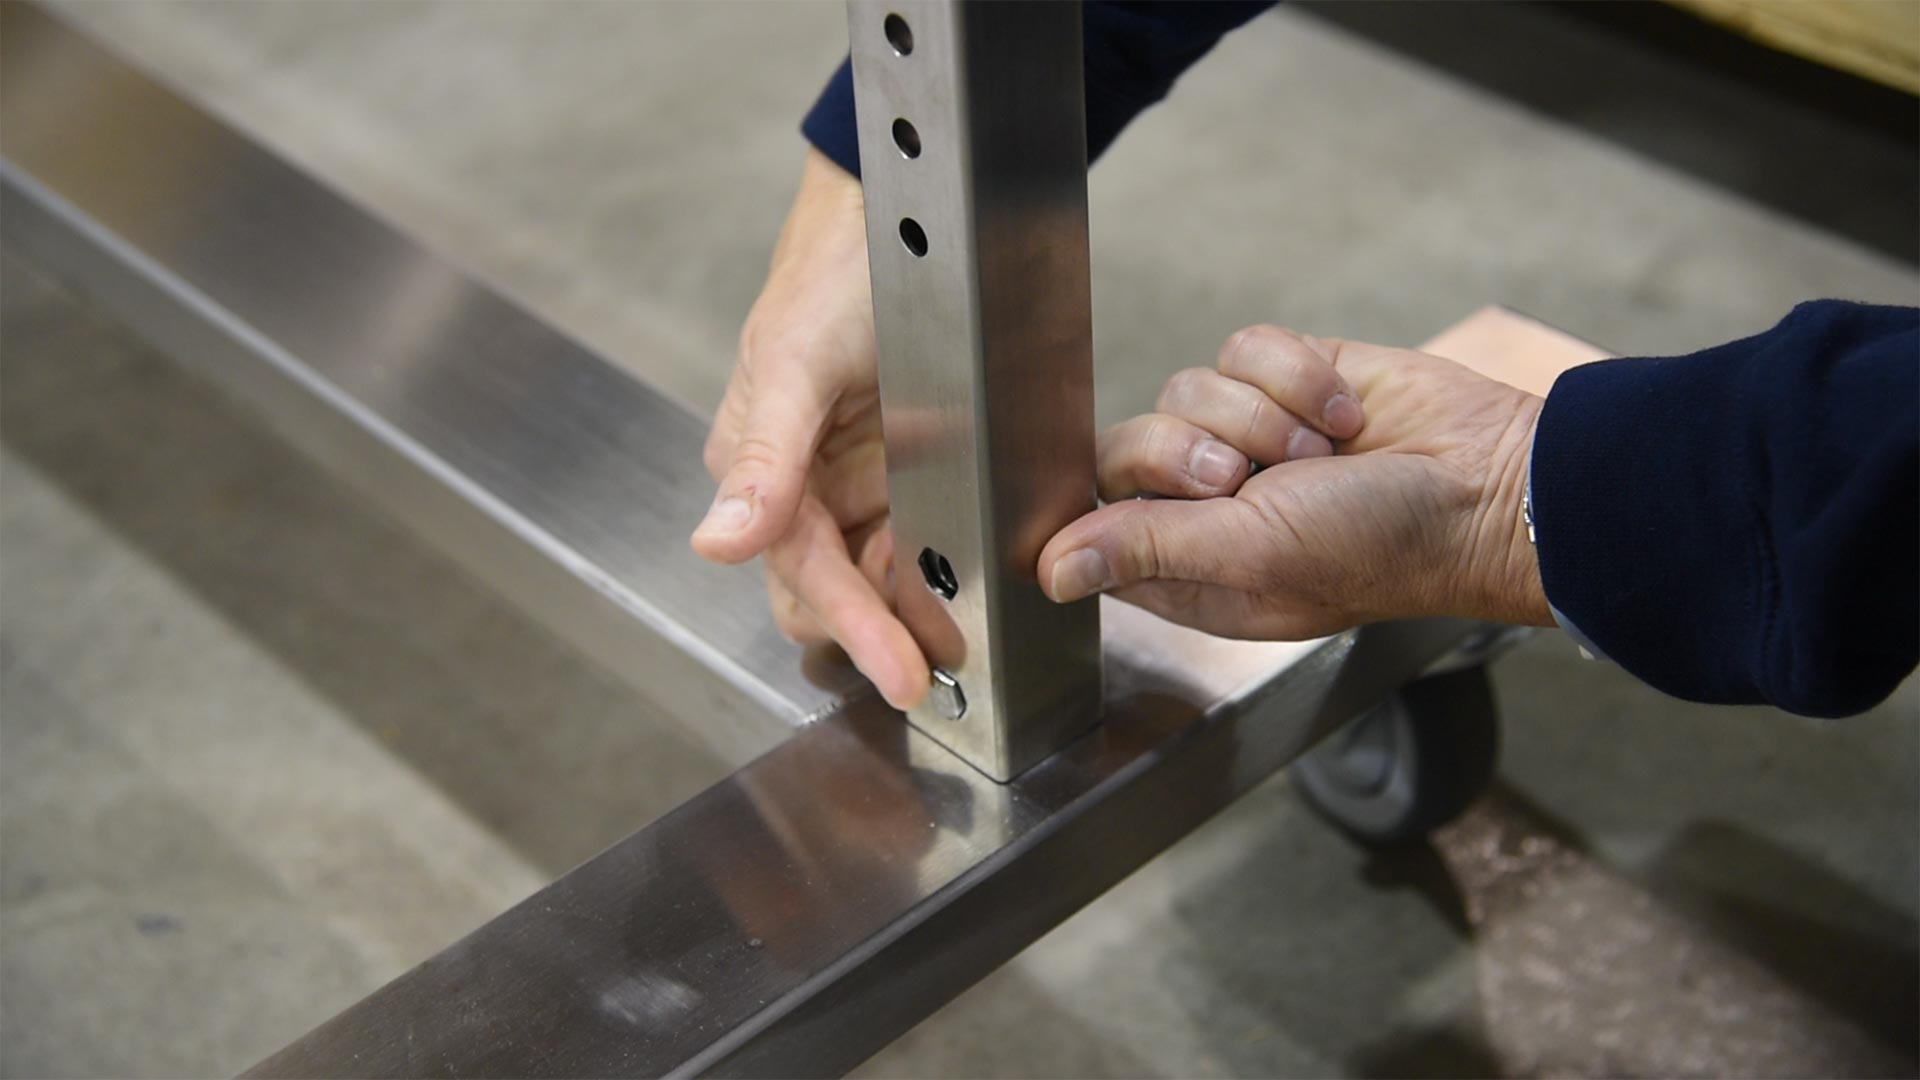
As you attach place the cross-brace to the frame, you can now start sliding the bolts in. Make sure that the hex is going in on the side of the frame with the hex-head cutouts.
07
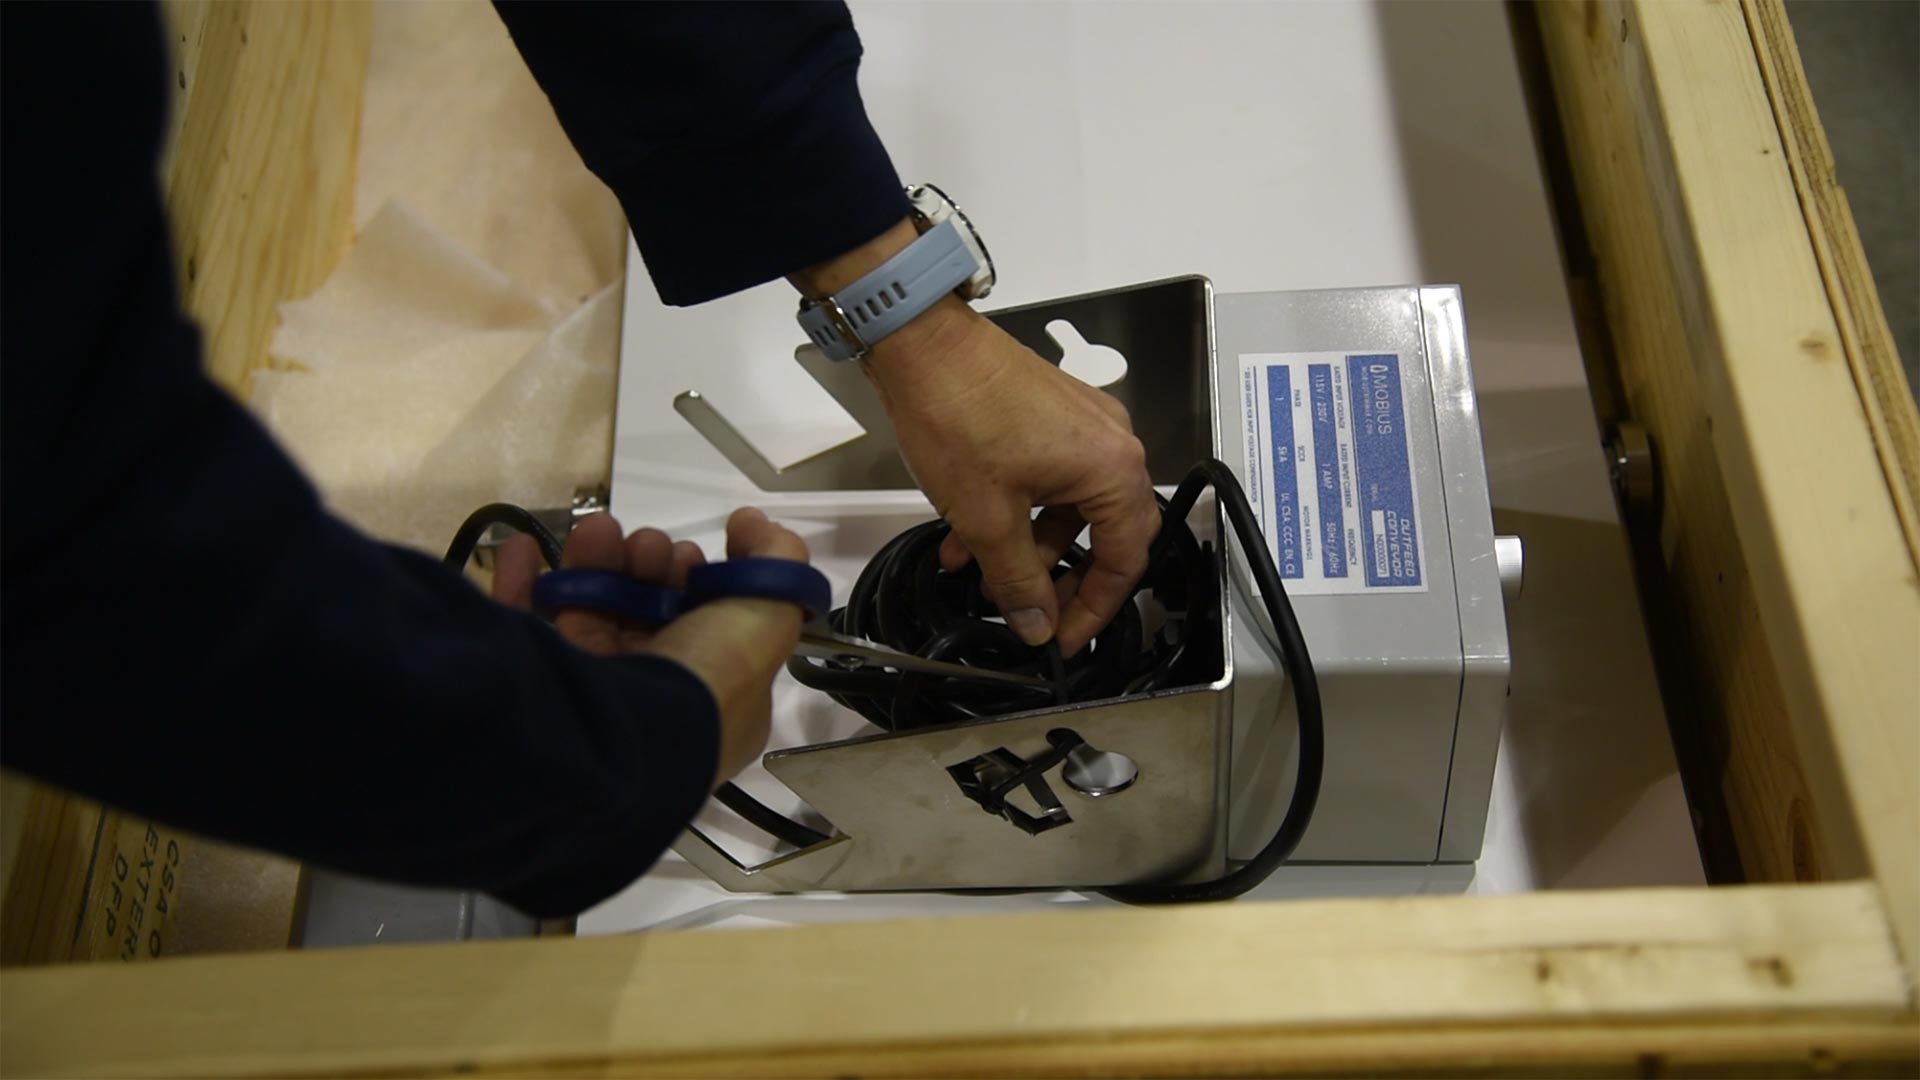
Now, cut the zap straps off from the cords of the control panel.
08
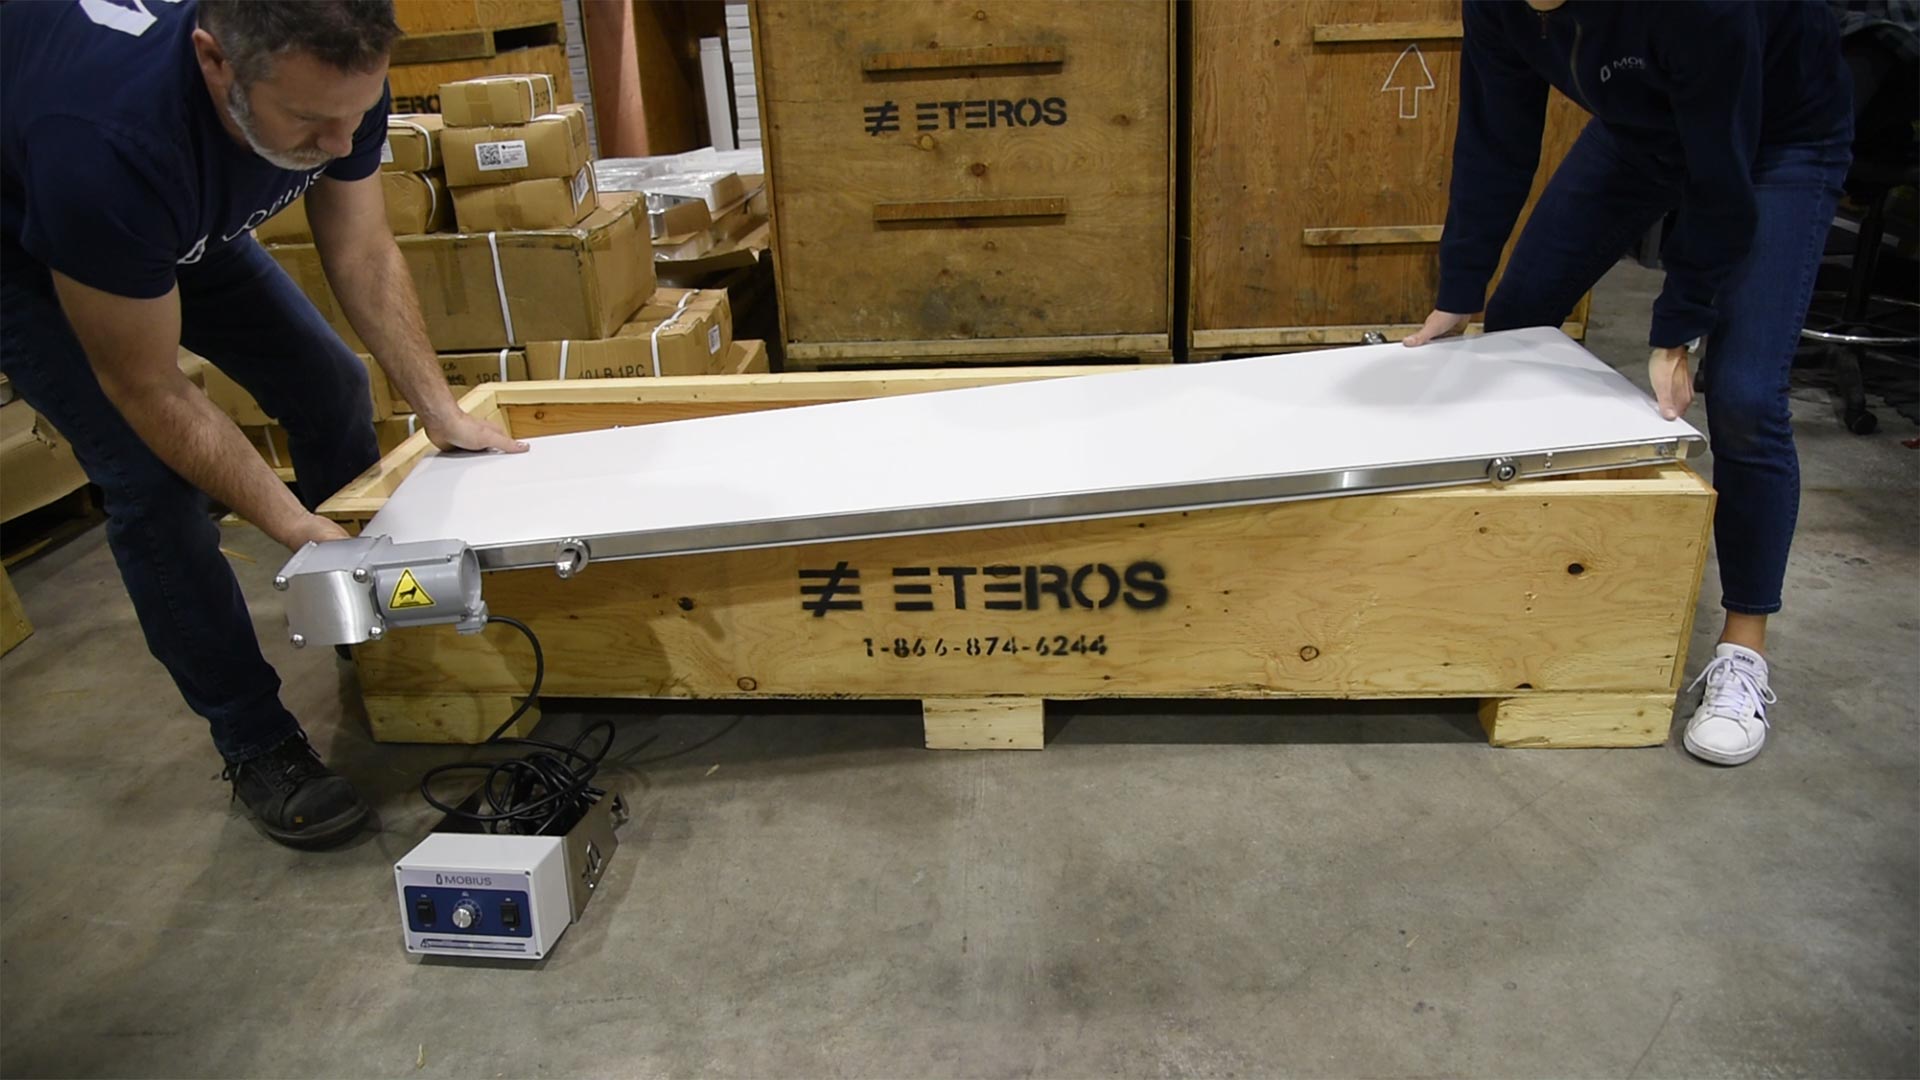
You are now able to remove the control panel and place it outside of the crate. Now pick up the conveyor and place it diagonally across the top of the crate.
09
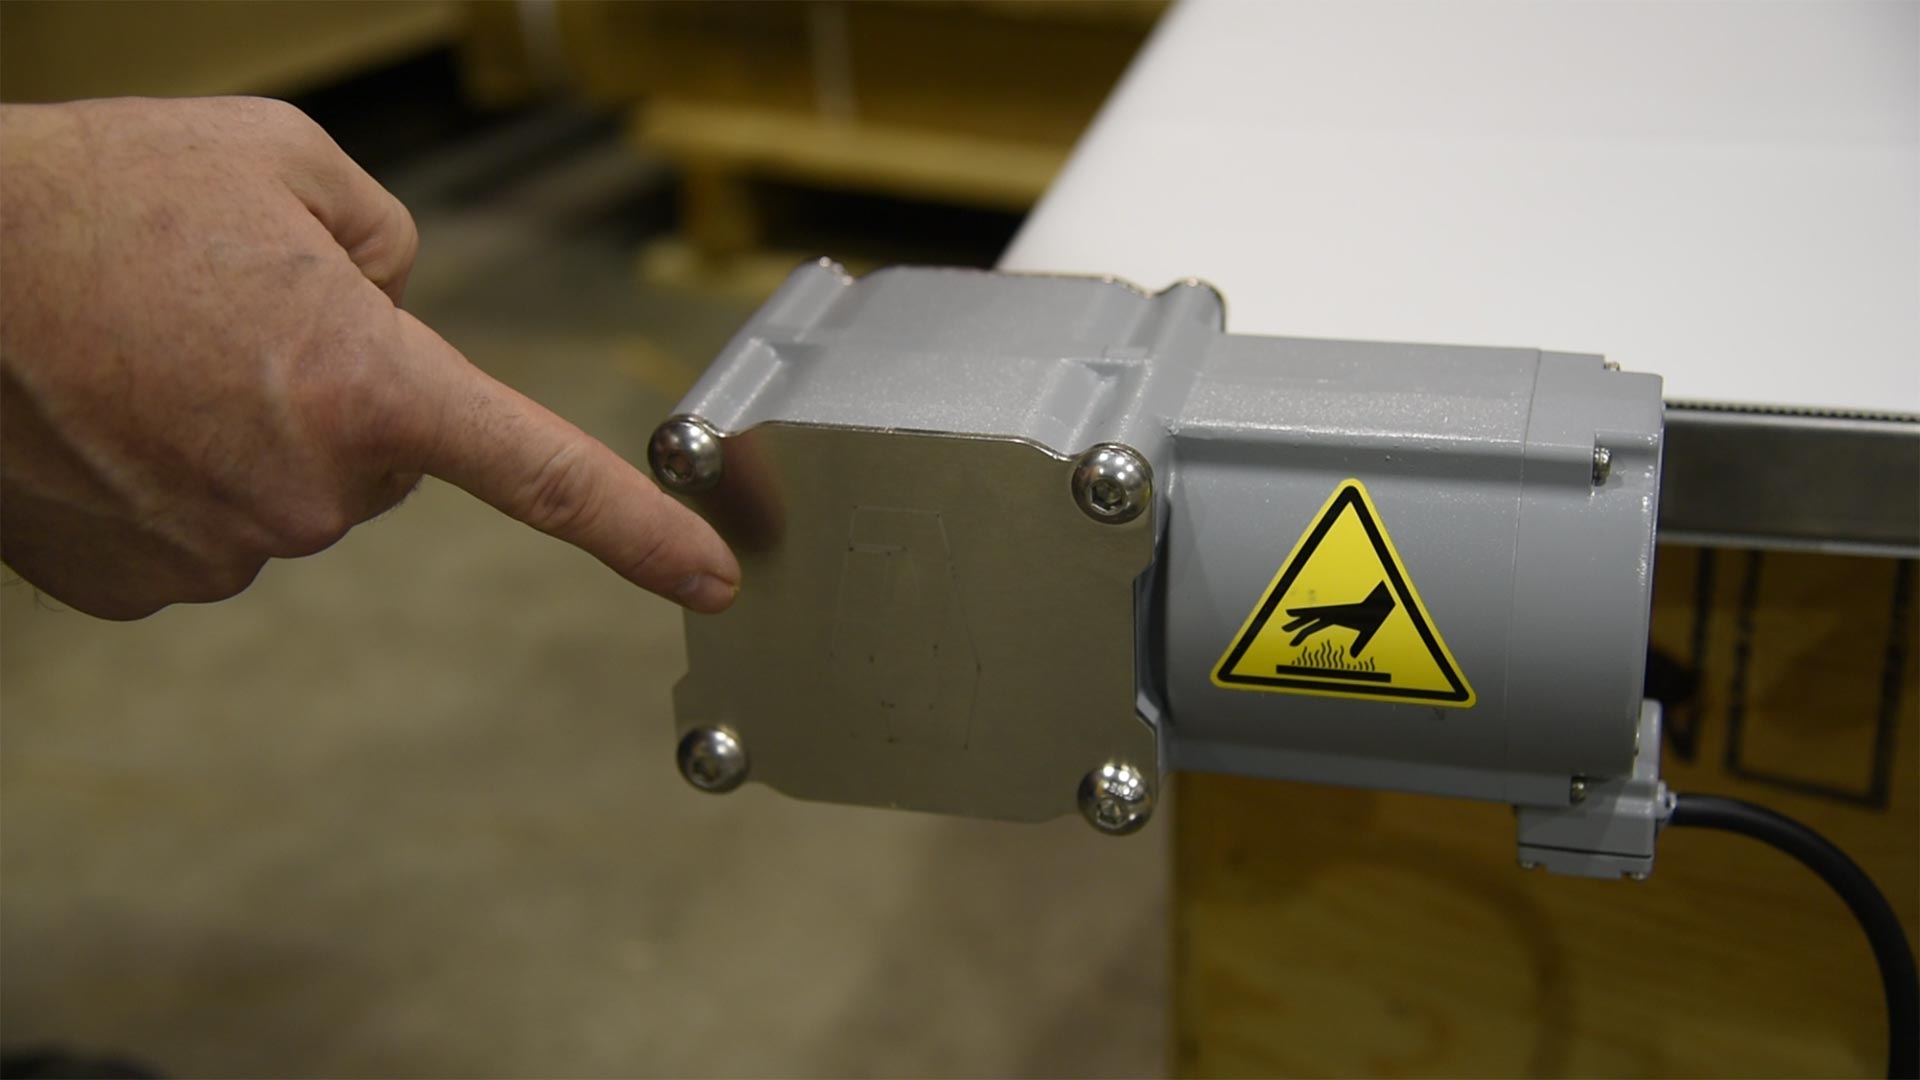
As you remove the conveyor from the crate, look at the motor and make sure the Mobius logo is right side up. This will indicate to you whether the conveyor is upside down or right side up.
10
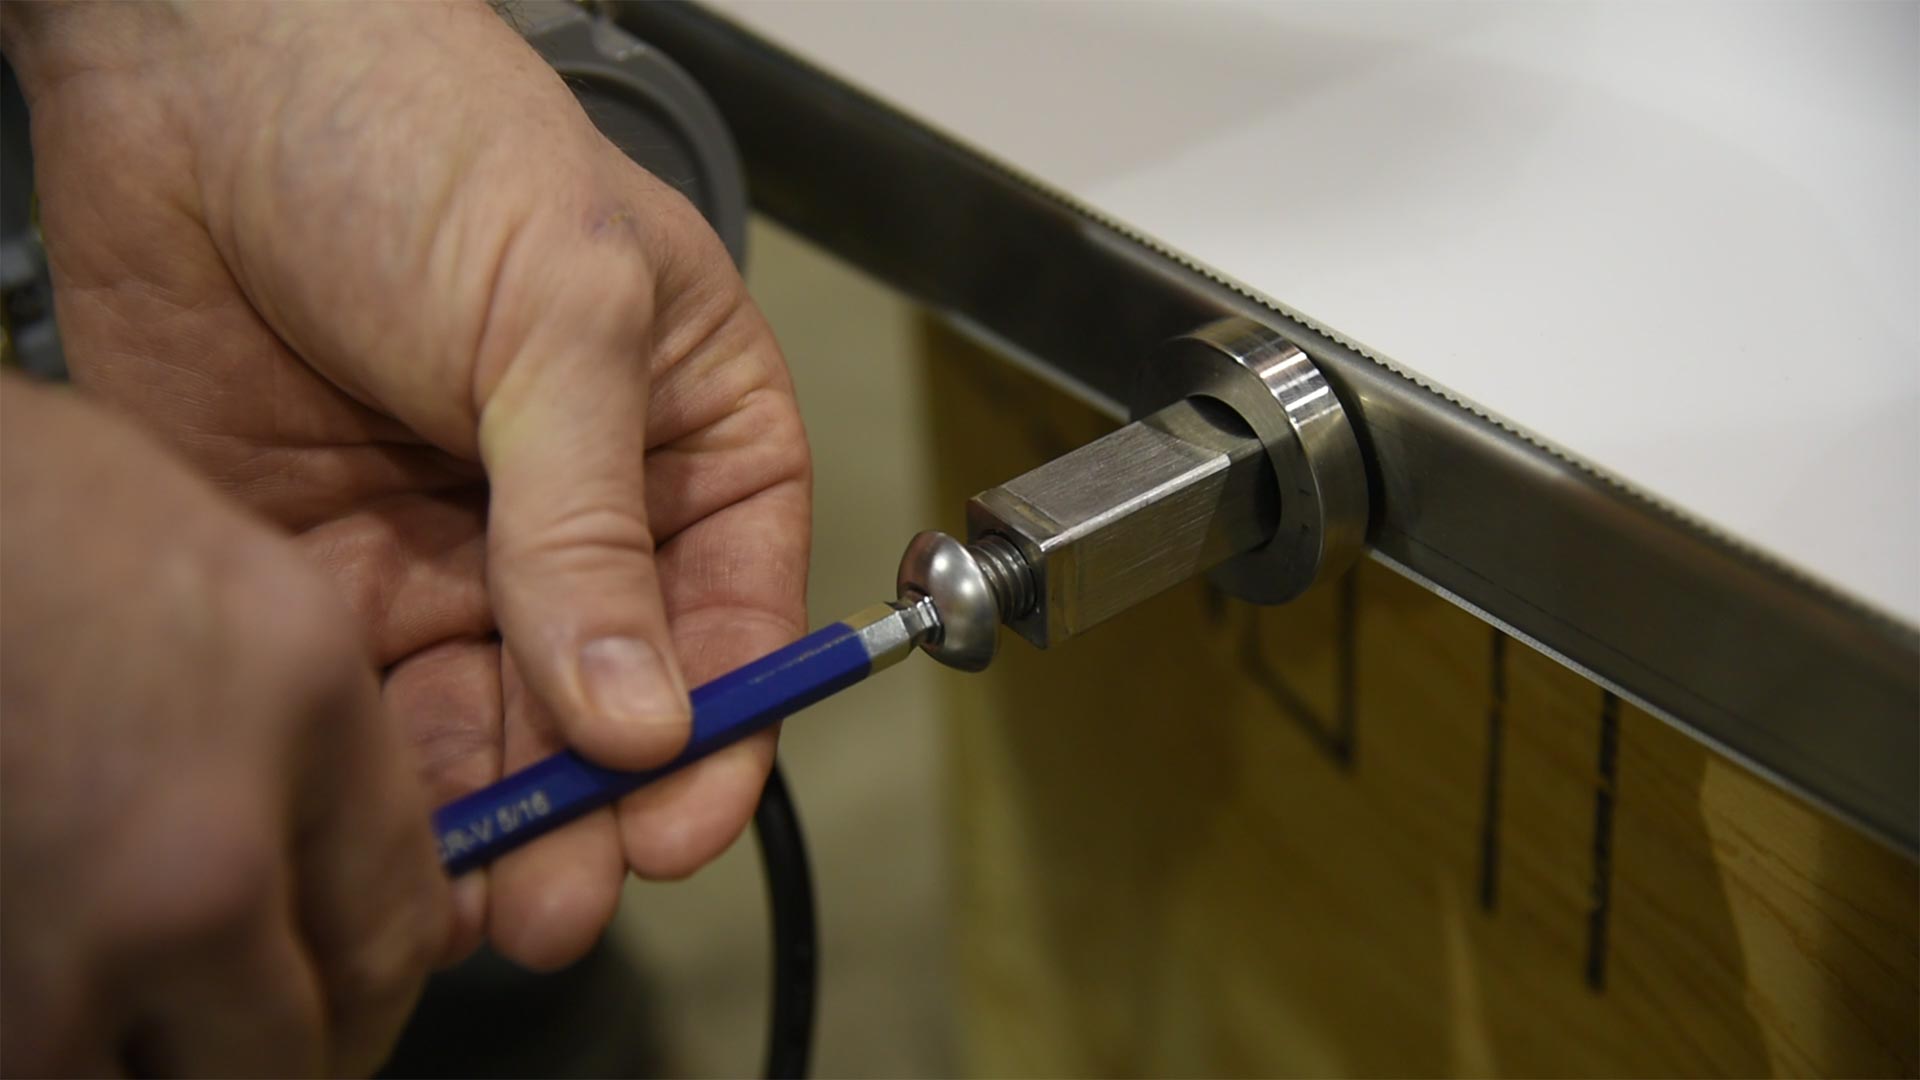
Now remove the two screws from the trough support bar.
11
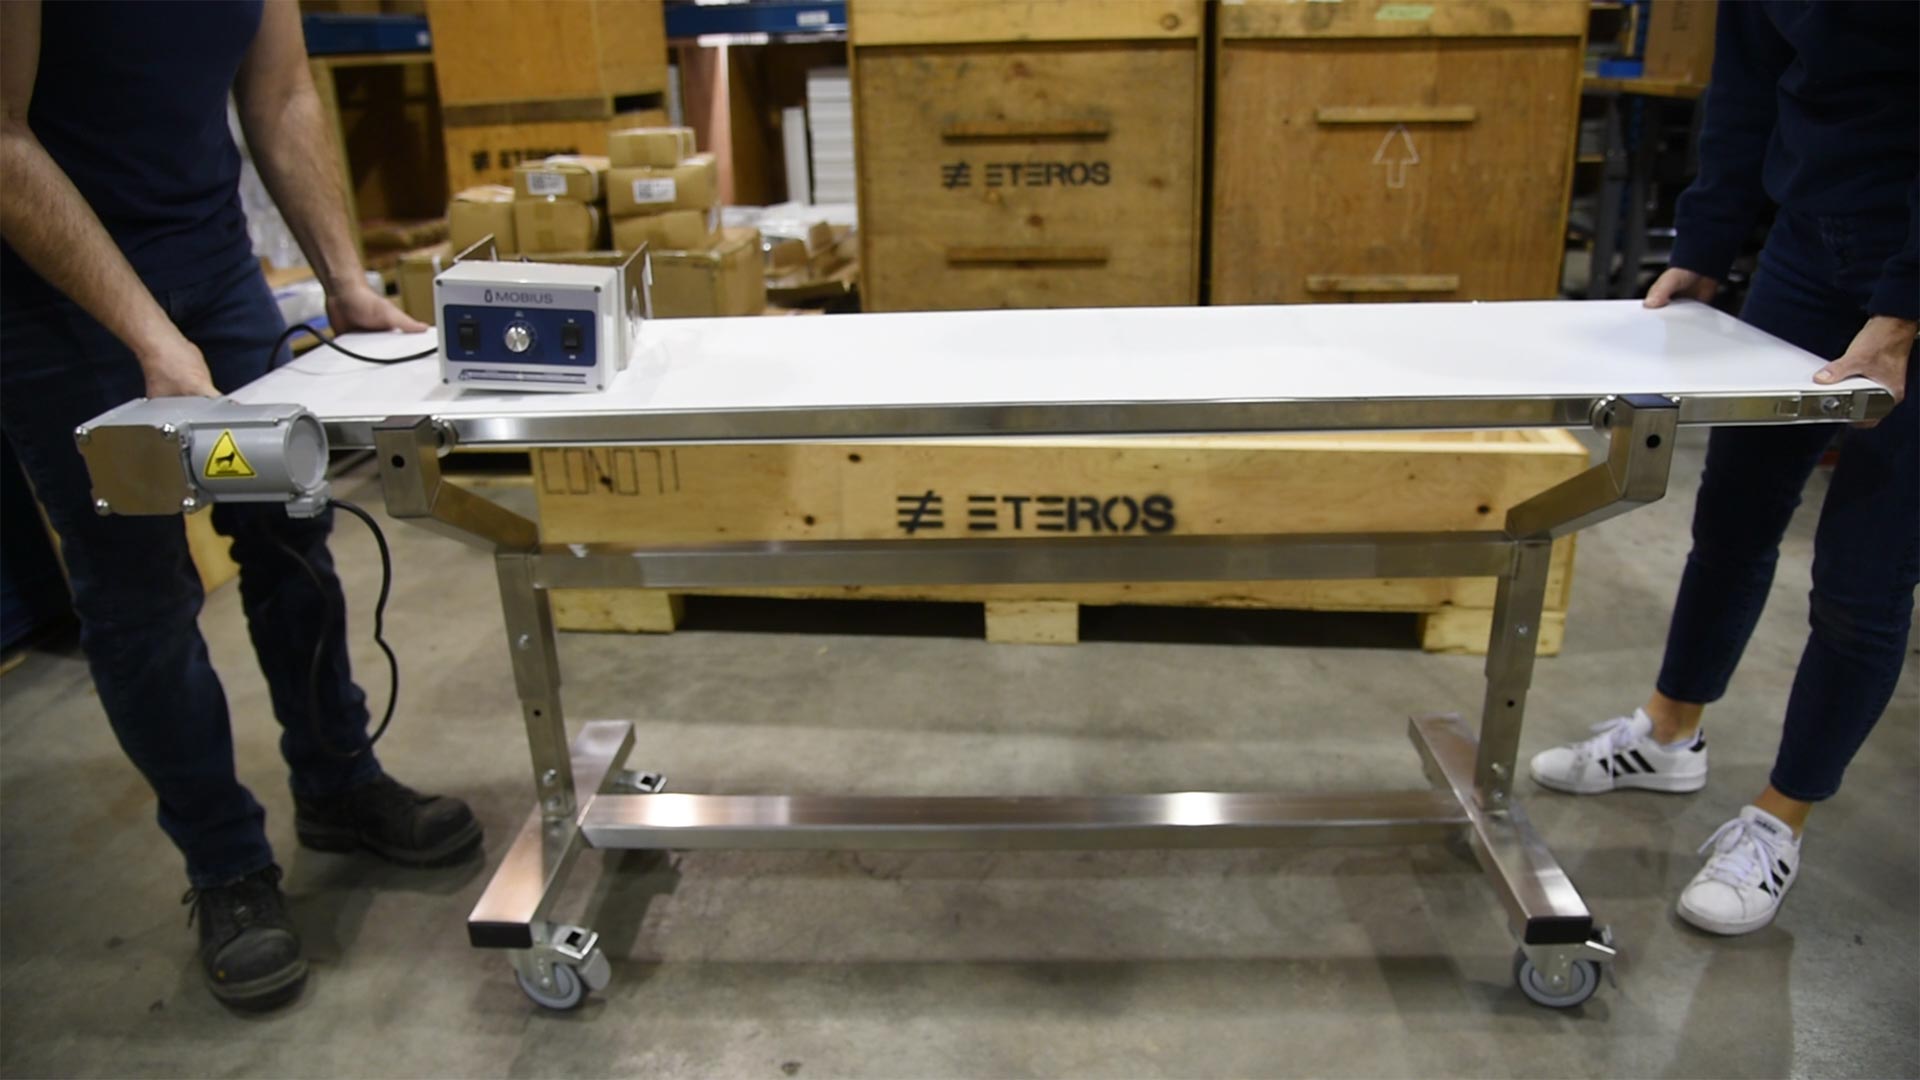
With the screws removed, slide the trough support bars into the frame.
12
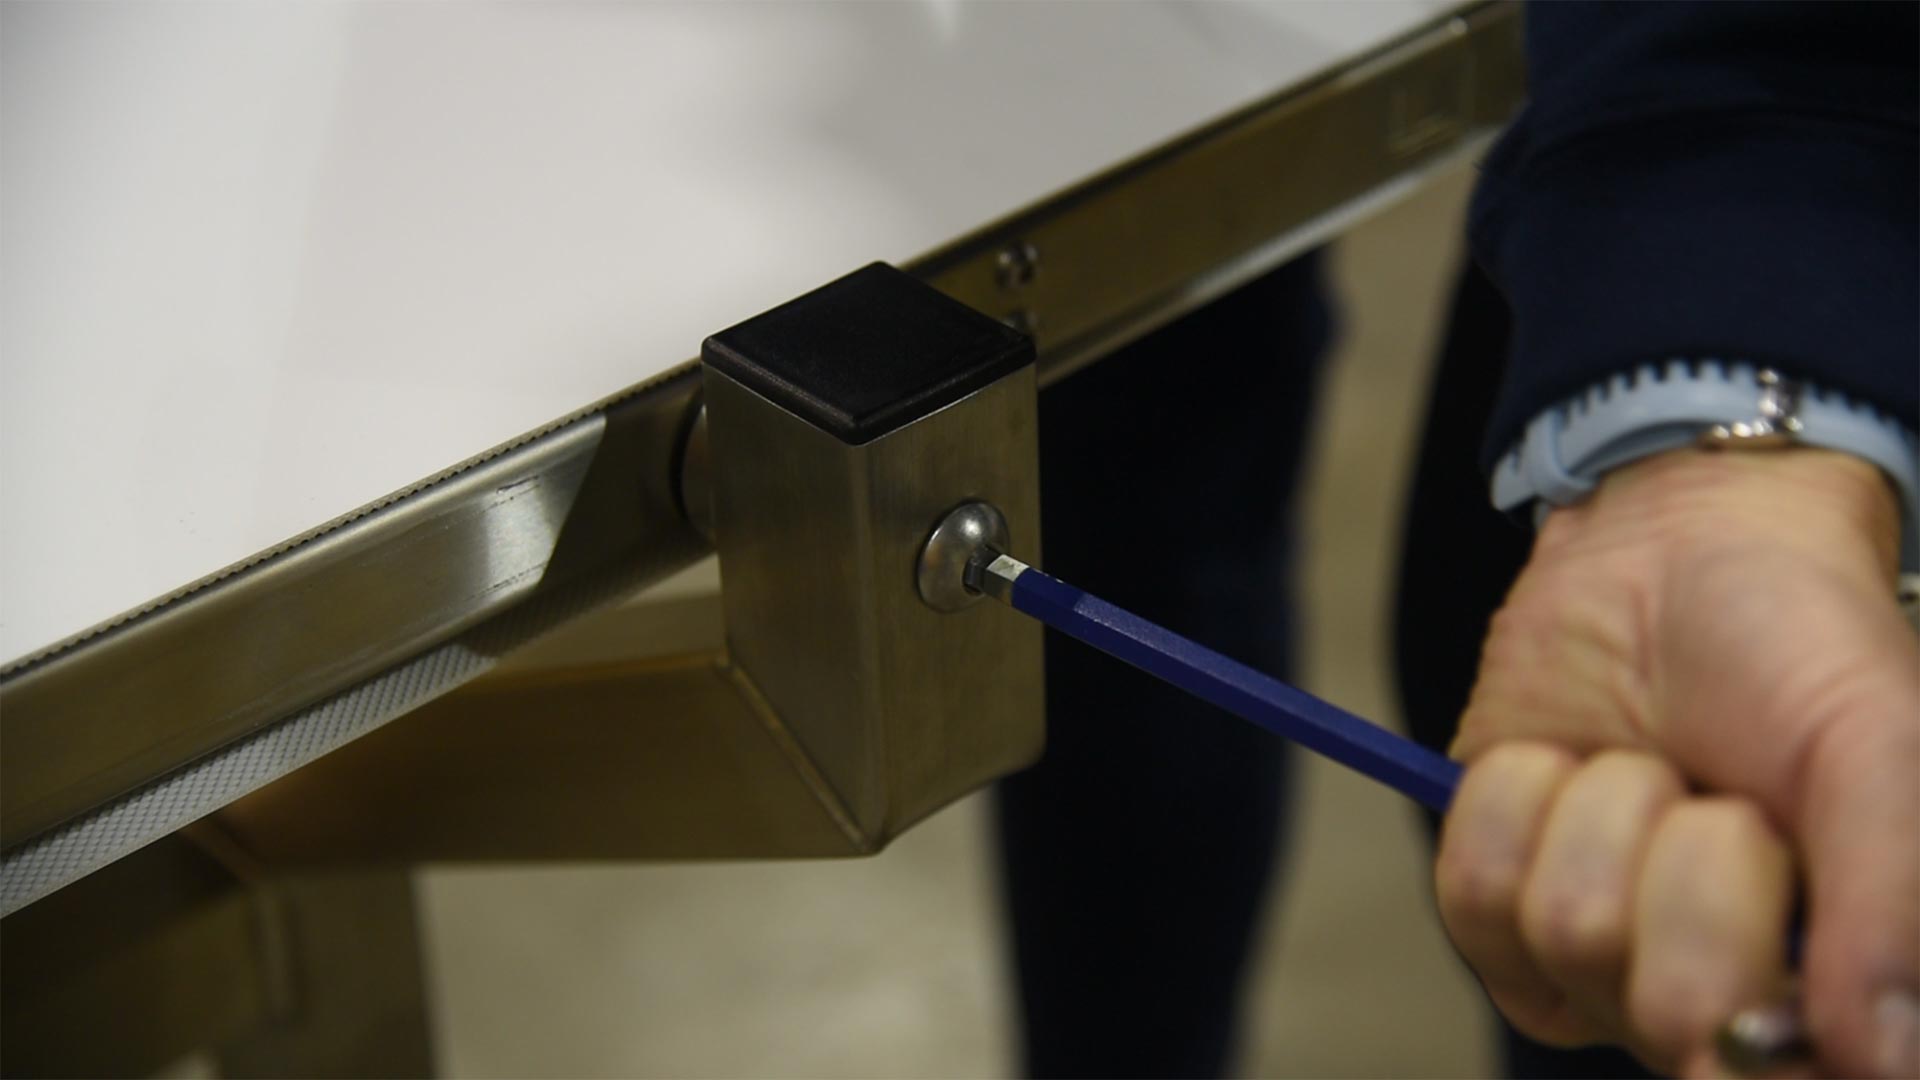
Put the screw back into the opposite side of the frame until the trough and the frame are securely connected.
13
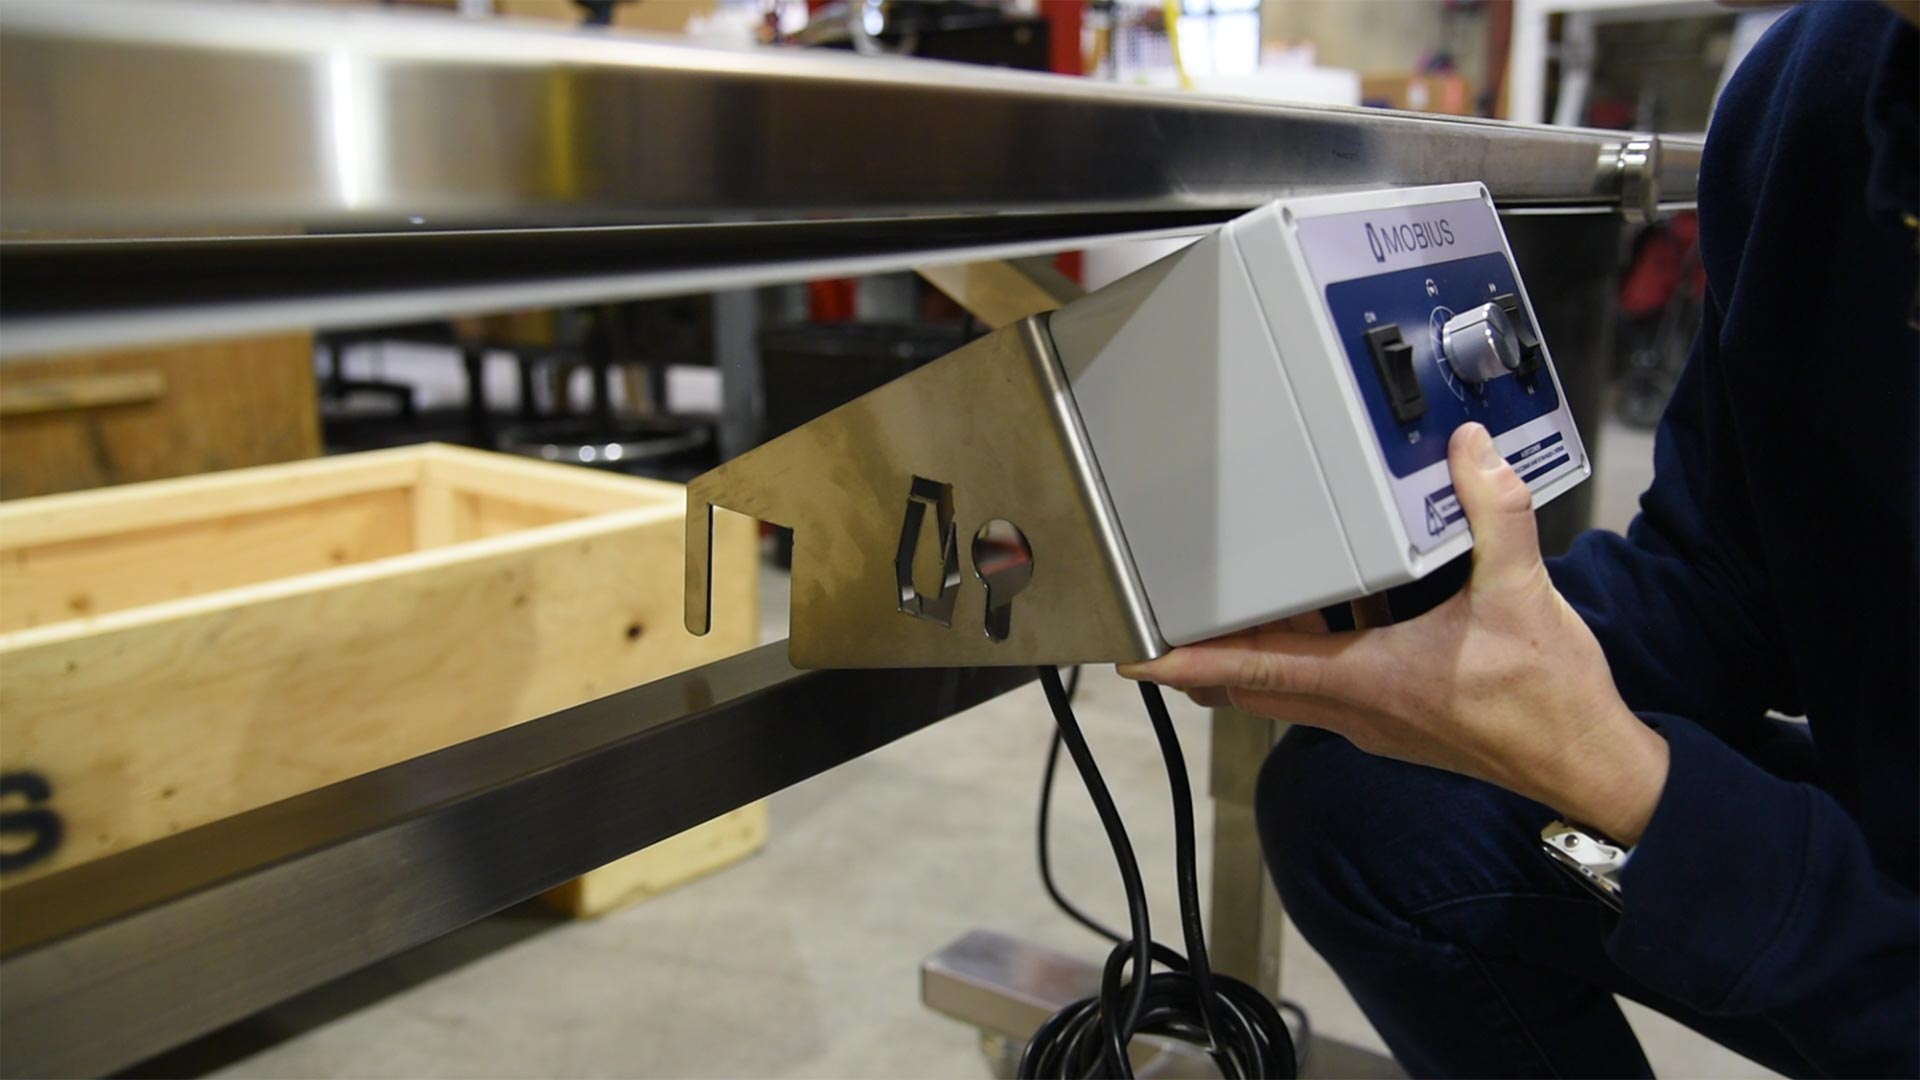
Place the control panel on the cross support on the frame.
14
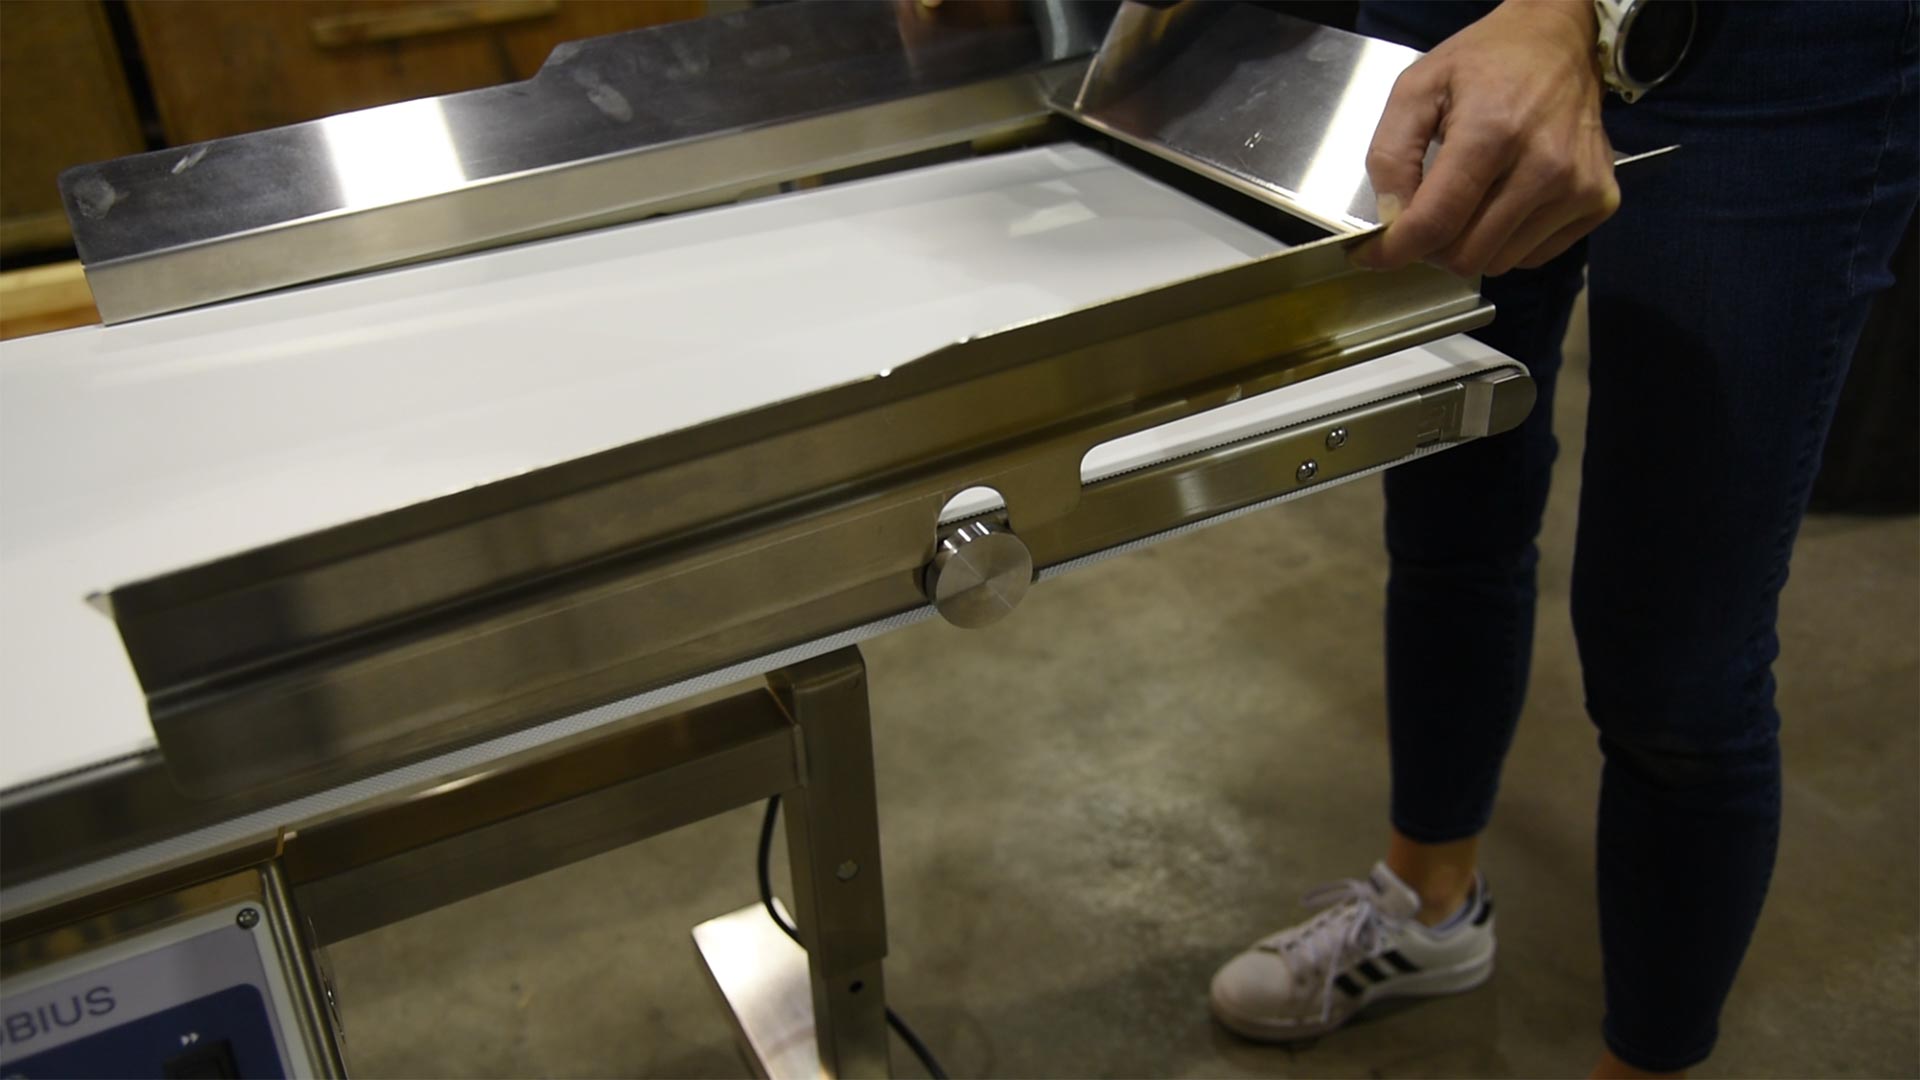
Place the conveyor guides onto the frame.
