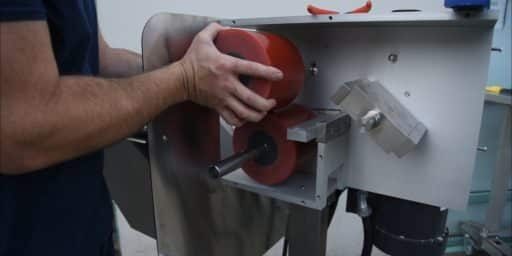
Aligning the MBX Chipper
MBX Bucker
ALIGNING THE CHIPPER
How to Align the Chipper on the Mobius MBX Bucker
Step by Step
01
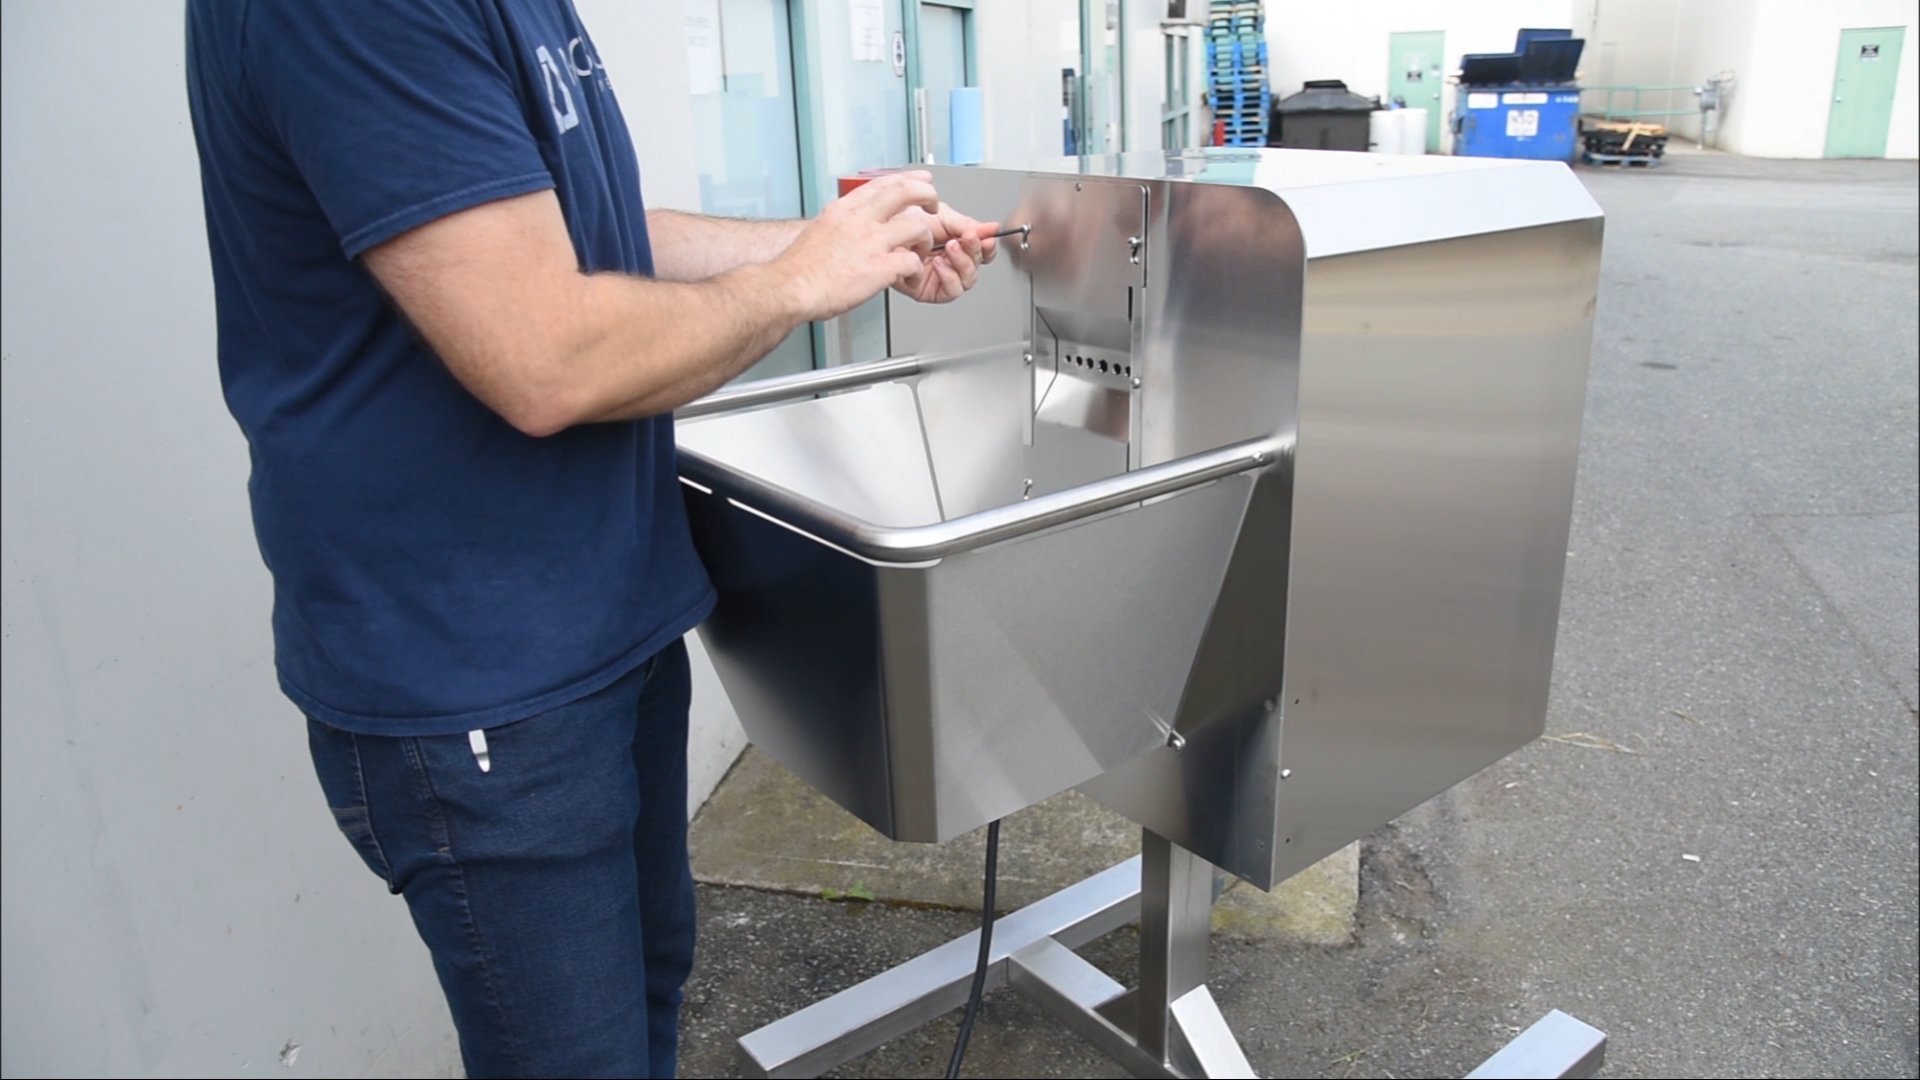
Start by removing the guards and the dieplate. The stem hole dieplate can be removed with the 5/32 allen wrench. Loosen the 4 screws retaining the dieplate and set aside.
02
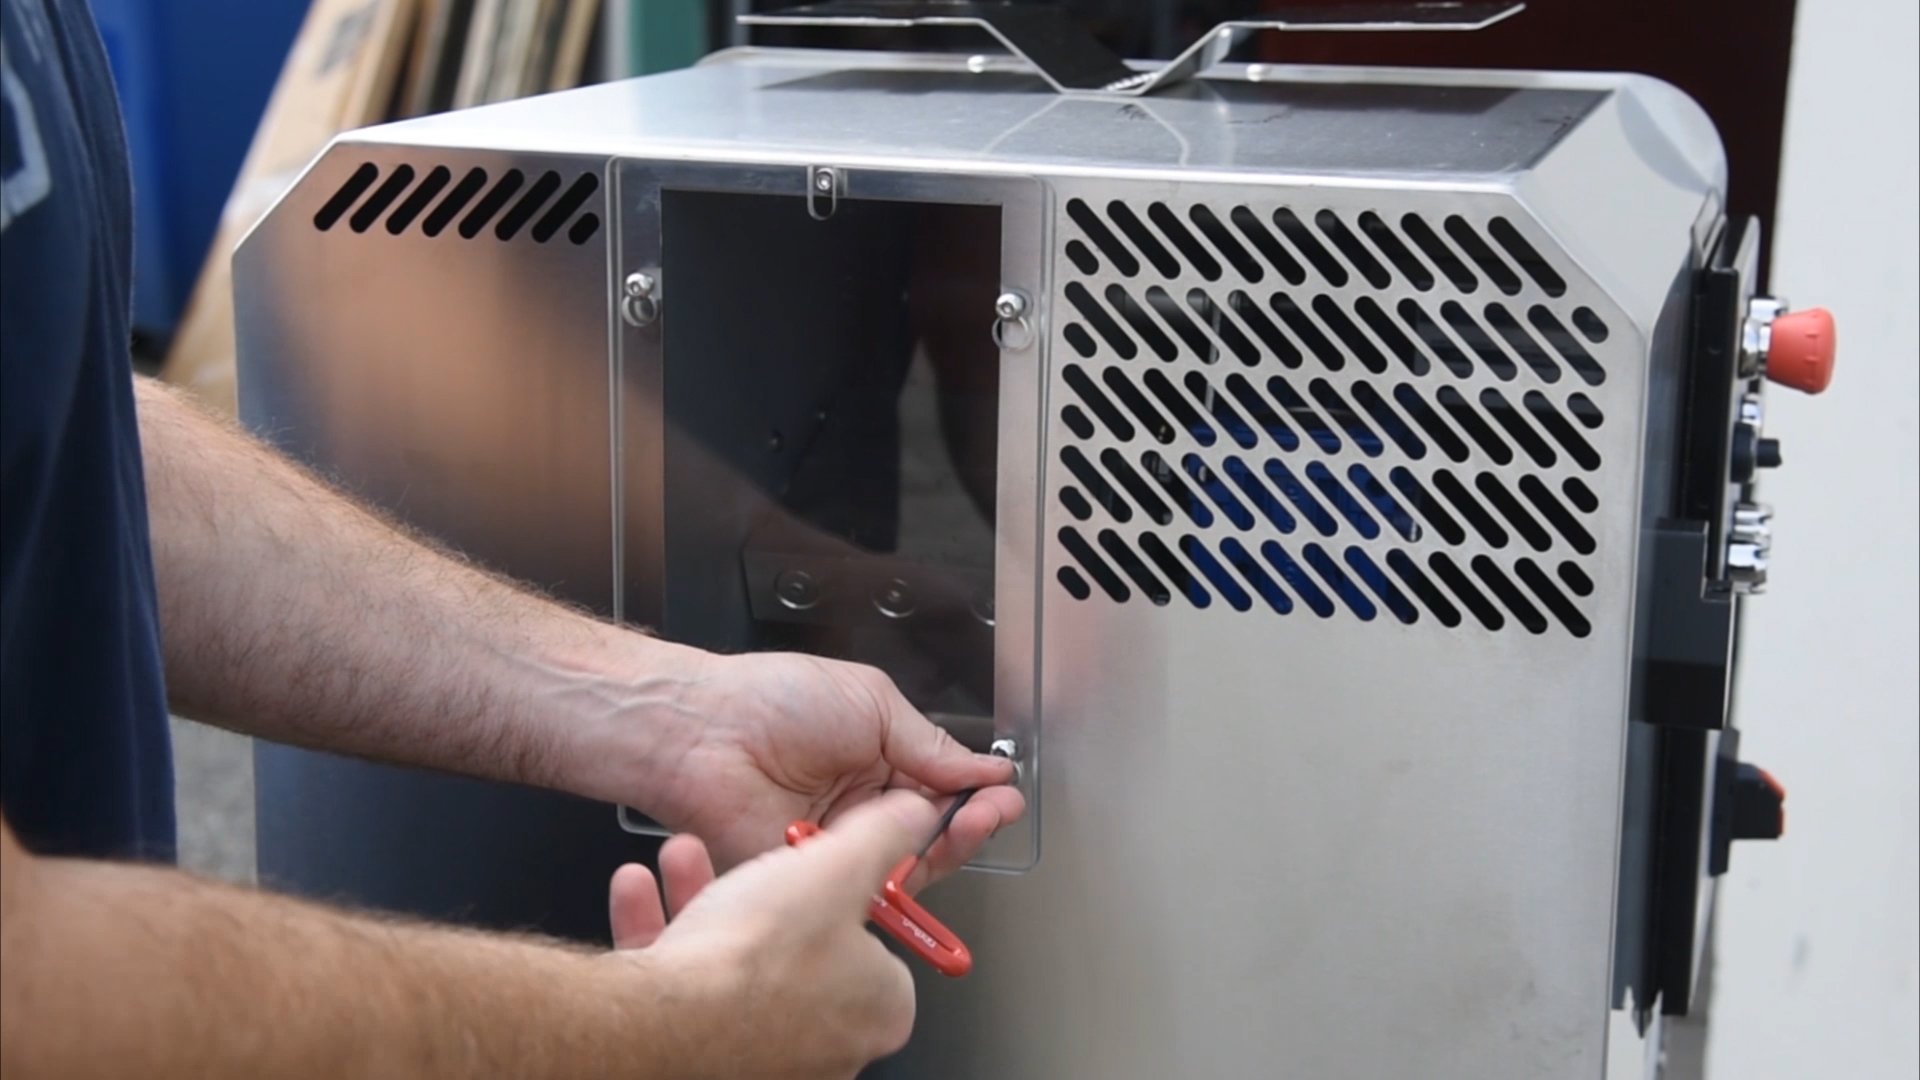
Using the same 5/32 allen wrench, remove the cover over the chipper and set aside.
03
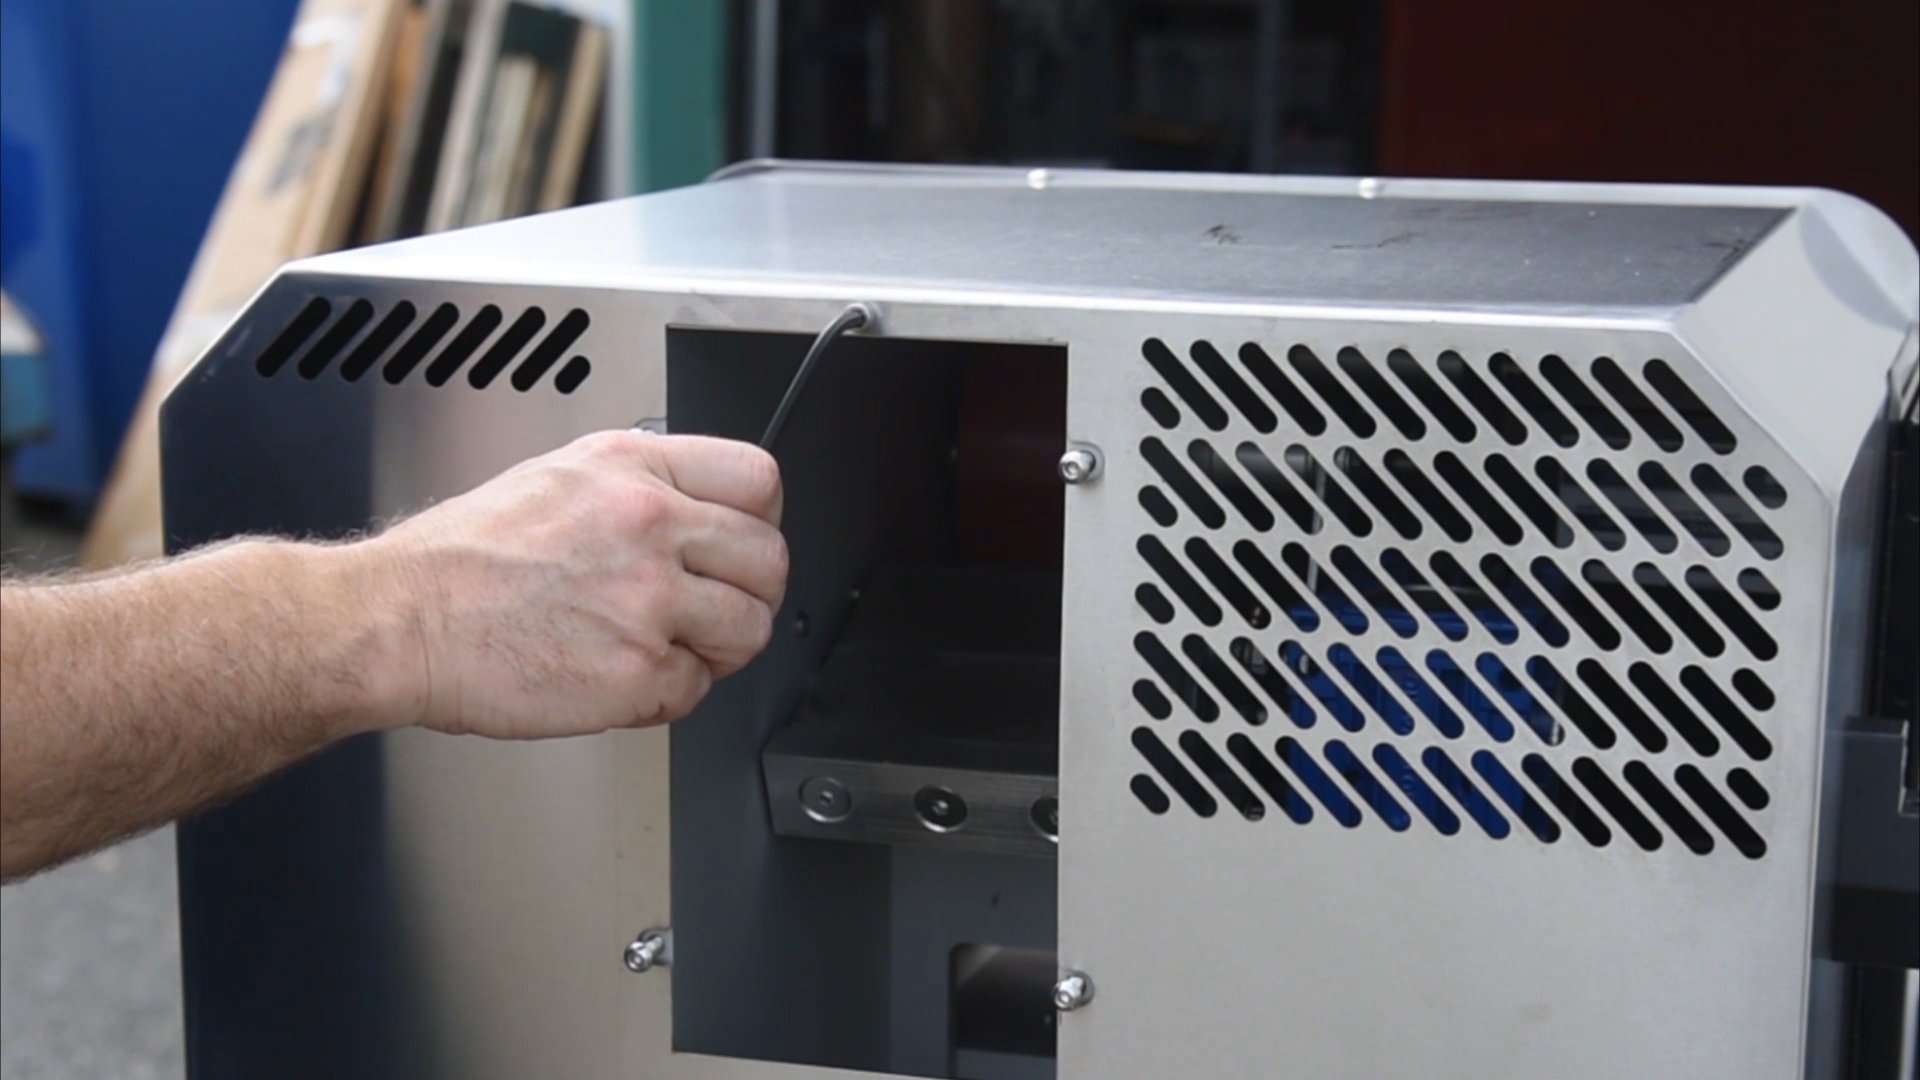
Remove the centre screw with the 3/16 allen wrench, and the 2 button-head screws at the bottom of both side panels.
04
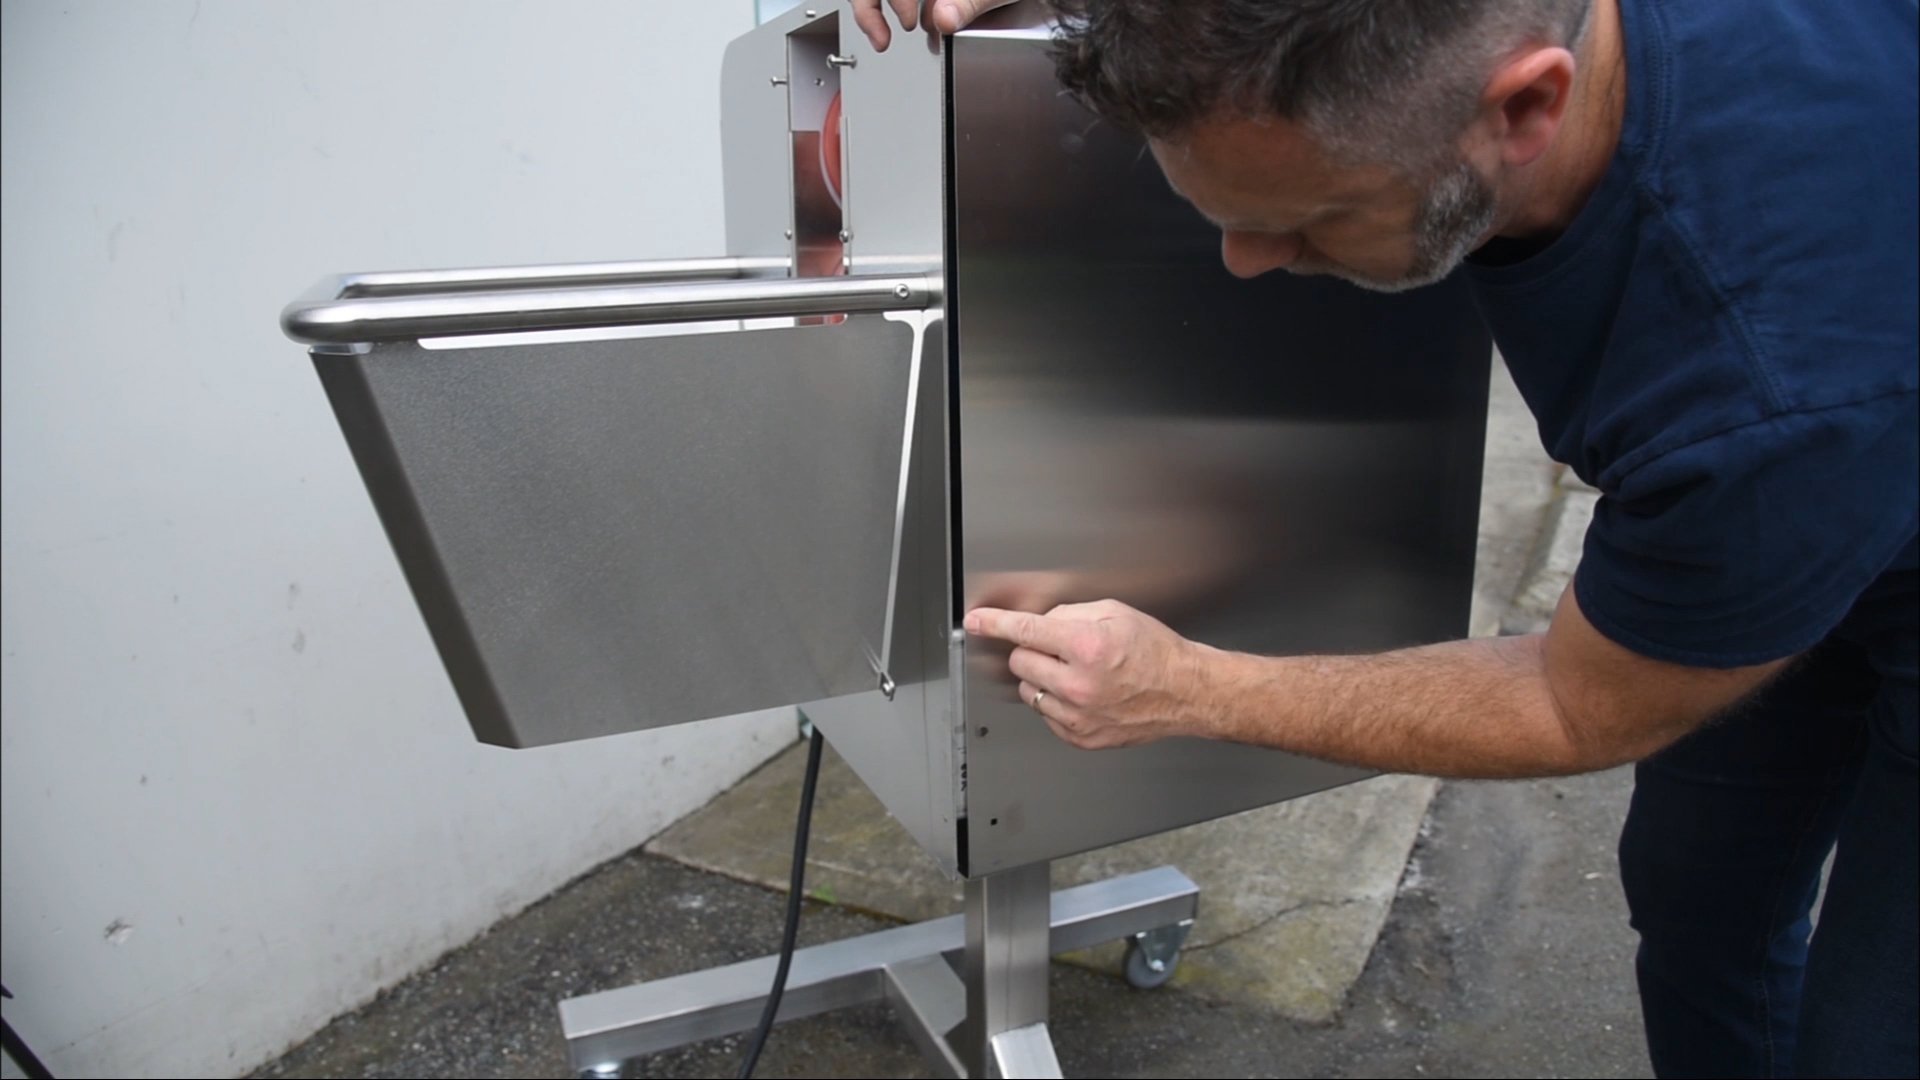
To release the cover, pull down on the shrouding at the bottom, then pull off and release. Repeat on the opposite side, then slide the cover off the MBX.
05
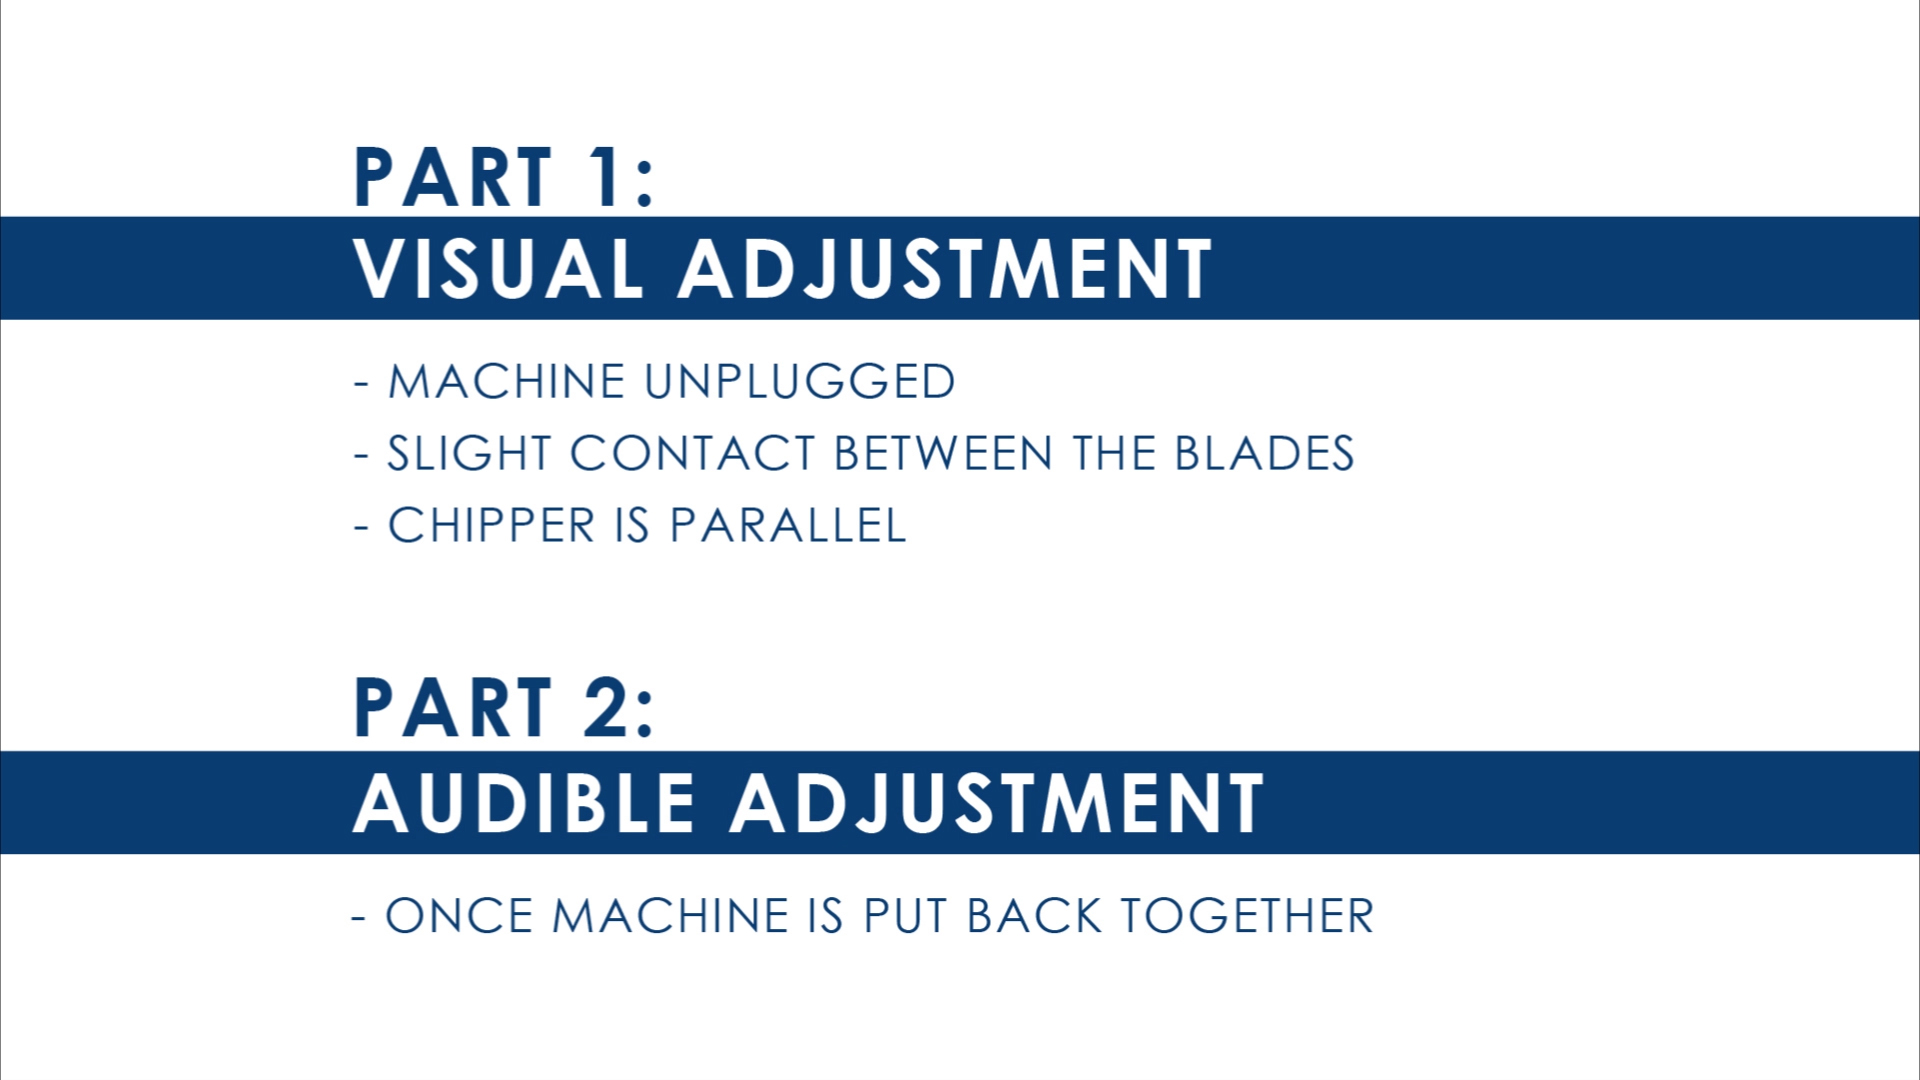
The first step is a rough adjustment which will be visual, with the machine unplugged, making sure there is a slight contact between the blades and that the chipper is parallel. The second step will be an audible adjustment once the machine is put back together.
06
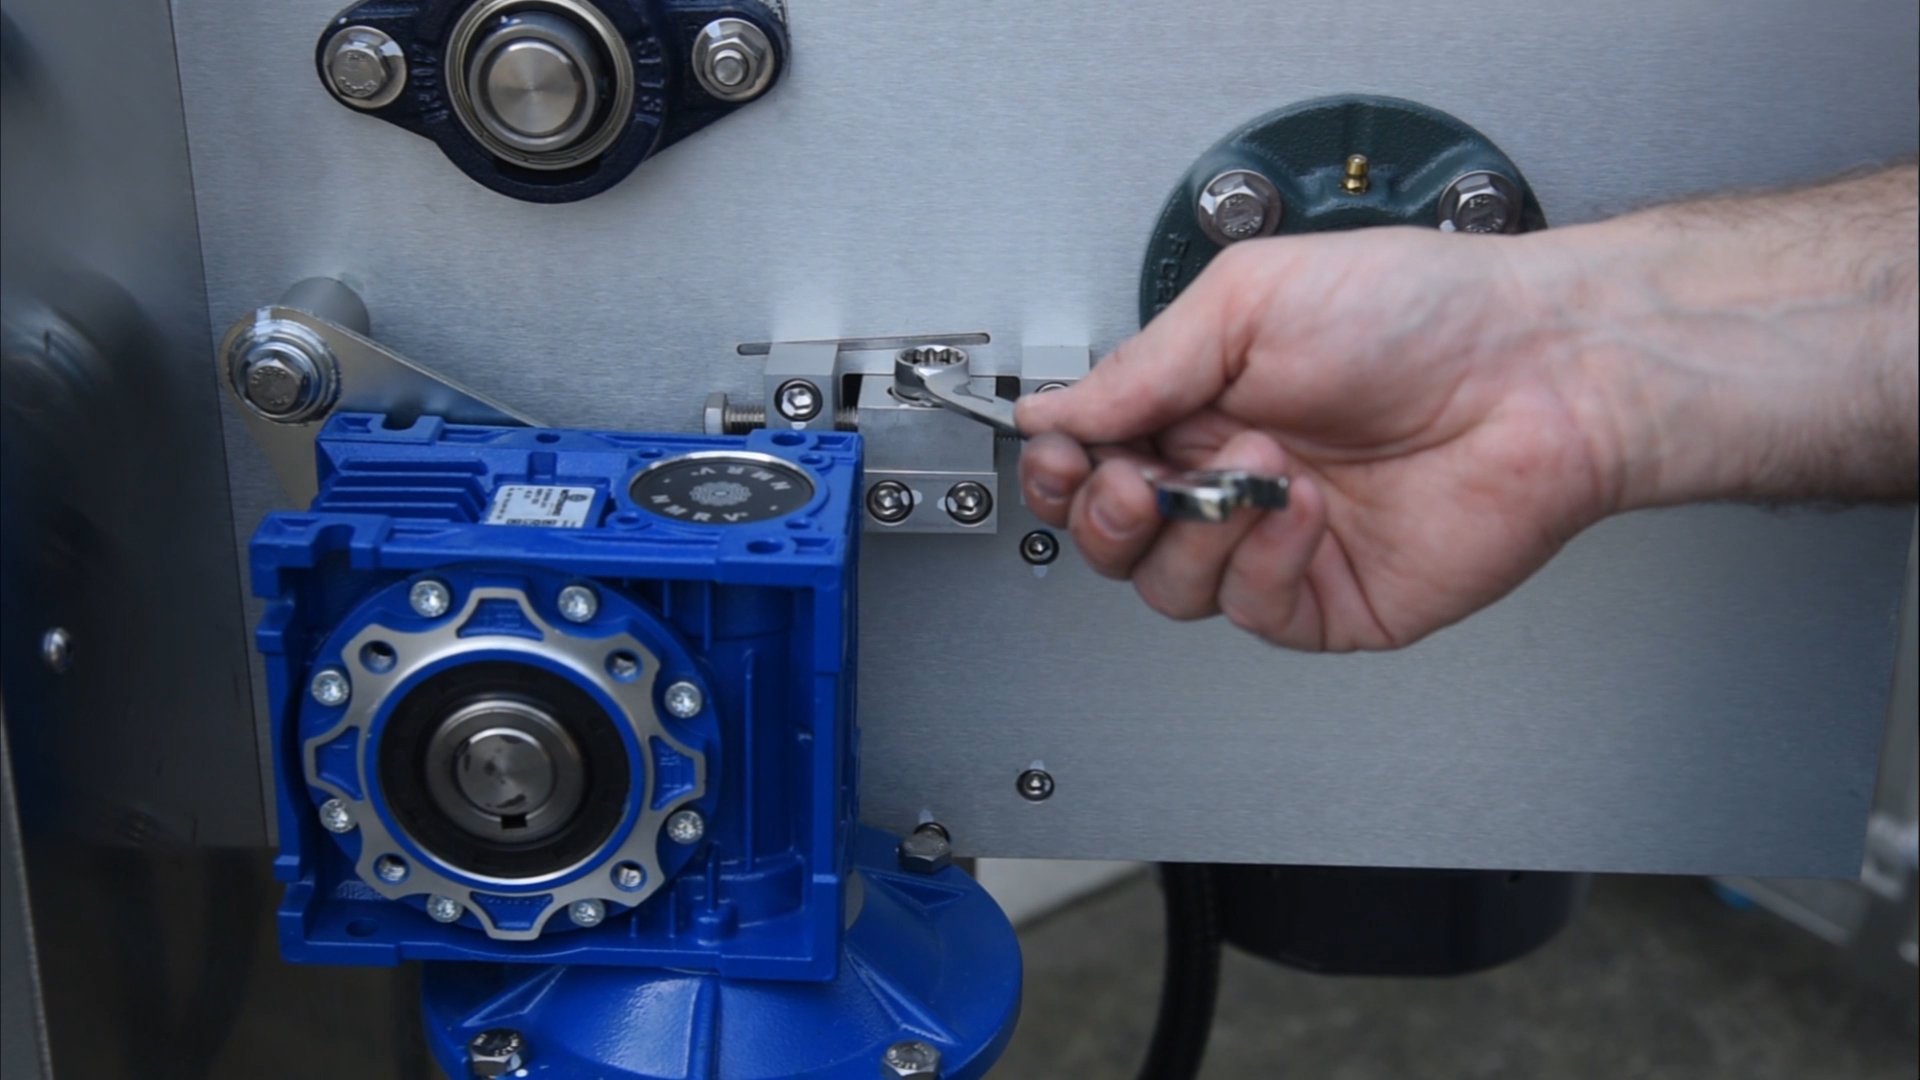
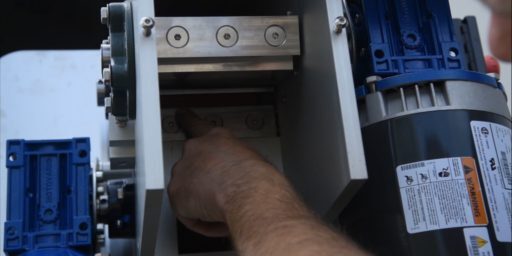
To adjust the chipper blade, start by backing off the top bolt on the adjuster bolt body slightly, then lightly snug it back up on both sides of the machine. You’ll then start to use the adjuster bolts to move the cutting blade, and by looking up underneath and moving the chipper by hand, you can line things up until you see you have parallel contact with the 2 blades.
07
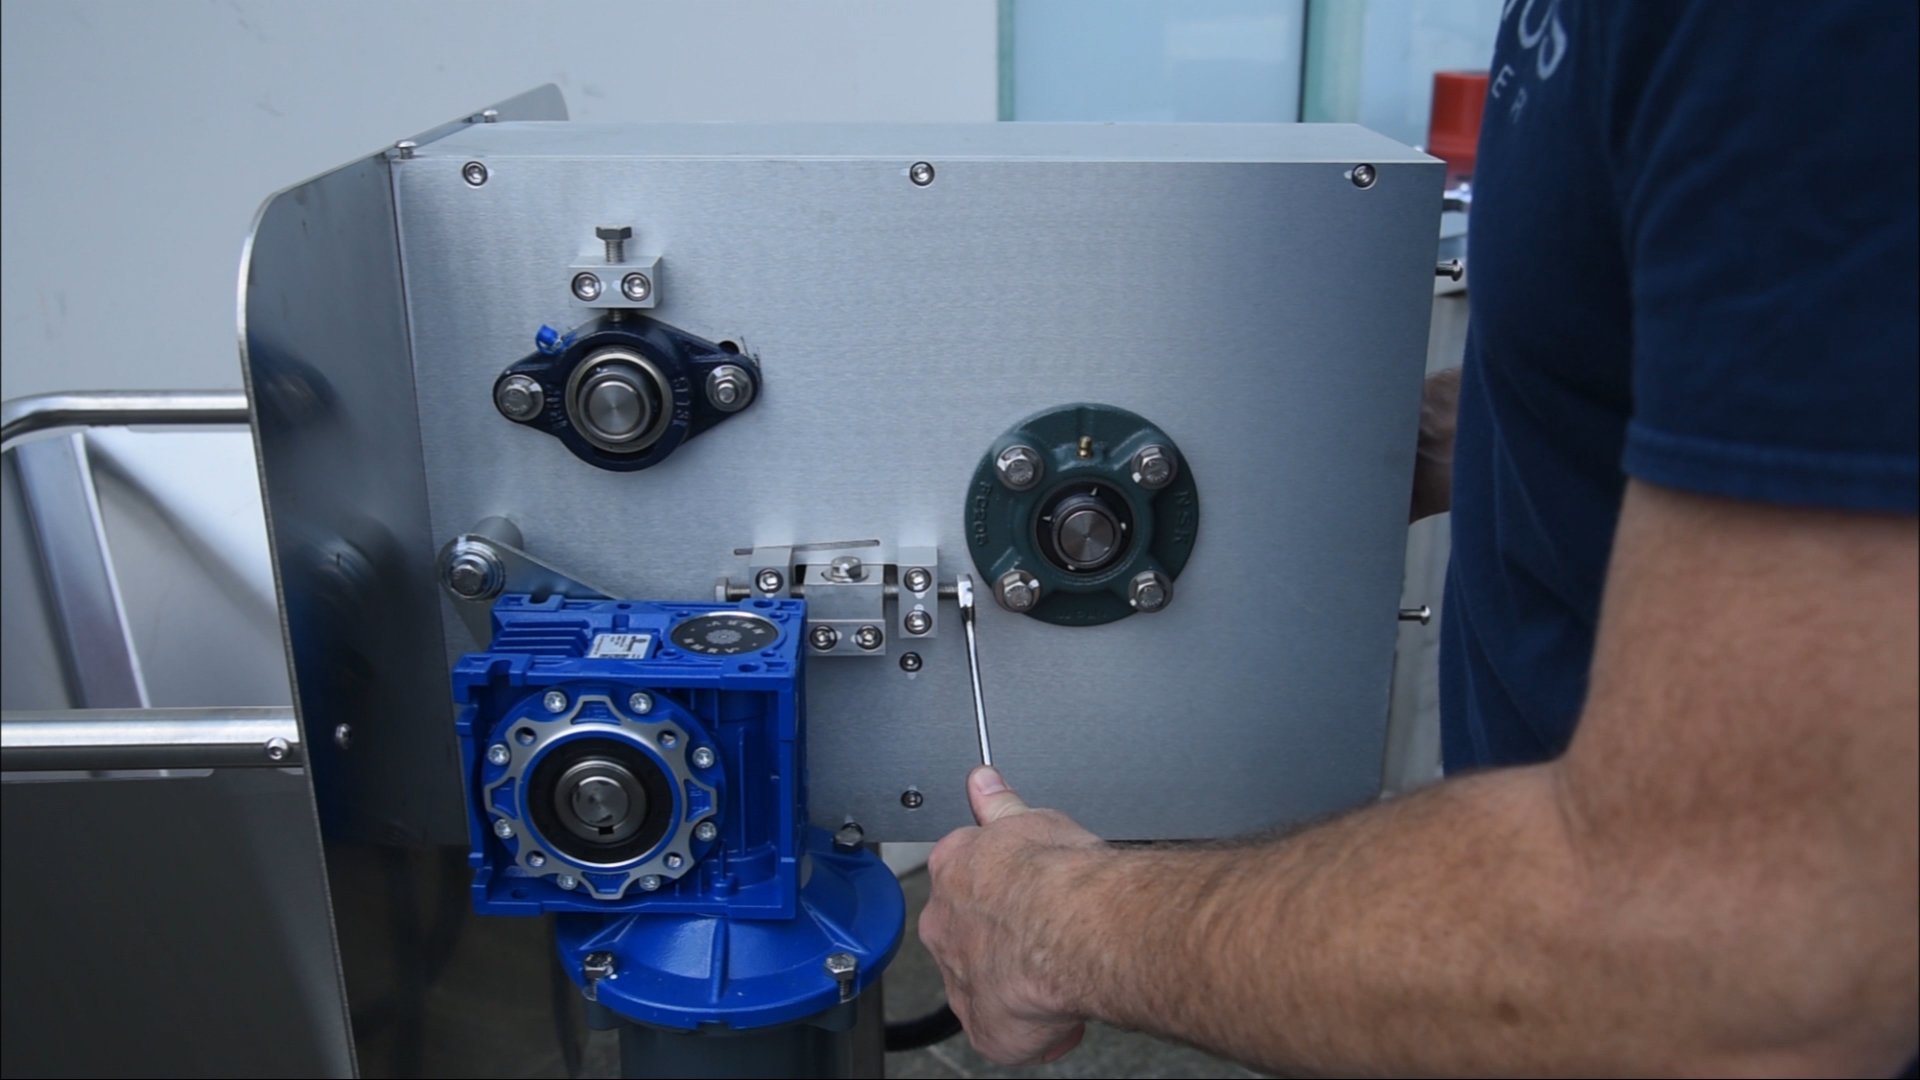
To move the blade away from the chipper (if it isn’t rotating past it), tighten the bolt closest to the chipper side and loosen the bolt closest to the roller side. That will give more clearance to rotate the chipper. You should be able to rotate the chipper completely.
08
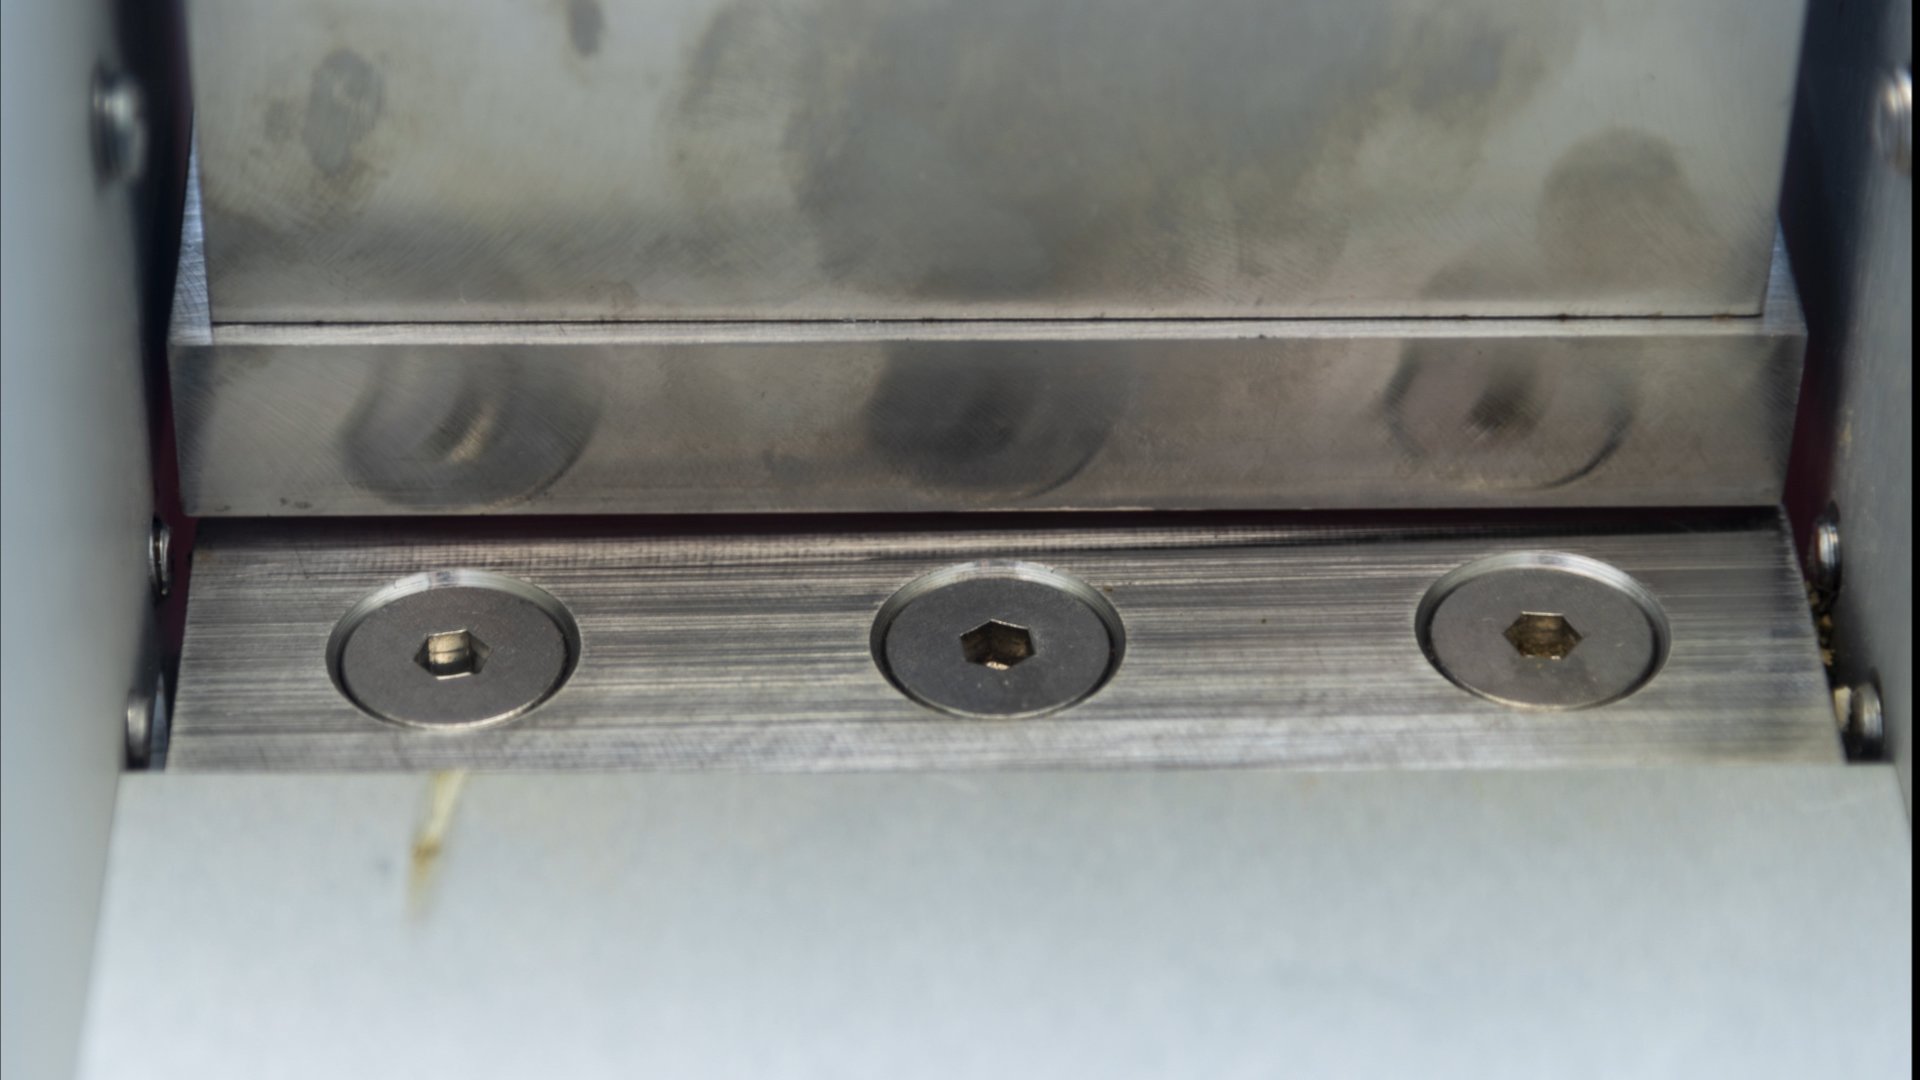
Look underneath – if the 2 components are not parallel, use the adjustment bolts on the side with the bigger gap to reduce the spacing so that they are parallel.
09
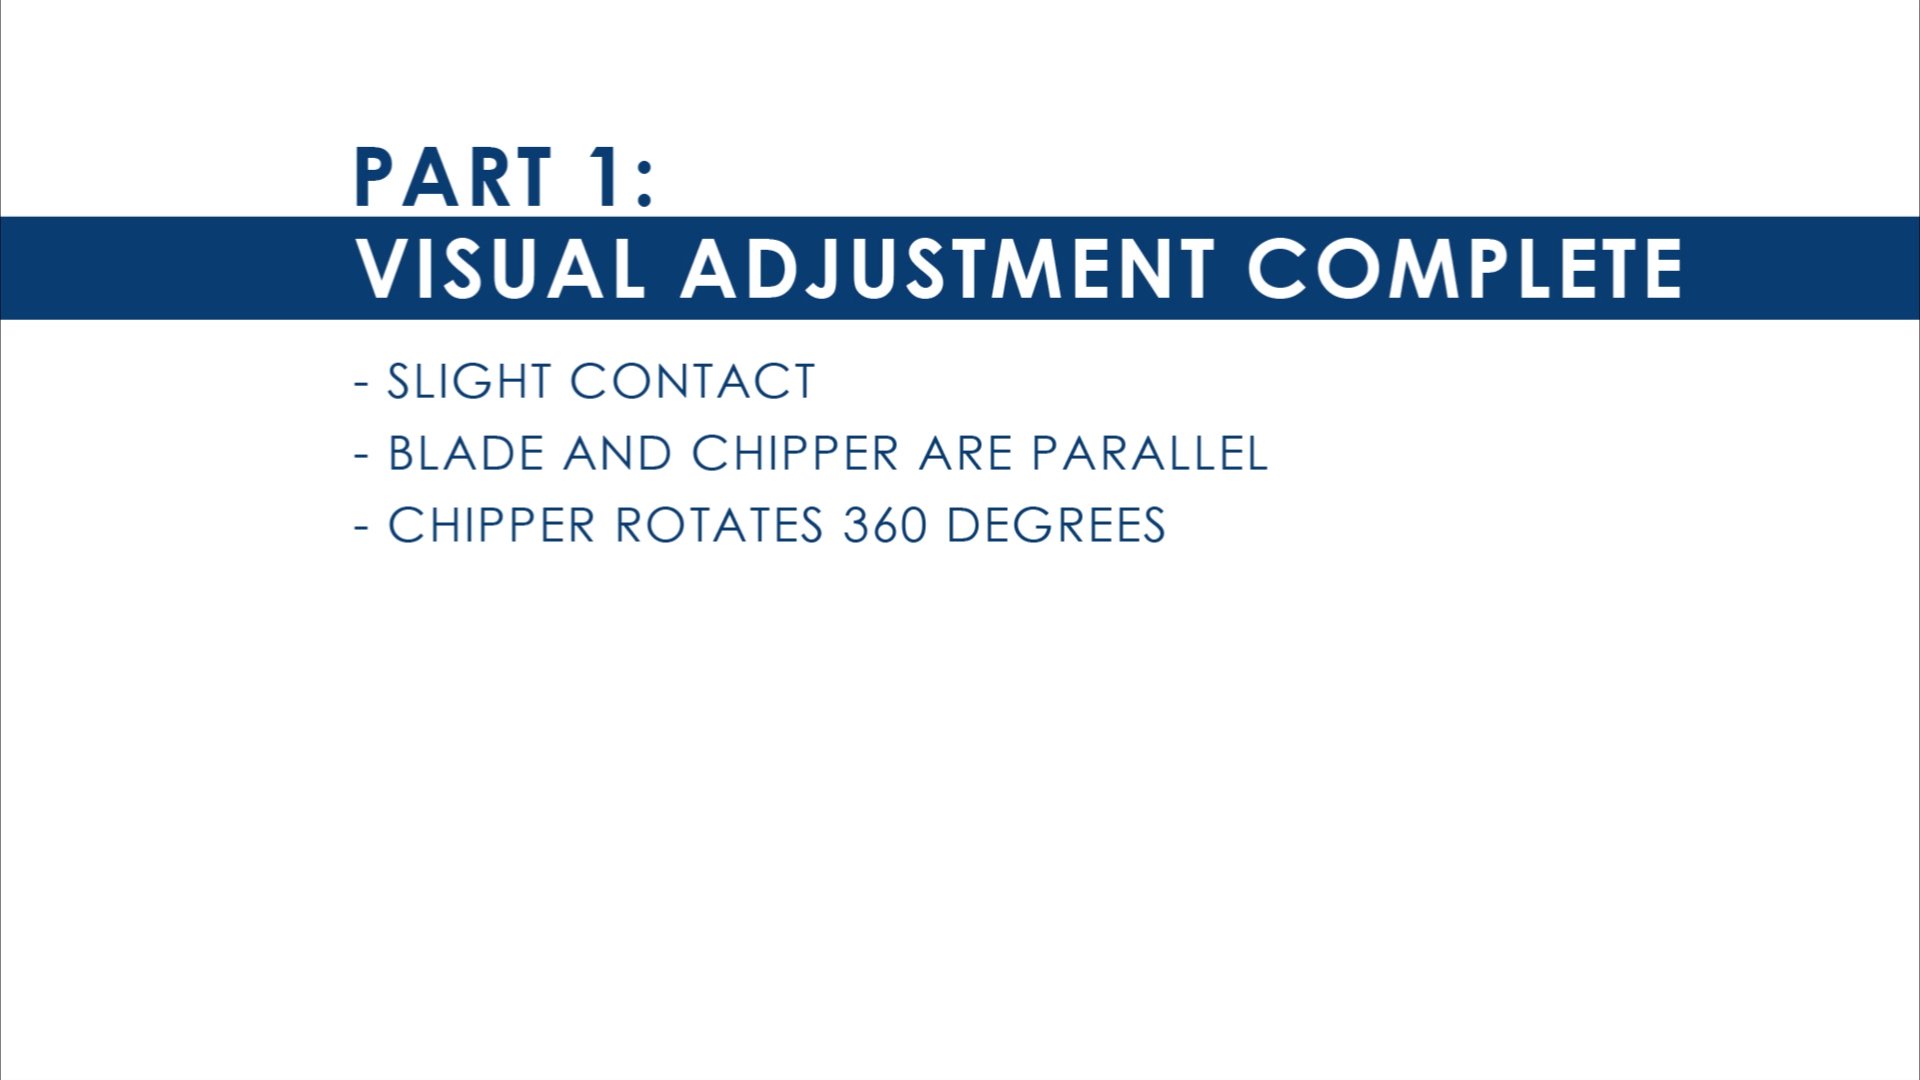
Once the rough adjustment is complete, there is slight contact, the blade and chipper are parallel, and it rotates 360 degrees, you can tighten the top bolt on both sides.
10
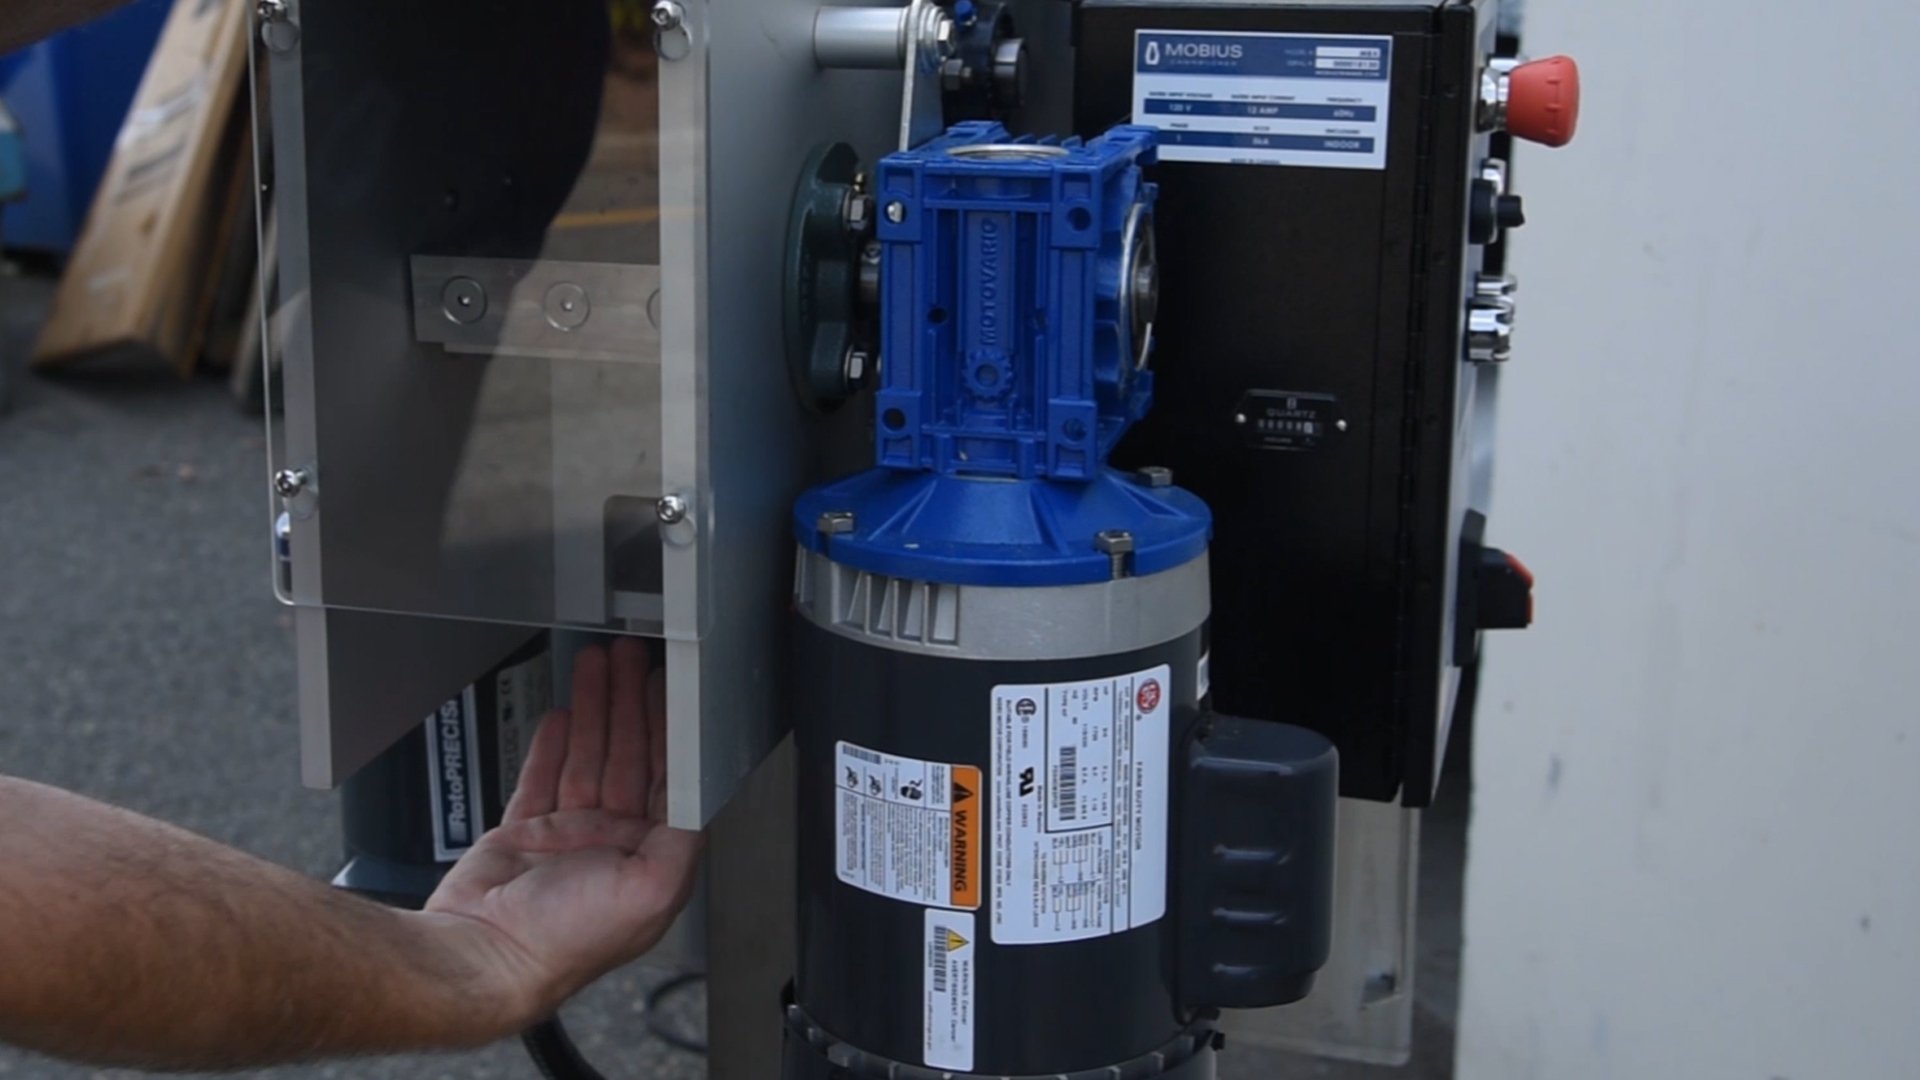
The second step is the audible adjustment. Replace the guard over the chipper, making sure not to put your hand in the exposed area underneath. Put the dieplate over the rollers, plug in the machine and start it up.
11
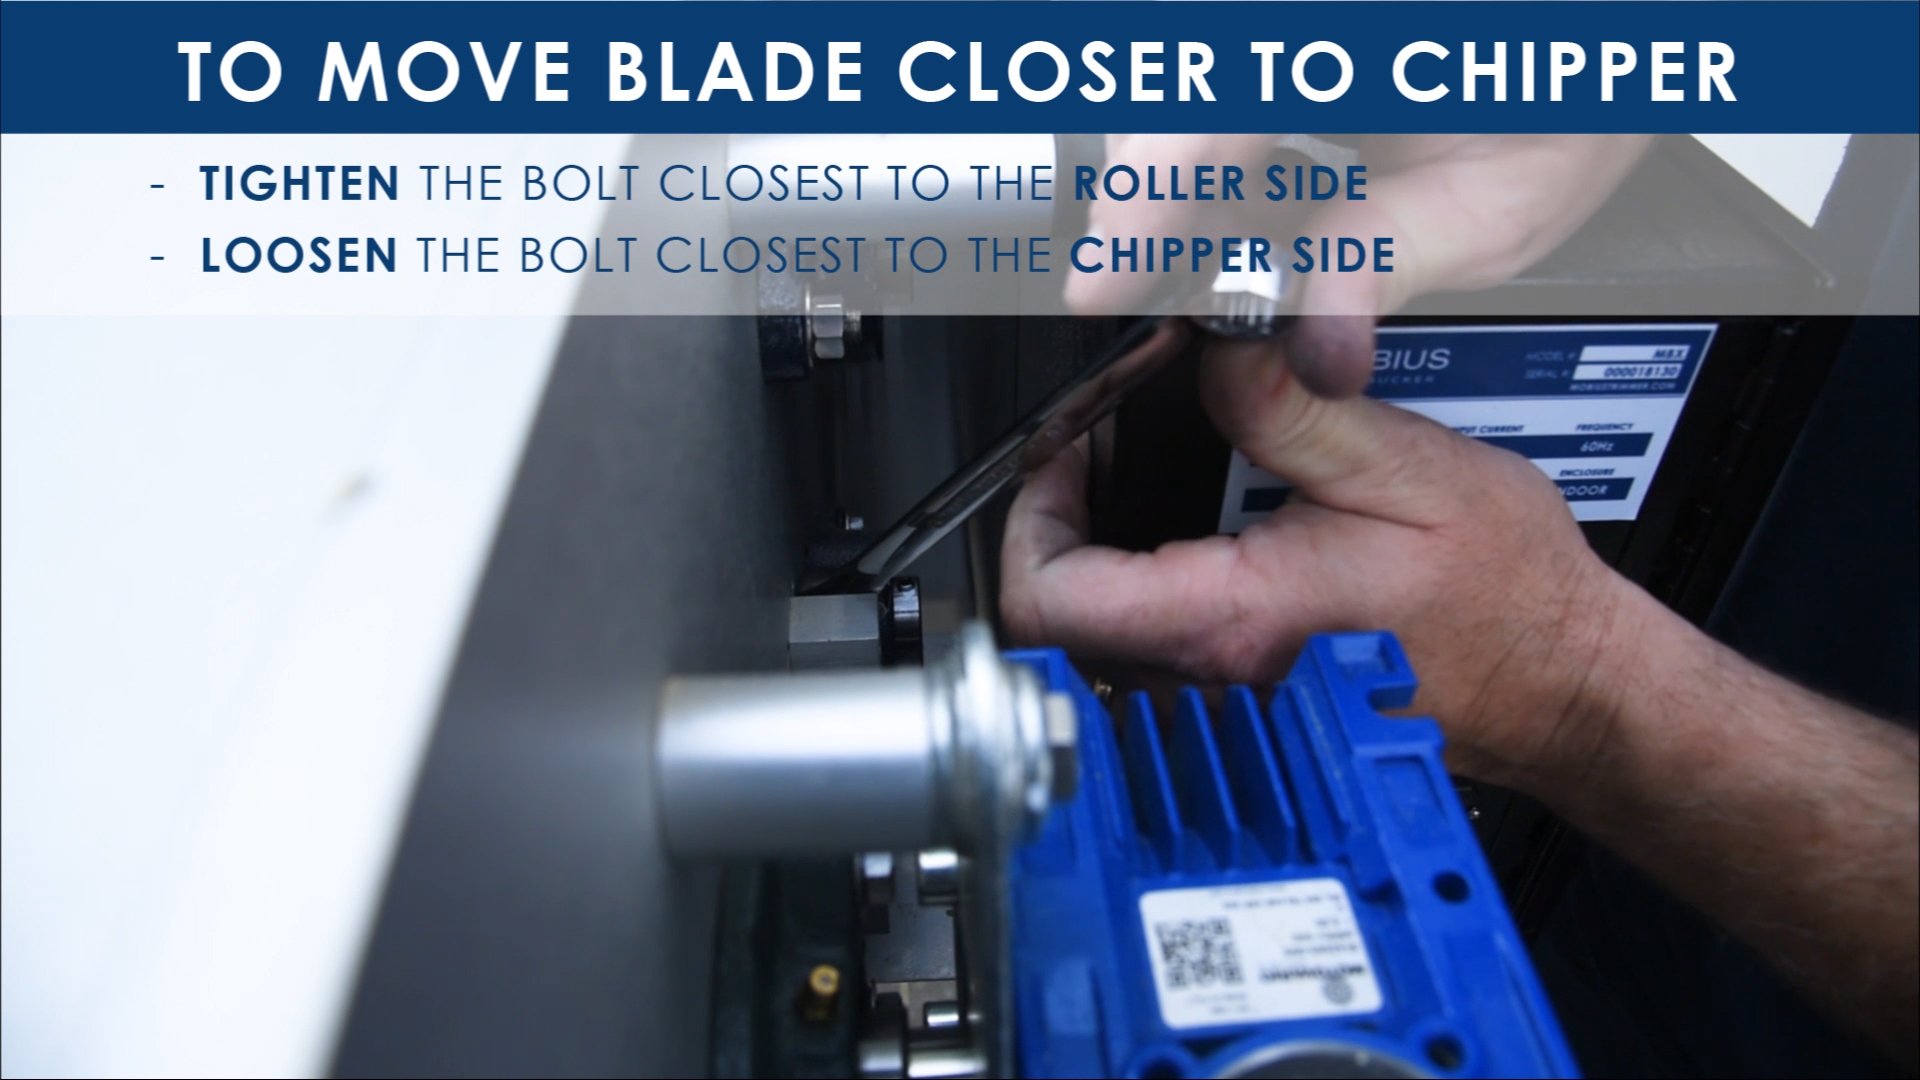
You should hear the chipper making a slight ticking sound. Use the adjustment bolts to push the blade into the chipper – to move it closer, tighten the bolt on the side closer to the rollers.
12
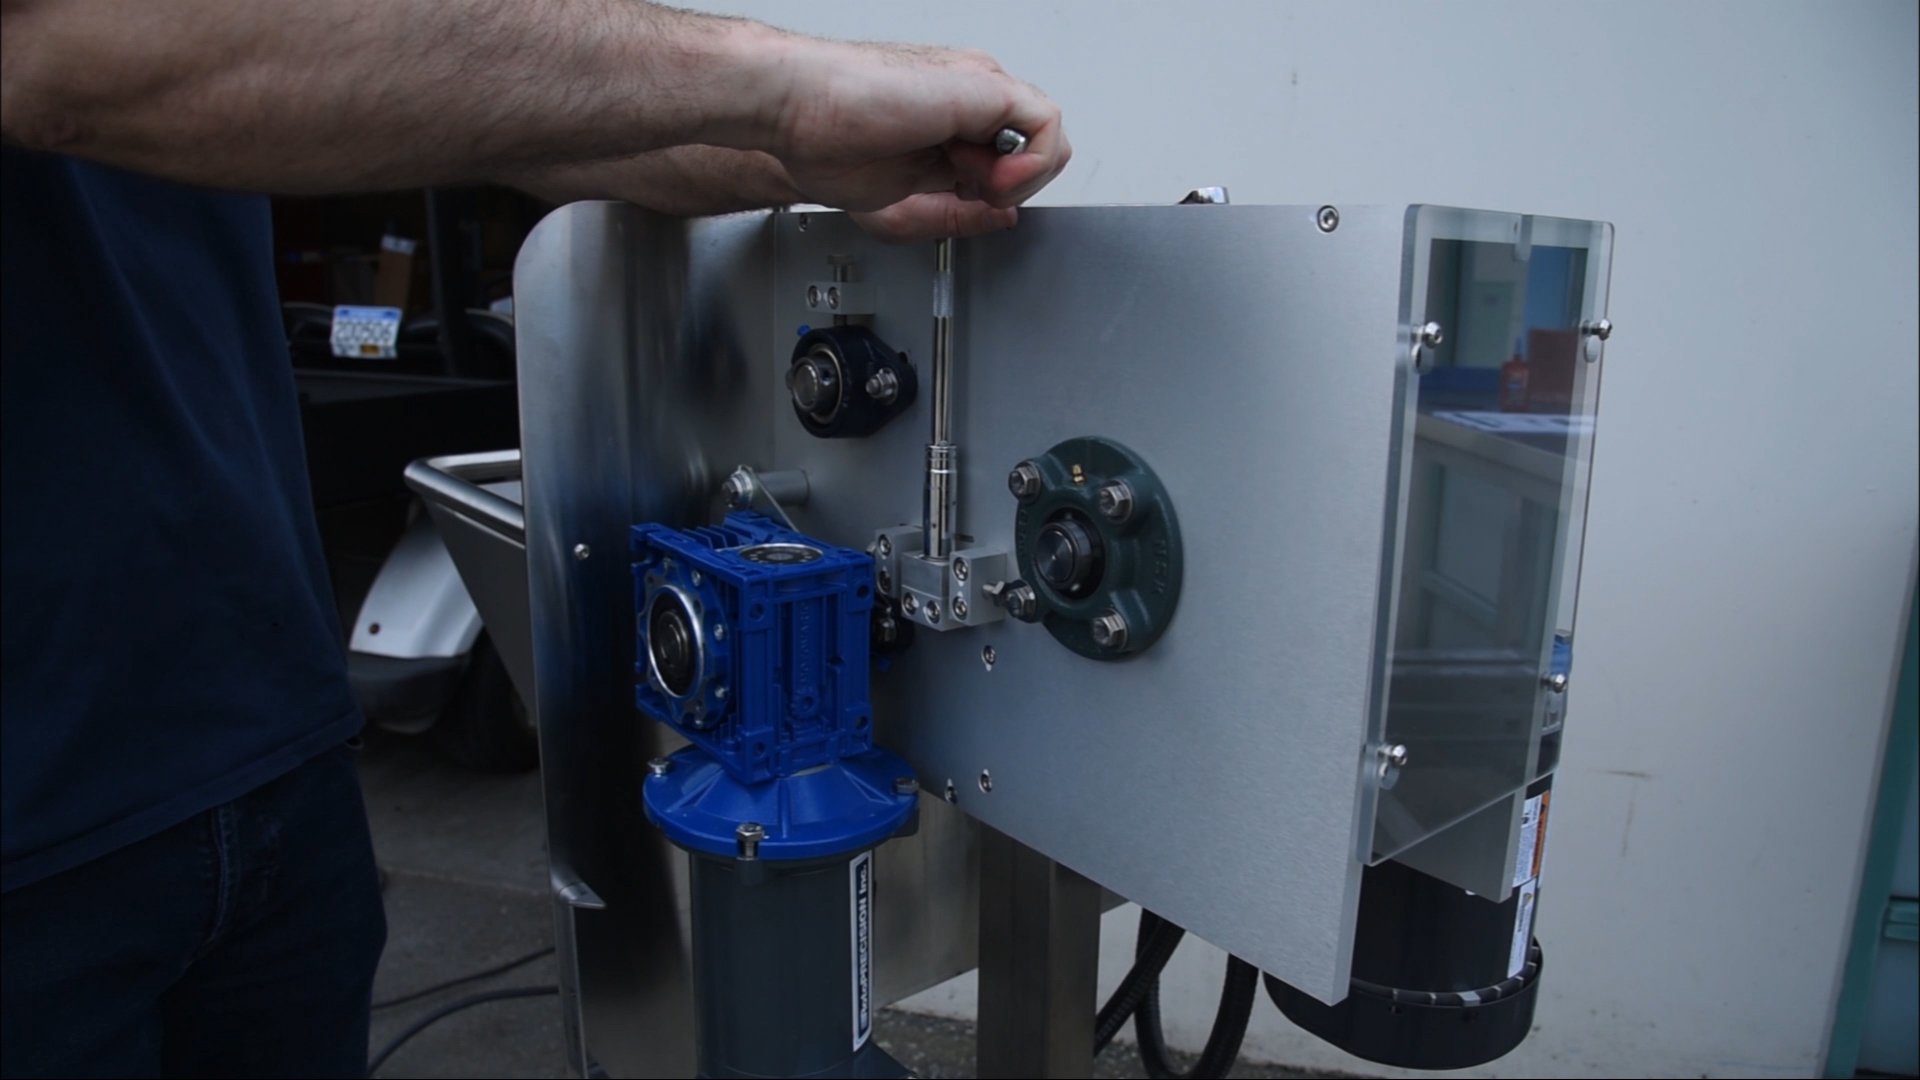
Once you’re happy with the sound, you can tighten the blade bolts which are already fairly snug. Allow it to run for a few minutes to run them in and make sure nothing changes with the sound. If everything continues to sound fine, give the bolts one more tighten to ensure nothing rattles loose.
13
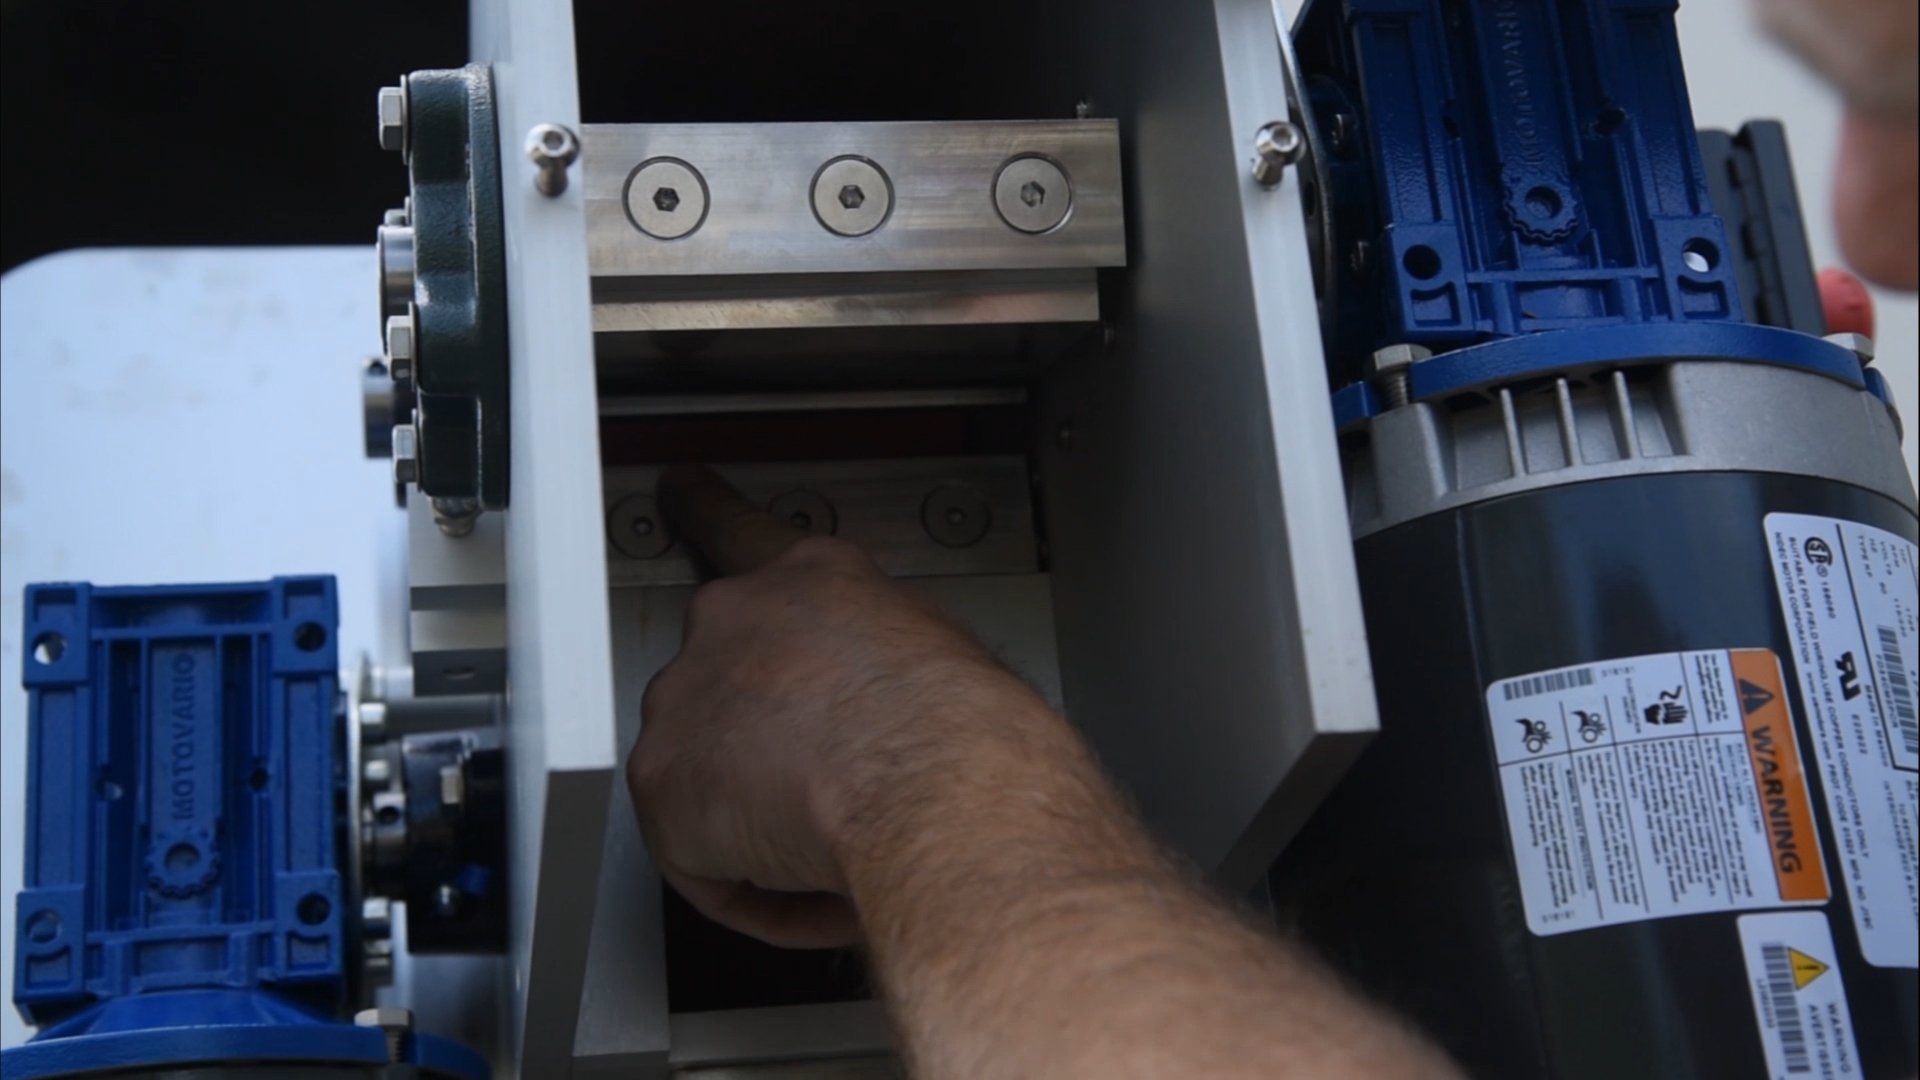
Turn the machine off, remove the guard and rotate the chipper to make sure you still have slight contact with the stationary blade, and it’s parallel contact across the full width of the blade, and that after rotating 180 degrees, you have the same contact and parallel spacing.
14
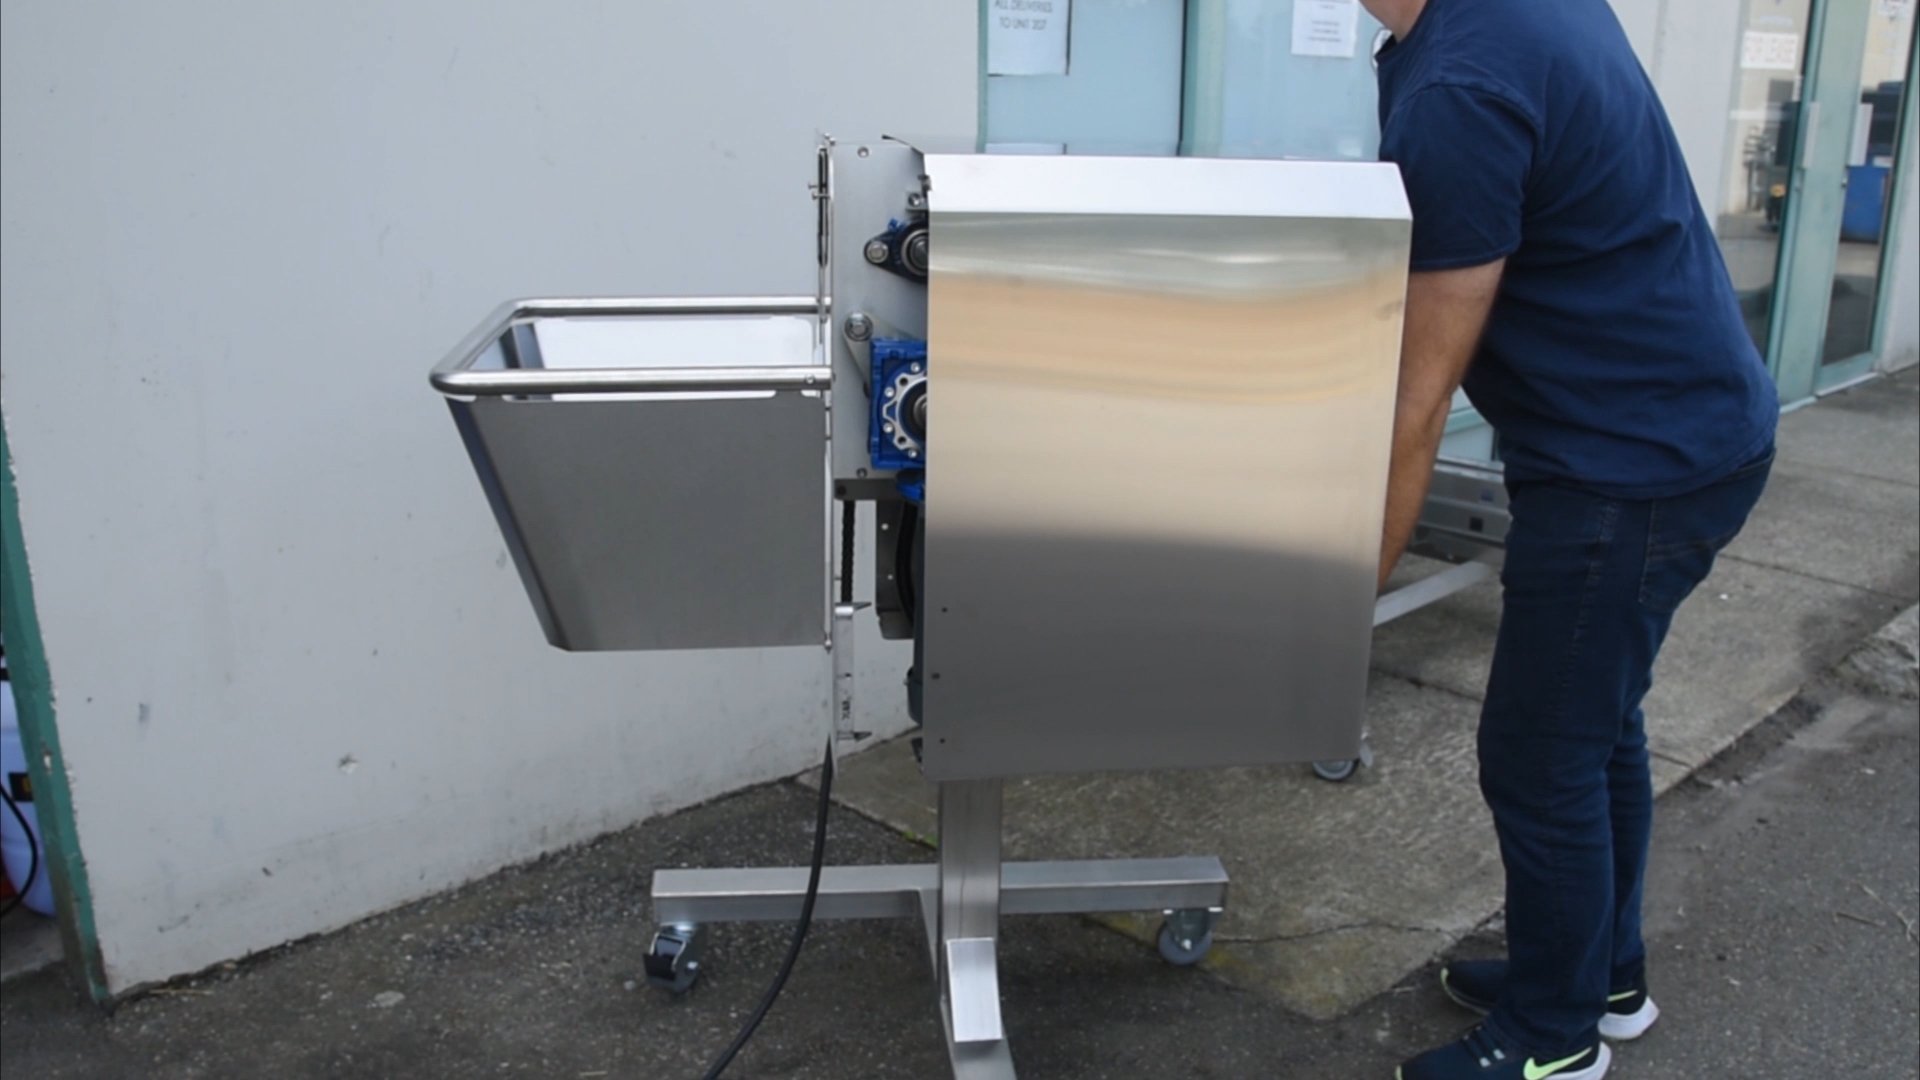
Put the shrouding back on. Make sure that the hooks on the bottom of each side go into the holes.
15
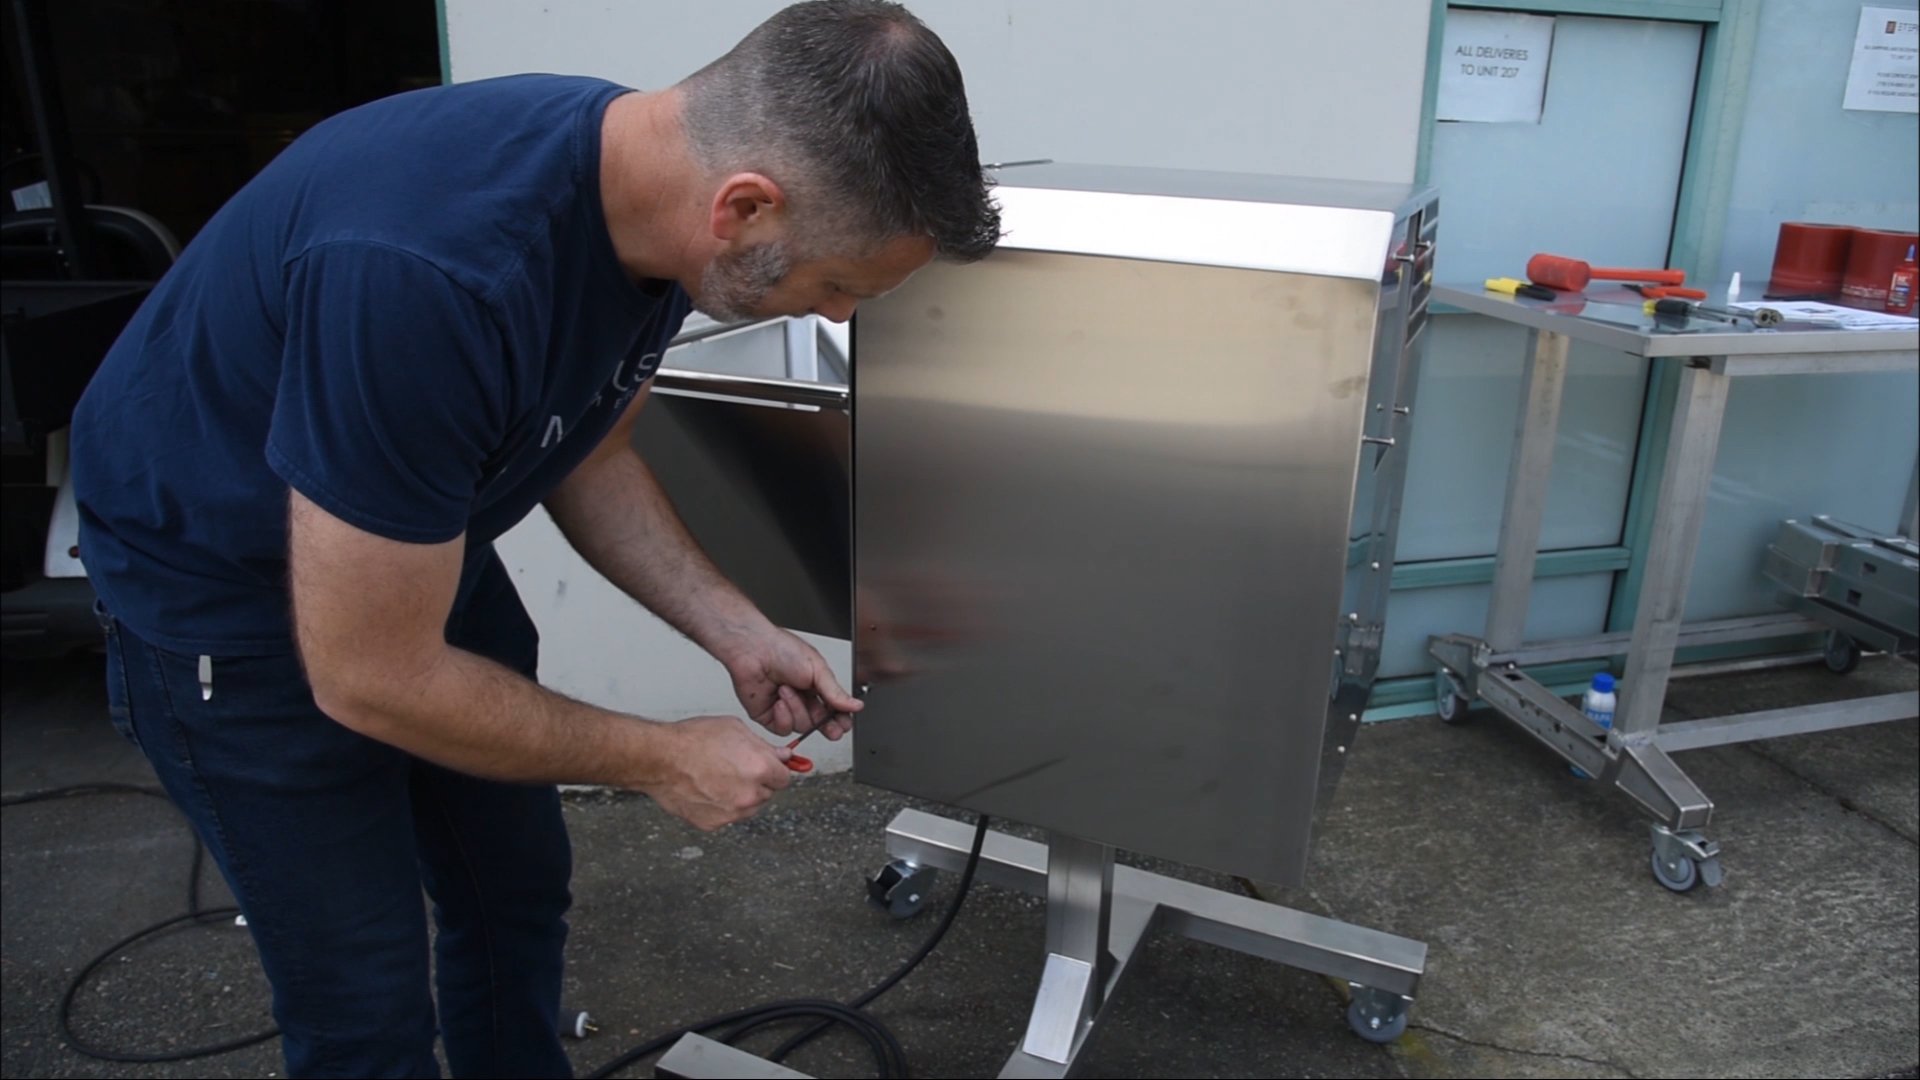
Install the 2 button head screws on the bottom of each side, but don’t tighten yet, then thread the centre screw at the top of the chipper side.
16
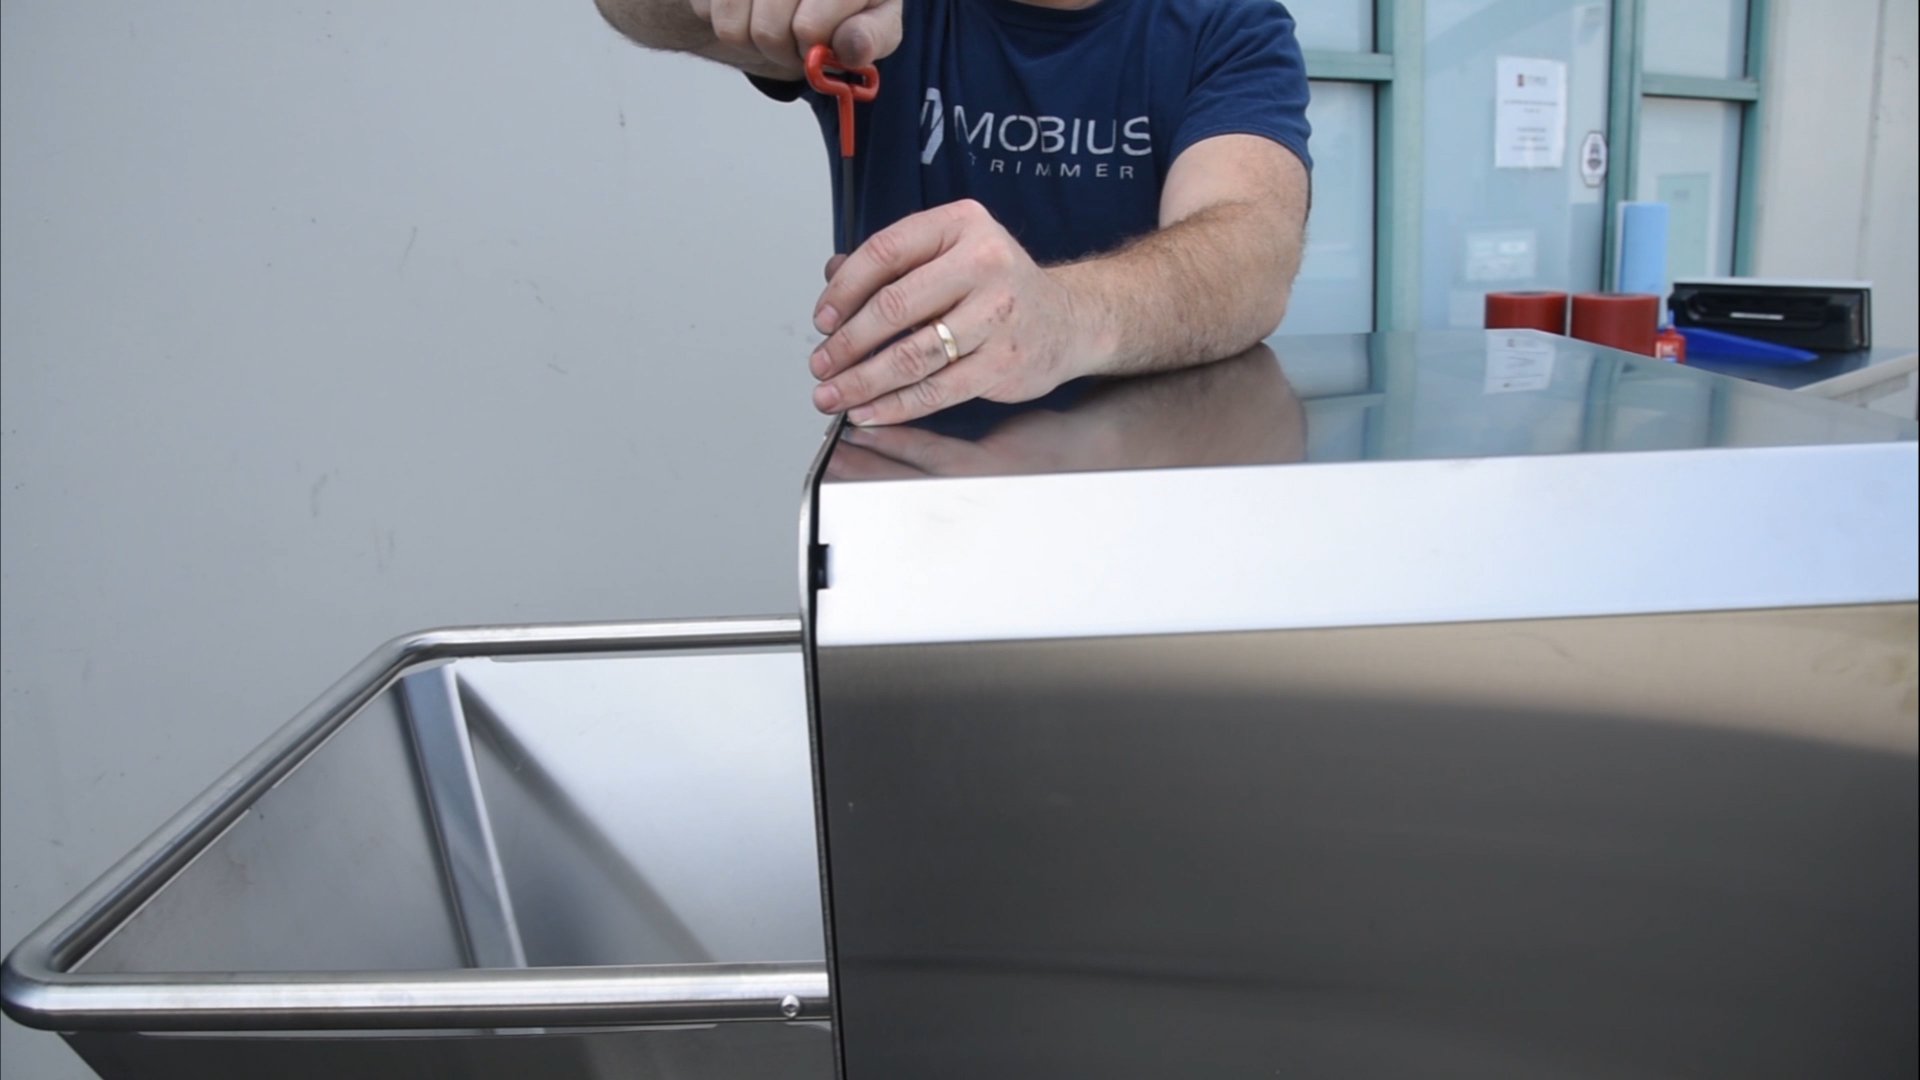
Tighten the two button heads at the top of the shroud, the two previously threaded button heads at the bottom of each side, and the 4 screws in the corners of the dieplate.
17

Replace the cover over the chipper and tighten each of the screws.
18
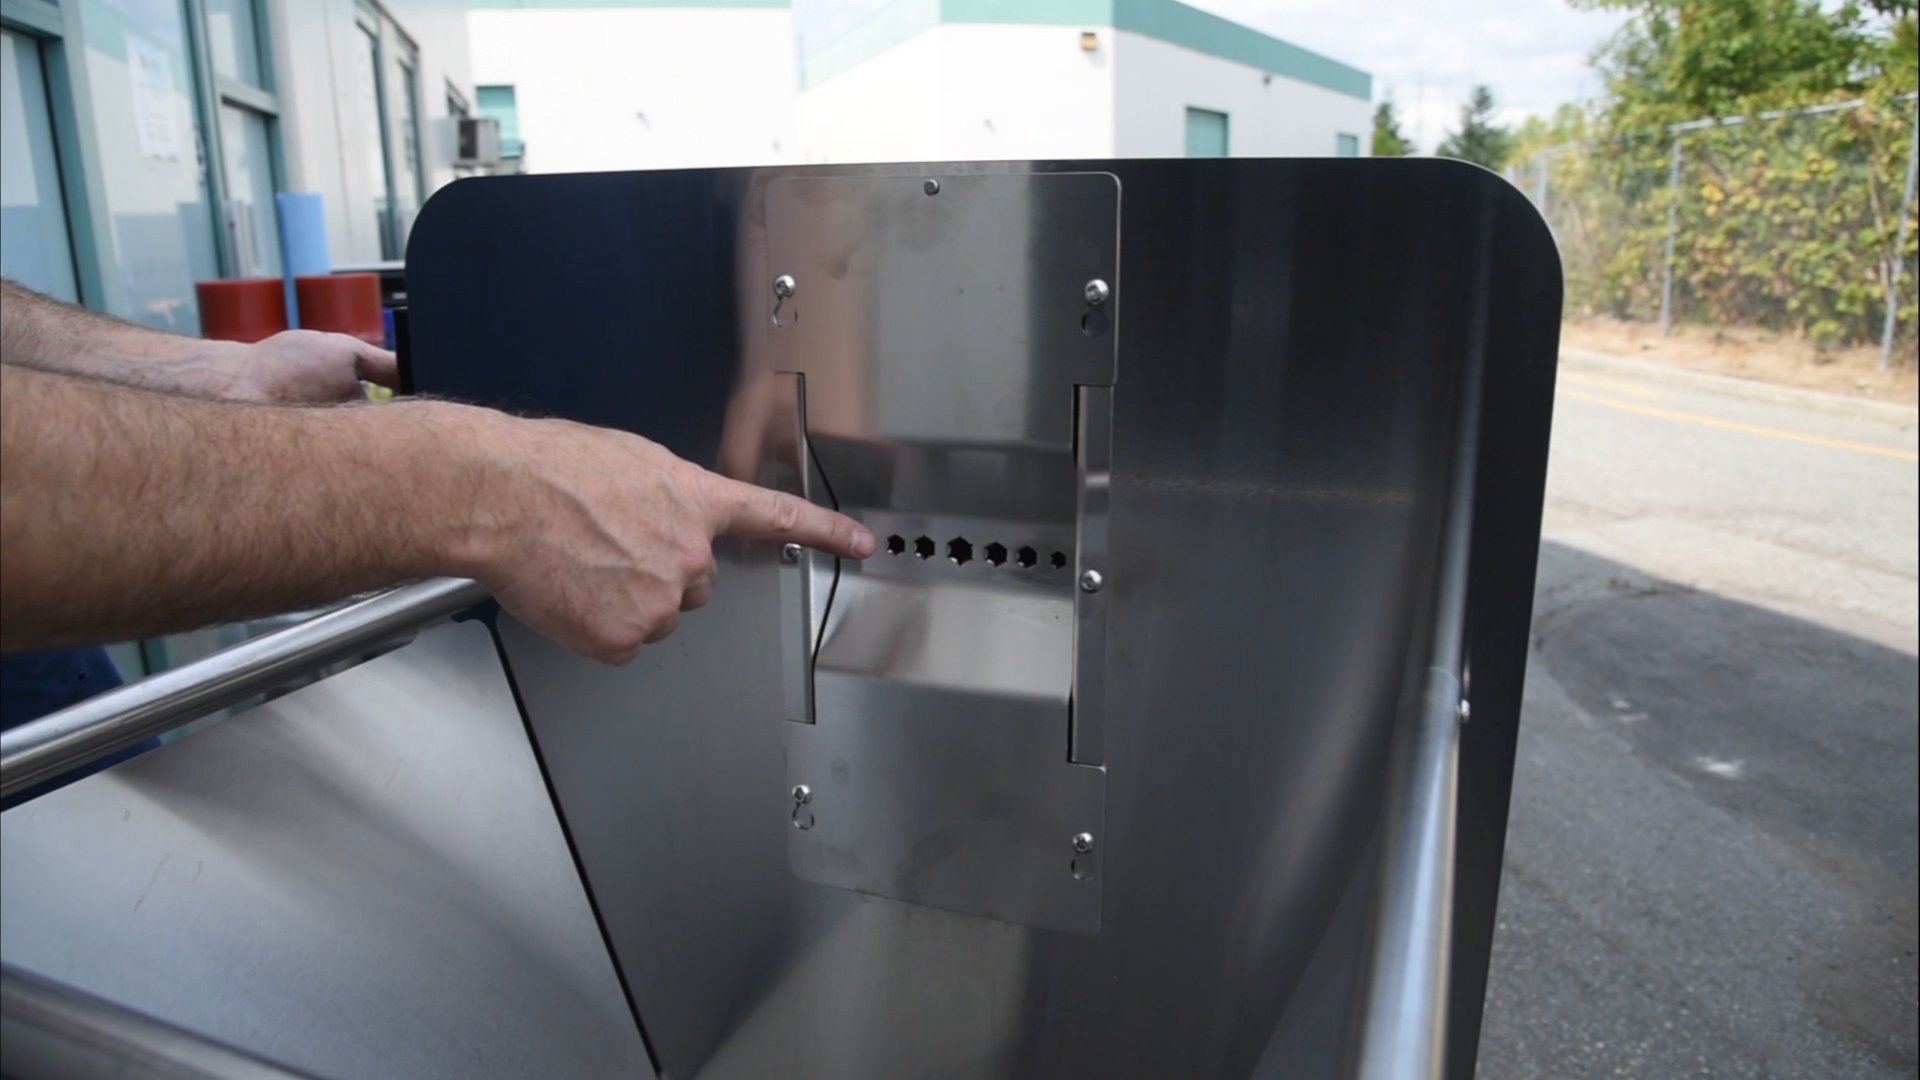
Turn the machine on and allow the rollers to rotate in the forward direction while looking through the holes in the dieplate. Then switch directions. That’s it – you’ve completed the chipper realignment.
