M108S Pre-Trim Inspection
Mobius M108S Trimmer
Pre-Trim Inspection
Before you Trim, set-up your Pre-Trim Inspection
Inspection Checklist
01
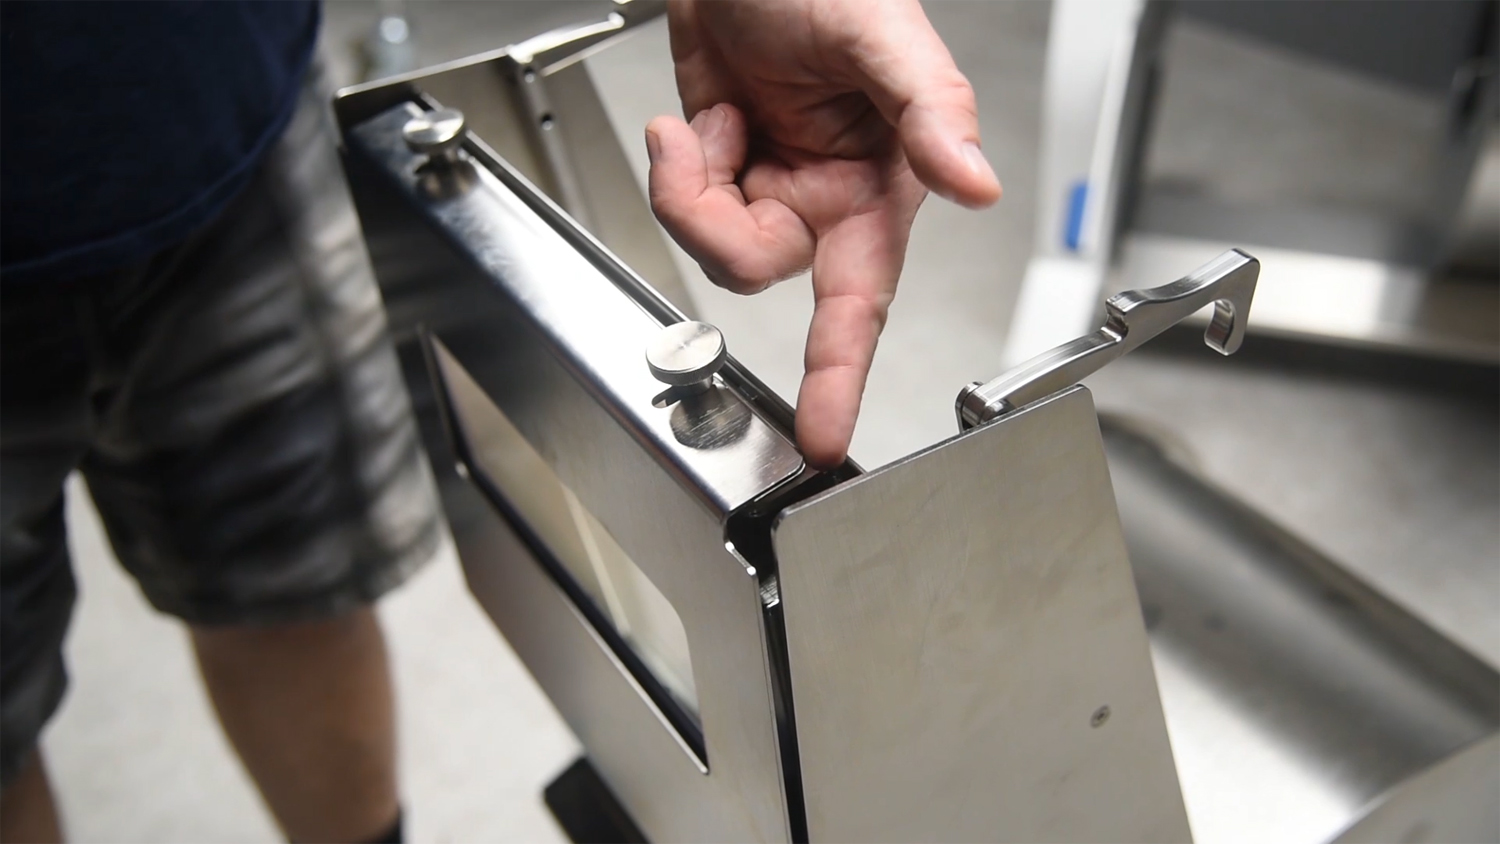
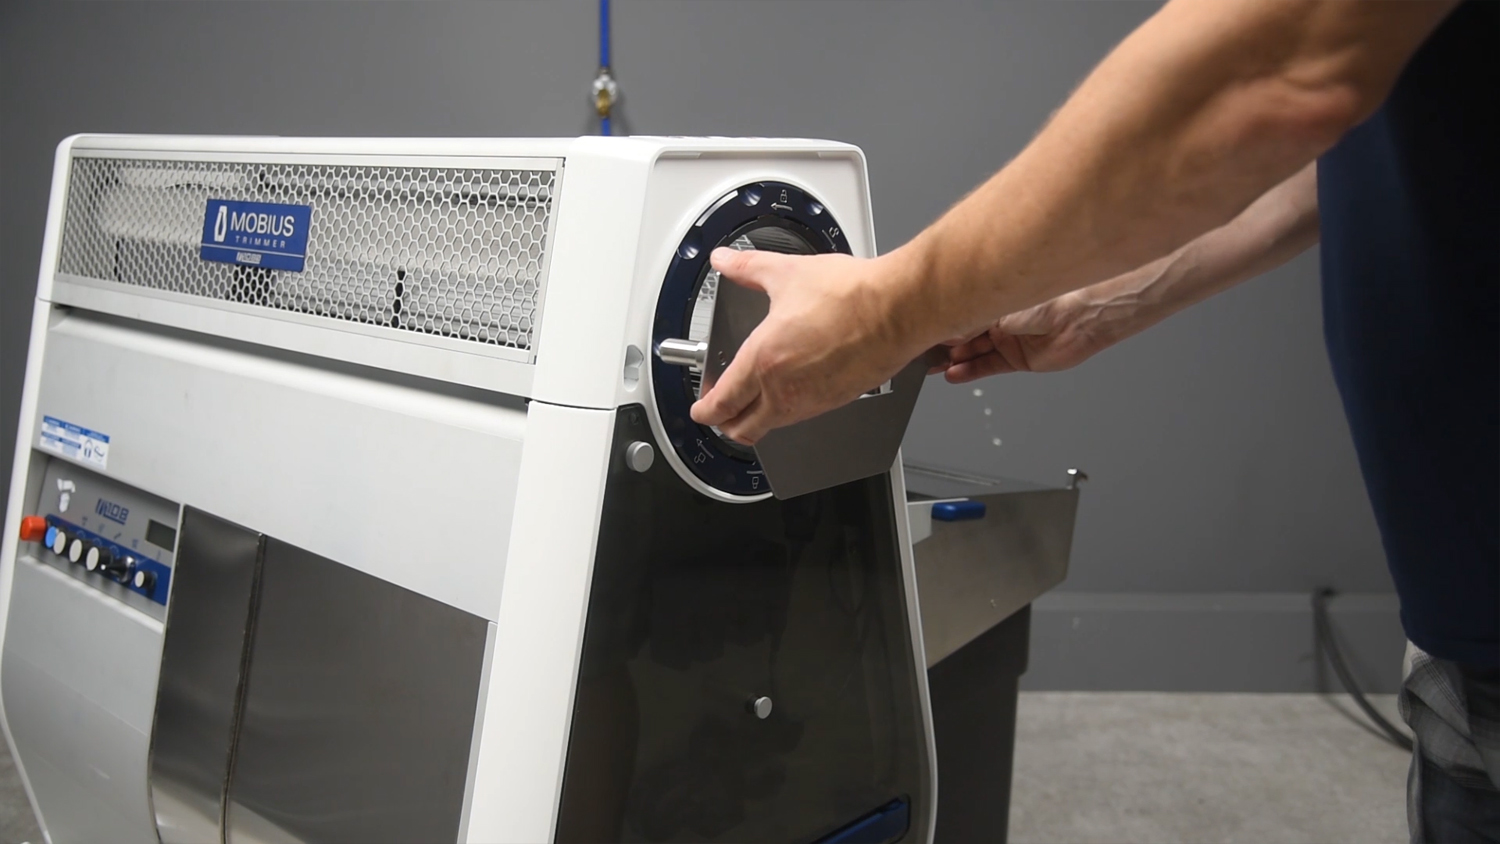
When installing the fascia, be sure to seat it all the way flush to the separator body. The fascia holds the window tight to the separator and seals the vacuum system. You should not have any gaps between the thumb-screw shafts and the fascia cut-outs, or between the fascia and the window.
02
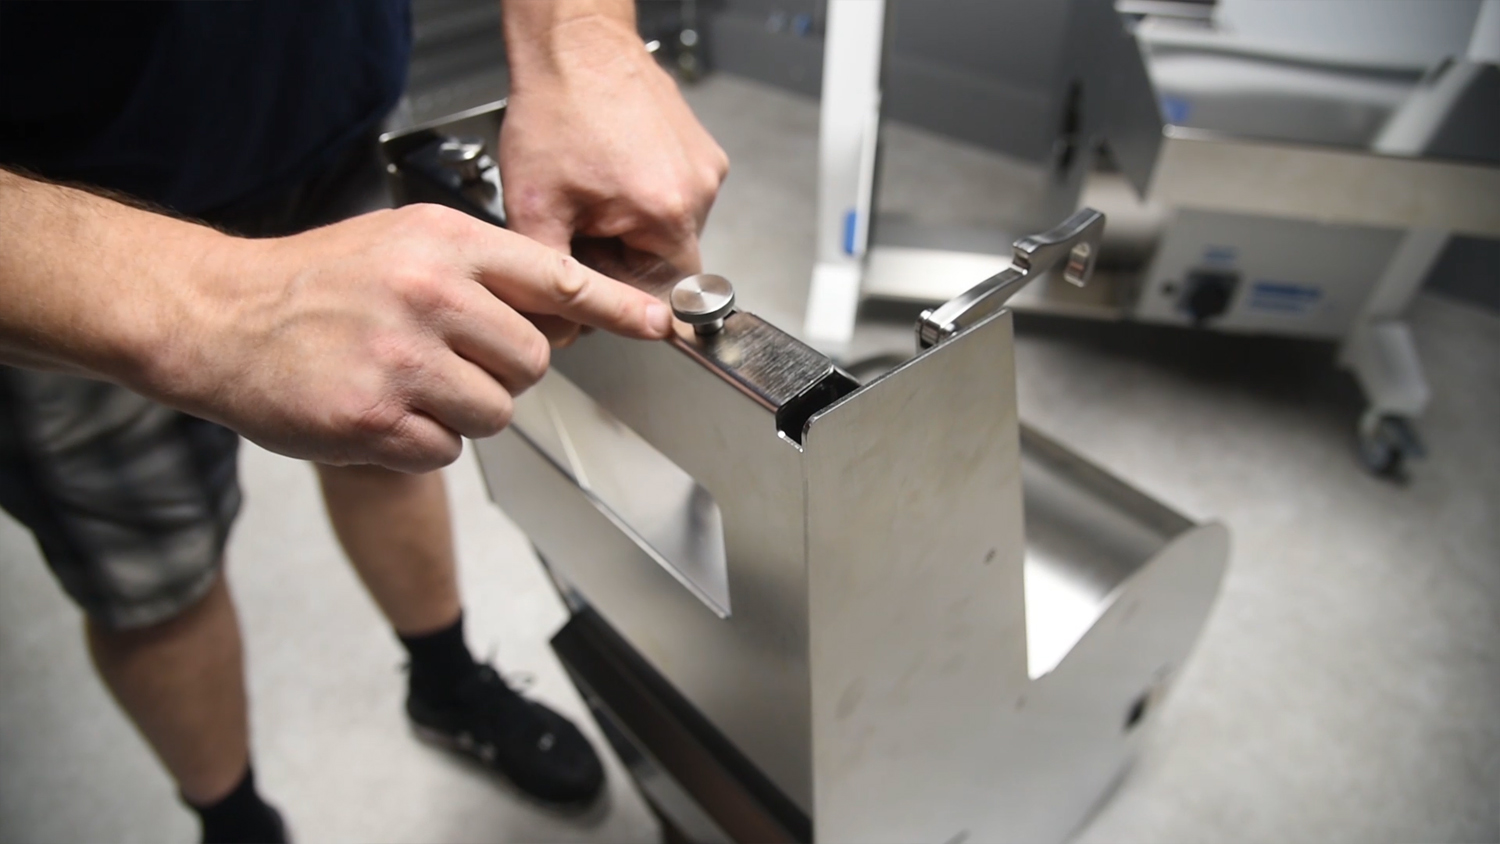
If you notice any gaps, make sure to fix it with the separator out of the trimmer. Do not try to adjust the fascia while the separator is installed in the trimmer.
03
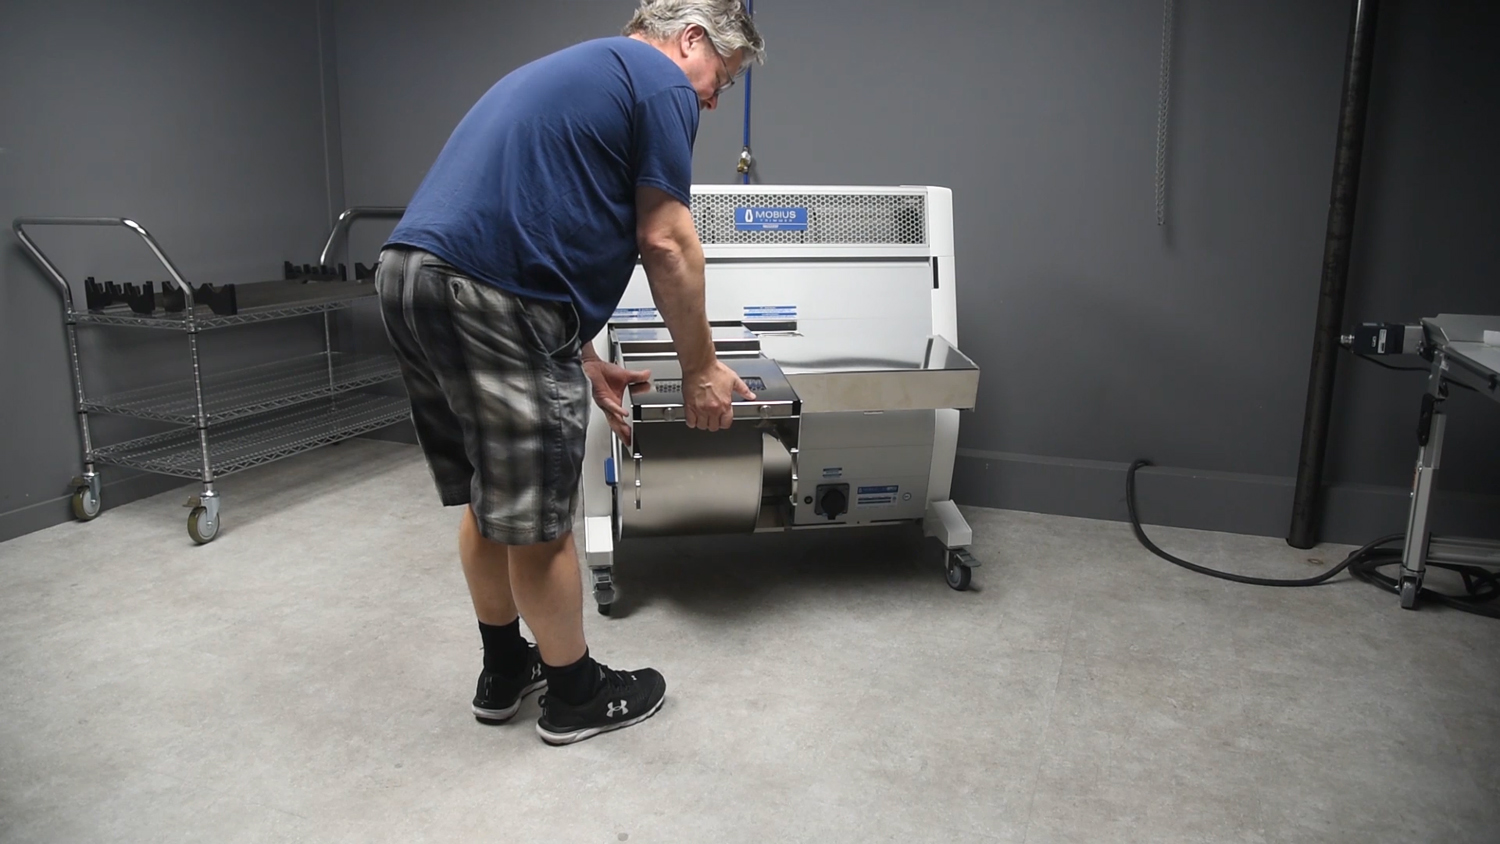
With the window and fascia correctly installed, let's slide the separator into place. There's a rail on the left side of the separator that carries the weight on the left side, but there is nothing carrying the weight on the right side.
04
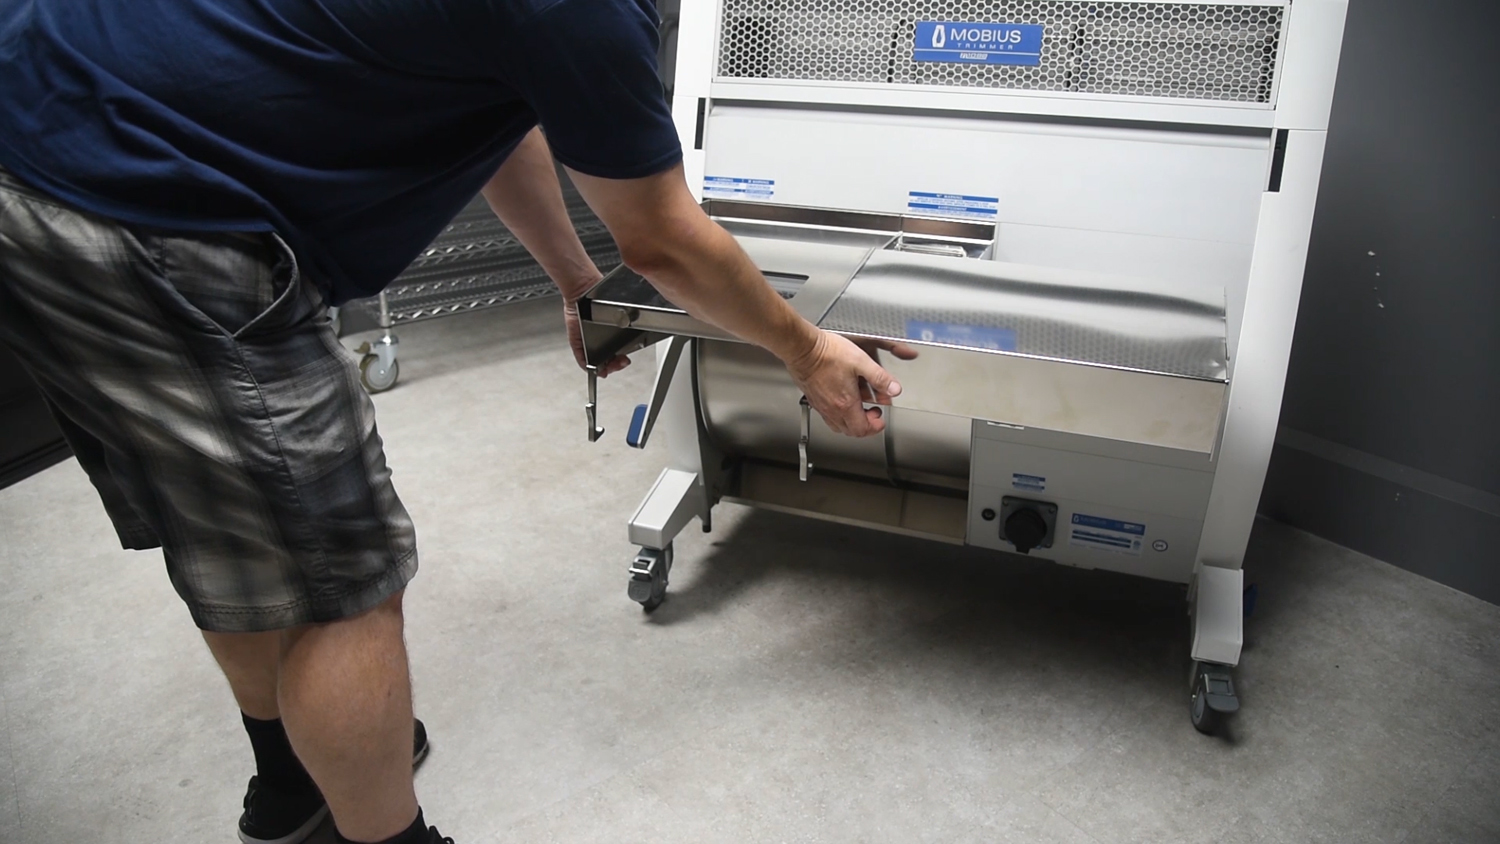
Once you have a couple inches of the rail resting on the left side, lift the right side of the separator up a bit and the separator will slide in easily.
05
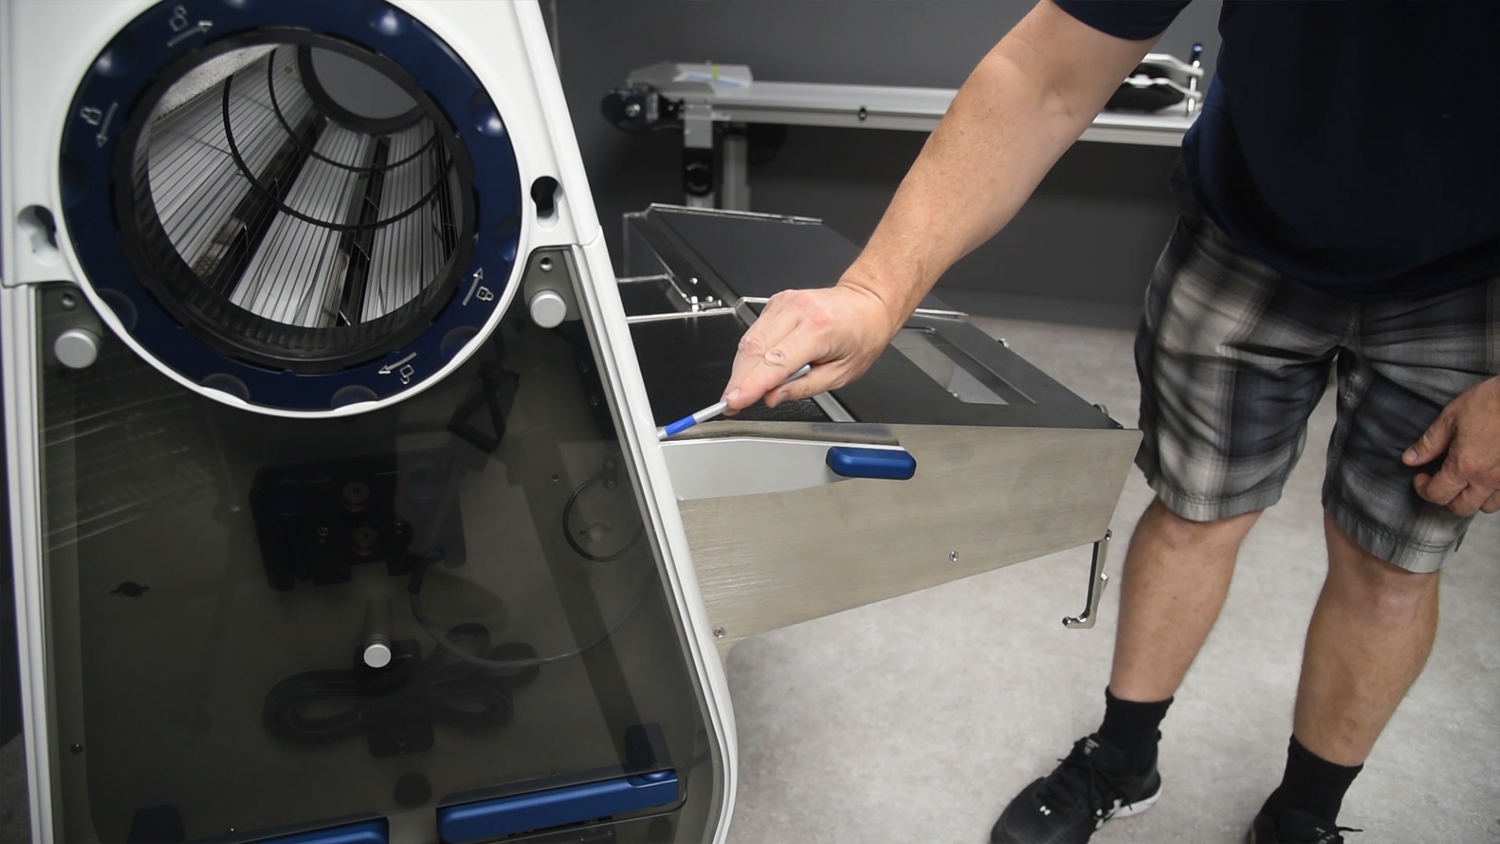
To secure the separator tightly in place, pull the hockey stick all the way up until it is flush with profile of the separator.
06
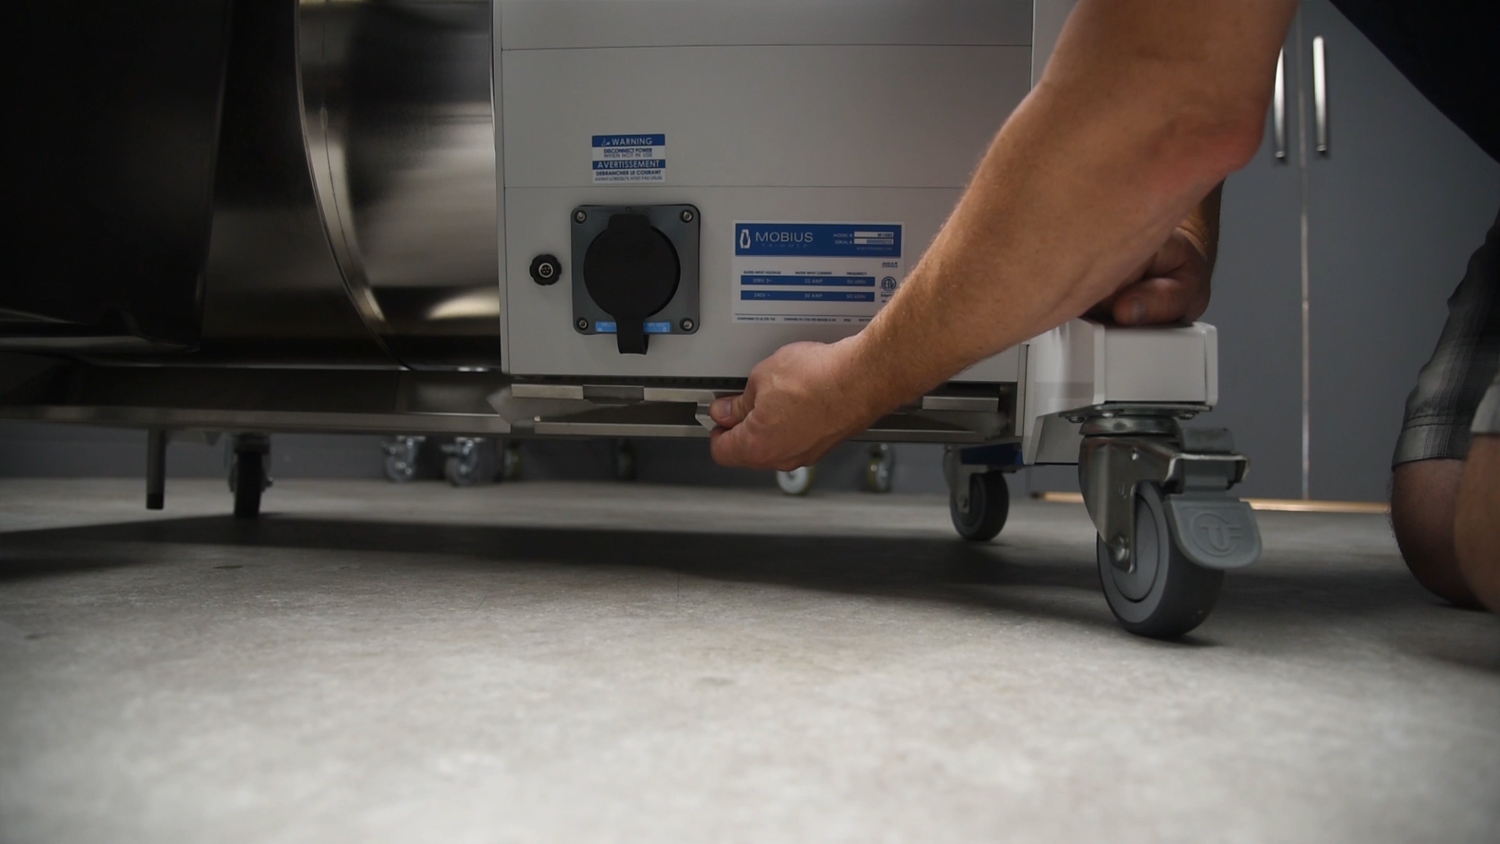
The electrical compartment, or "E-box", requires good airflow to keep the motors and electronics cool.
07
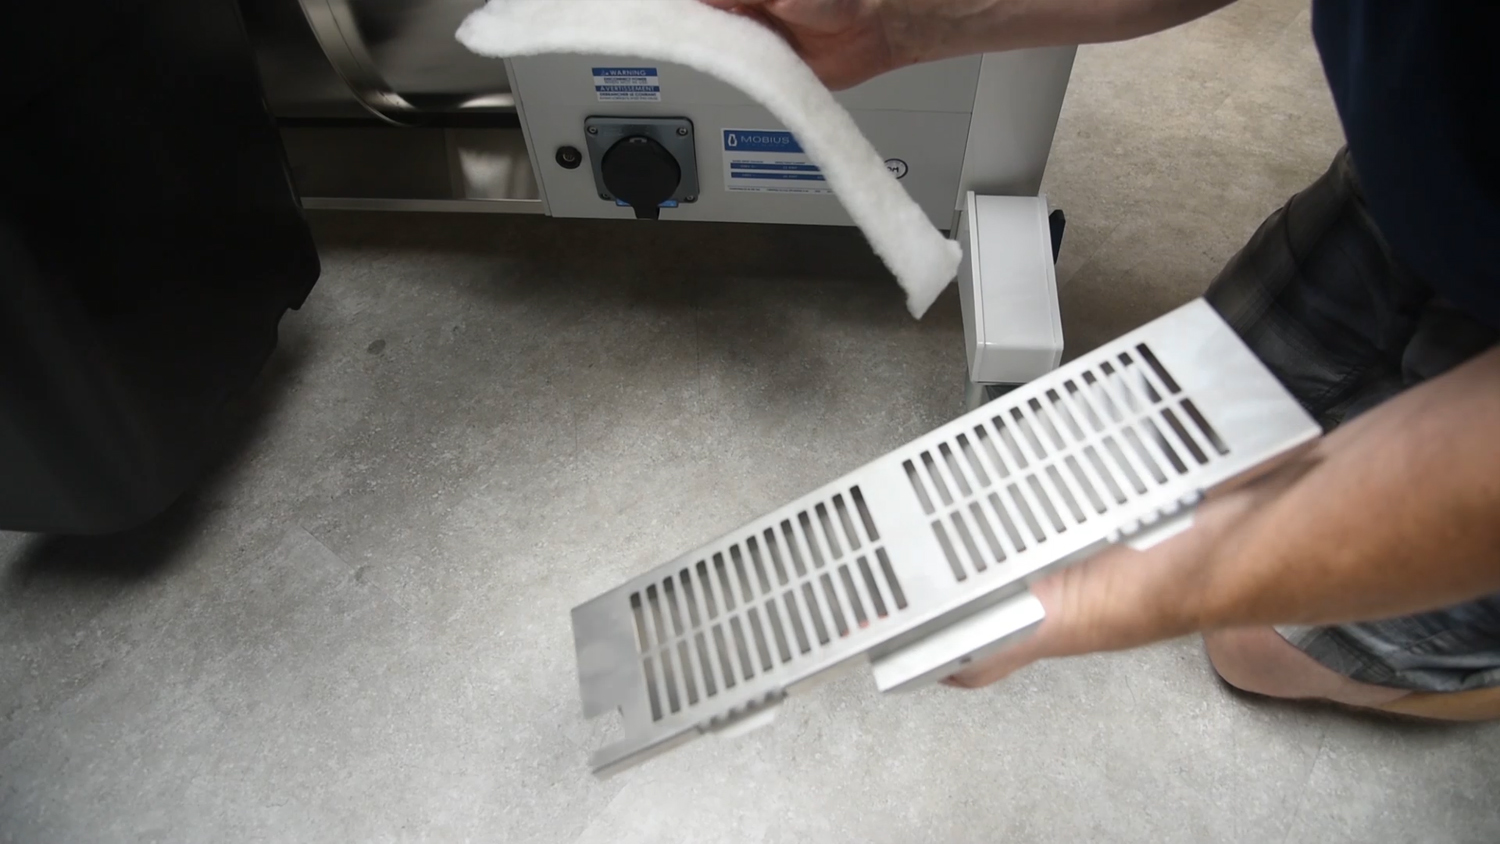
Be sure to check the E-box filter before every trim-session, and replace it as it becomes clogged with kief dust.
08
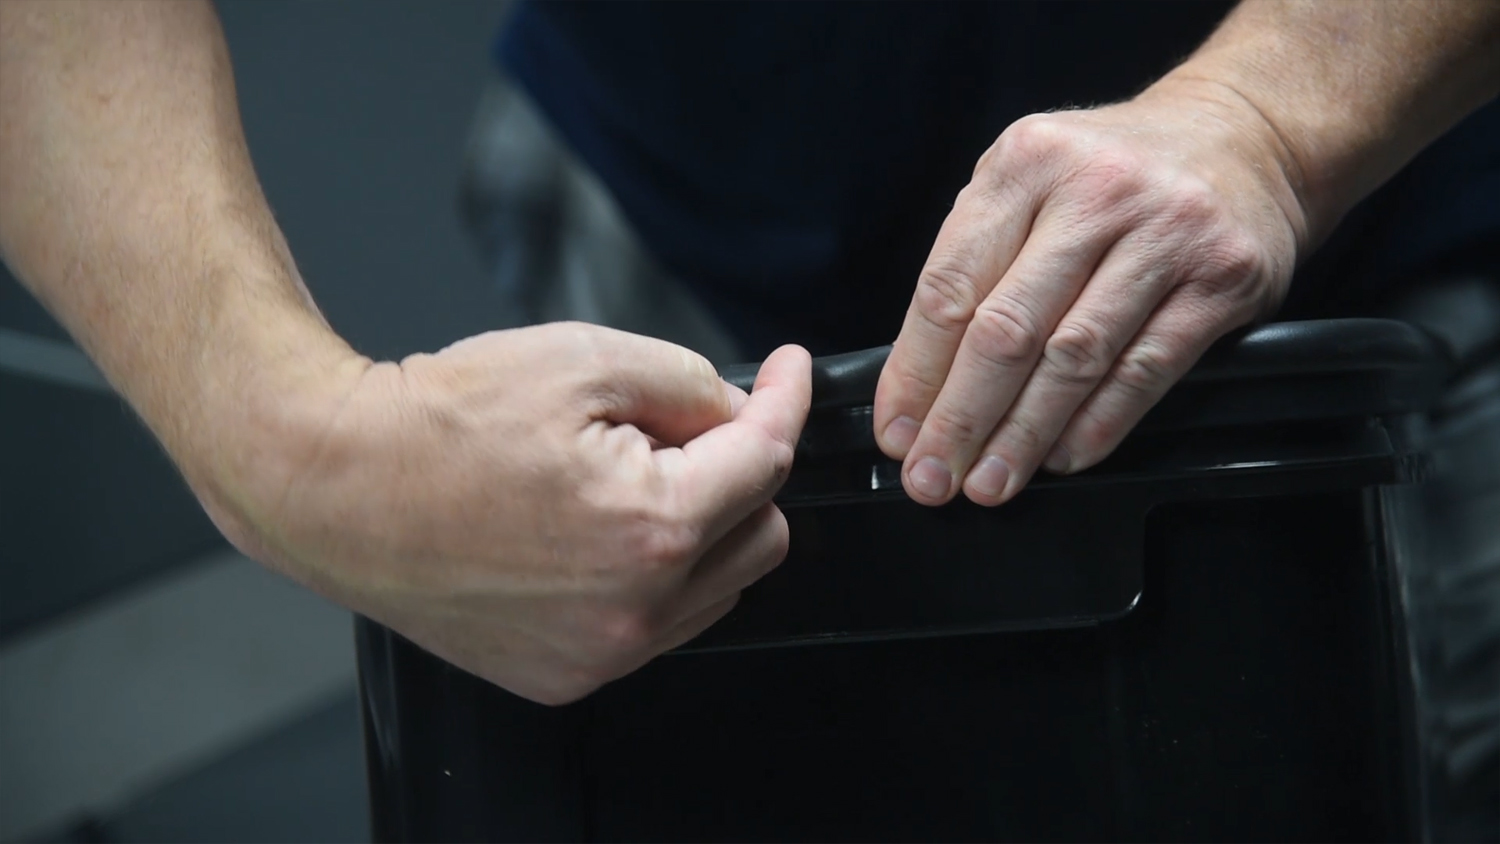
The trim tote gasket should butt together above the warning logo on the trim tote. This gasket is an integral part of the vacuum system and should completely seal the top of the trim tote.
09
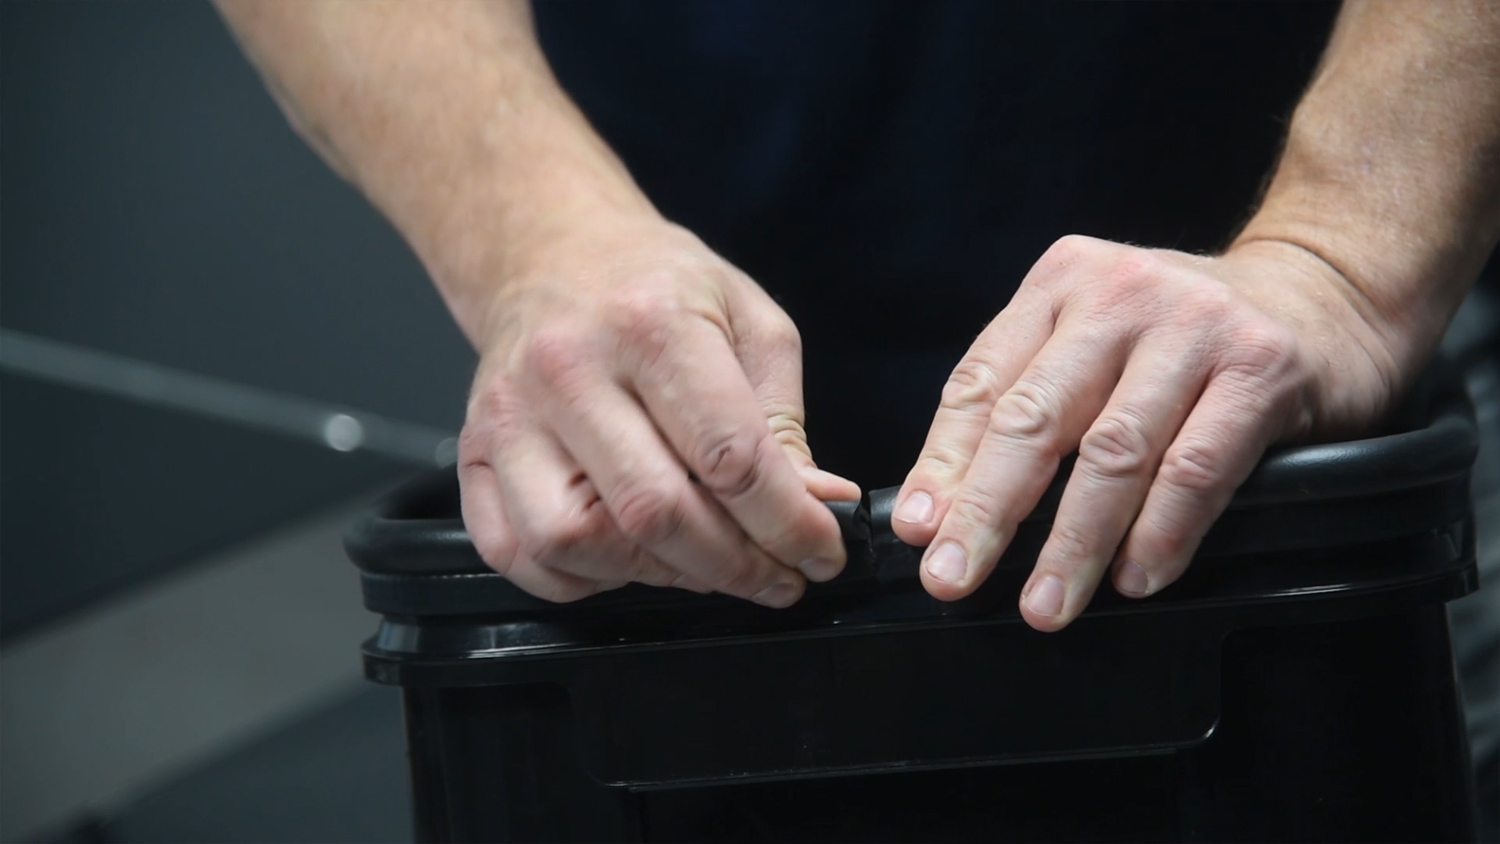
There shouldn’t be anymore than 1/4” of gap where the two ends of the gasket meet.
10
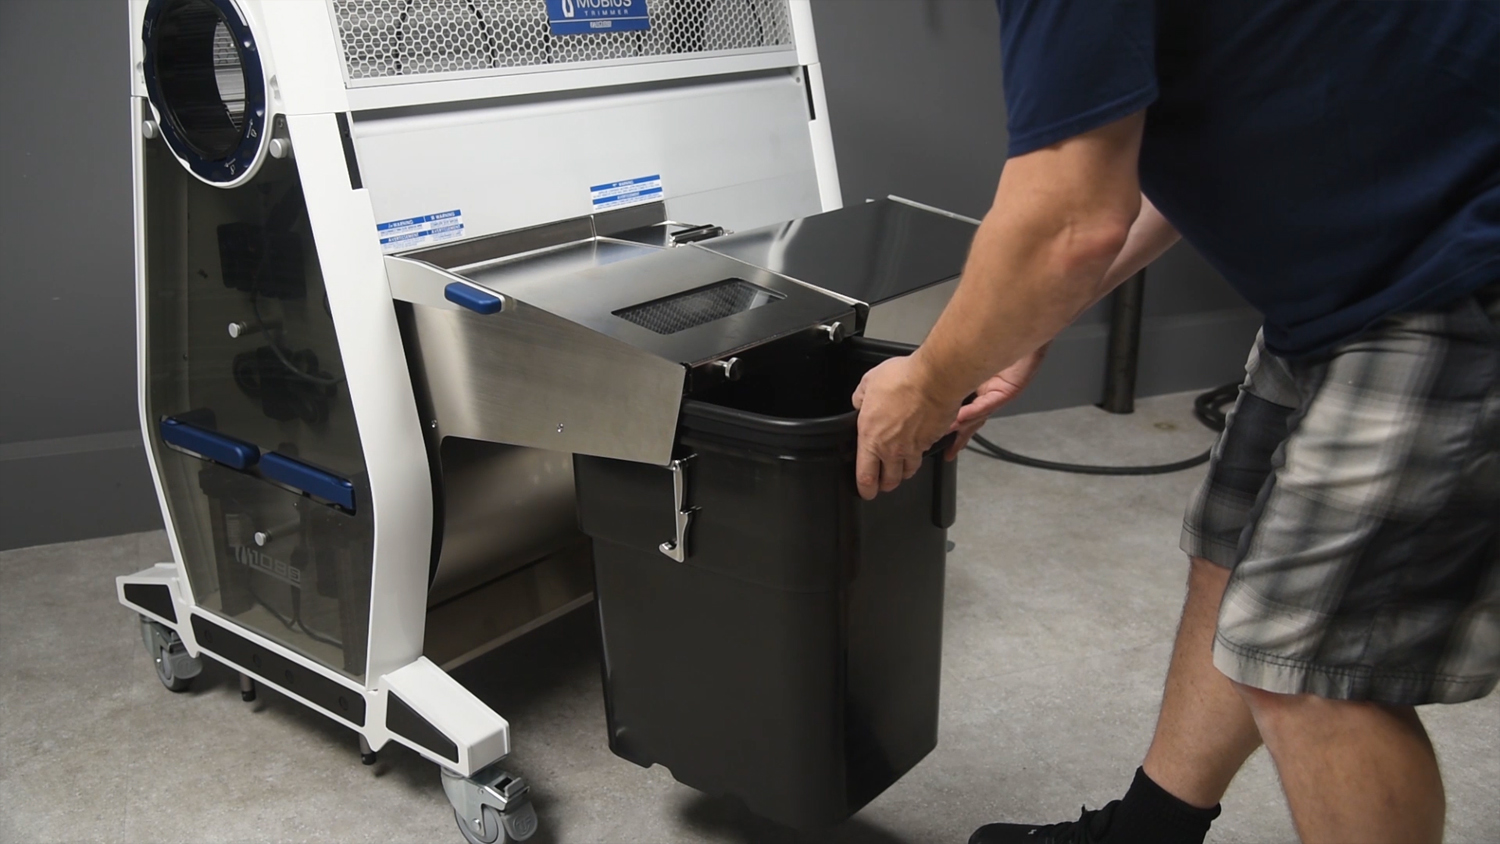
Install the trim tote with the gasket joint in first. Make sure you slide the trim tote all the way in.
11
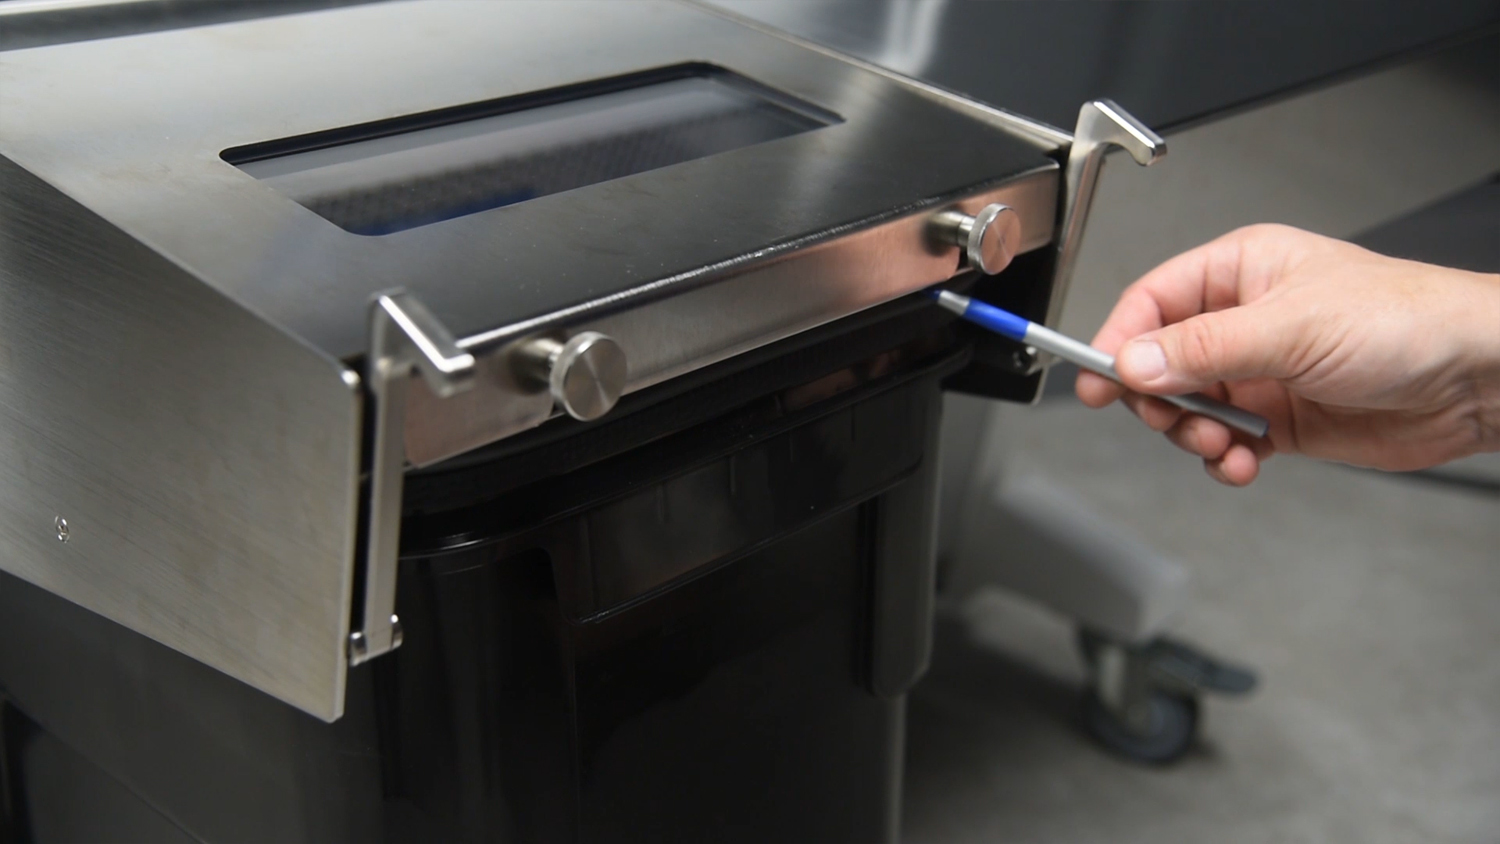
When you pull the latches up into place there should be no gap between the trim tote gasket and the underside of the separator.
12
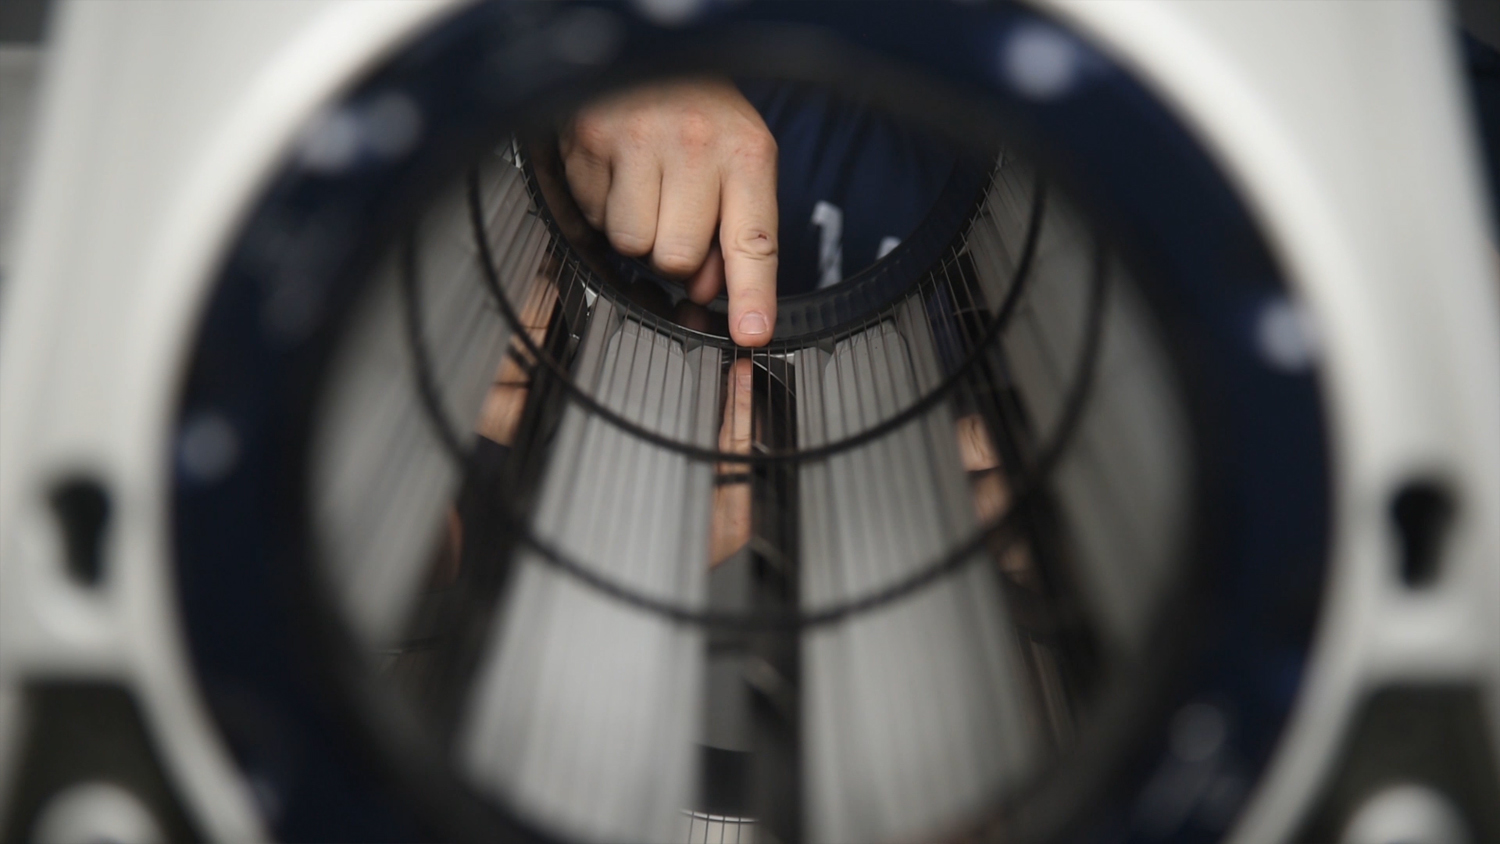
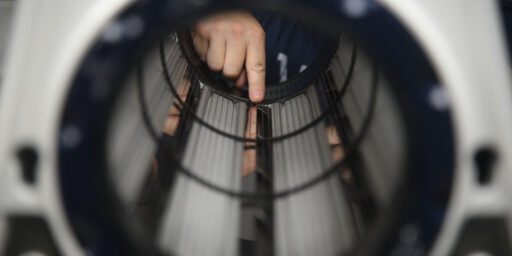
Be sure to perform a 6-point inspection. Make sure the clearance between the tumbler wires and the bed knives are the same at all 6 points.
13
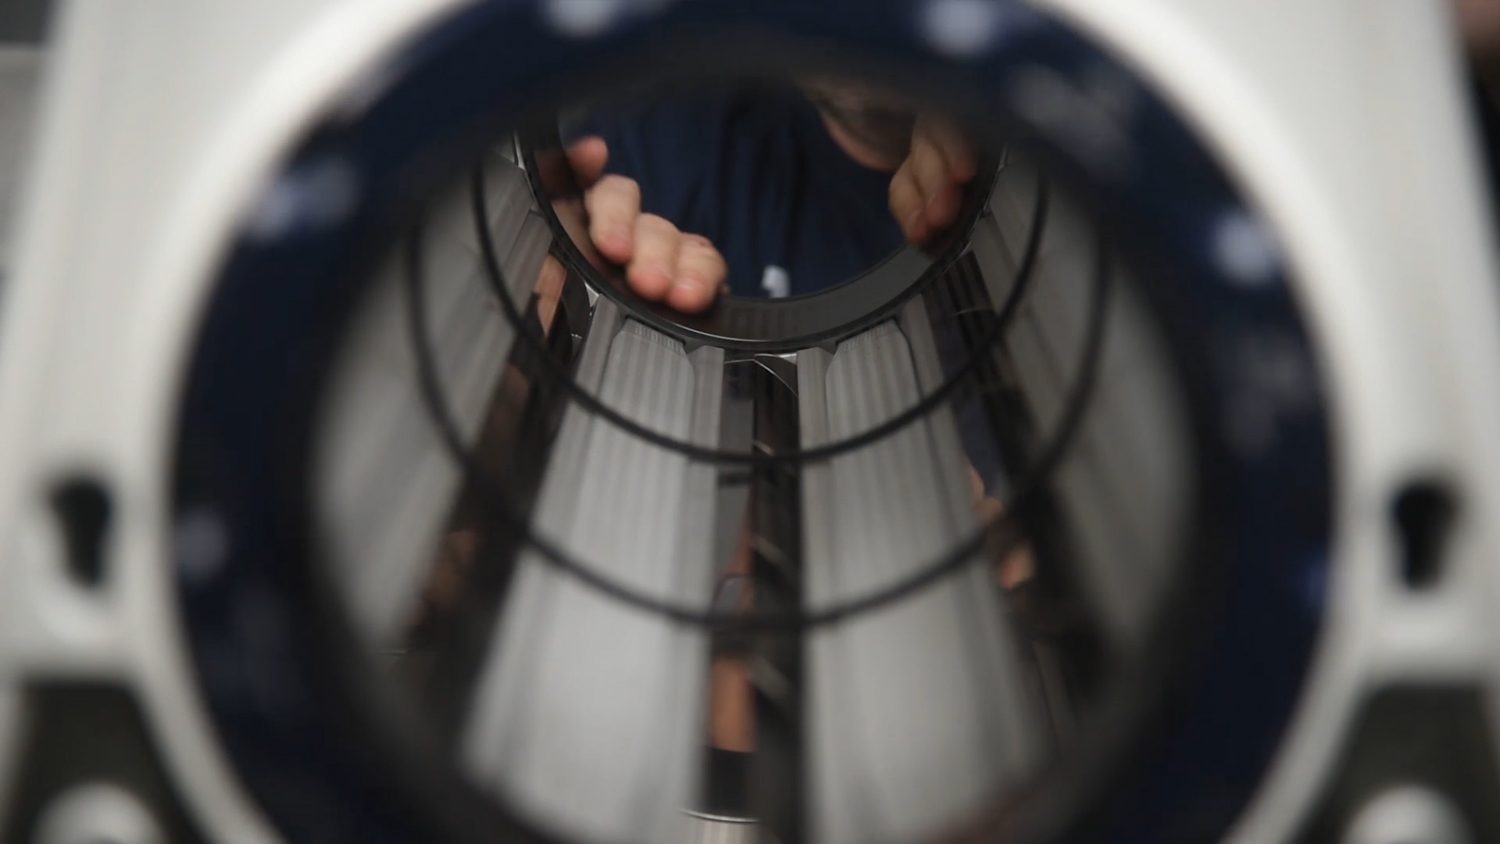
Give the tumbler a spin by hand in both directions to double-check that the tumbler wires aren't hanging up on anything.
14
If you're using an infeed conveyor, be sure to install the infeed conveyor guide. This will all you to roll in the infeed conveyor into place.
