Uncrating & Assembly
Mobius M108S Trimmer
Quick Start Guide
Uncrating Guide & Assembly
Step by Step Uncrating
01

Start by removing the screws from the lid of the crate lid. When all the screws are taken out, remove the lid.
Next, remove the screws from each side of the crate and carefully remove the side panels.
02

Once the crate is disassembled, you can start removing the boxes which contain the spring jack tool and extra trim tote.
03

Now, you'll be able to remove the wrapper covering the M108S Body.
04

Remove the blue plastic wrap holding components to the body of the machine during shipping.
05
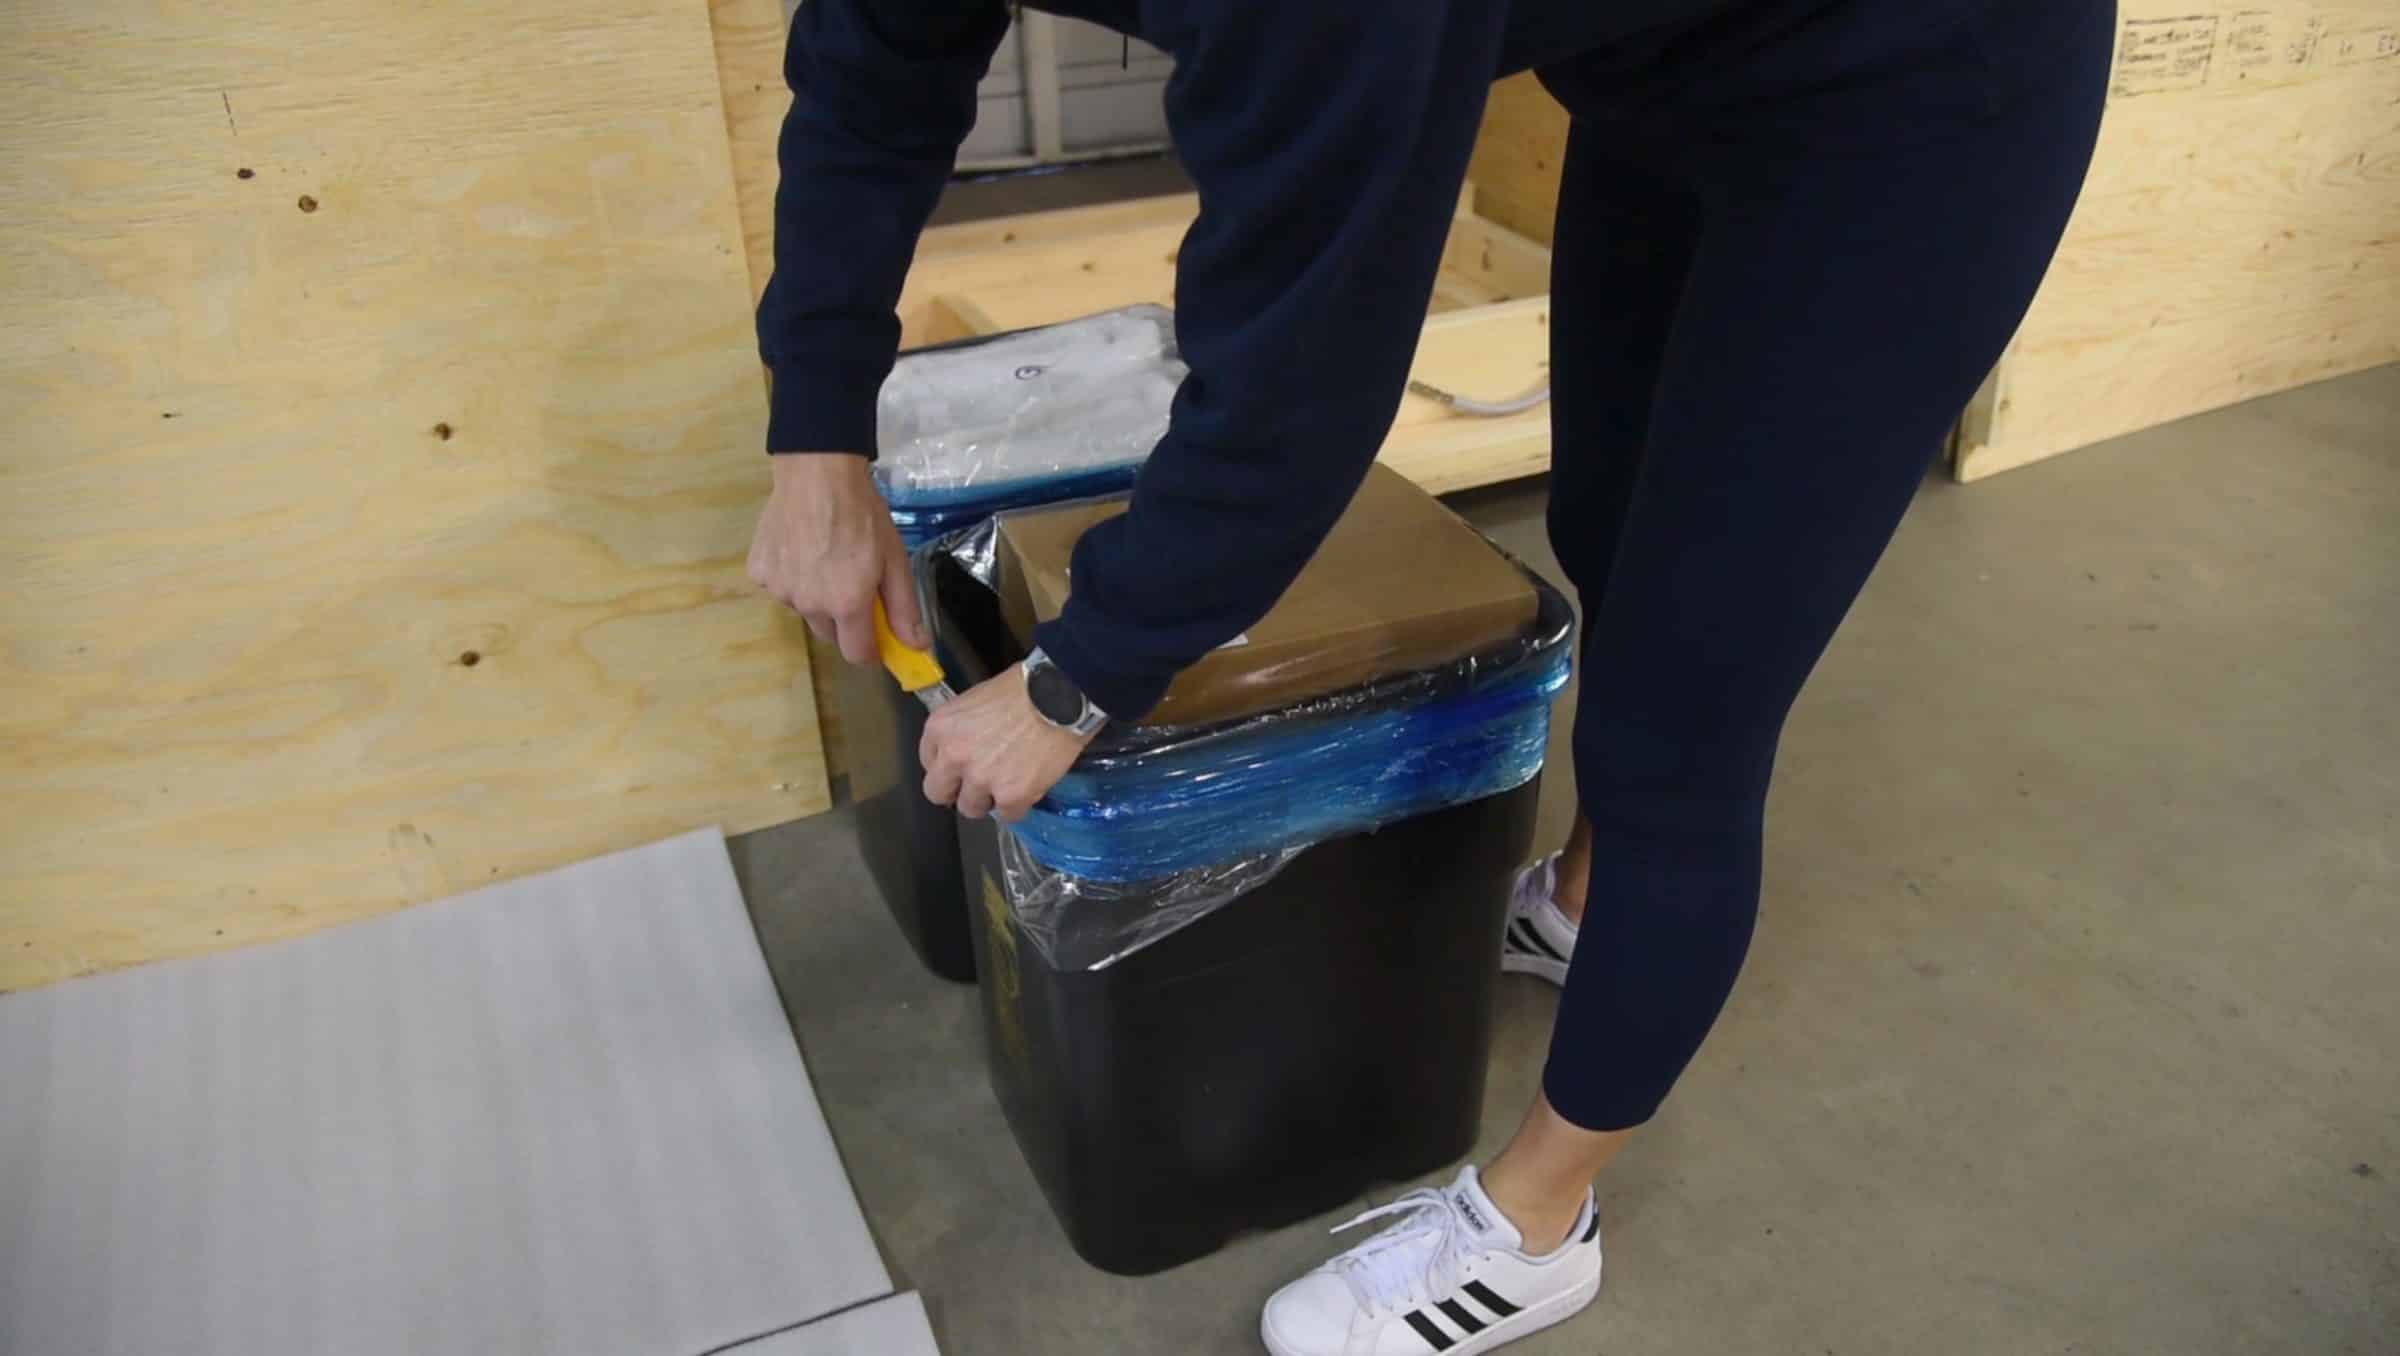
Remove all contents from the crate and ensure everything is included in your shippment.
06

With everything accounted for, you can now commence the process of removing the M108S Trimmer from the crate. Remove all four screws from each of the anchor braces on the legs of the M108S Trimmer.
07

To reduce the weight of the machine prior to lifting it from the crate base, you'll want to remove some of the heavier parts.
Remove the fan housing and filter box. You can do this pushing the end up towards the machine and then in this position it will allow you to slide it off it's clip.
08

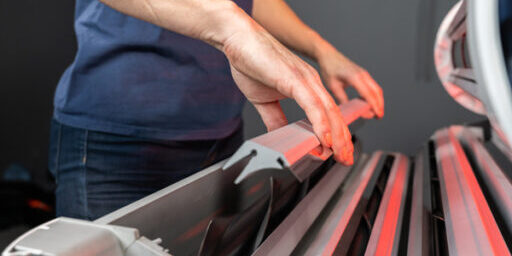
Now to remove the separator, push down on the separator clamp handle to unlock the separator. Now you can start to pull the separator off from it's rails.
09

To completely remove the separator from the machine, pull it out until you can see a gap large enough to fit your hand. Place your hand in the gap, remove the separator and set it down on the foam with the flat side toward the ground.
10

To remove the fan housing, it rests on two pegs. Slide it towards the open area where the separator was to remove it. Place it on the foam sheet as well.
11

The lid of the M108S can be removed to further reduce the weight of the machine. Start by opening the lid by sliding the 2 latches towards each other, and then rotating the lid away from you.
12

Disconnect the wire between the lid and the M108S body.
13
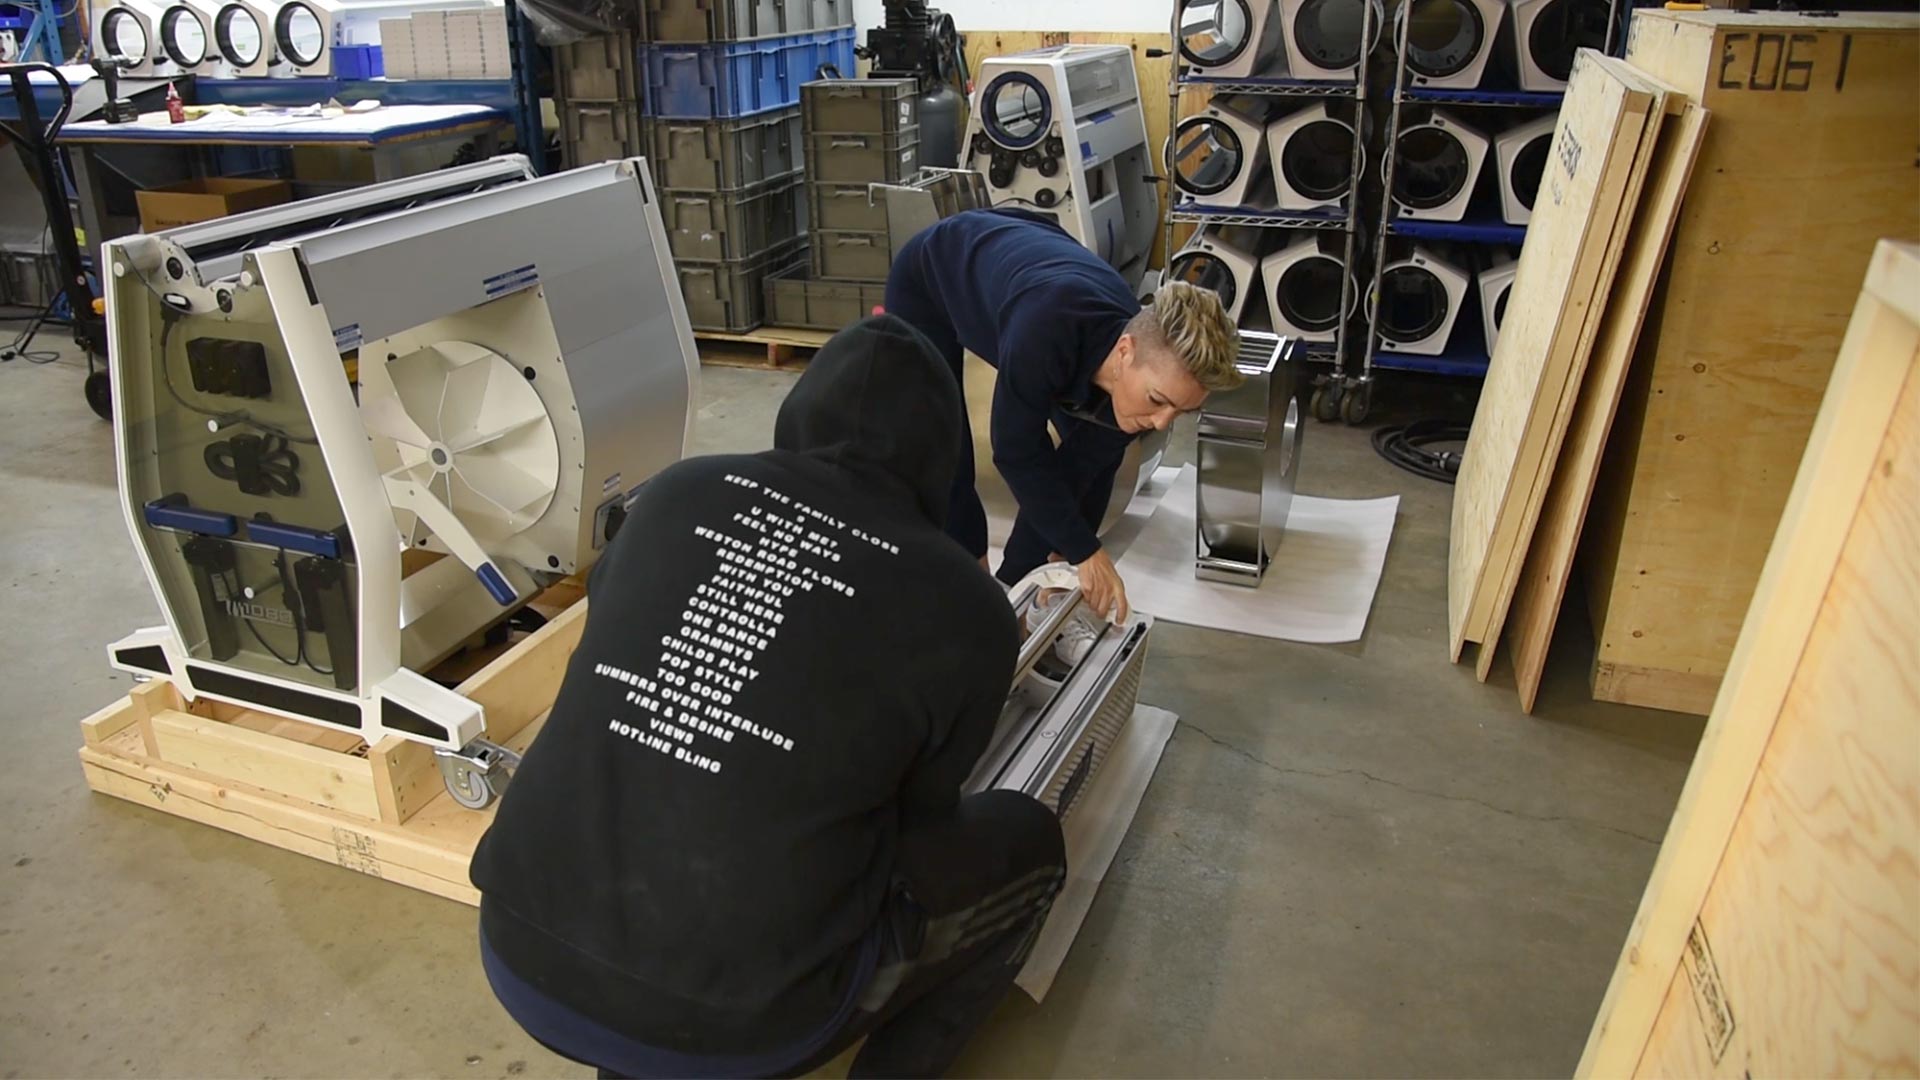
Now with two people, you can slowly rotate the lid towards the closed position while pulling on it. It should come right of it's hinge and you'll have the lid come off the machine. Put it safely to the side.
14

Rotate the blue handles out so they are perpendicular to the machine.
15

With the handles rotated out. Have two people pick up the machine from the crate and set the machine aside away from the crate platform.
16

With the machine removed from the crate, you will expose the power cord. Remove it from the crate and now you can dispose of the crate materials.
Step by Step Assembly
01
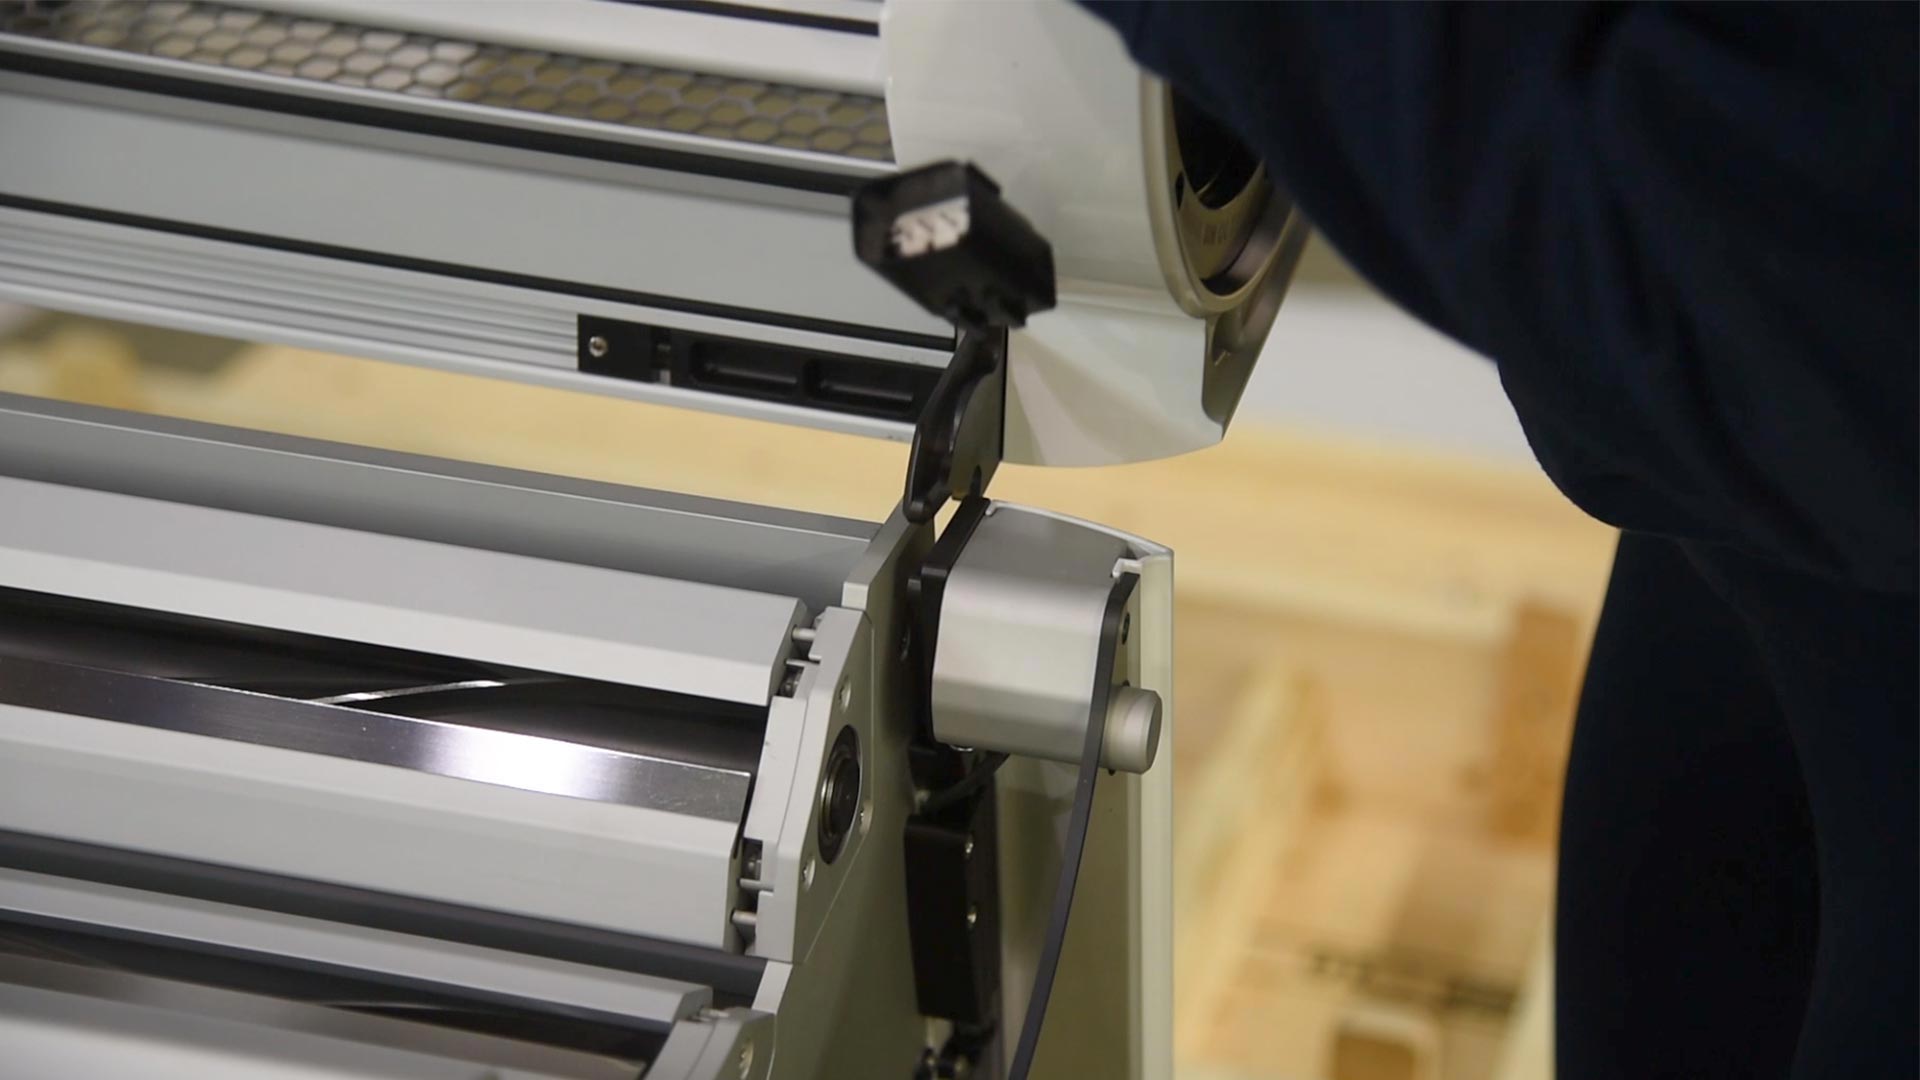
To replace the lid, place the lid hinge on the body hinge.
02
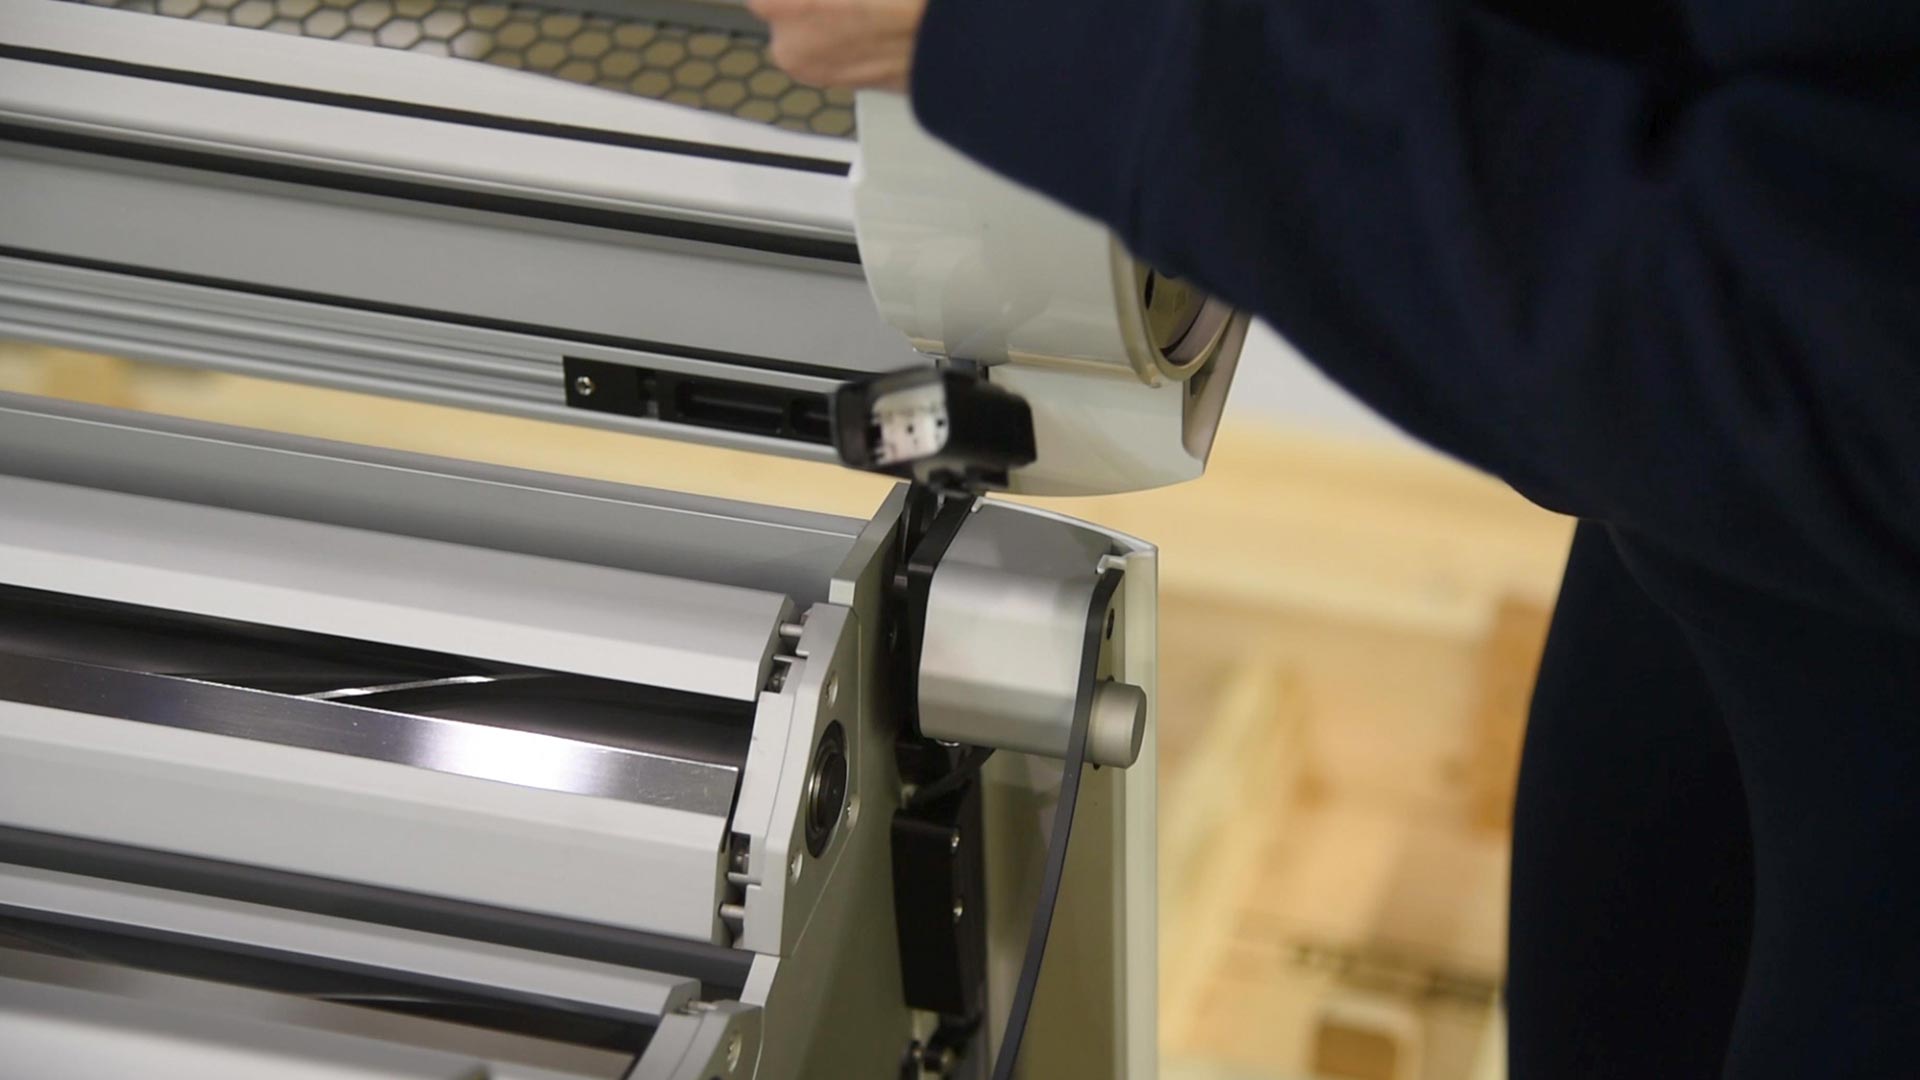
Slowly rotate the lid forward as though you were closing it. You’ll feel the lid slide forward into the body hinge.
Now, slowly rotate the lid backwards in the opening direction. The lid should lock in the rest of the way.
03
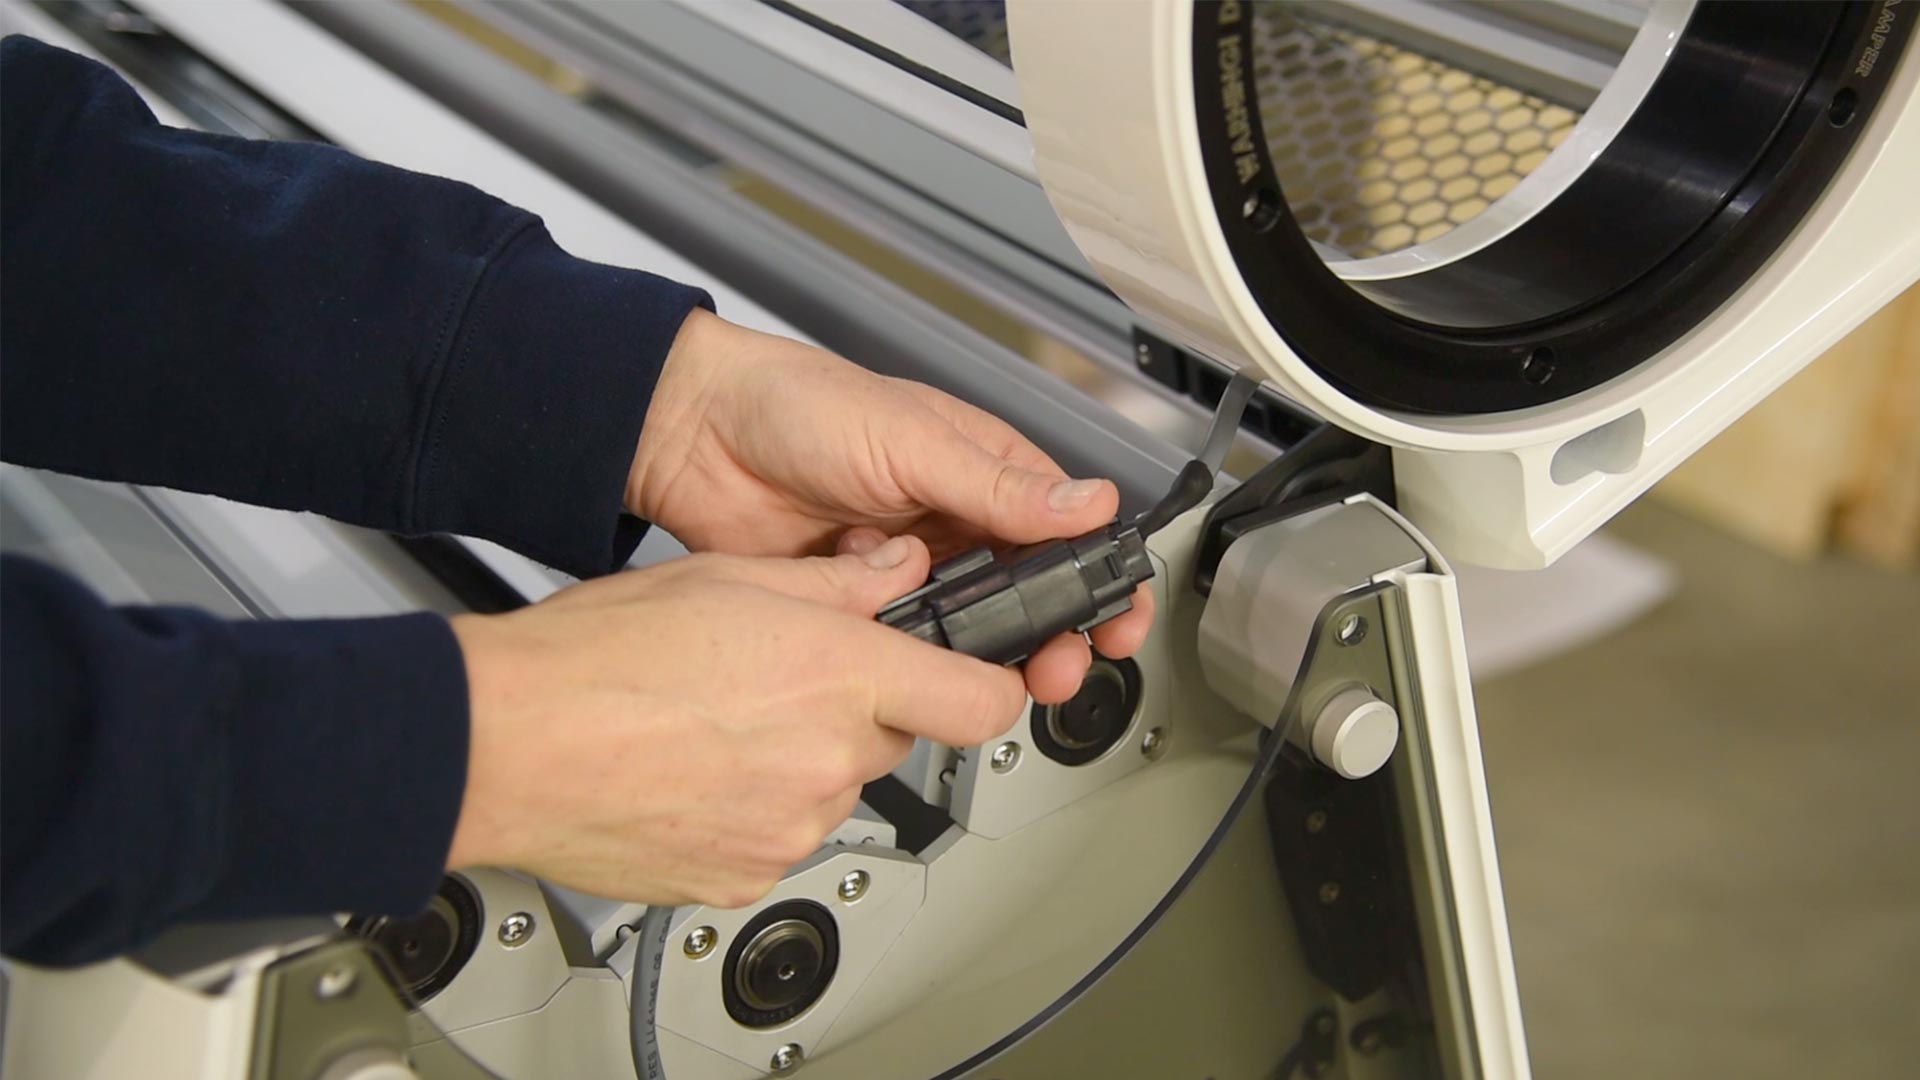
Reconnect the lid wire to the M108S body and close the lid.
04
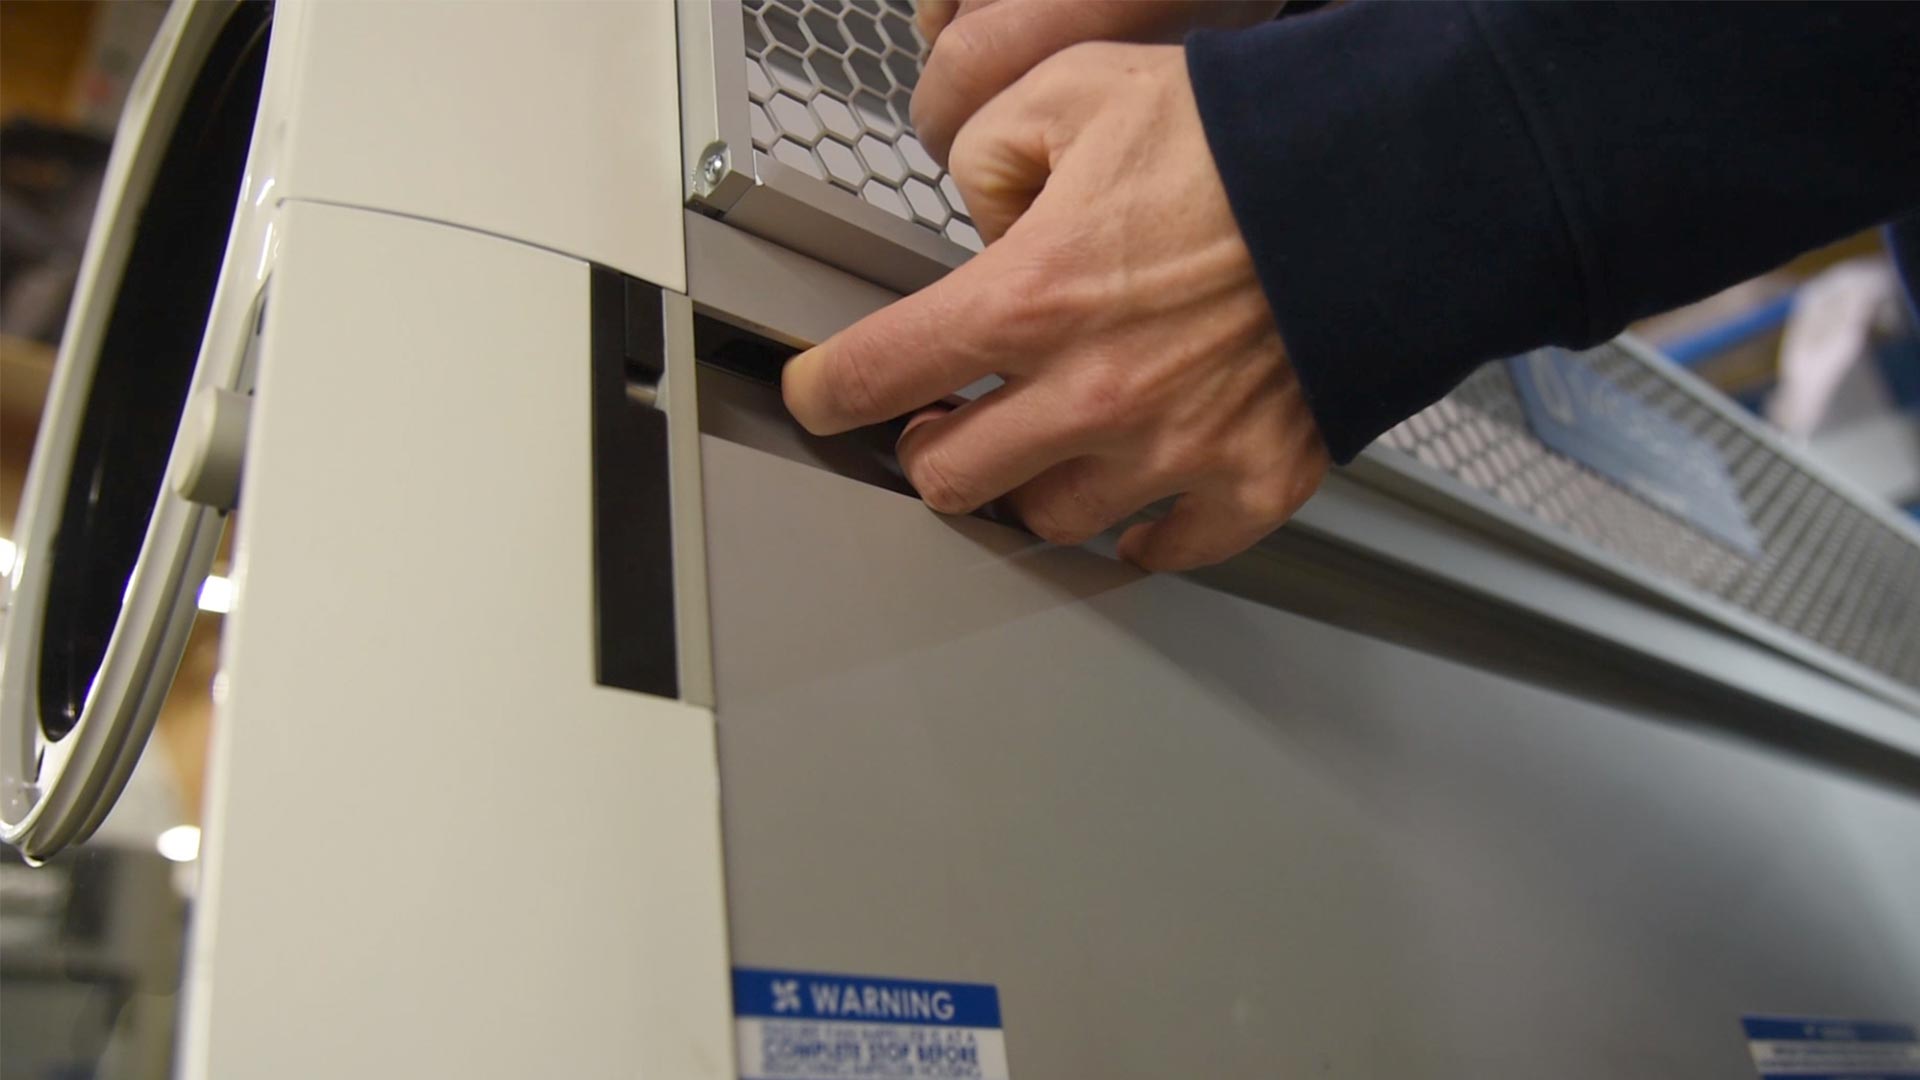
With the lid in the closed position, remove the front screen by pulling the latch on the underside of the lid to the right while pulling the left side of the screen towards you.
05
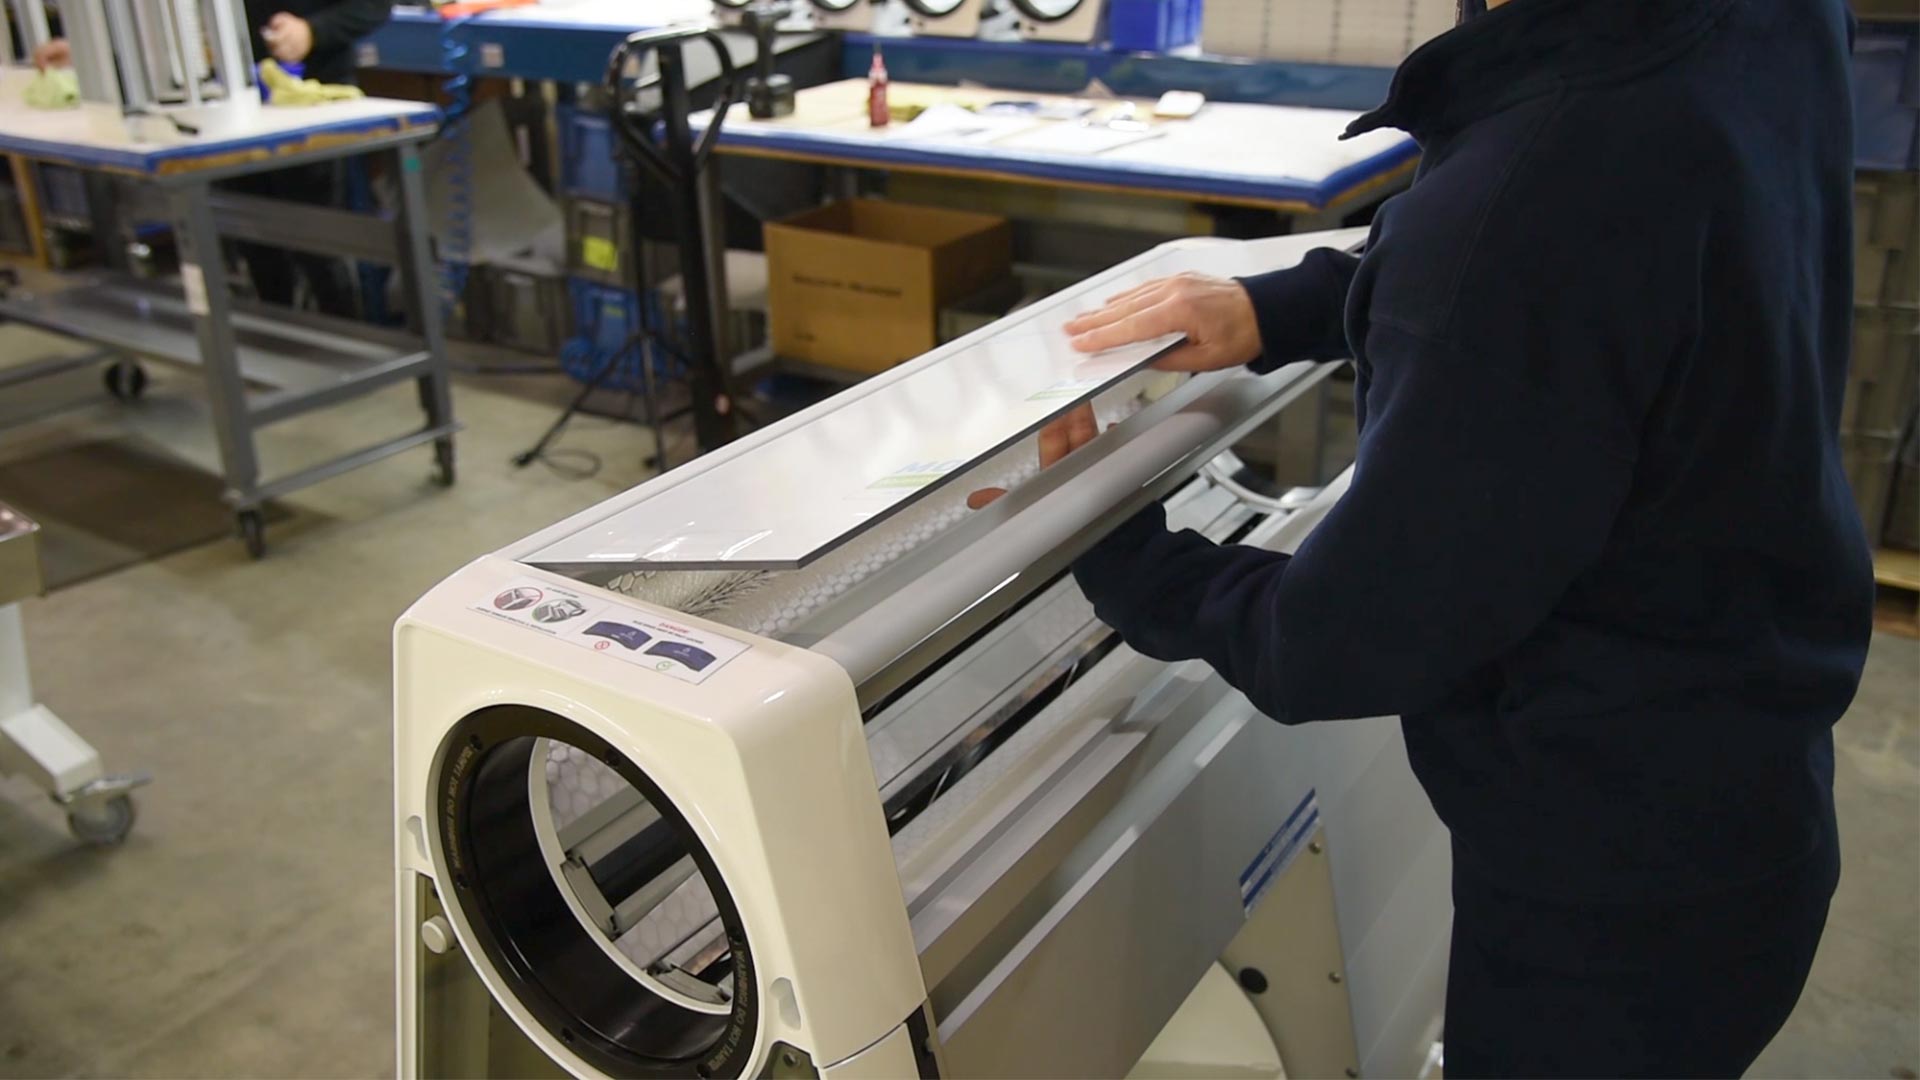
With the screen removed, you can push up on the top glass to remove from it's component.
06
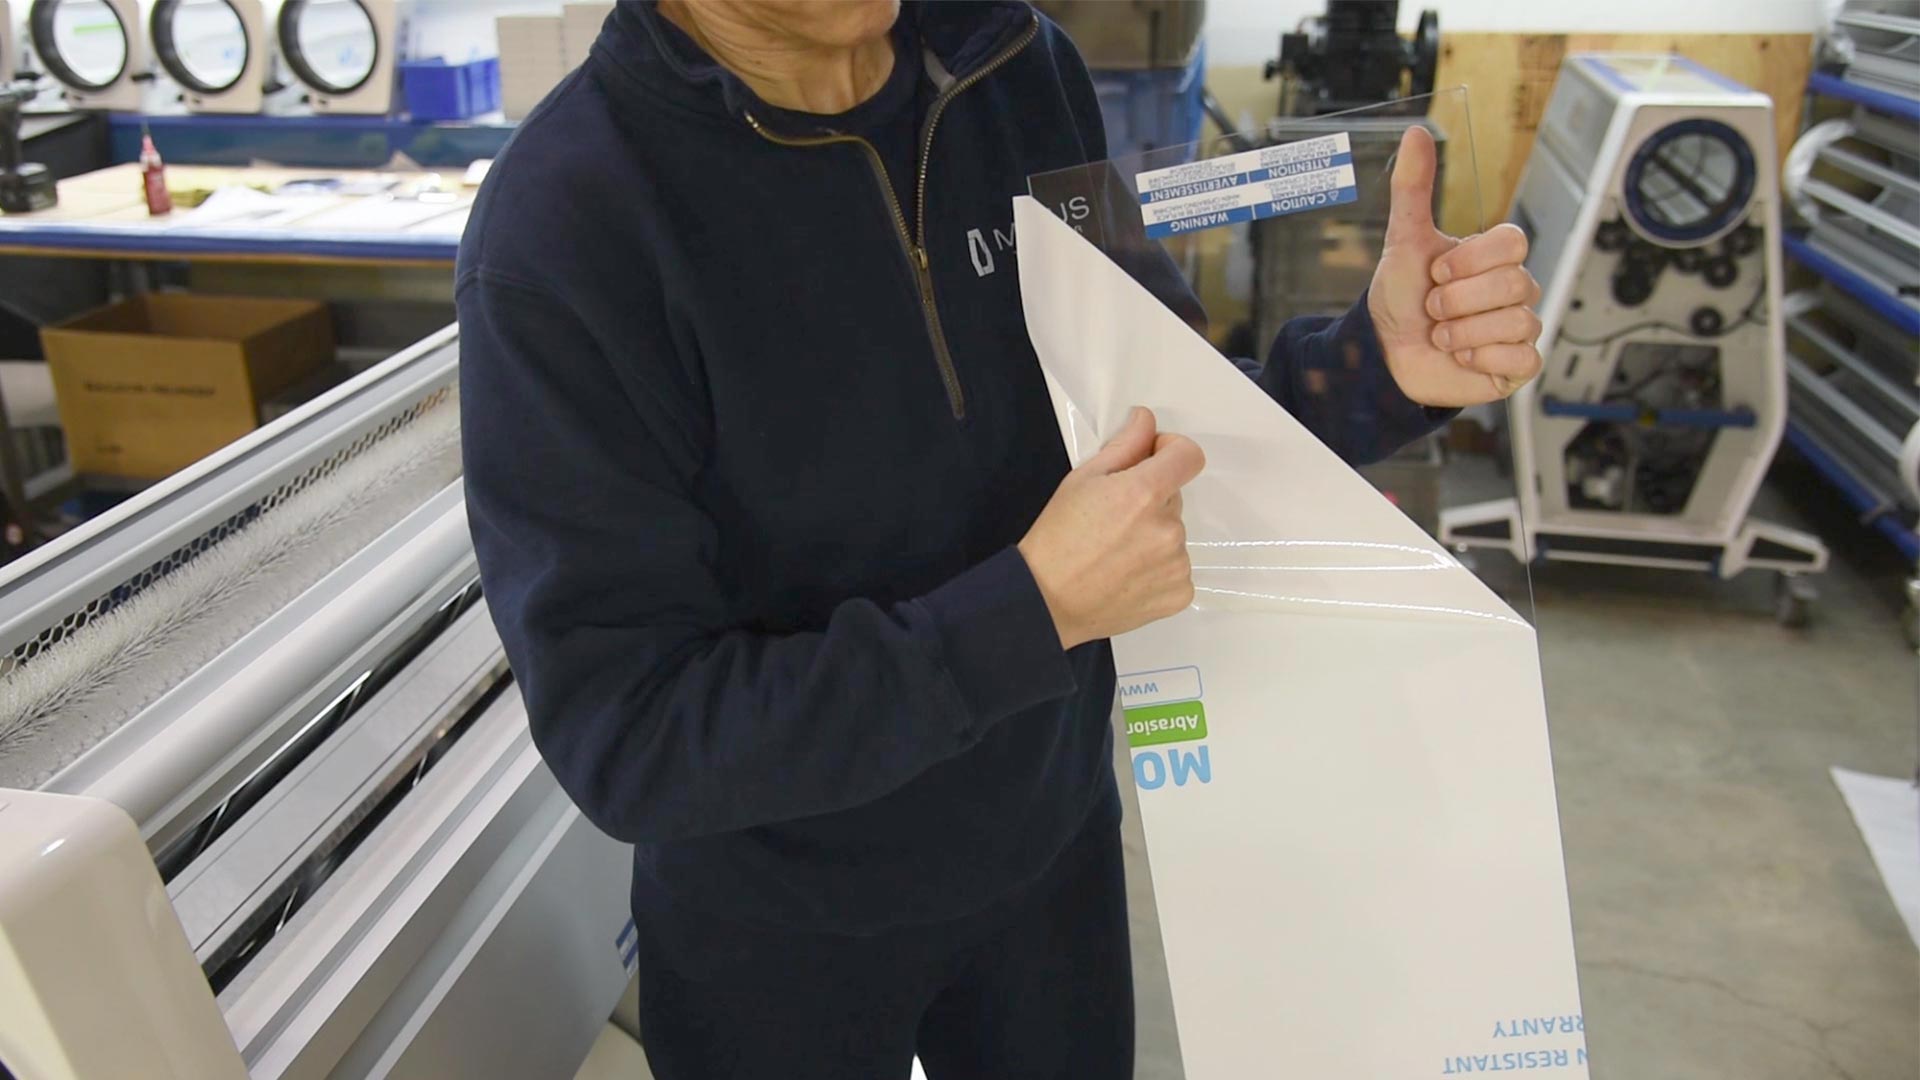
With the top glass out, you can remove the protective cover by peeling it off of the glass.
Once the protective cover is removed, you can place the glass back into it's housing.
07
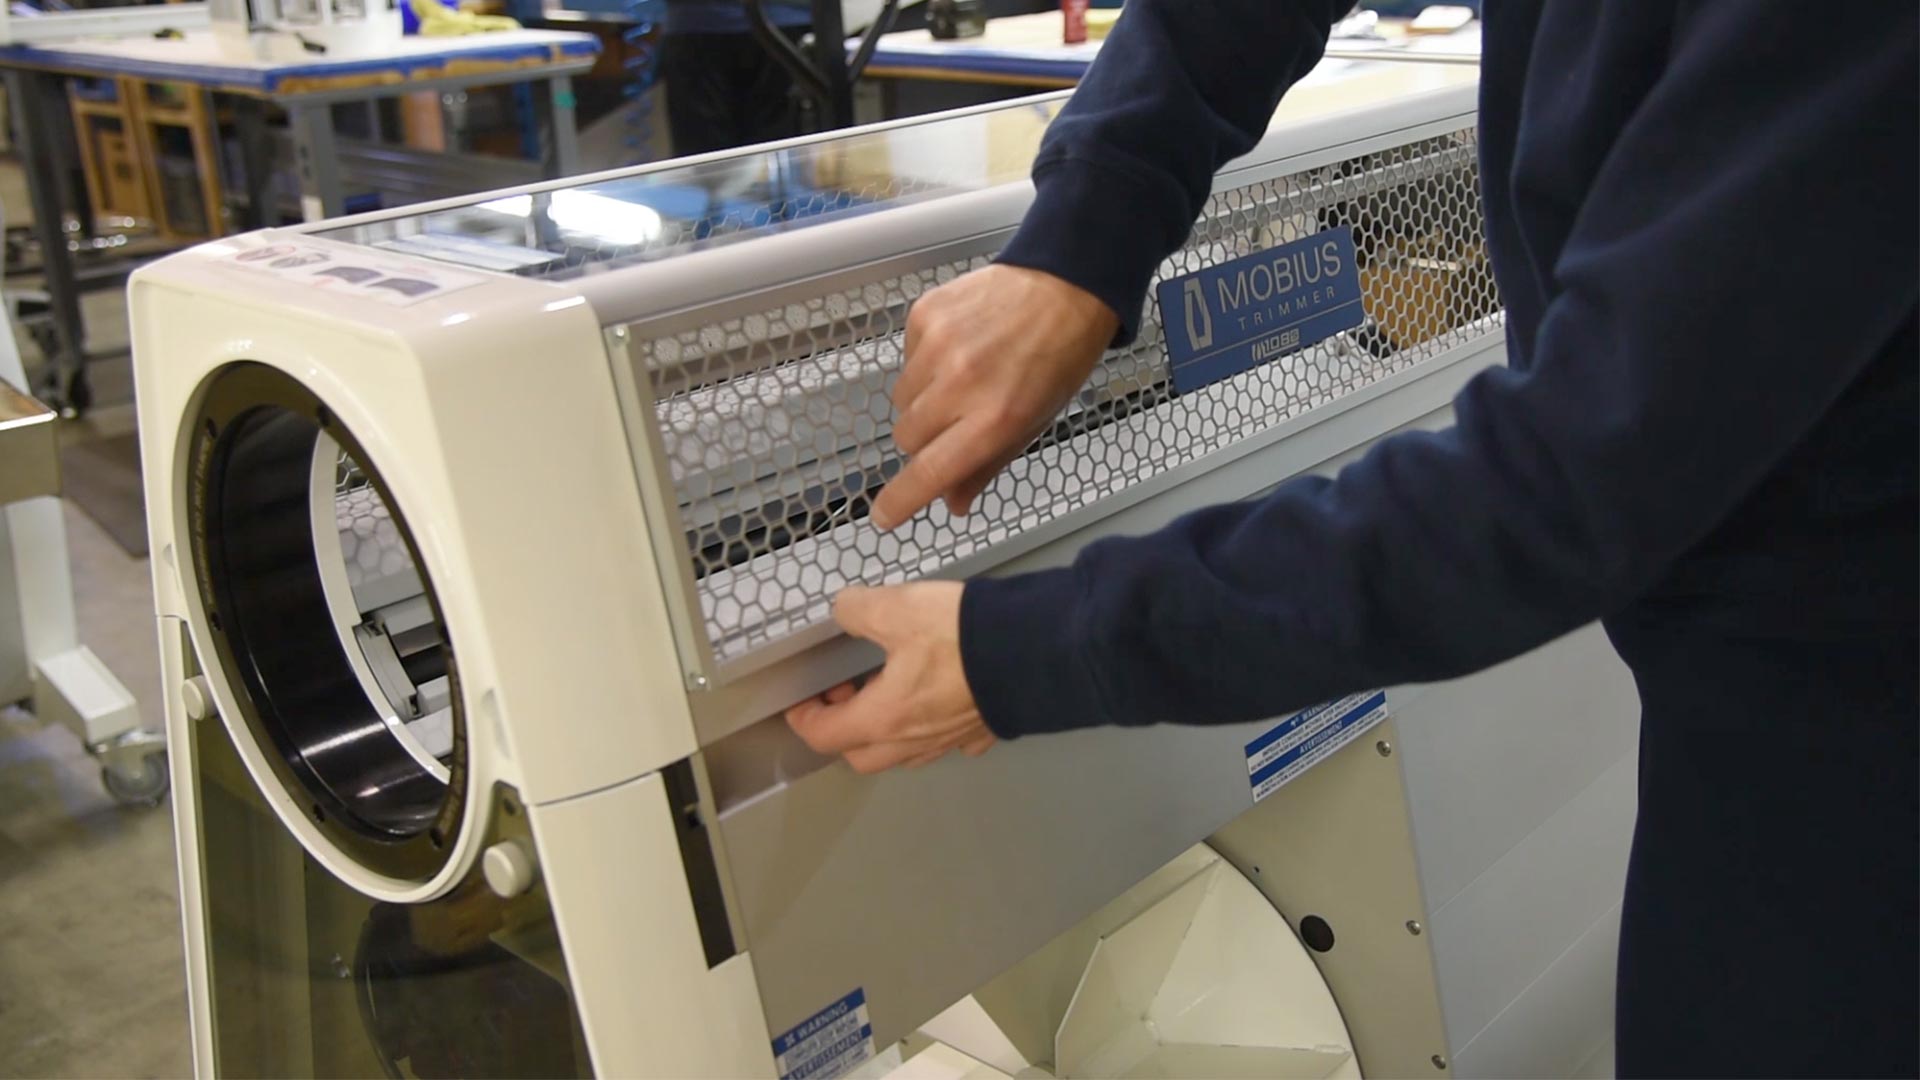
Replace the screen the same way you took it out. Make sure to pull the latch to allow the screen to properly fit back into it's component.
08
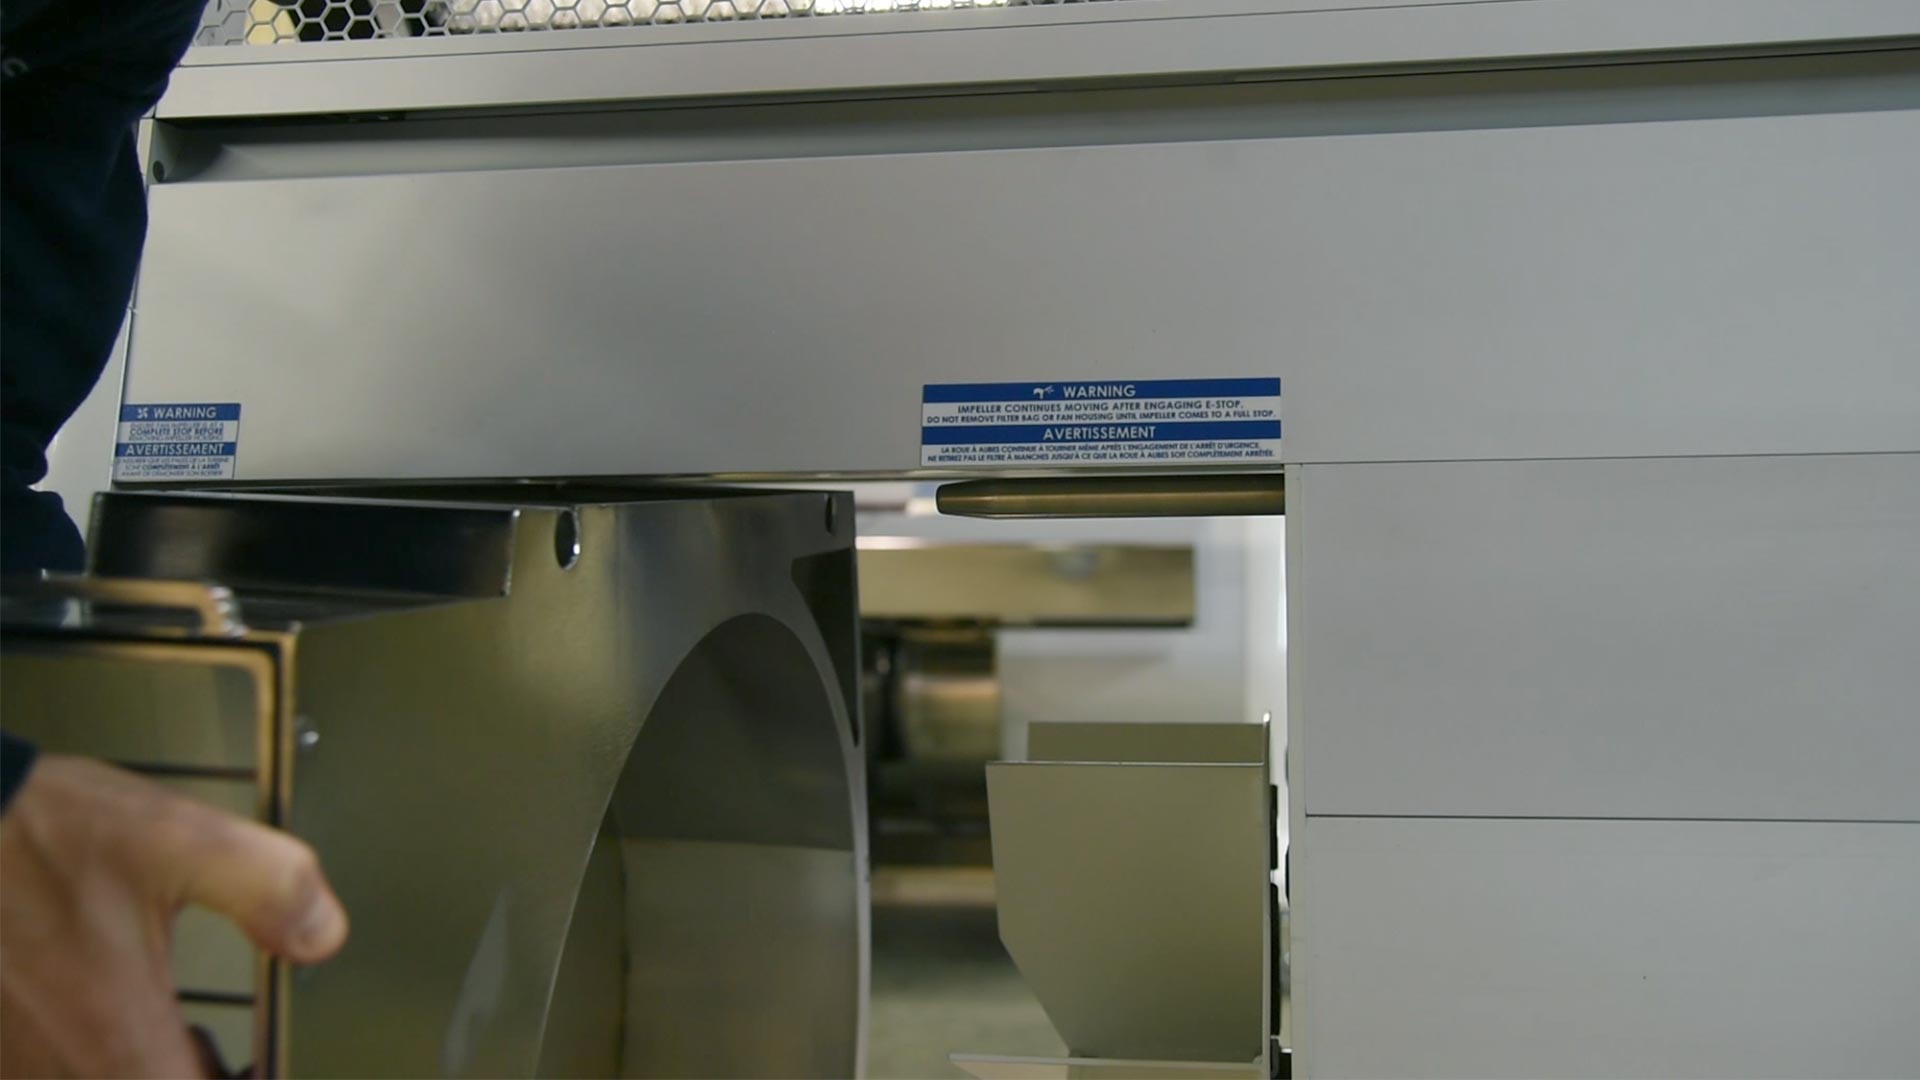
The fan housing fits into the body by resting on 2 pegs. The holes in the fan housing correspond to the pegs on the body.
Line the holes up with the pegs and slide the fan housing into place. Make sure the housing sits flush against the body.
09
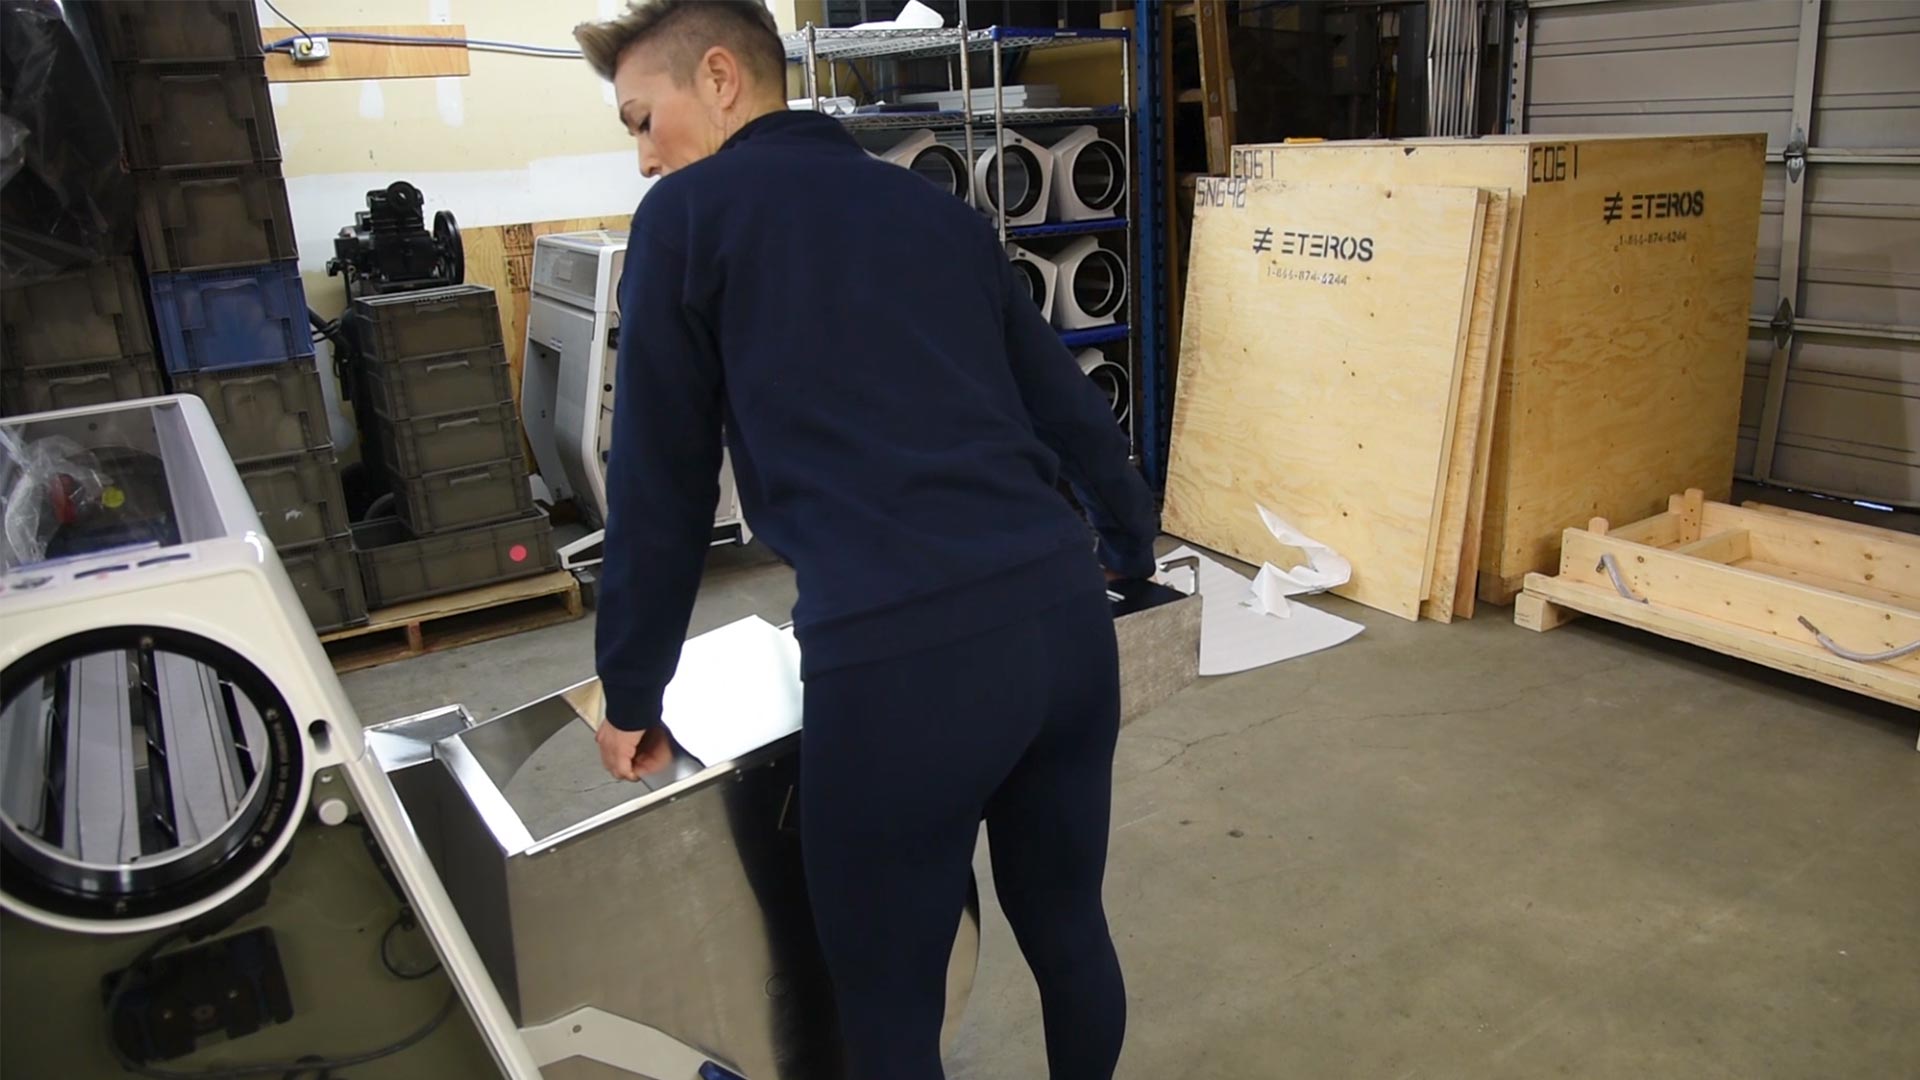
Grab the separator and line it up so that it sits above the rail on the machine, and start pushing it into the machine.
10
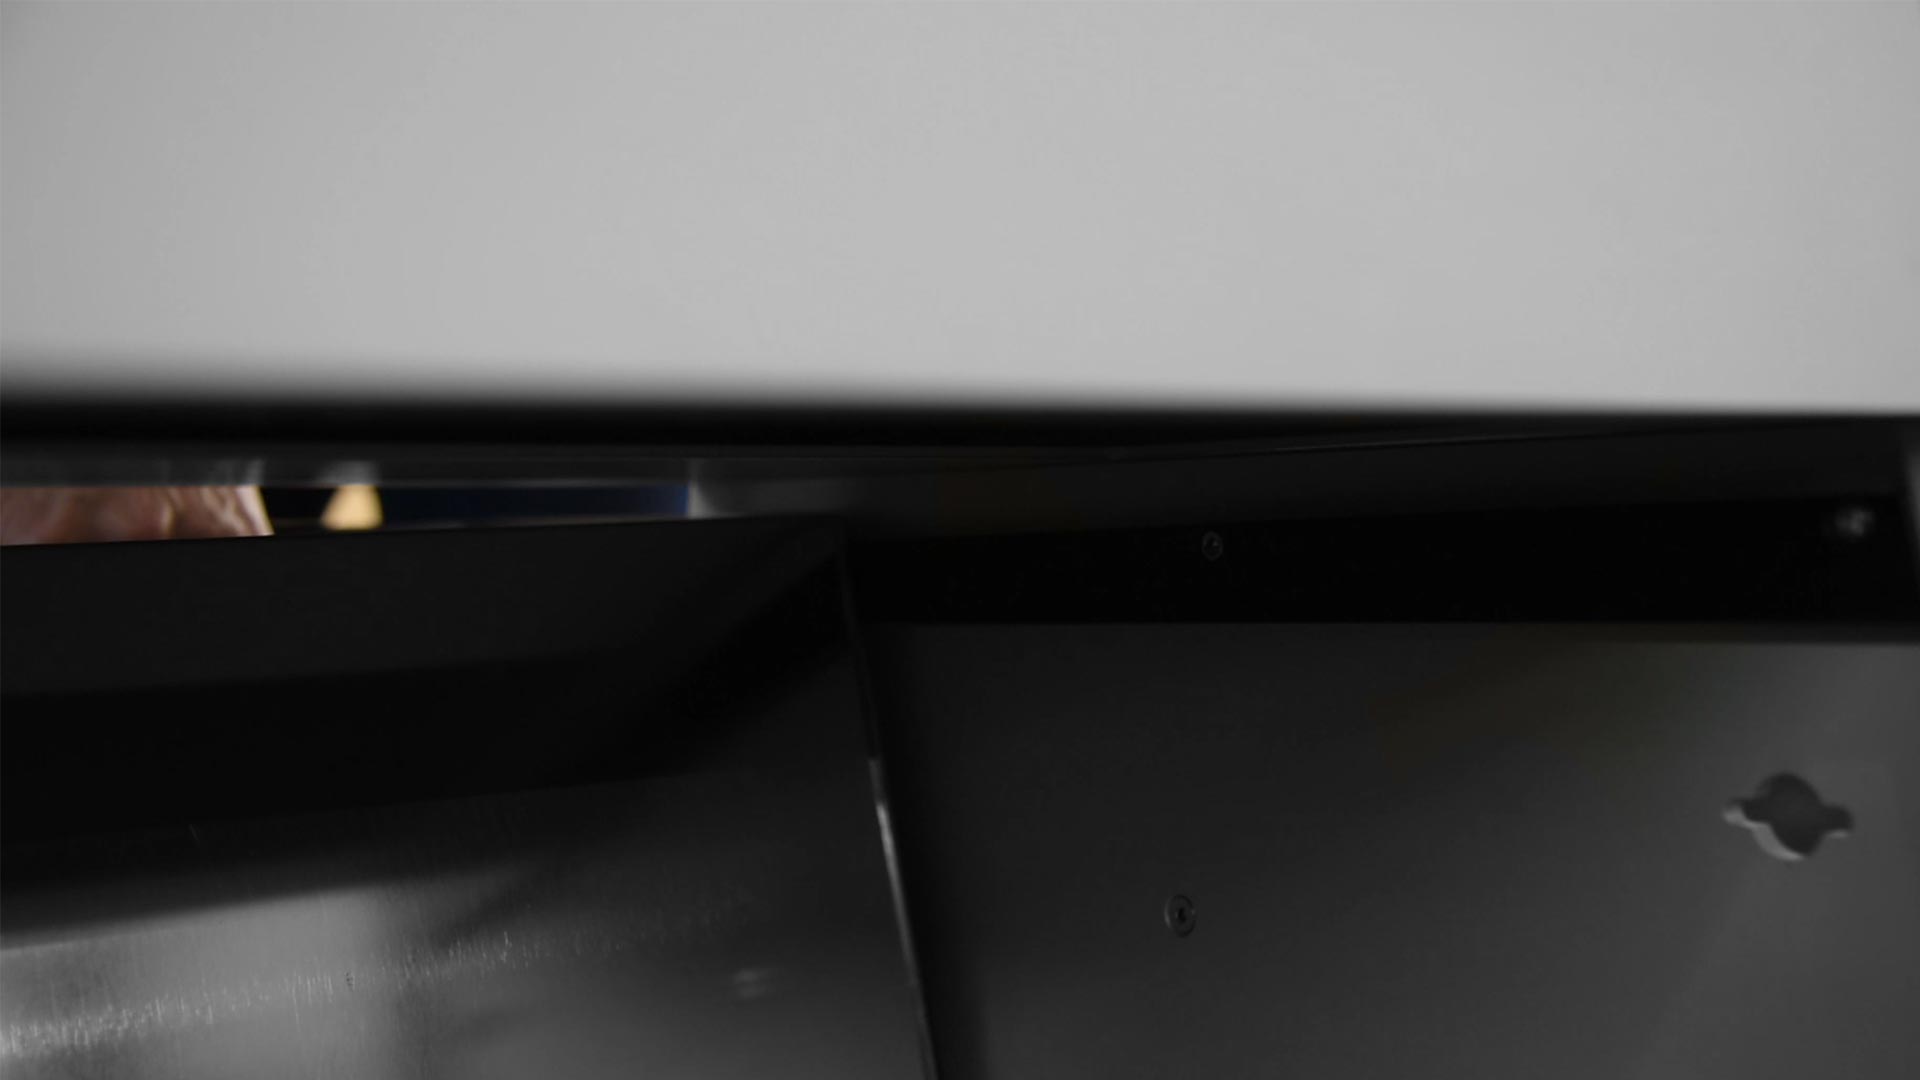
You’ll notice a guide rail on the side of the separator which corresponds to a rail on the inside frame of the machine.
Line the separator up so that it sits above the rail on the machine, and start pushing it into the machine.
11
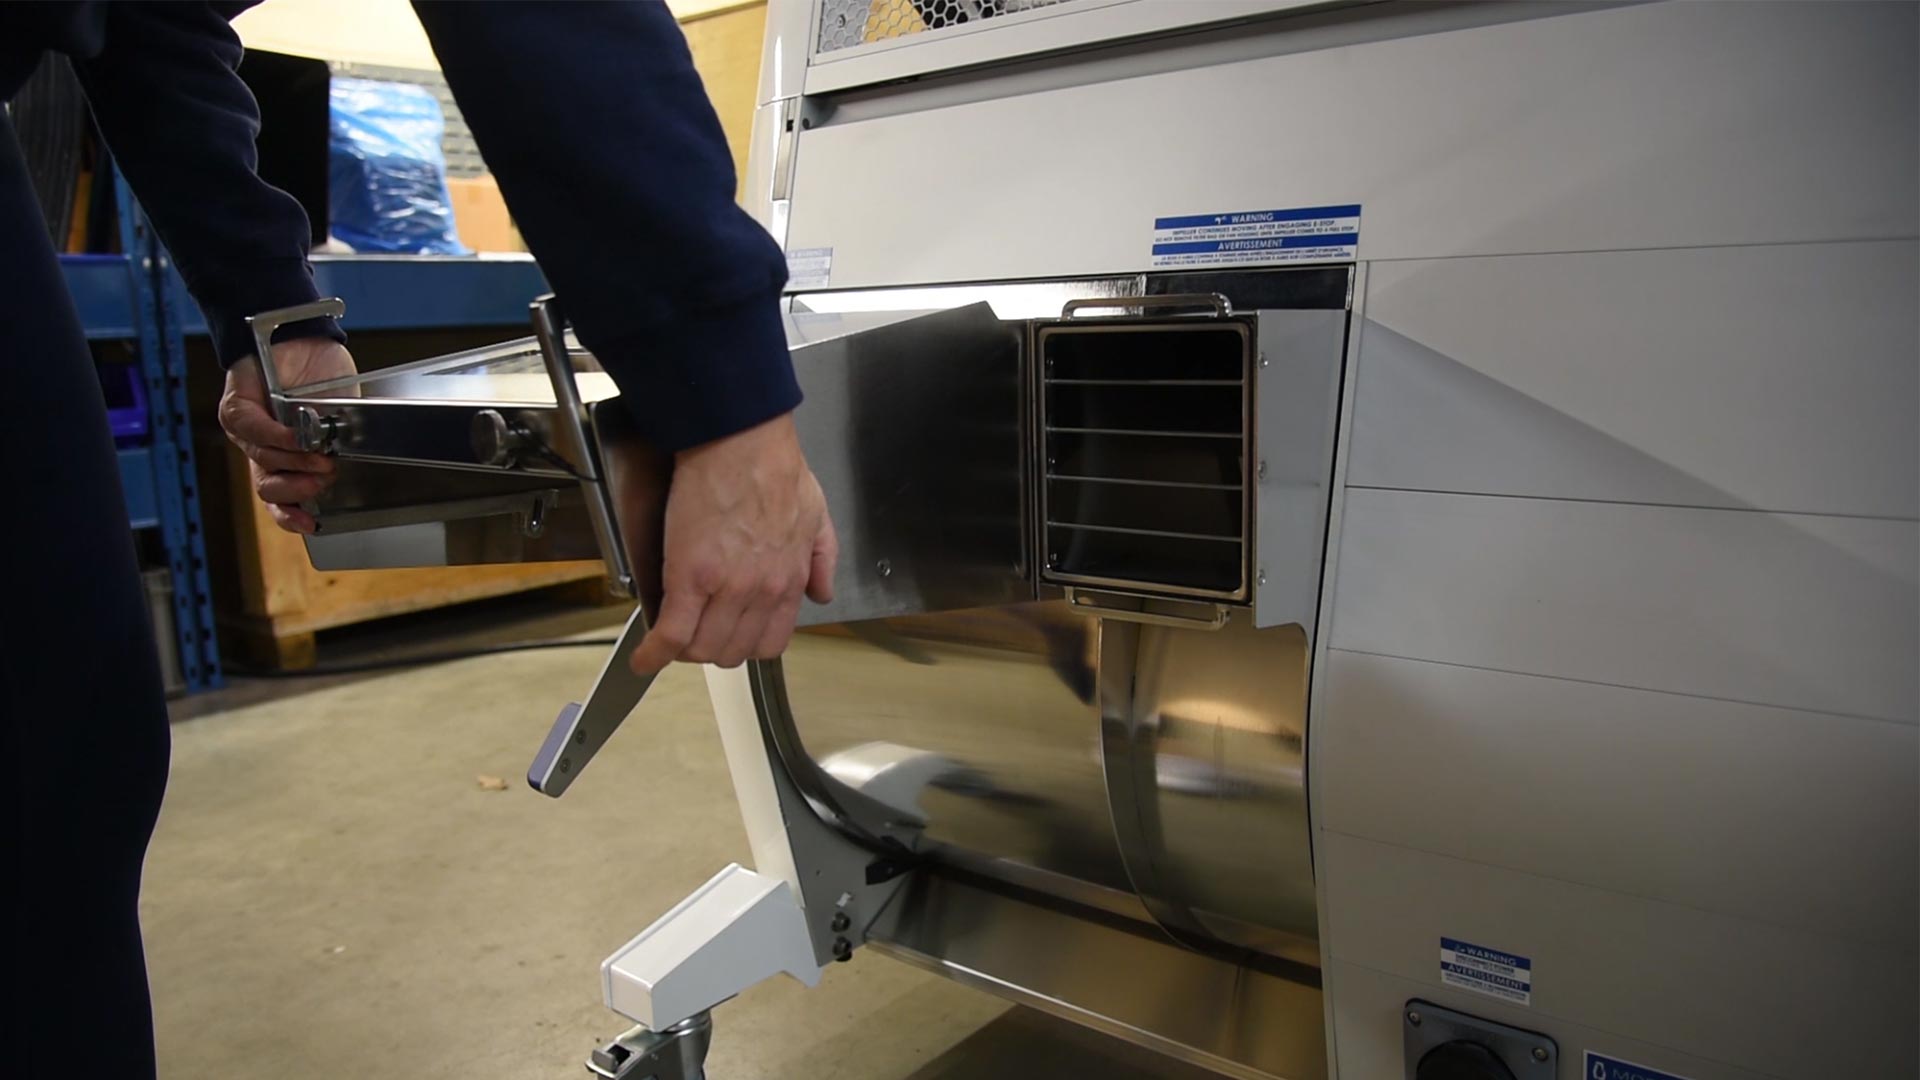
When you are just about to pinch your fingers, the guide rail should be supporting the weight of the separator.
Remove your hand and slide it in the rest of the way.
12
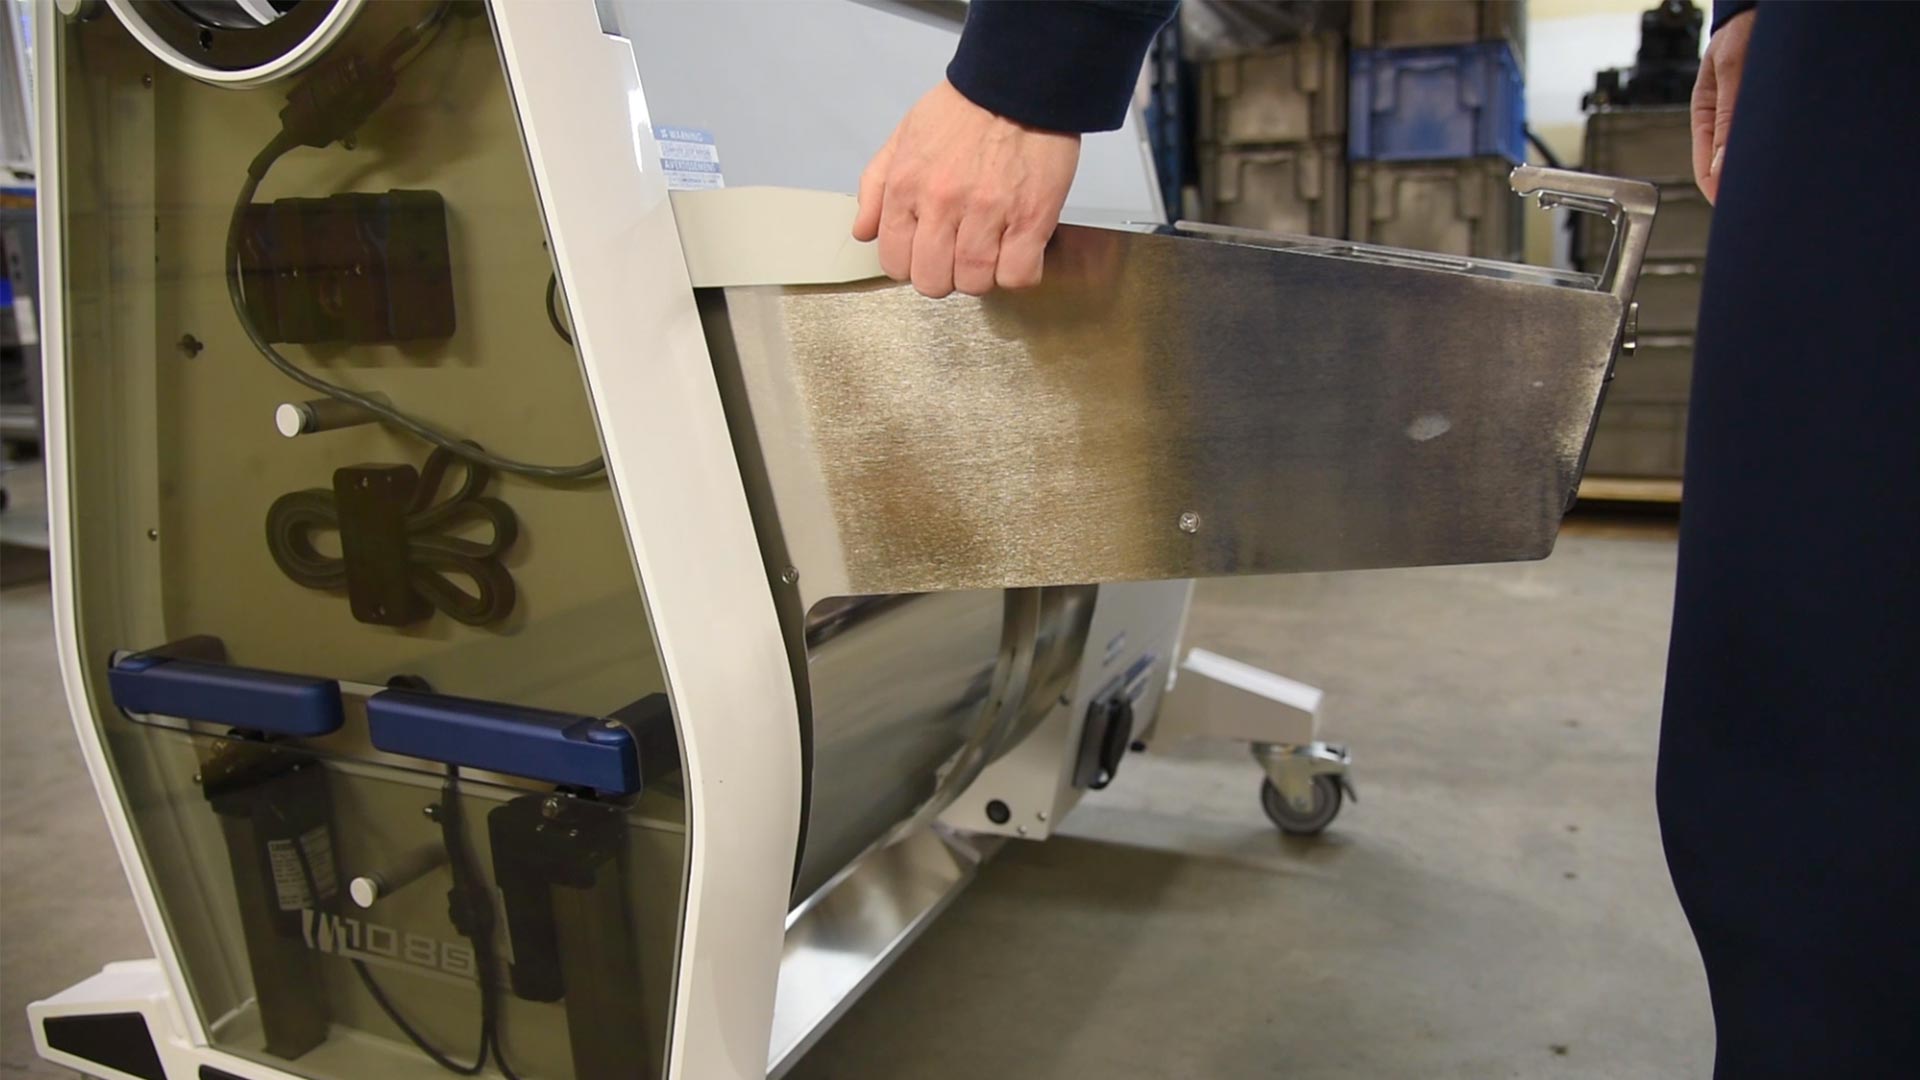
To lock the separator in place, pull the separator clamp handle up with a bit of force so that the top of the stick is flush with the top of the separator.
13
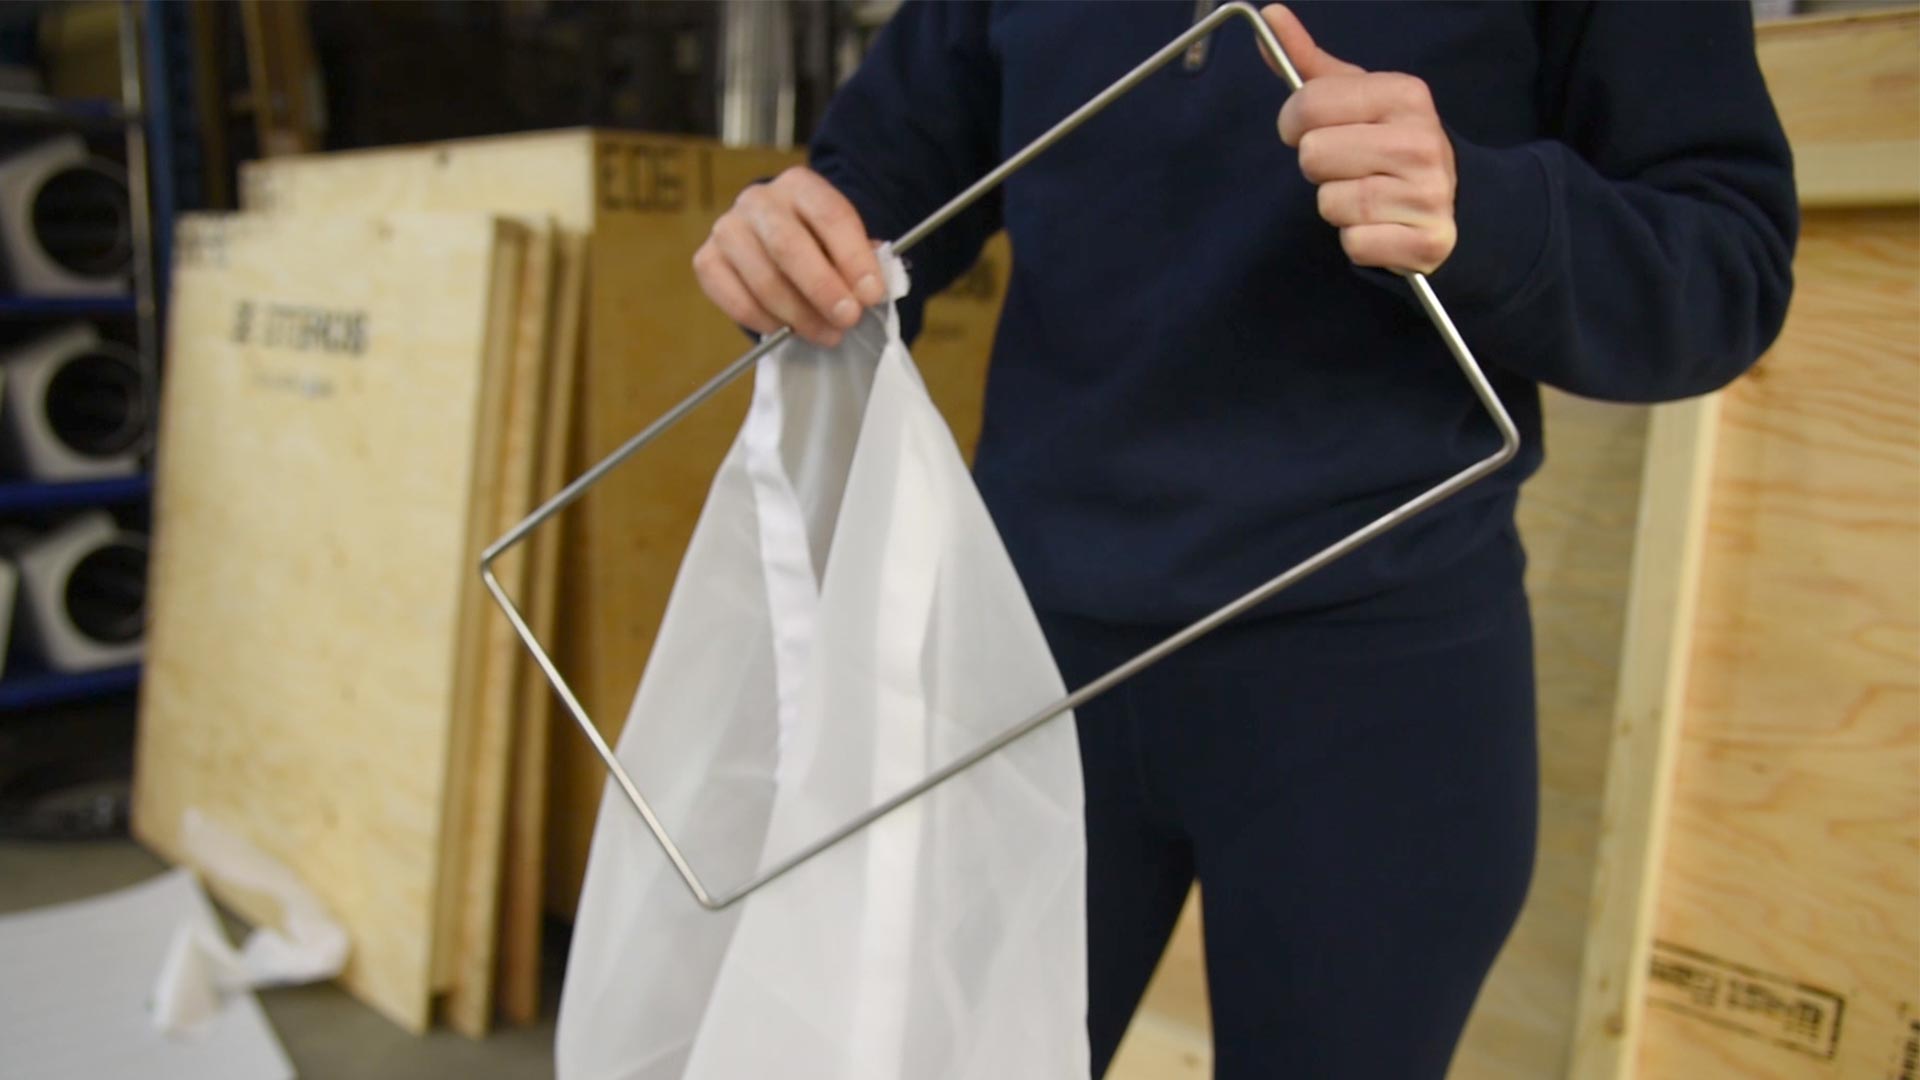
You can now attach your filter bag to the the fan housing wire. You can do this by finding the guide holes on the bag and start feeding the wire through.
14
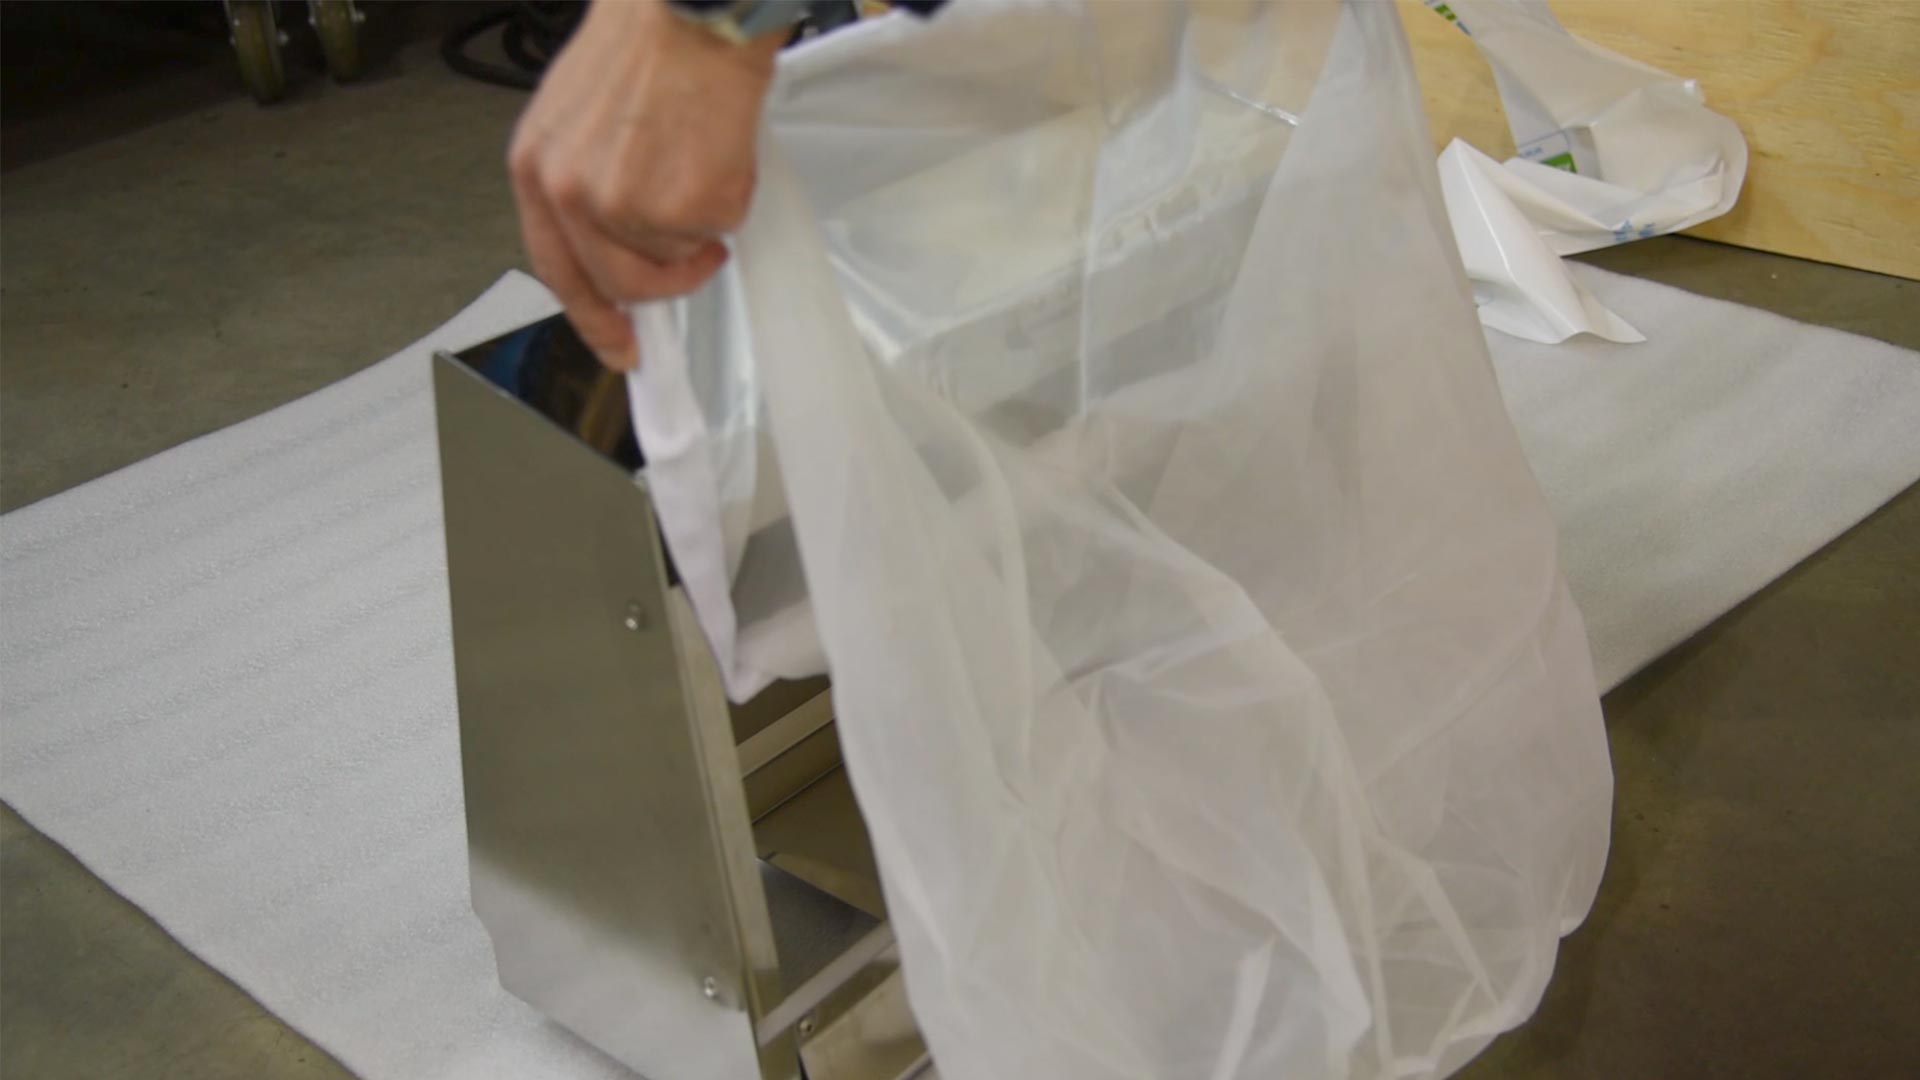
When the filter bag is installed on the wire, you can place it onto the filter box. Underneath the filter box, you will notice tracks for the filter bag to slide into.
15
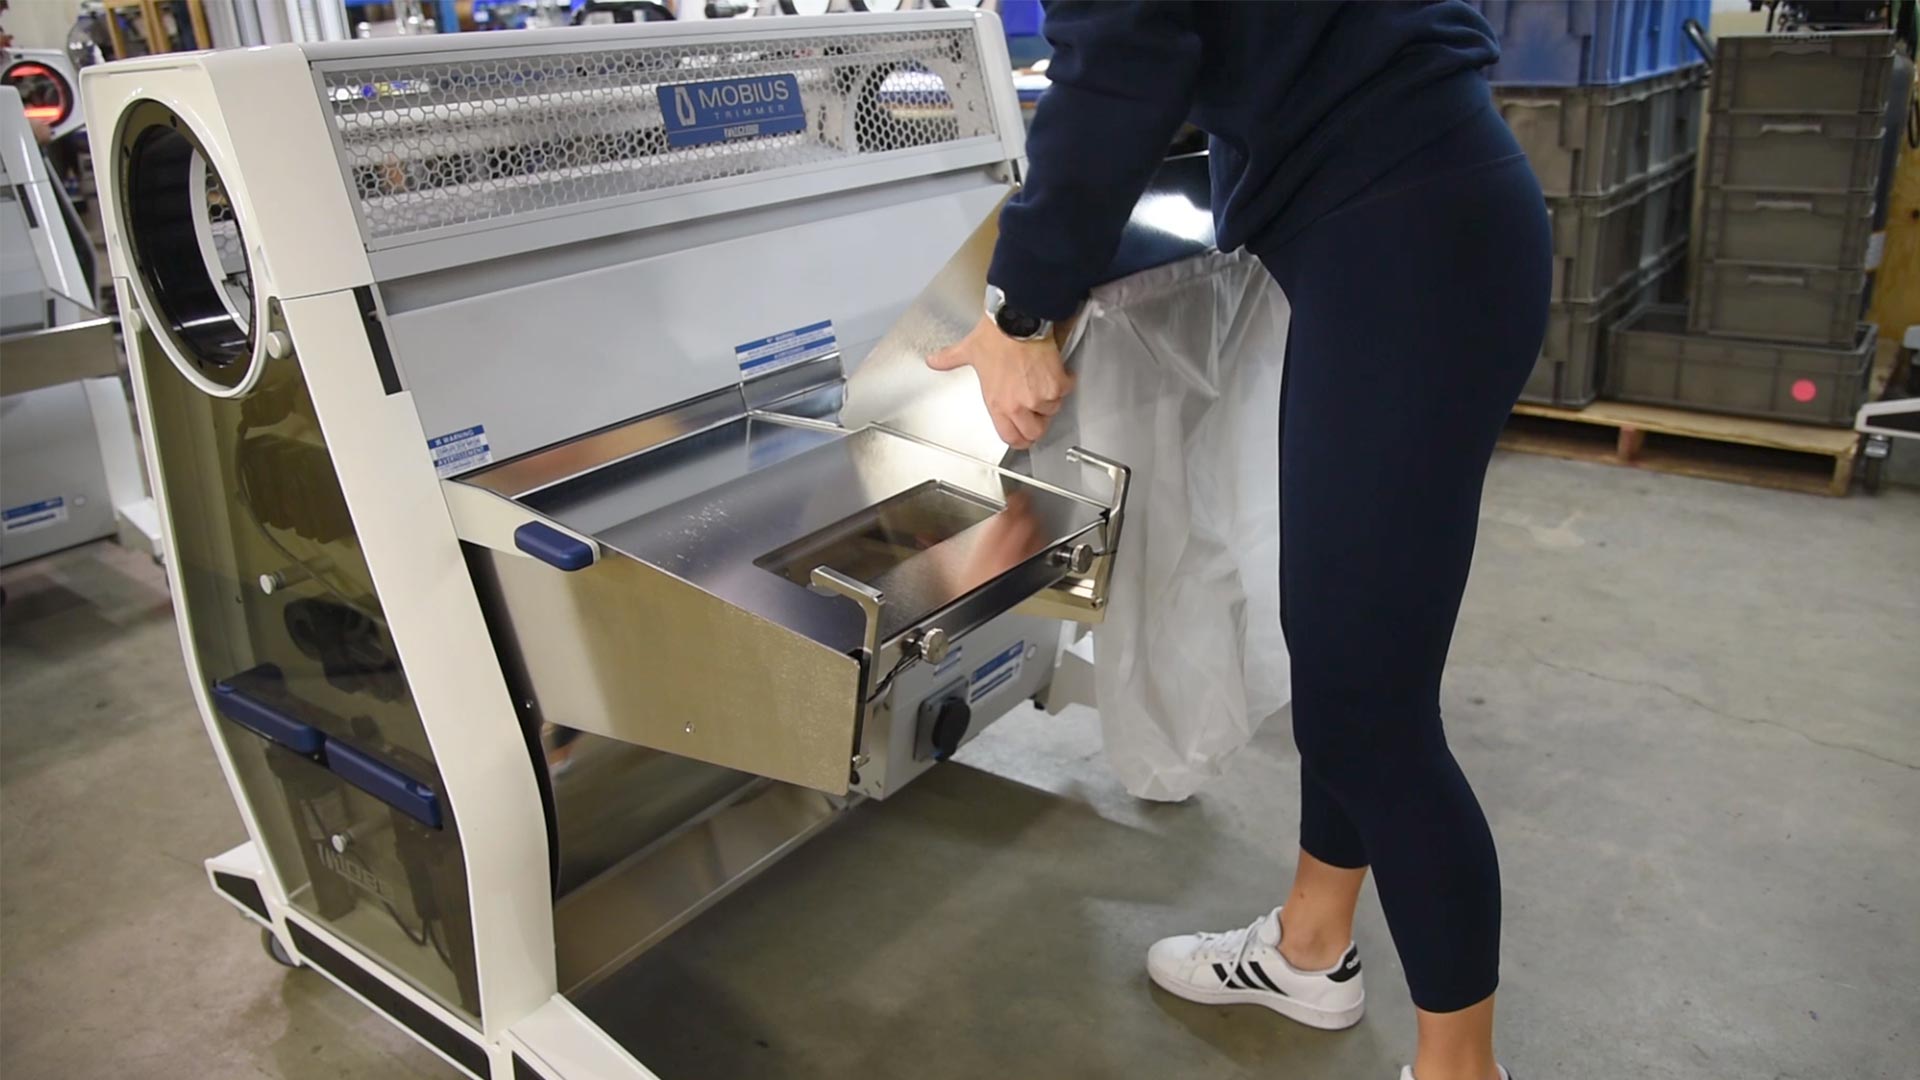
Lift the filter box and slide the connector through the handle connected to the fan housing.
16
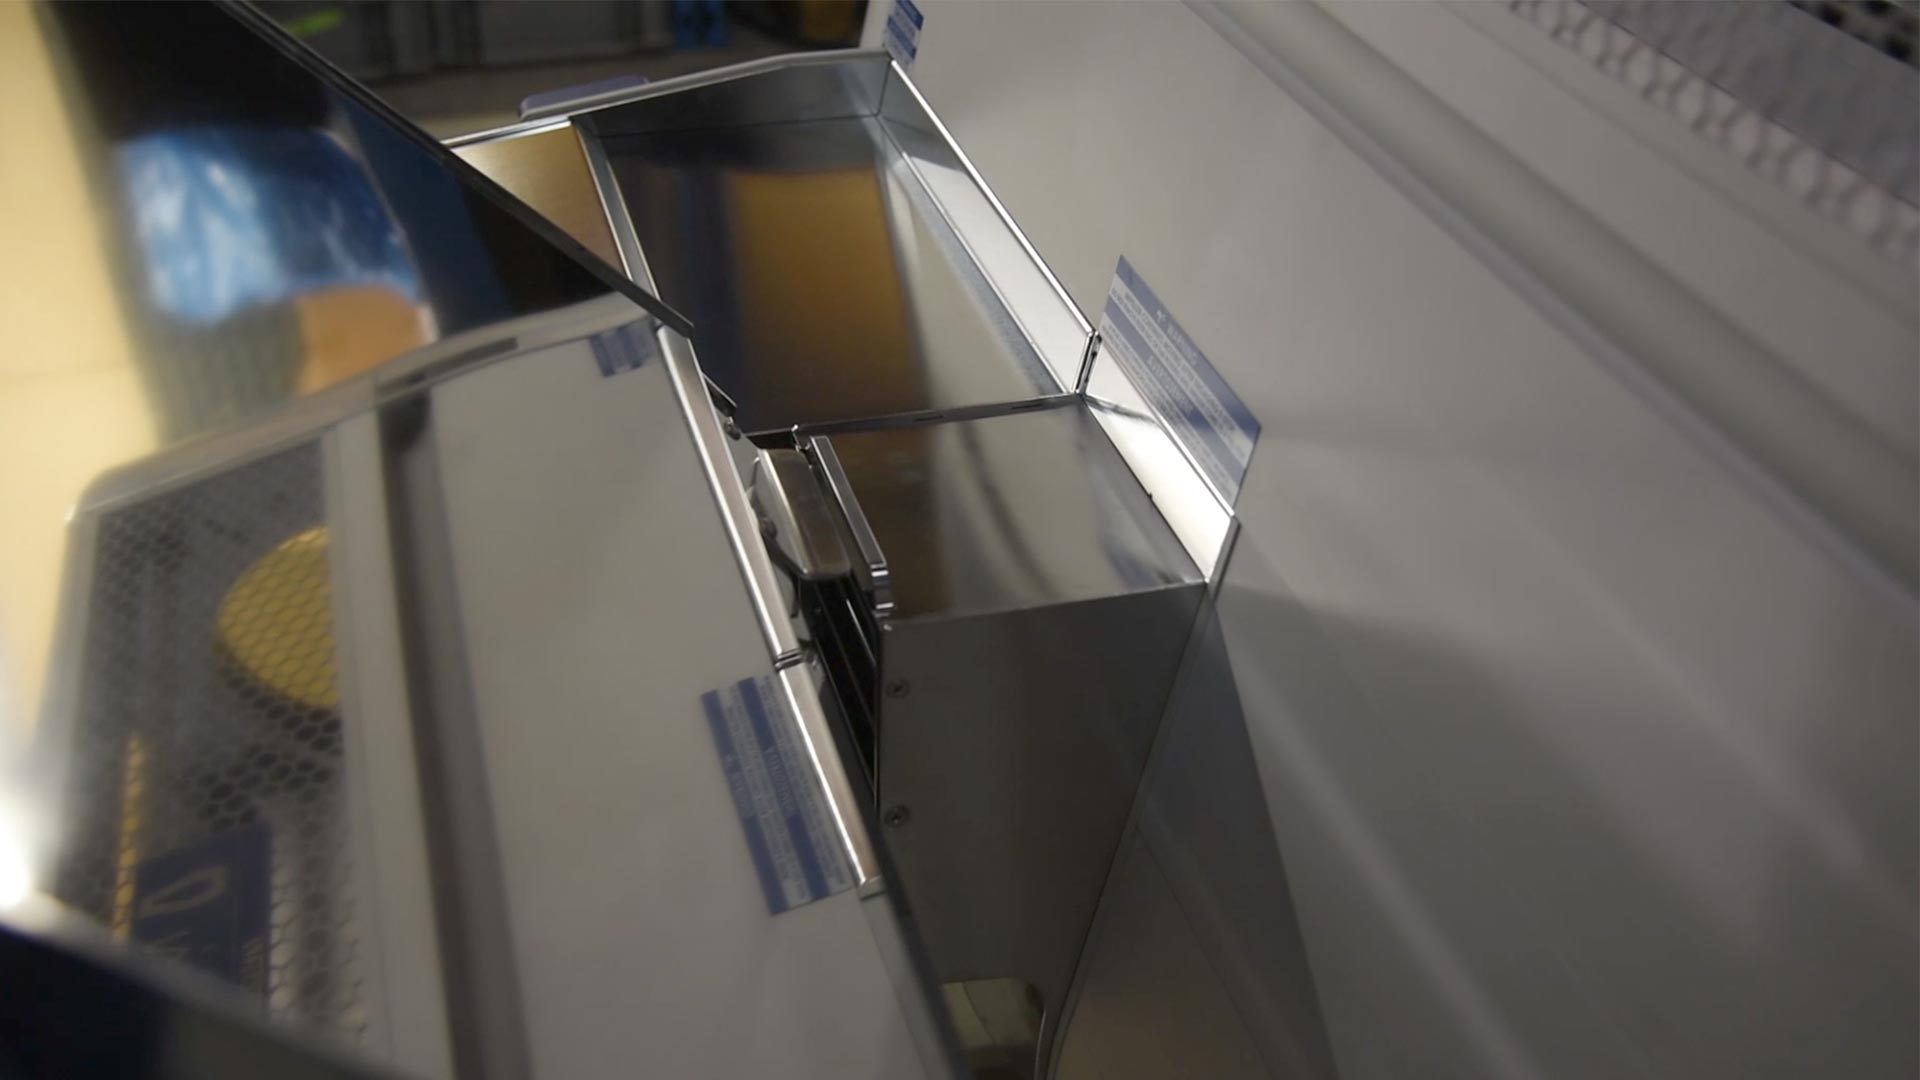
Once the connector is completely through the handle, you can now start pushing down on the filter box until the top of it is flush with the separator.
17
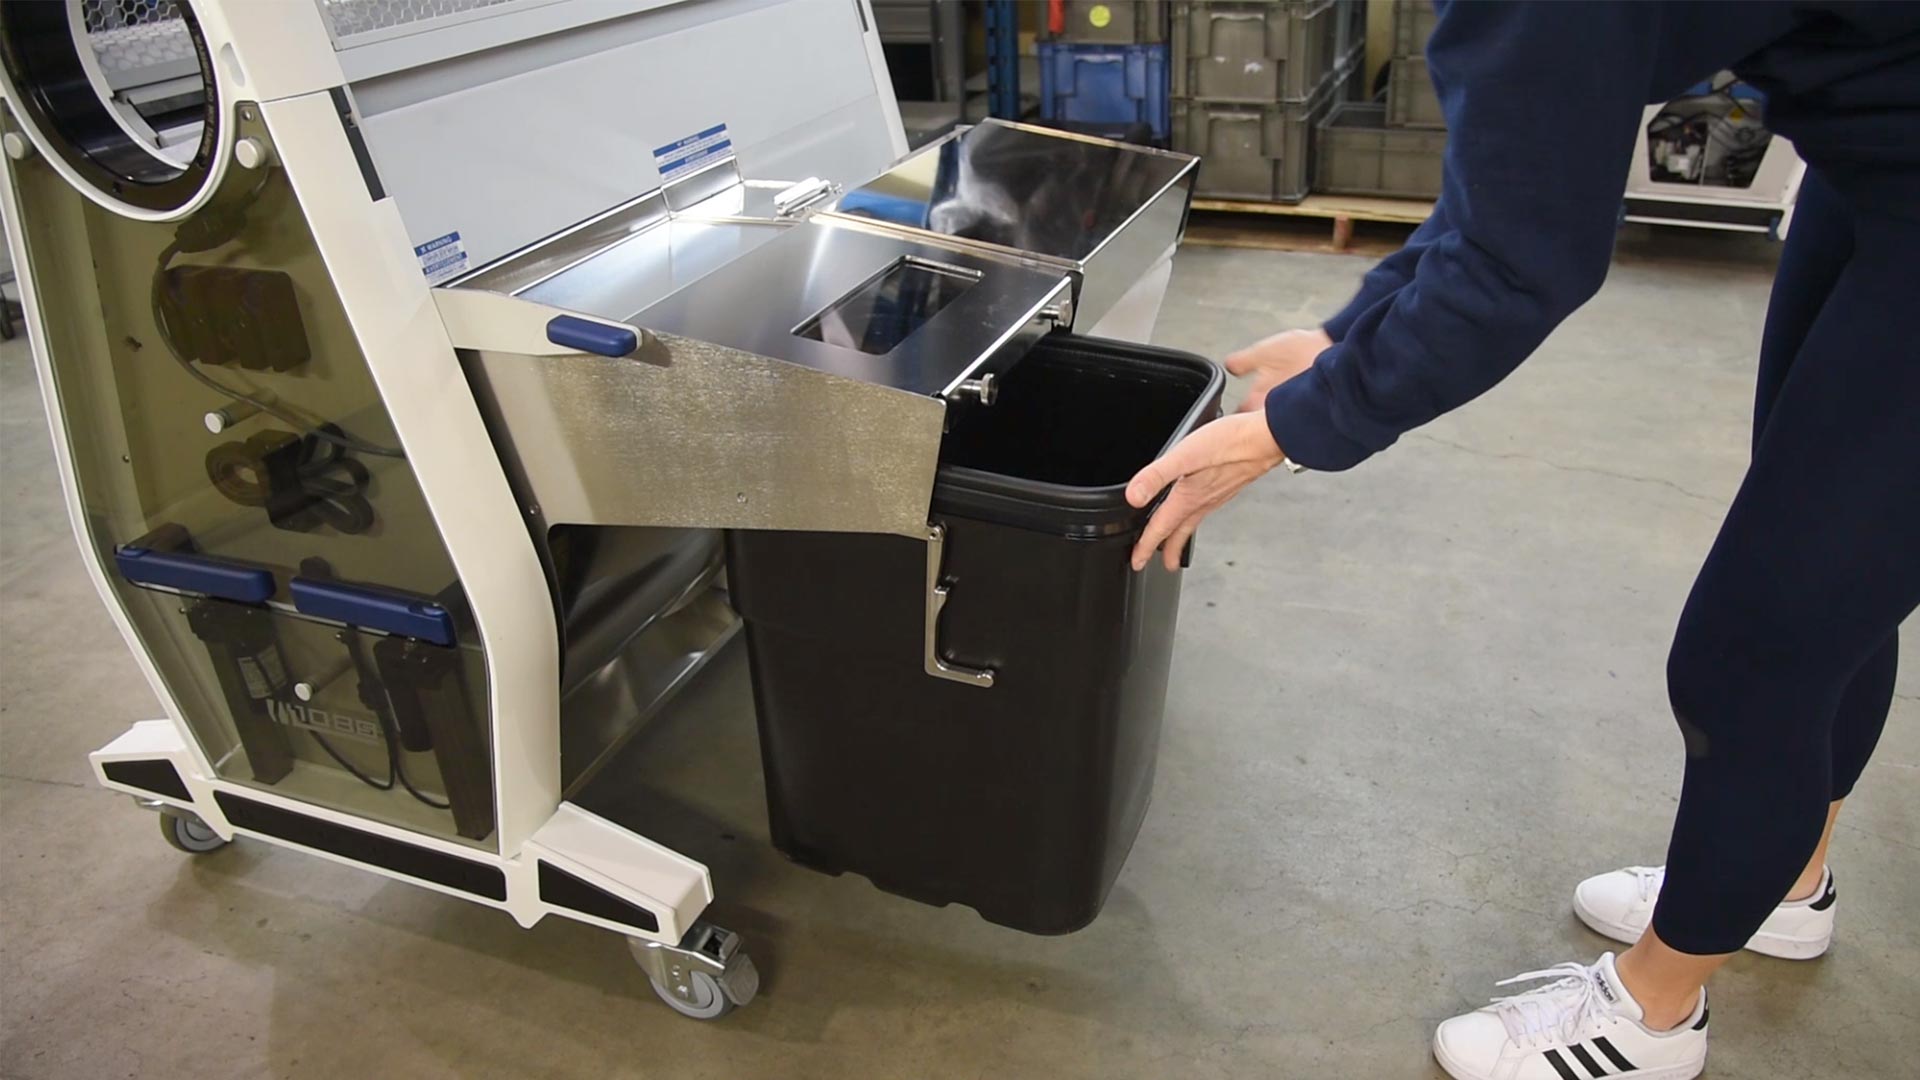
To install the Trim Tote, slide it on the rails of the separator with the warning symbol going in first.
18
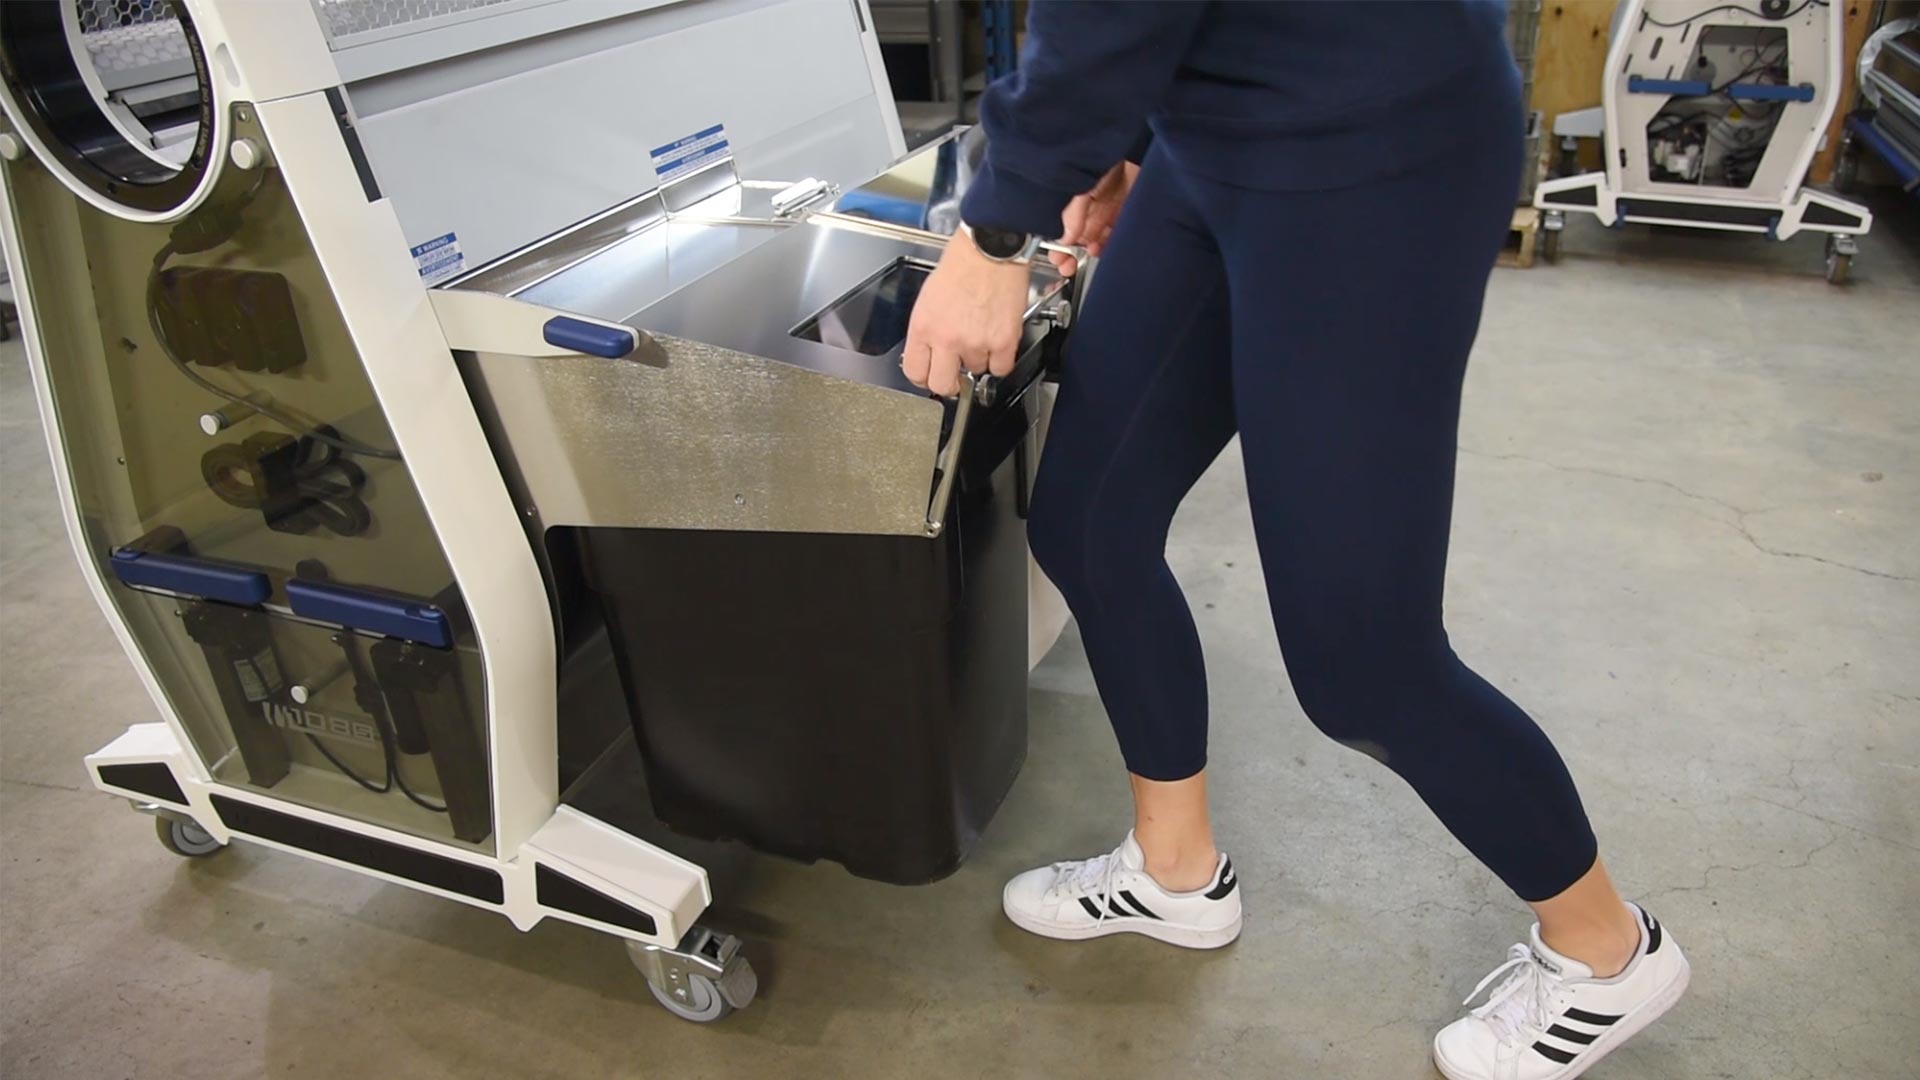
Swivel the latches towards you slightly and up so that it raises the Trim Tote and seals off the gasket, locking it in place.
Step by Step Tumbler, Hopper and Chute Installation
01
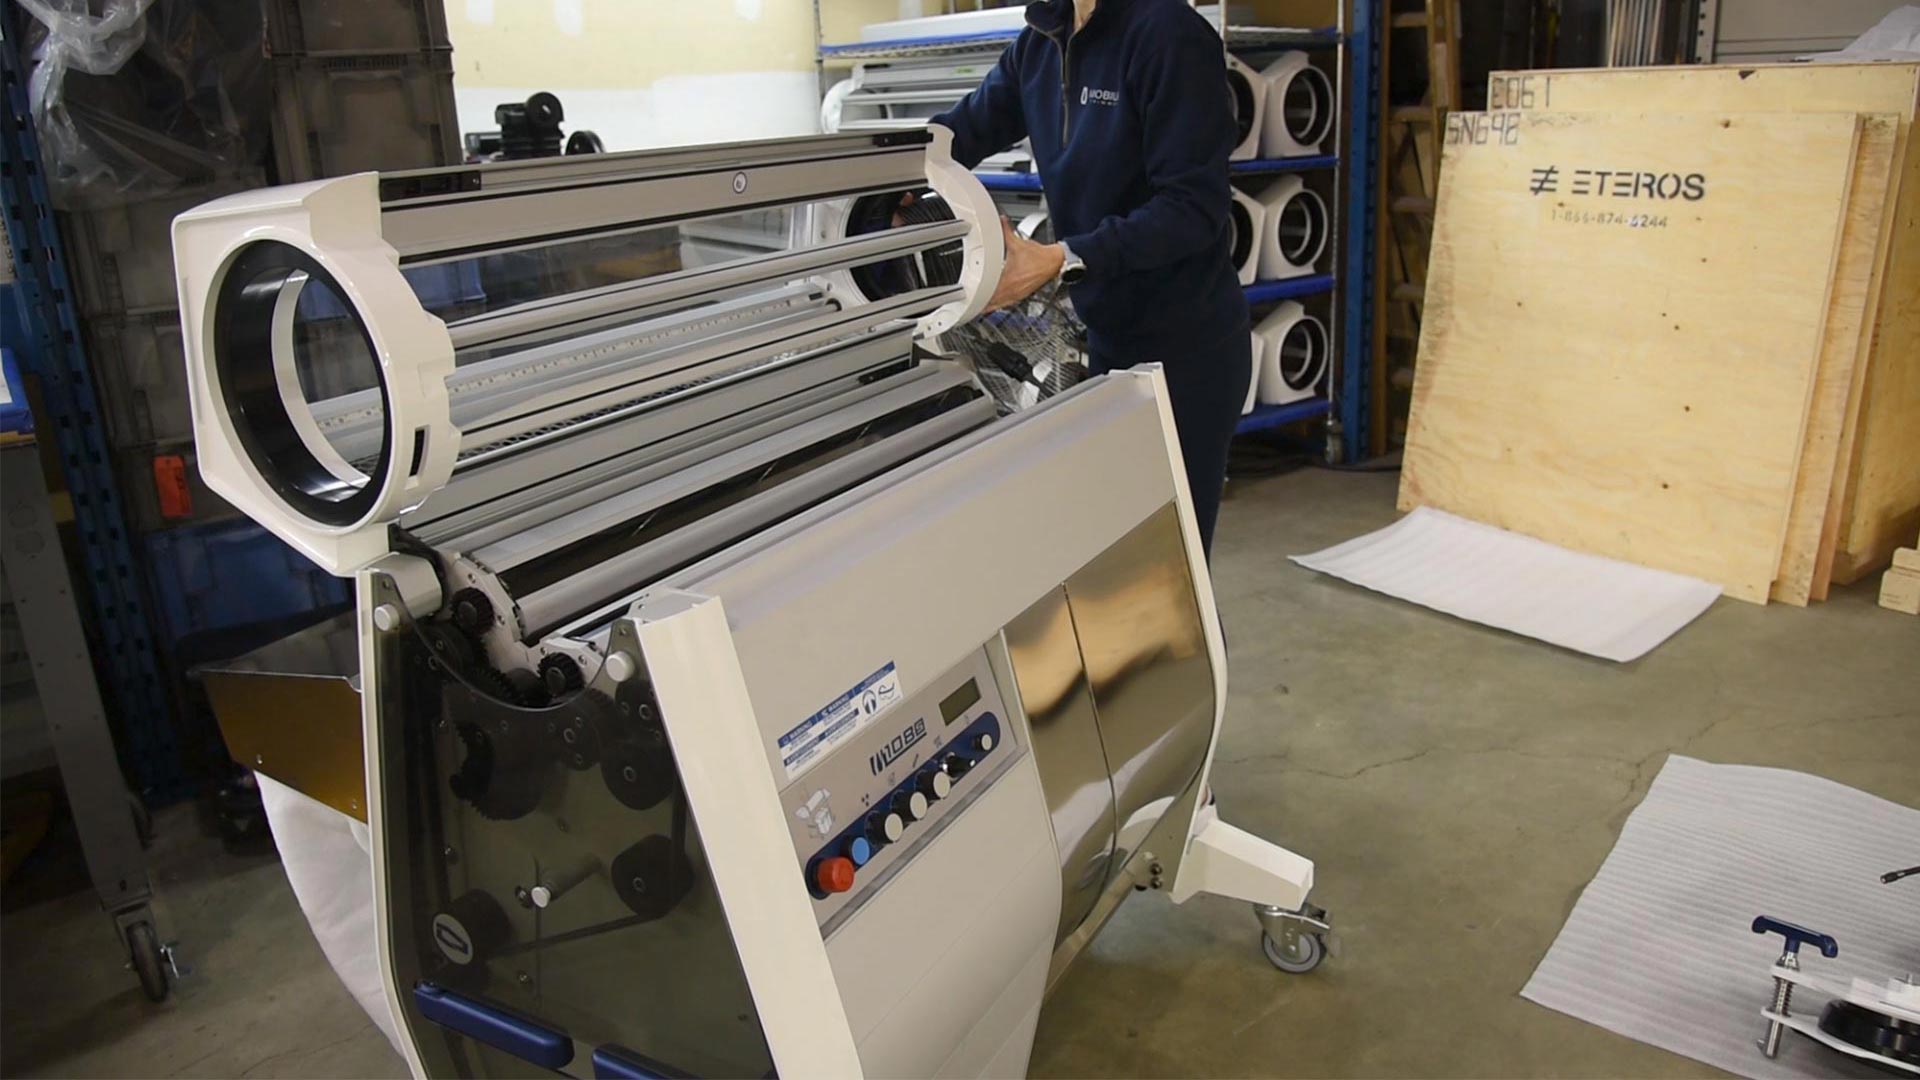
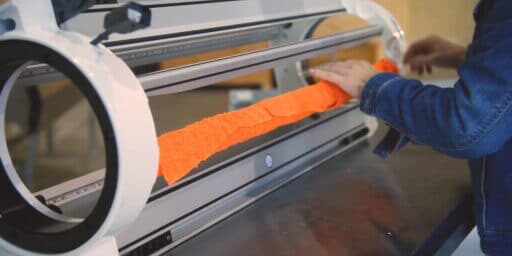
Open the lid to the M108S and take the tumbler and start sliding it through the lid.
02
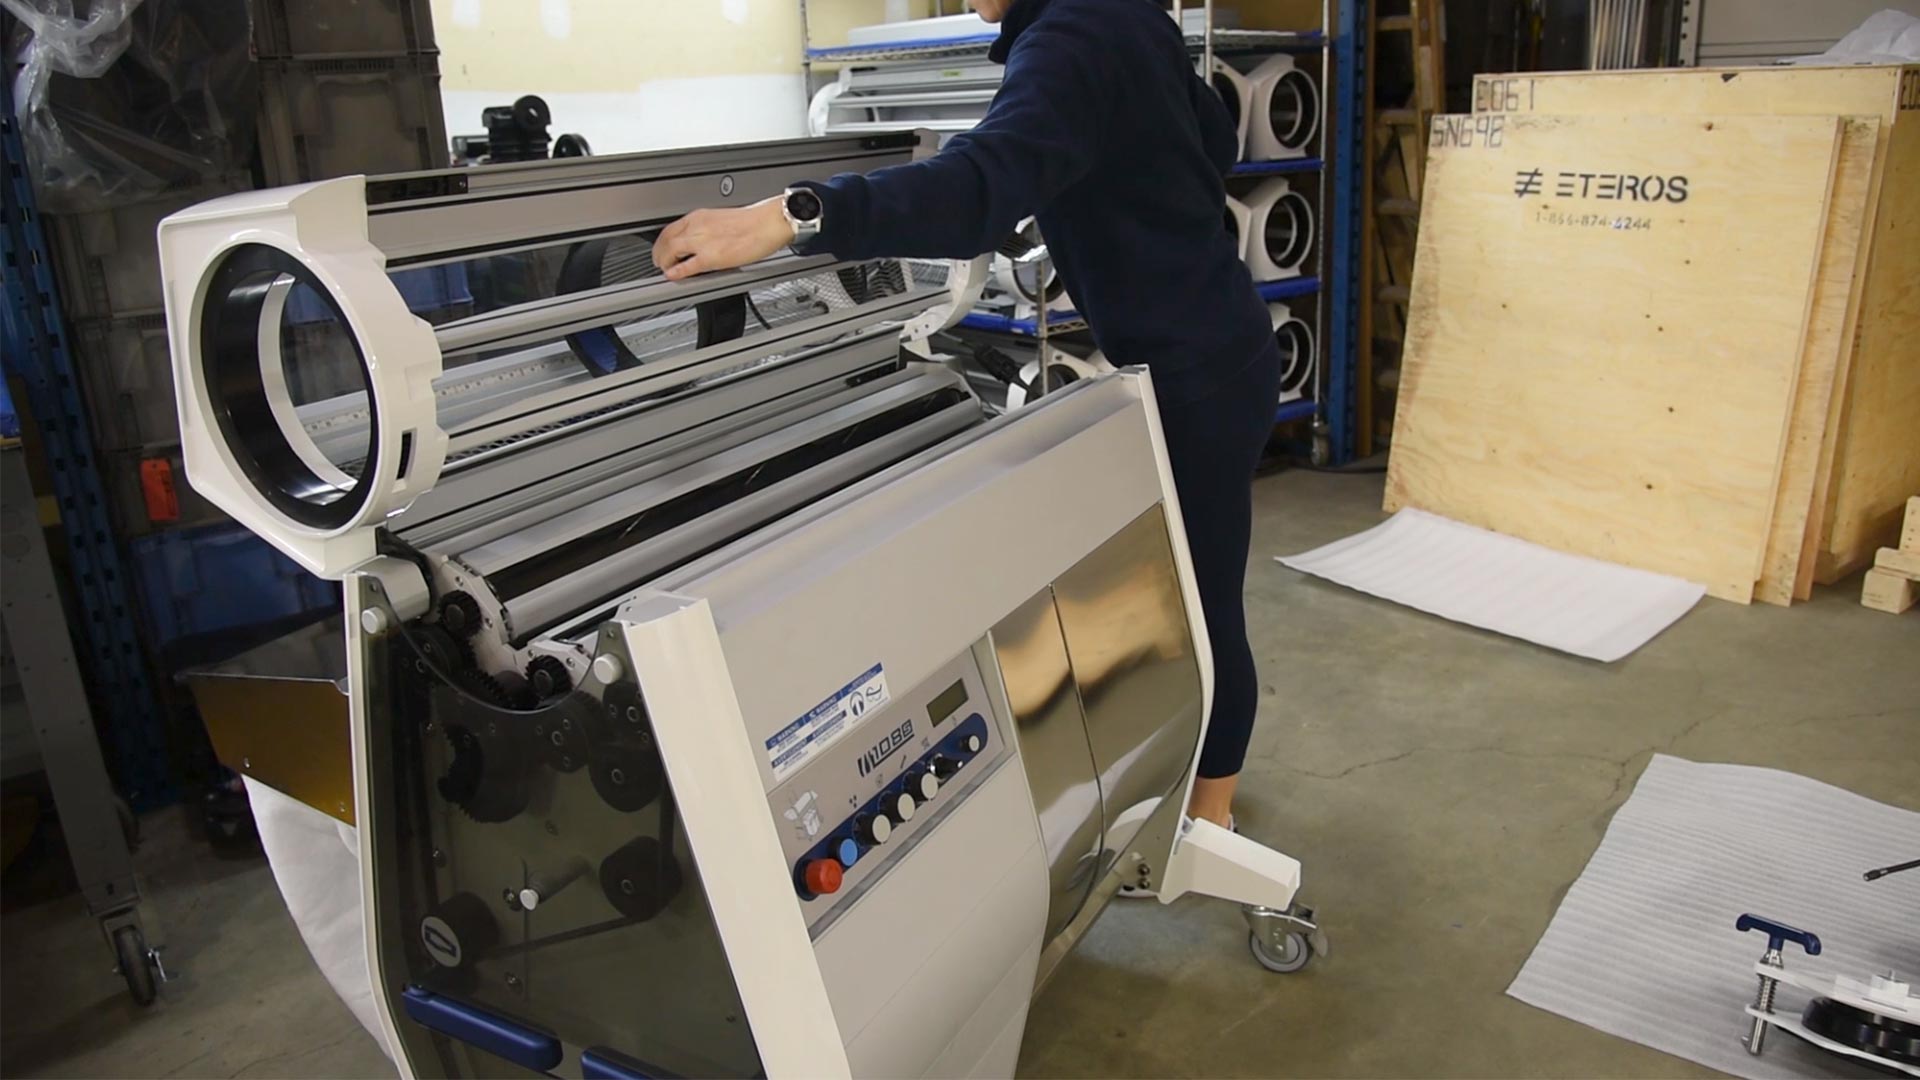
Once the end is in the lid, guide it through to the other side of the lid and ensure that the Tumbler doesn't get overly twisted up as you guide it through.
03
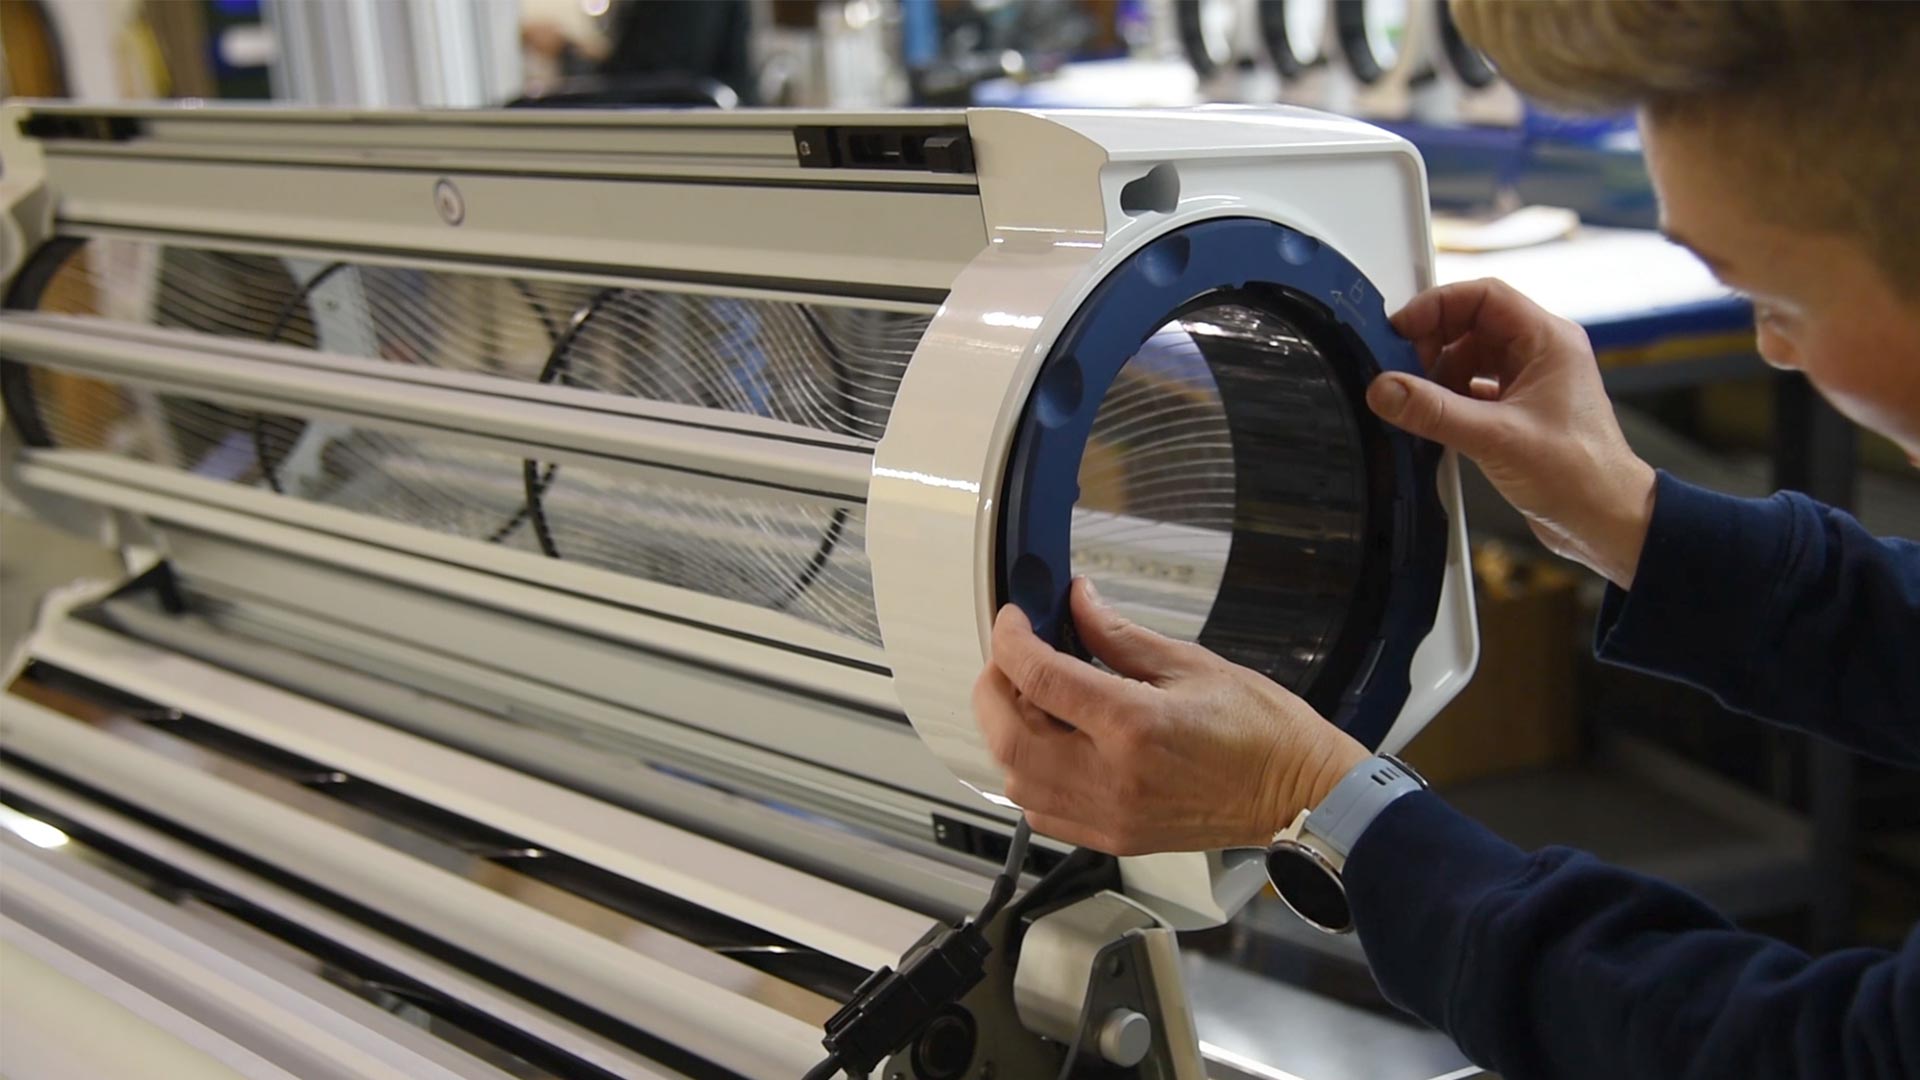
Put the blue tumbler retaining ring on the infeed side of the machine and twist to the lock position.
04
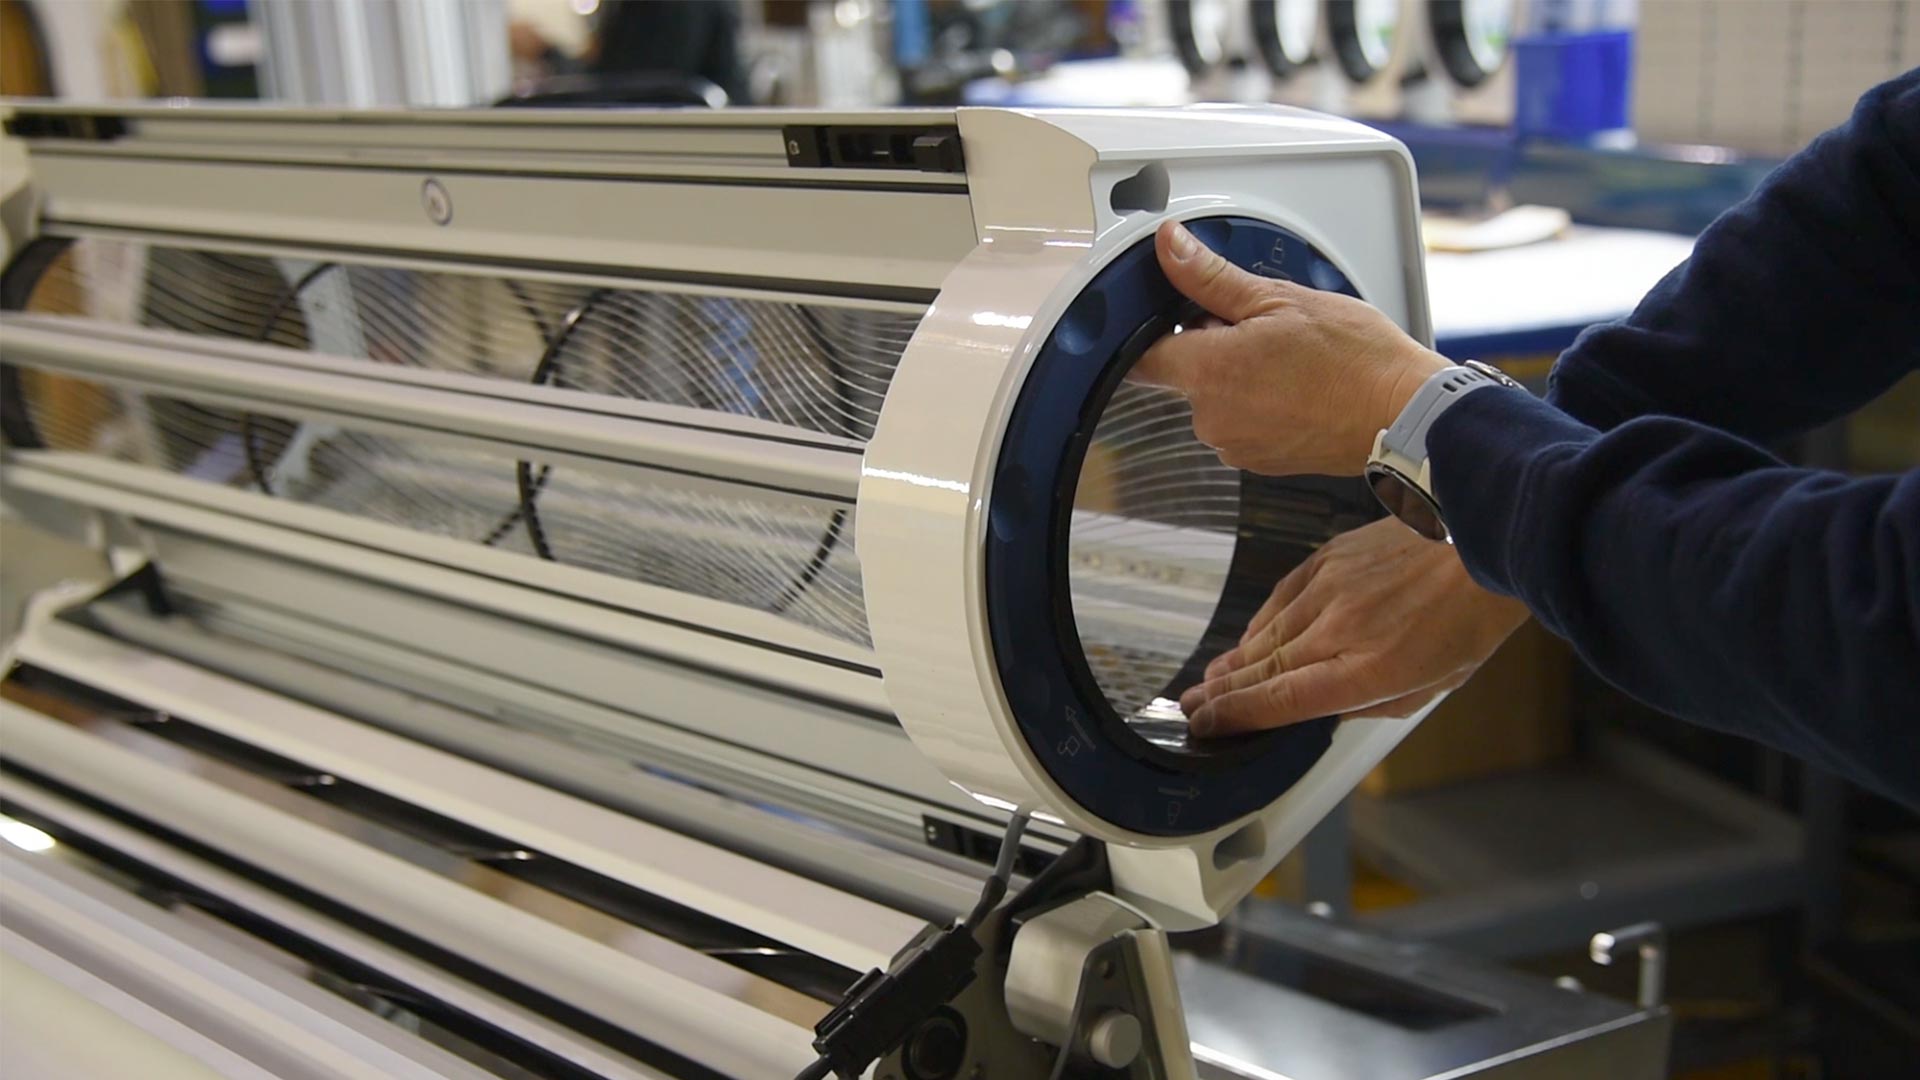
As you locked the tumbler ring in the infeed side, if you see silver on the tabs of the tumbler retaining ring, it is not in the locked position.
05
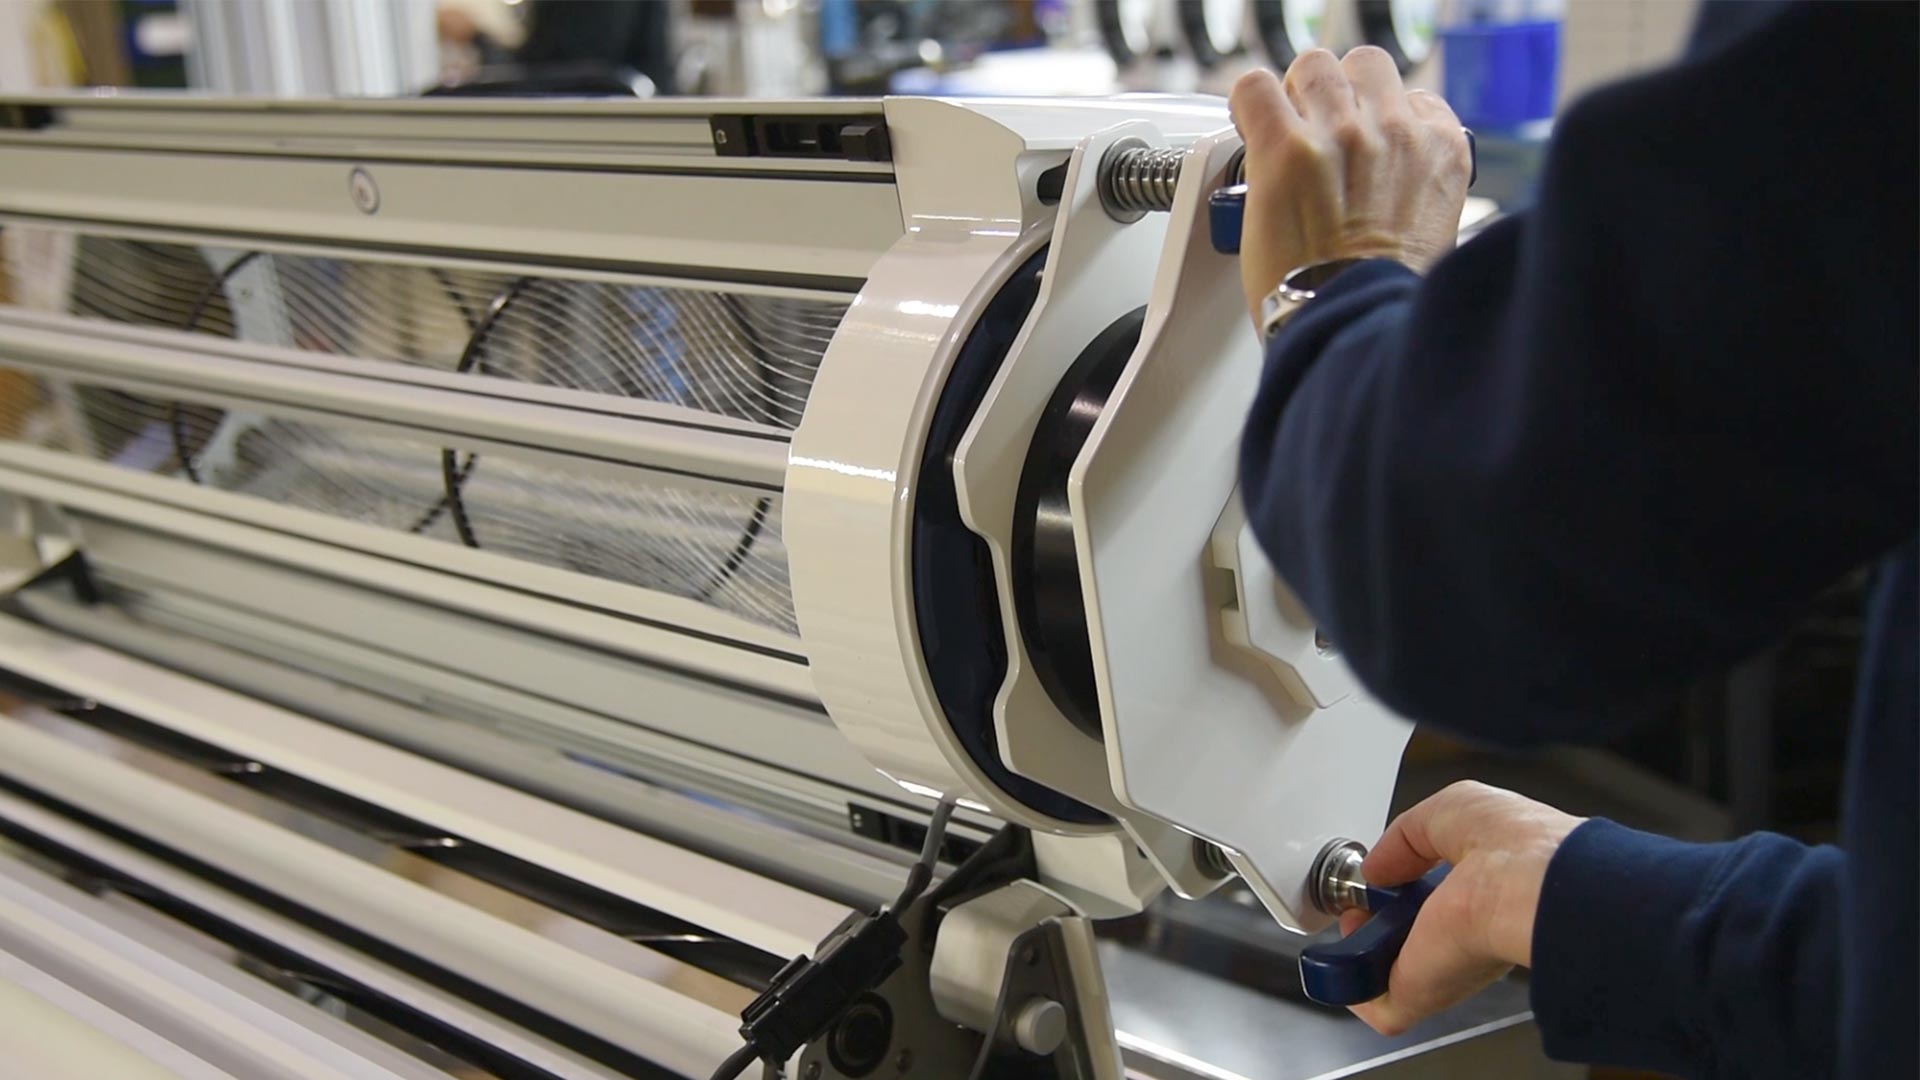
Carefully unpack the spring jack tool, and insert the handlebars into the receptacles on the infeed side of the lid.
06
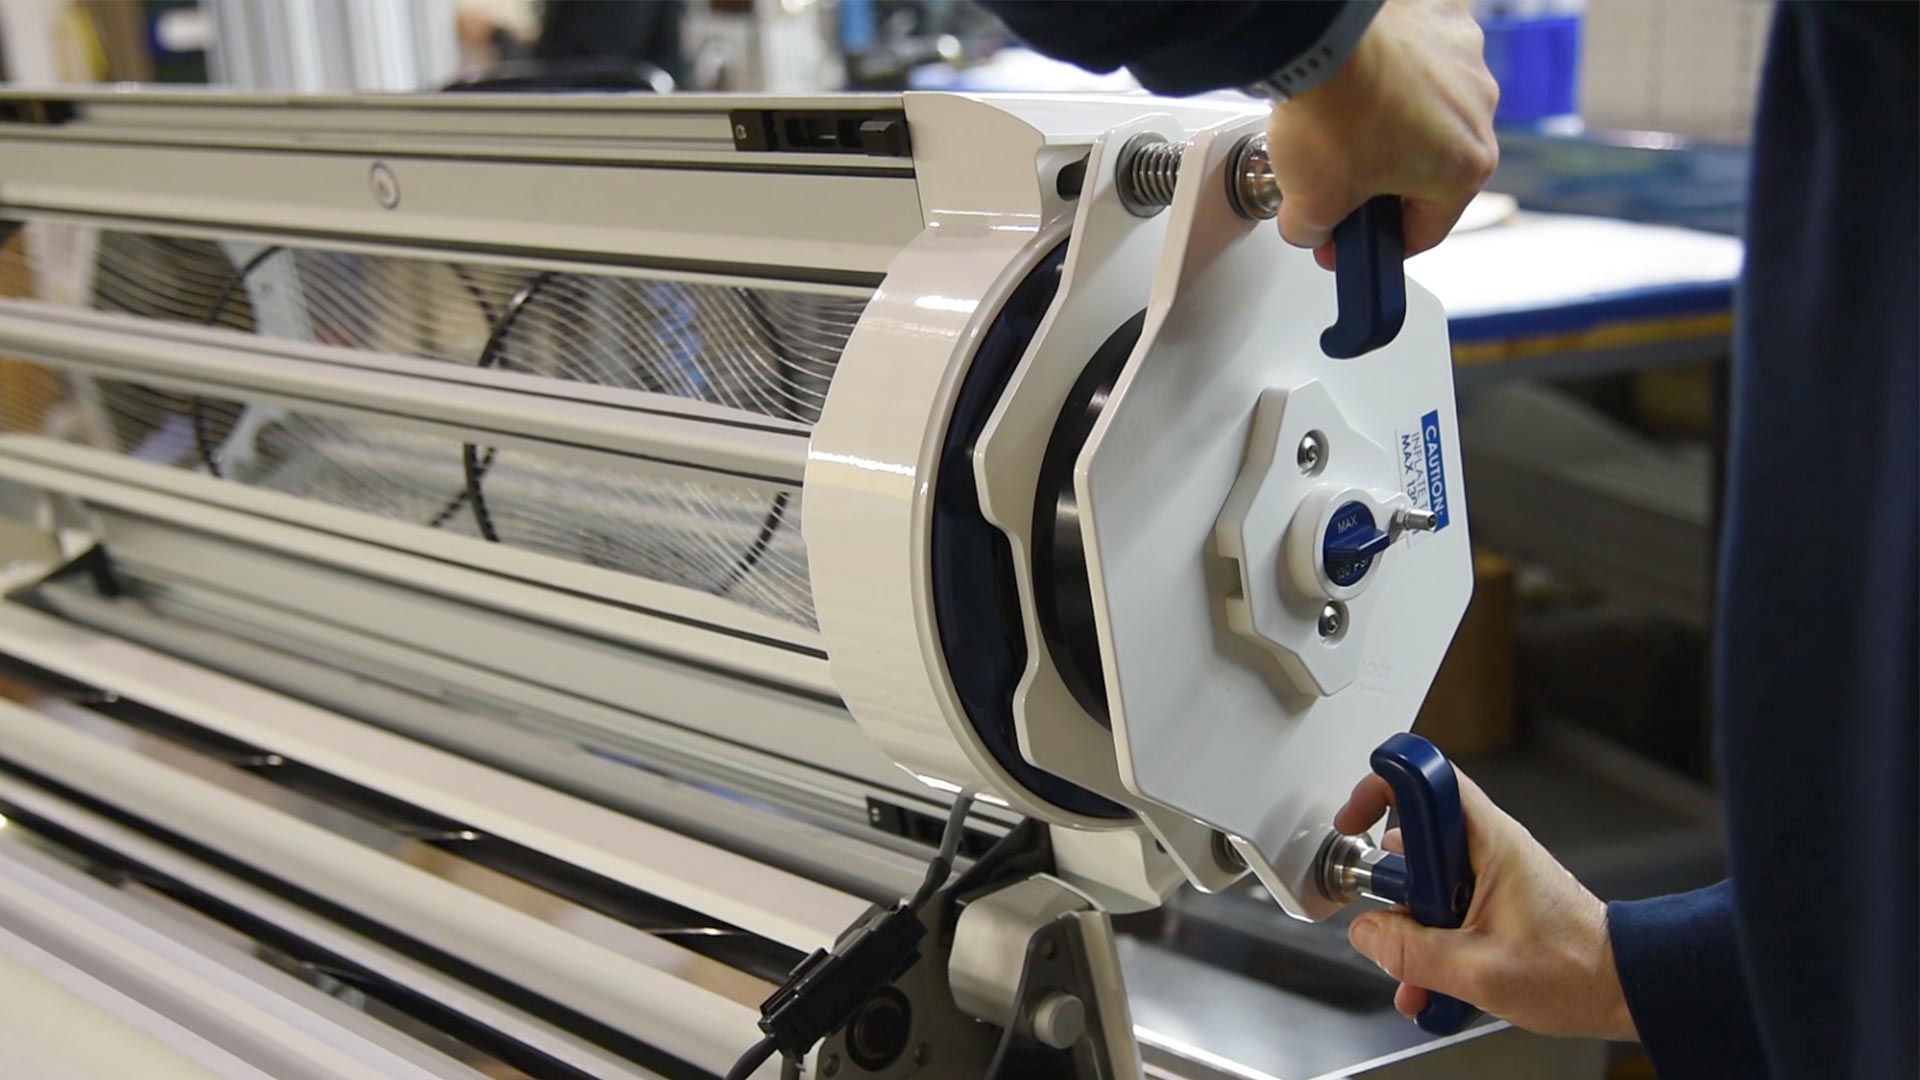
Leaning in with your weight, turn the handles inward to lock.
07
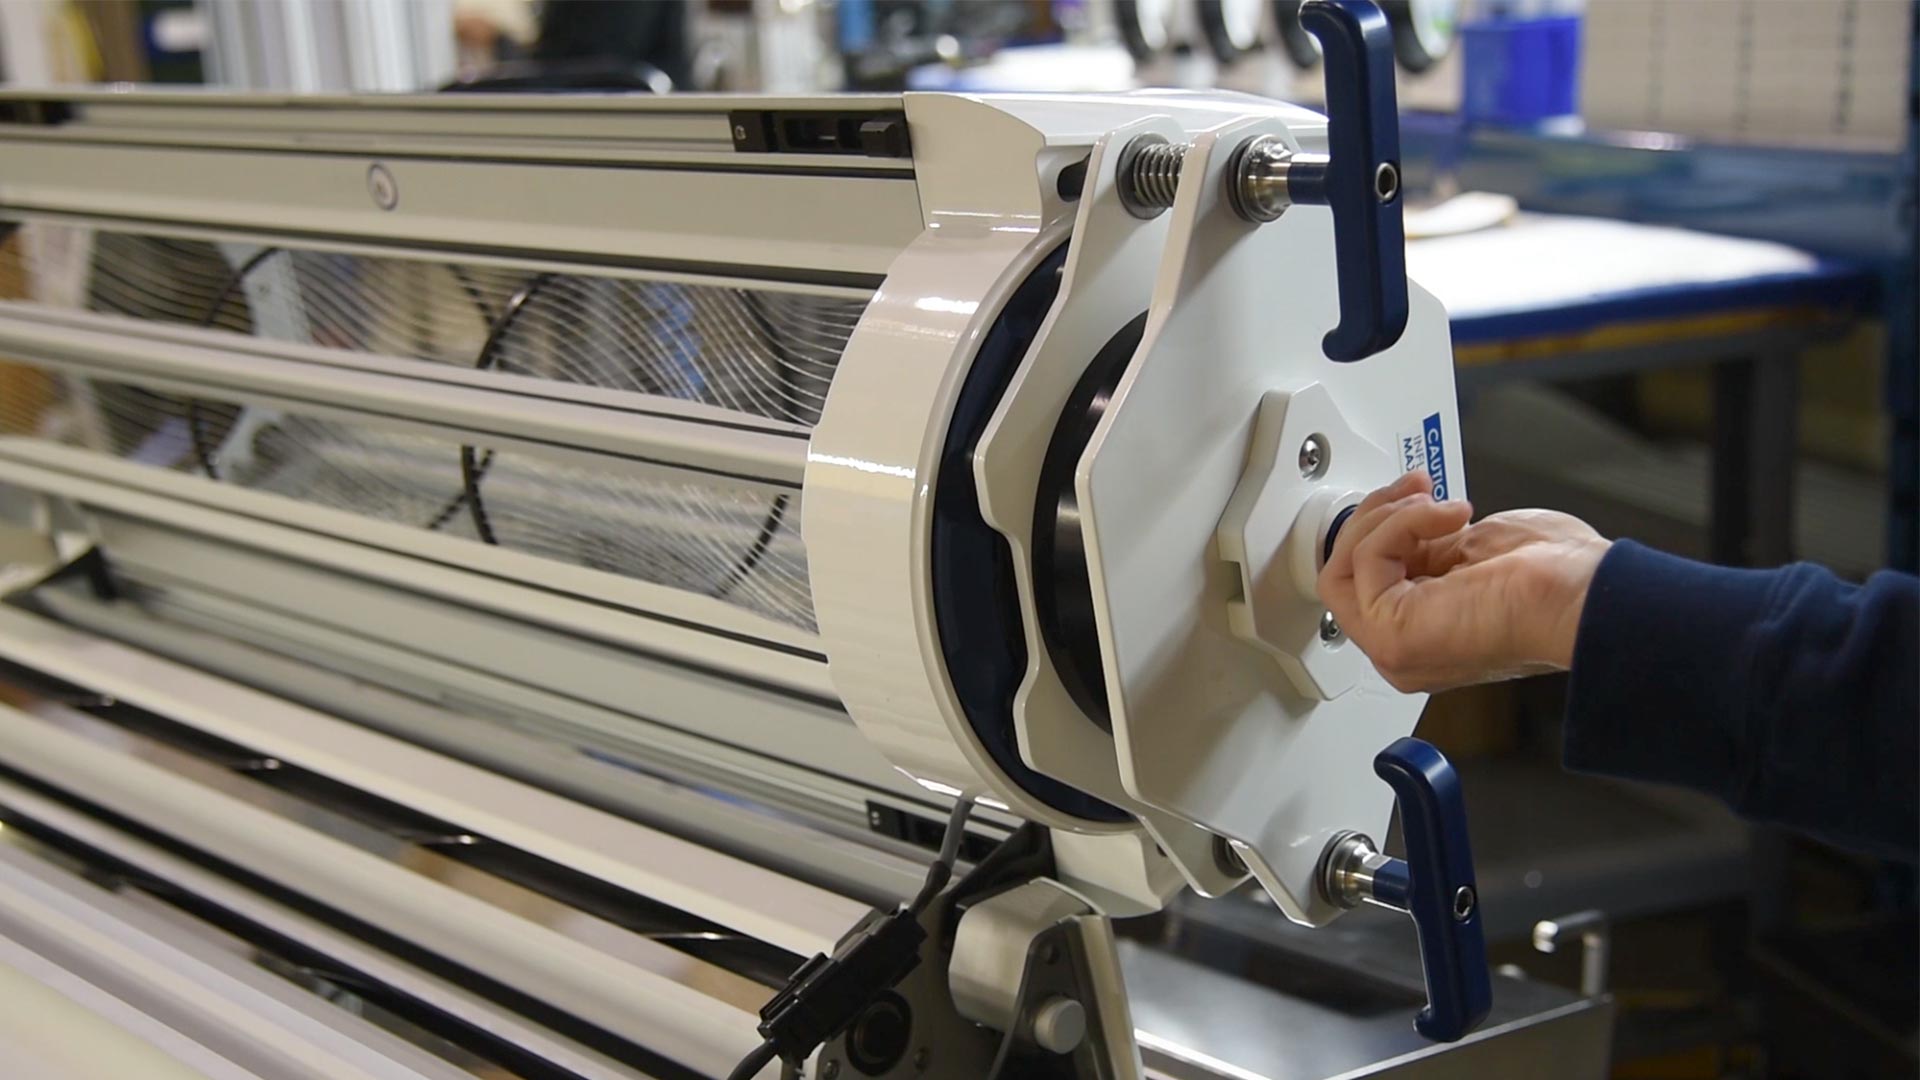
Turn the air-release valve on the spring jack to the closed position. The handles and the air-release valve should be in a straight line.
08
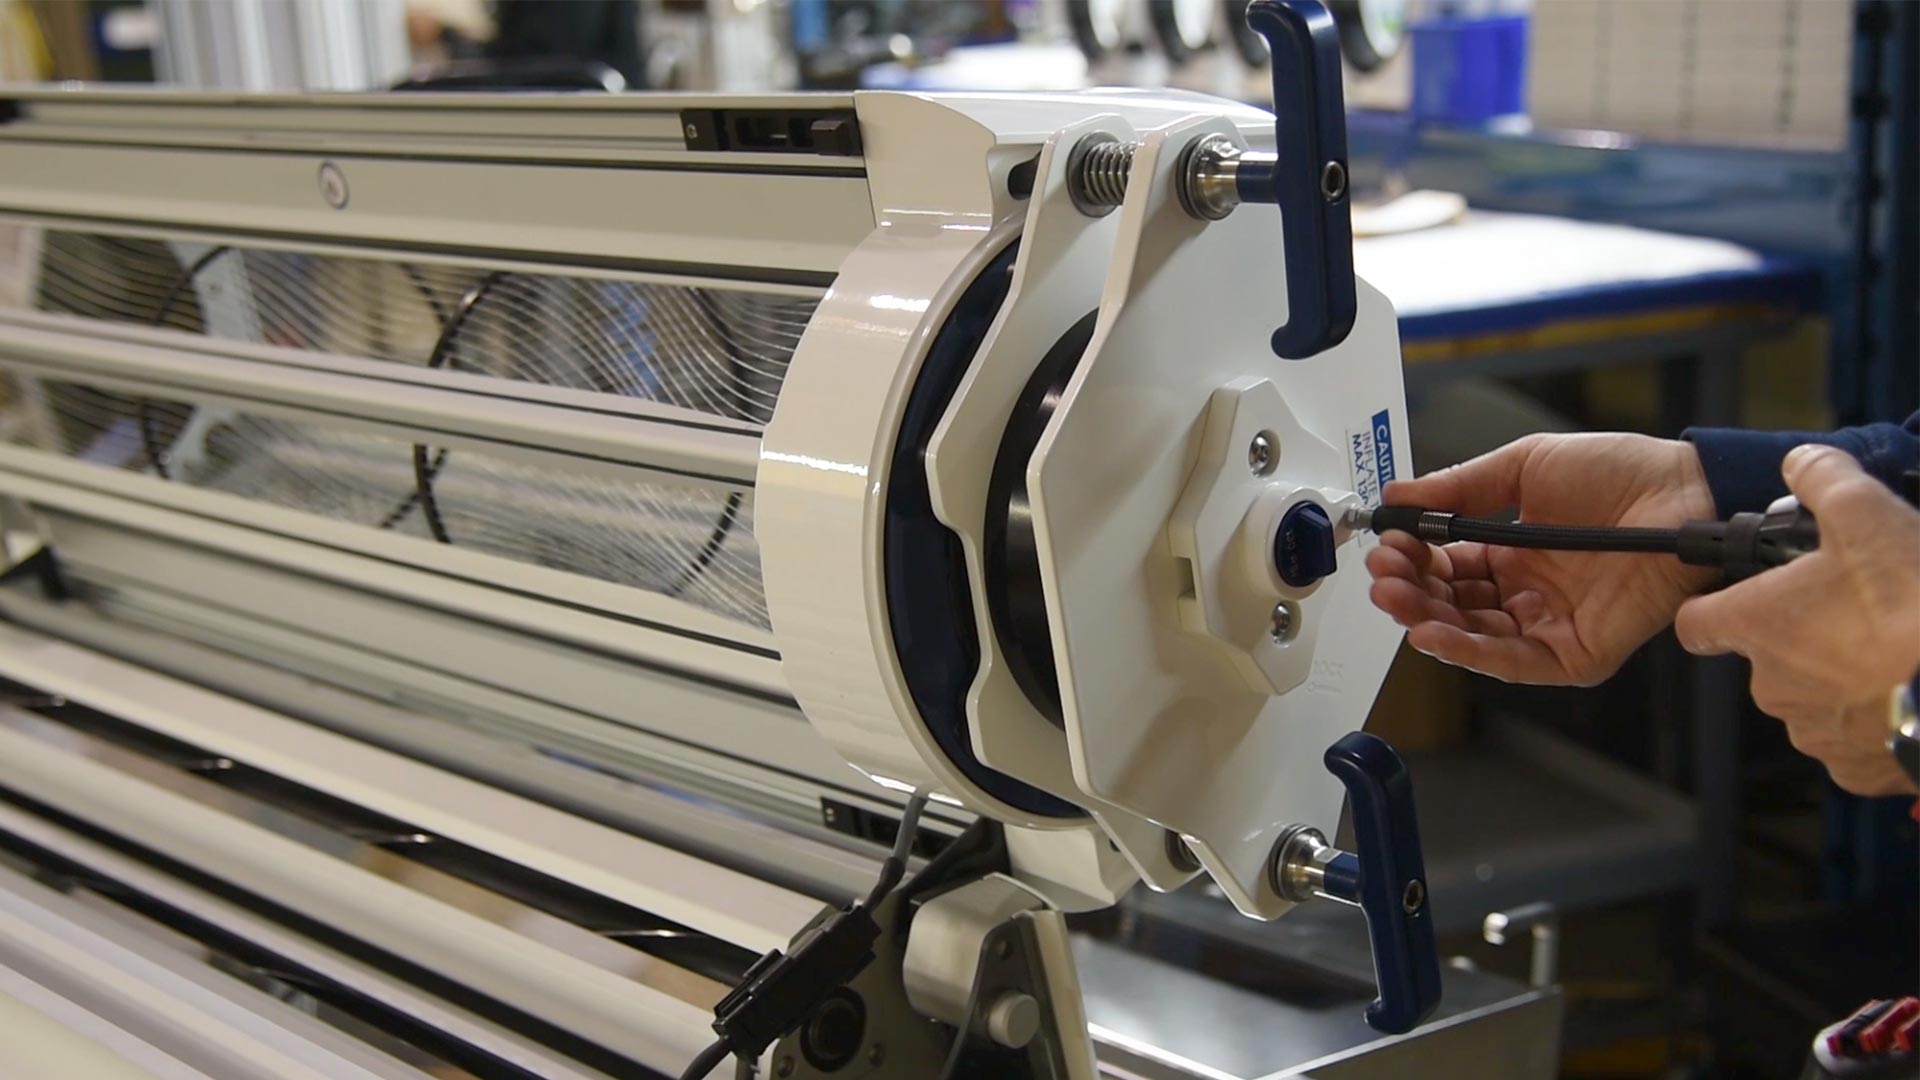
Attach your compressor hose to the Schrader valve on the spring jack and pressurize to 80 PSI.
The tumbler retaining ring should be pushed in past the edge of the lid. Be careful not to over inflate the spring jack. 100 PSI or more can damage the unit.
09
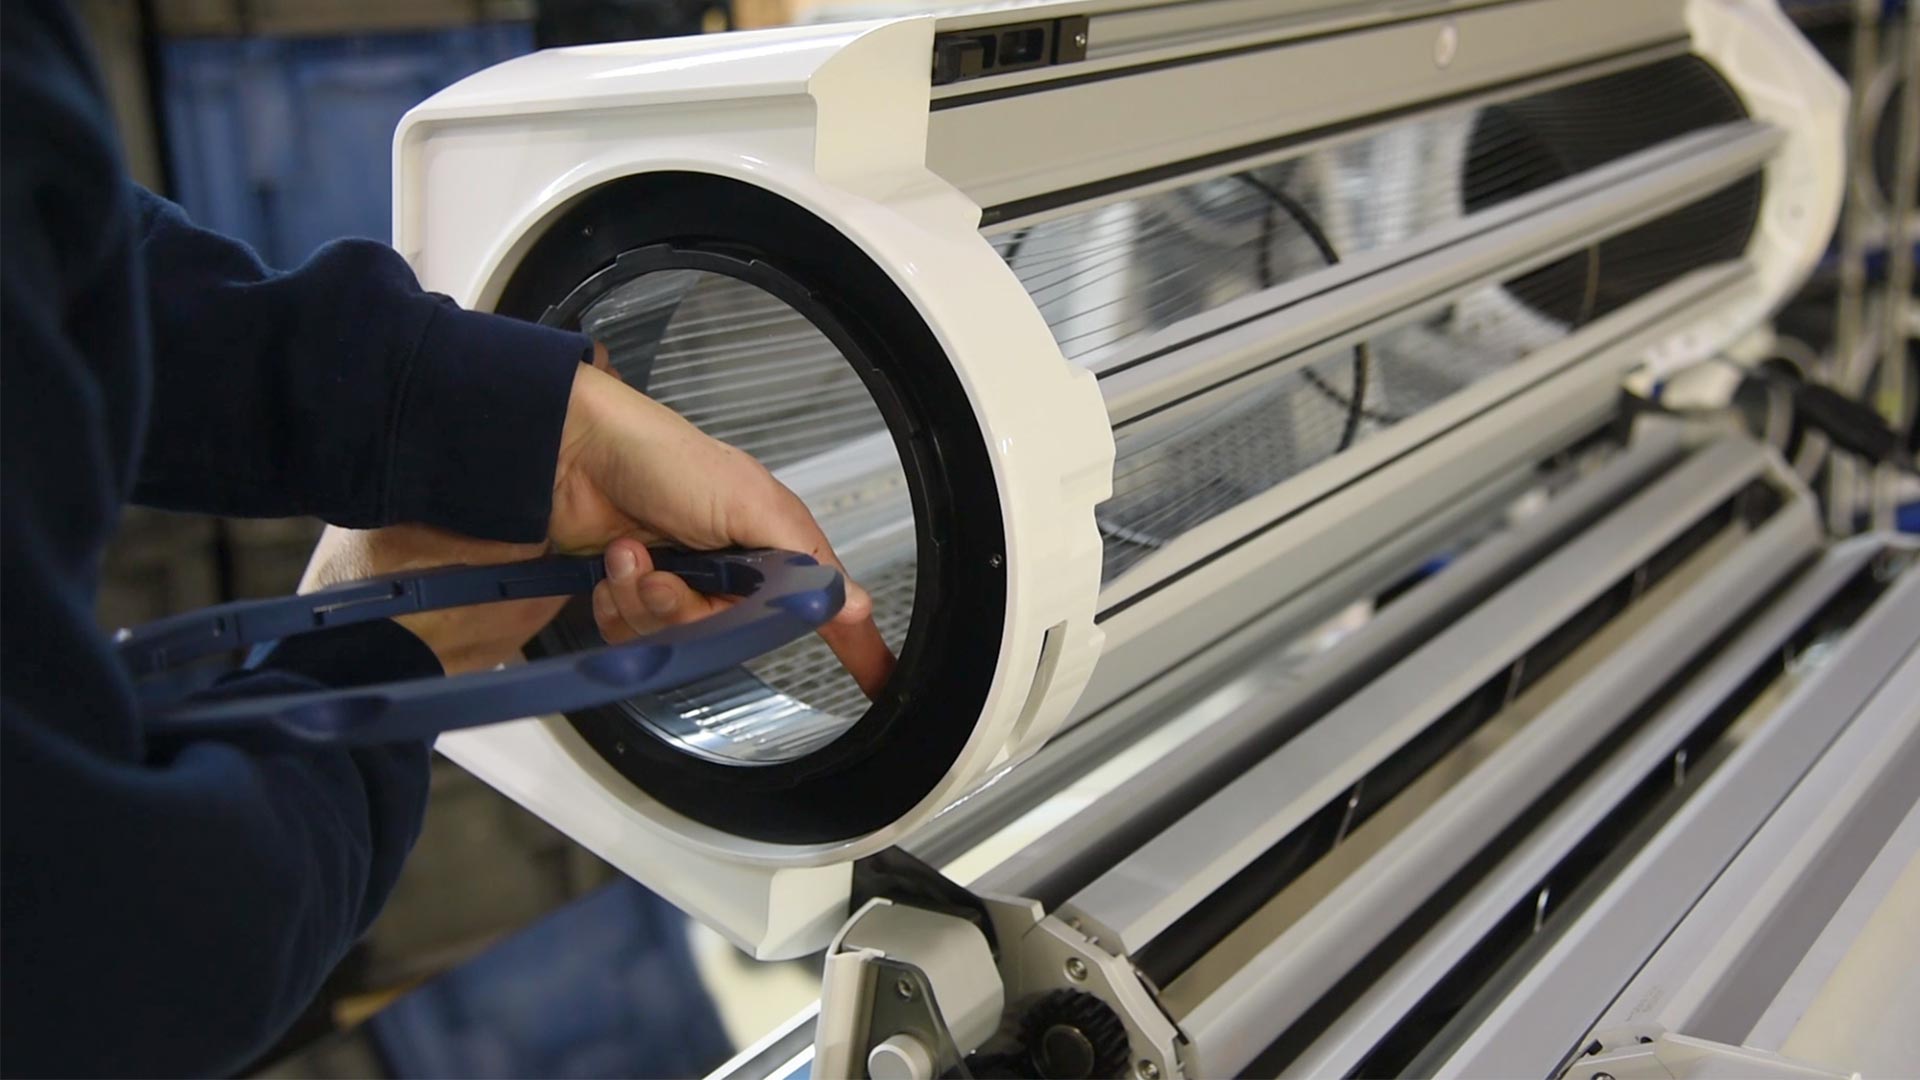
Straighten the tumbler cables as much as possible before attaching the tumbler retaining ring to the outfeed side.
10
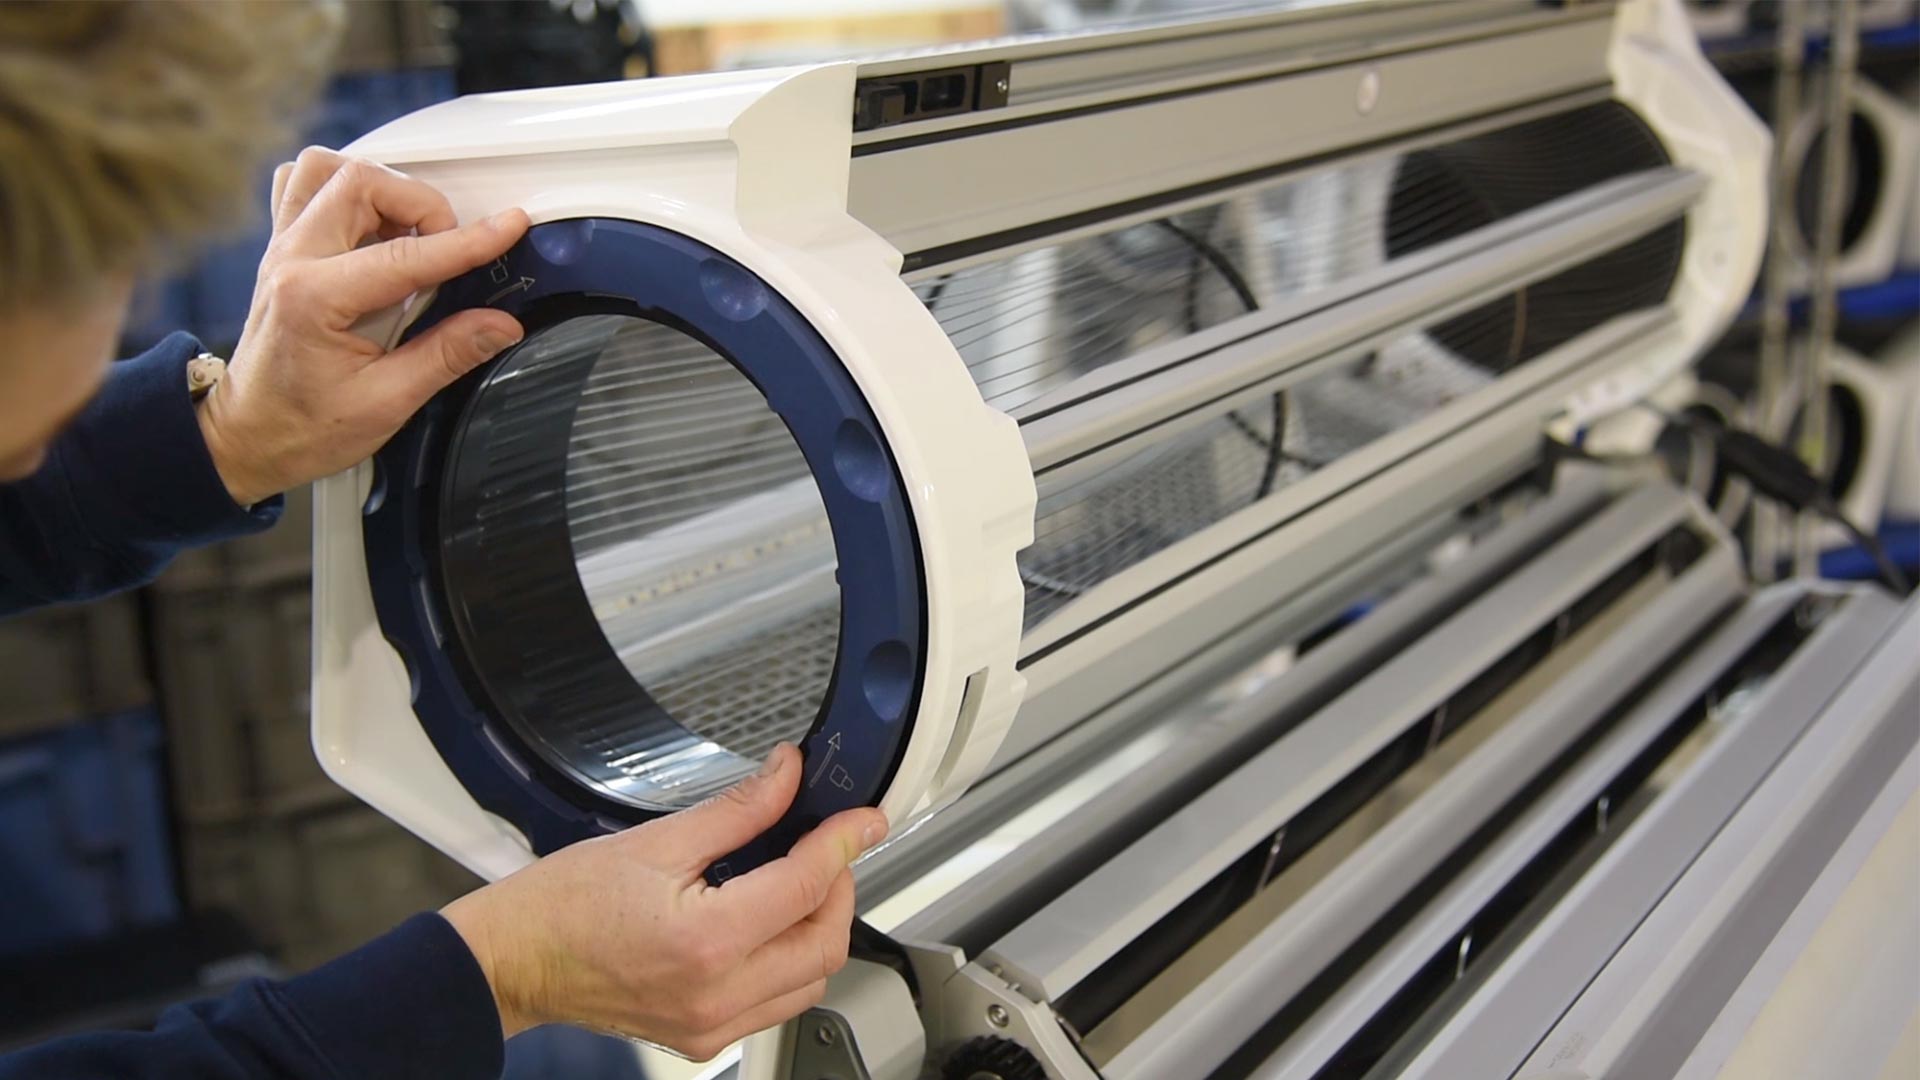
On the outfeed side of the lid, lock on the second tumbler retaining ring.
11
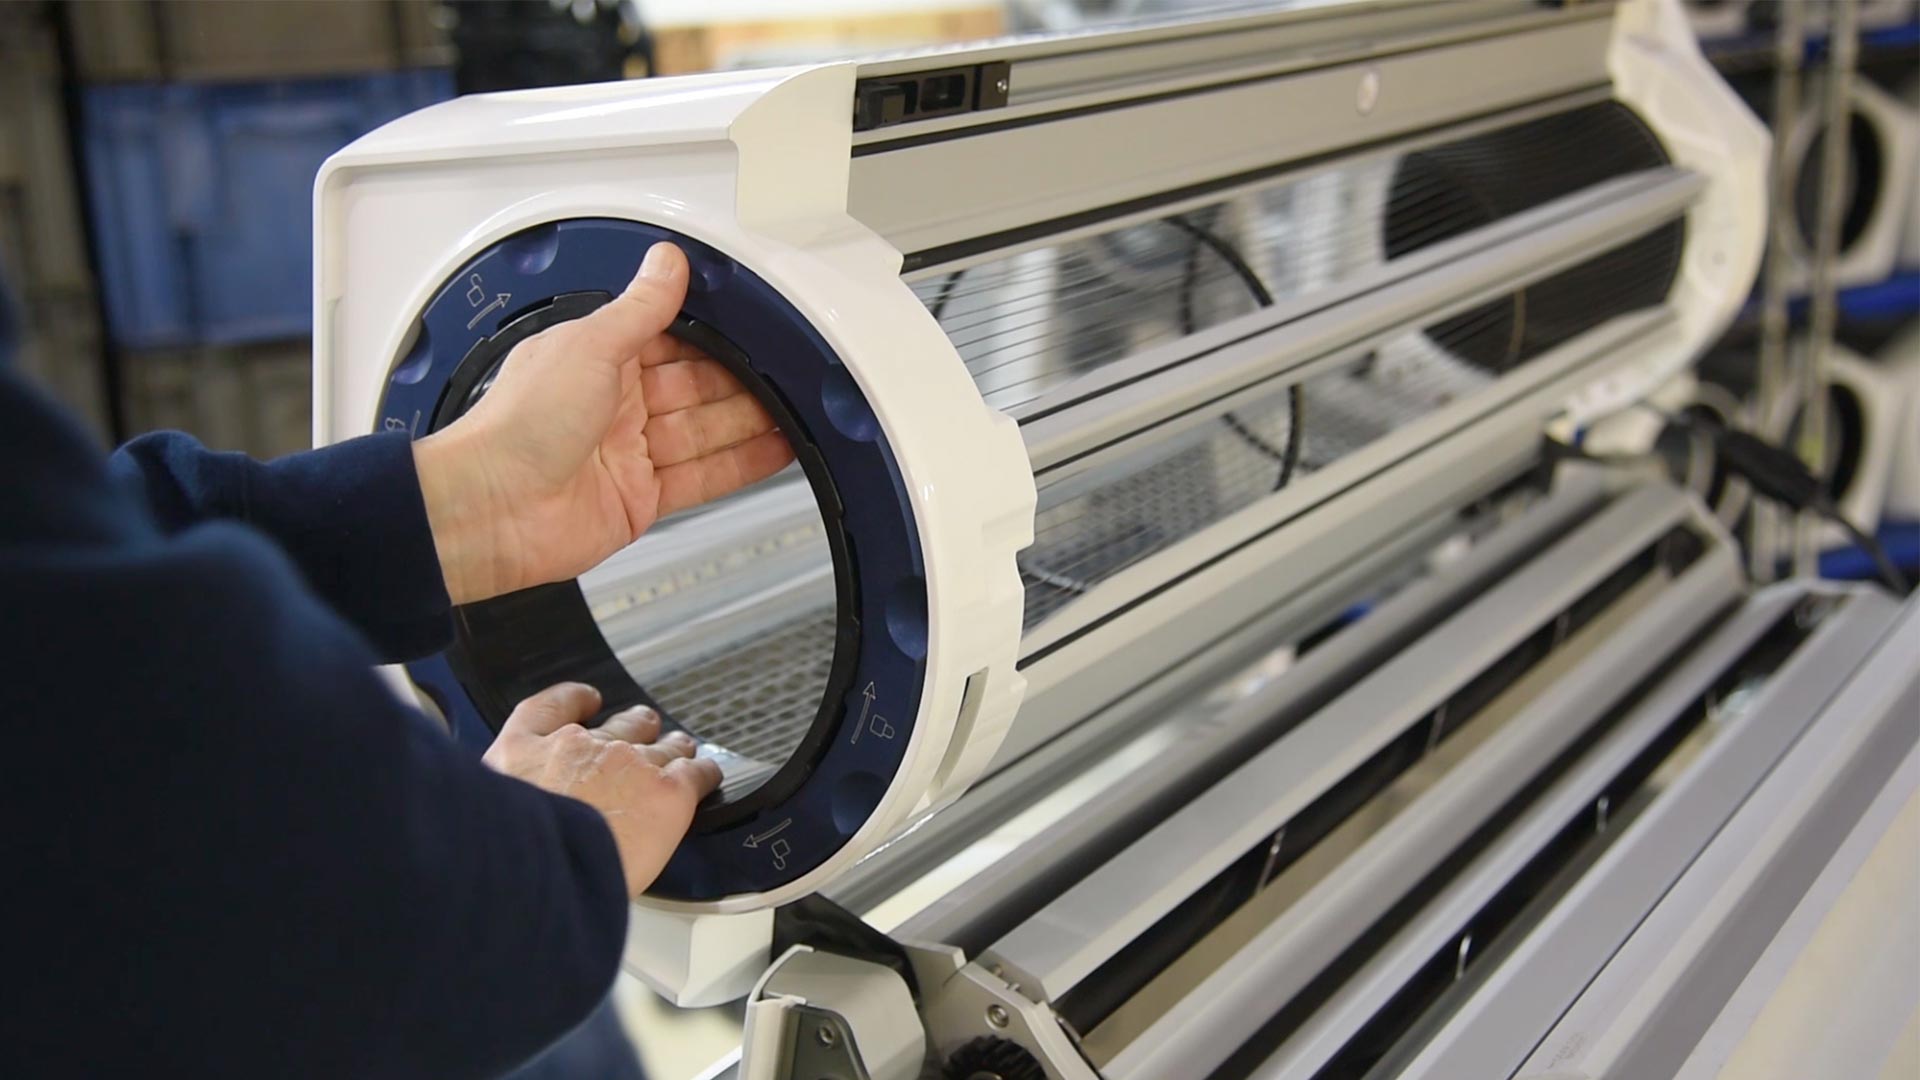
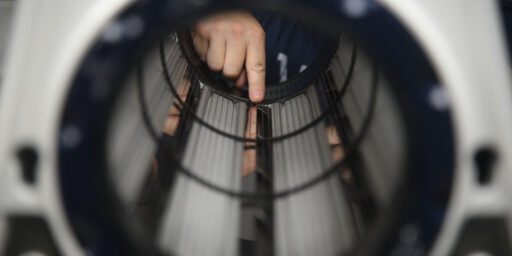
Our preferred method is to put your fingers just inside the tumbler, pull it towards you, and rotate the ring with your thumbs. An improperly installed tumbler retaining ring can result in operator injury or damage to the tumbler.
12
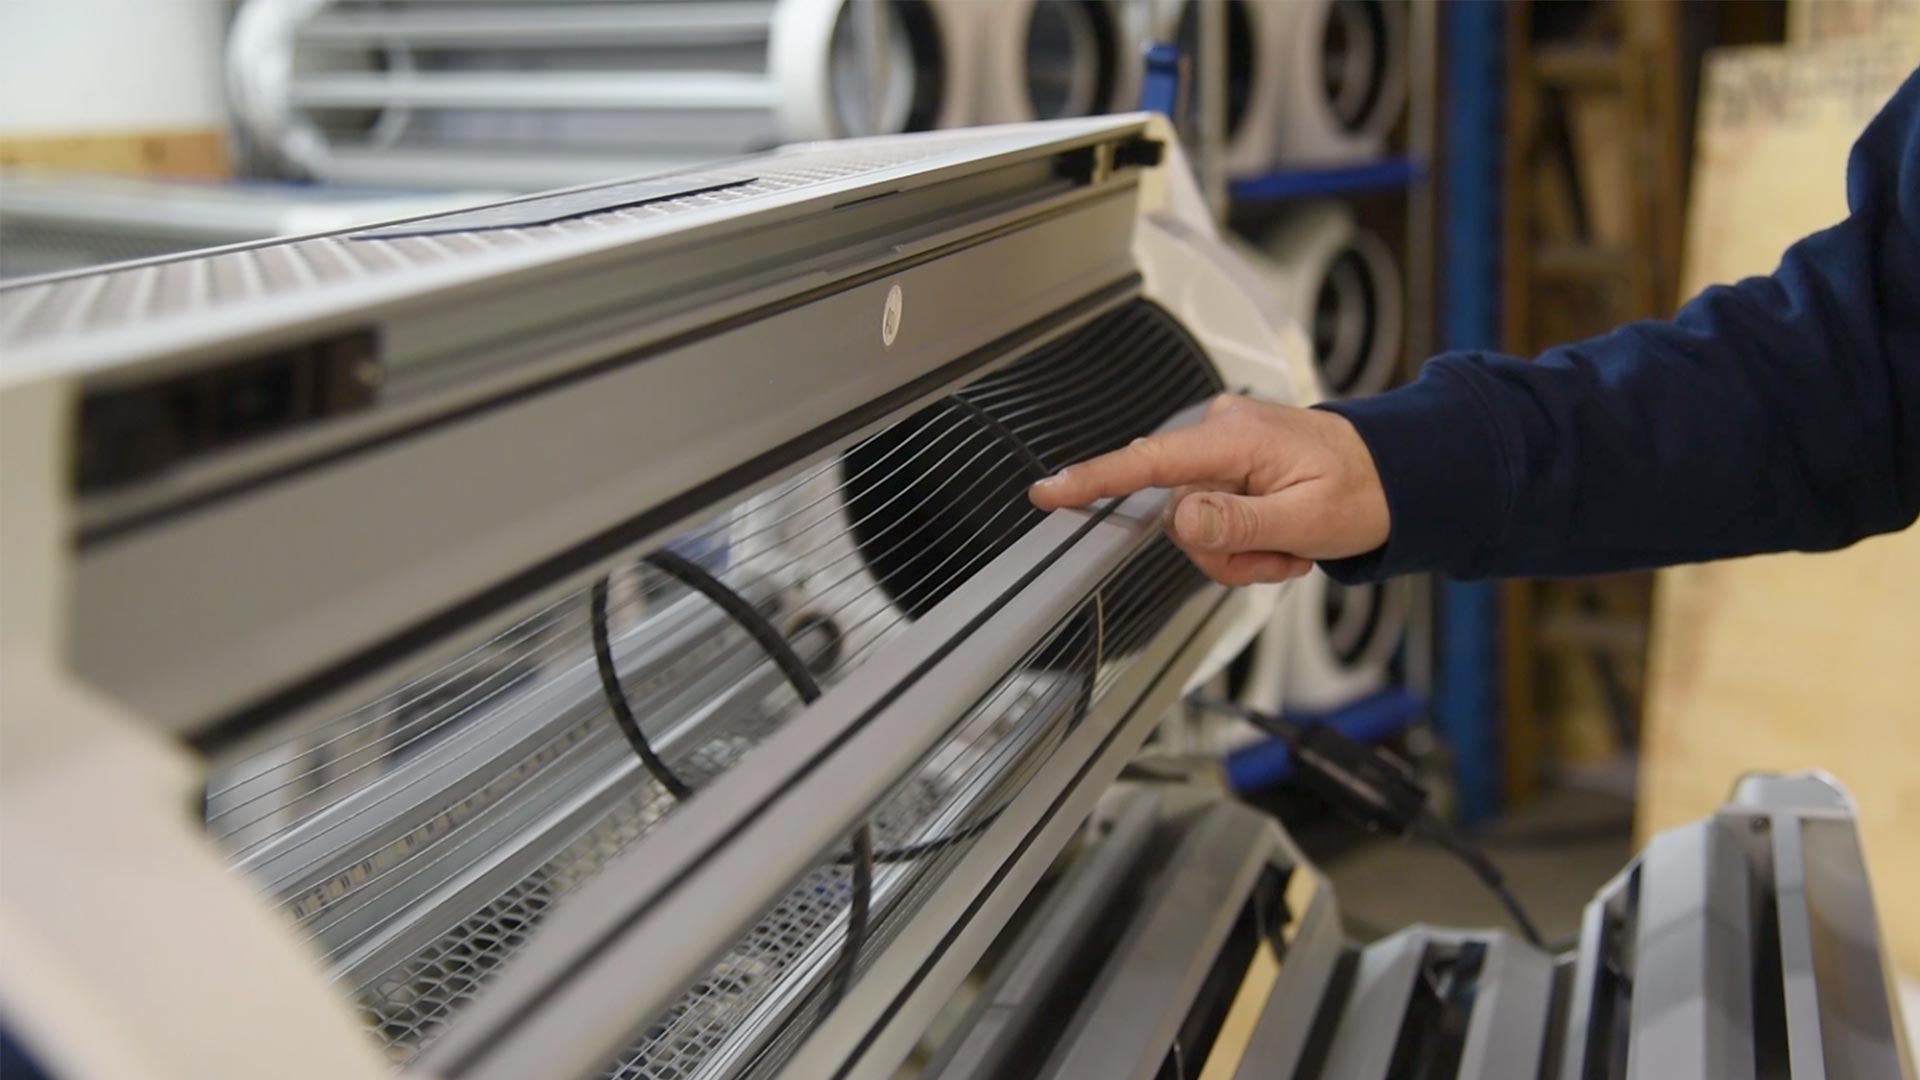
Once both tumbler retaining rings are put onto the lids, inspect the tumbler cables to make sure that they are as straight as possible.
13
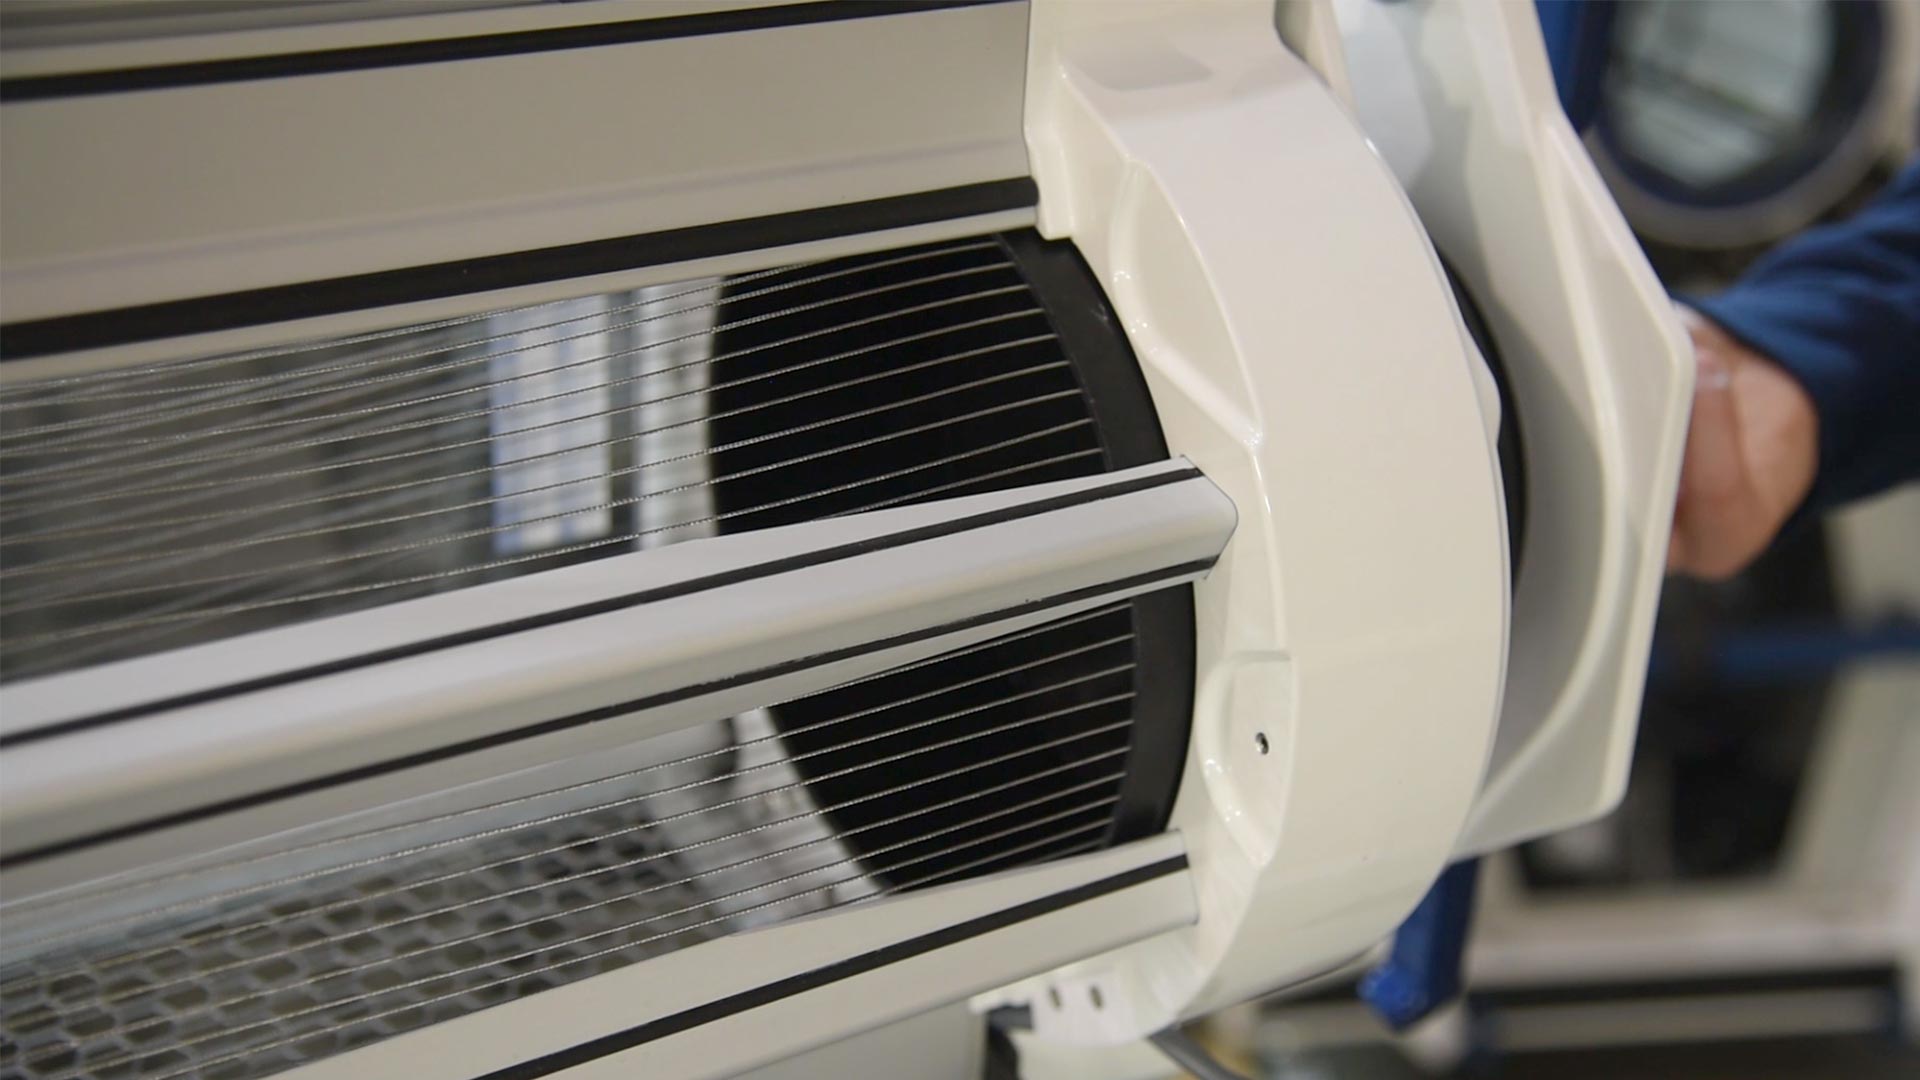
Now, you are ready to go to the Spring Jack and turn the air-release valve to the open position.
14
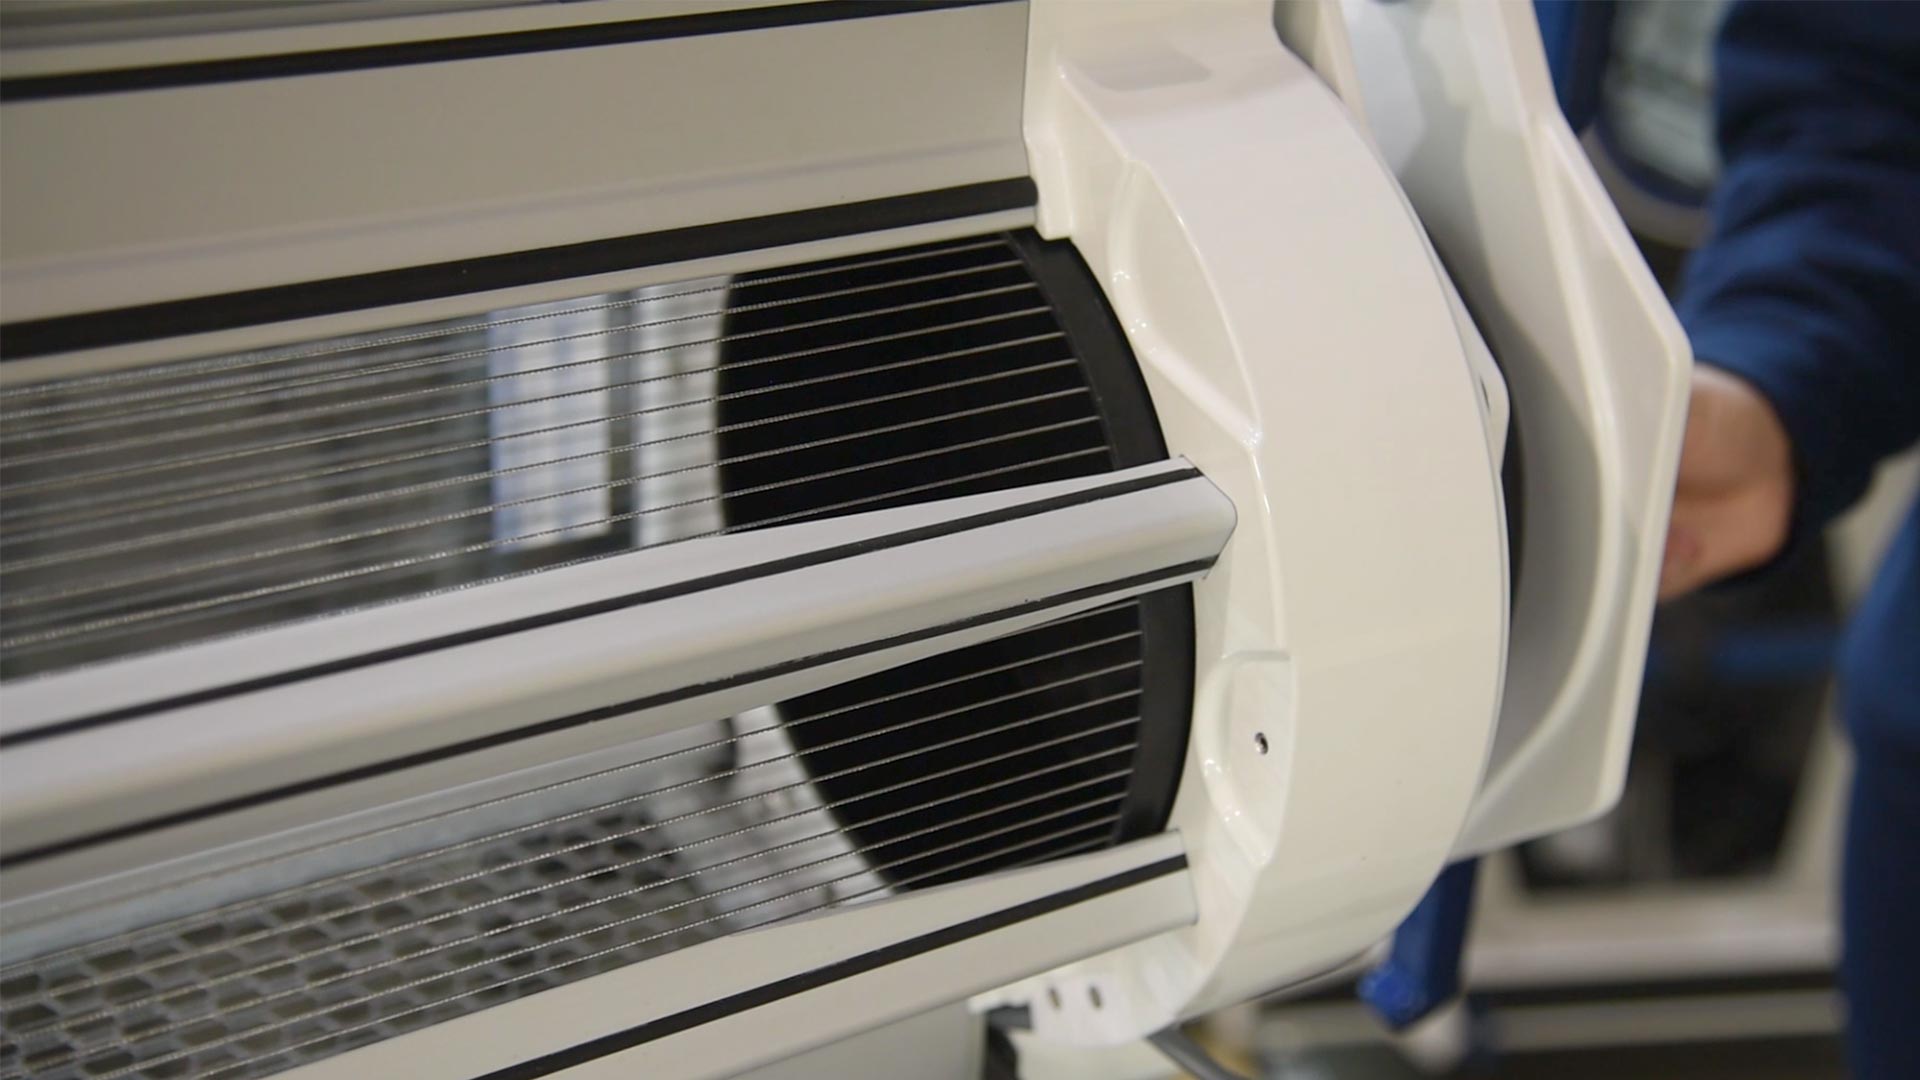
By turning the air-release valve on, this will release the air to apply tension to the tumbler. You’ll see the cables of the tumbler pull tight.
15
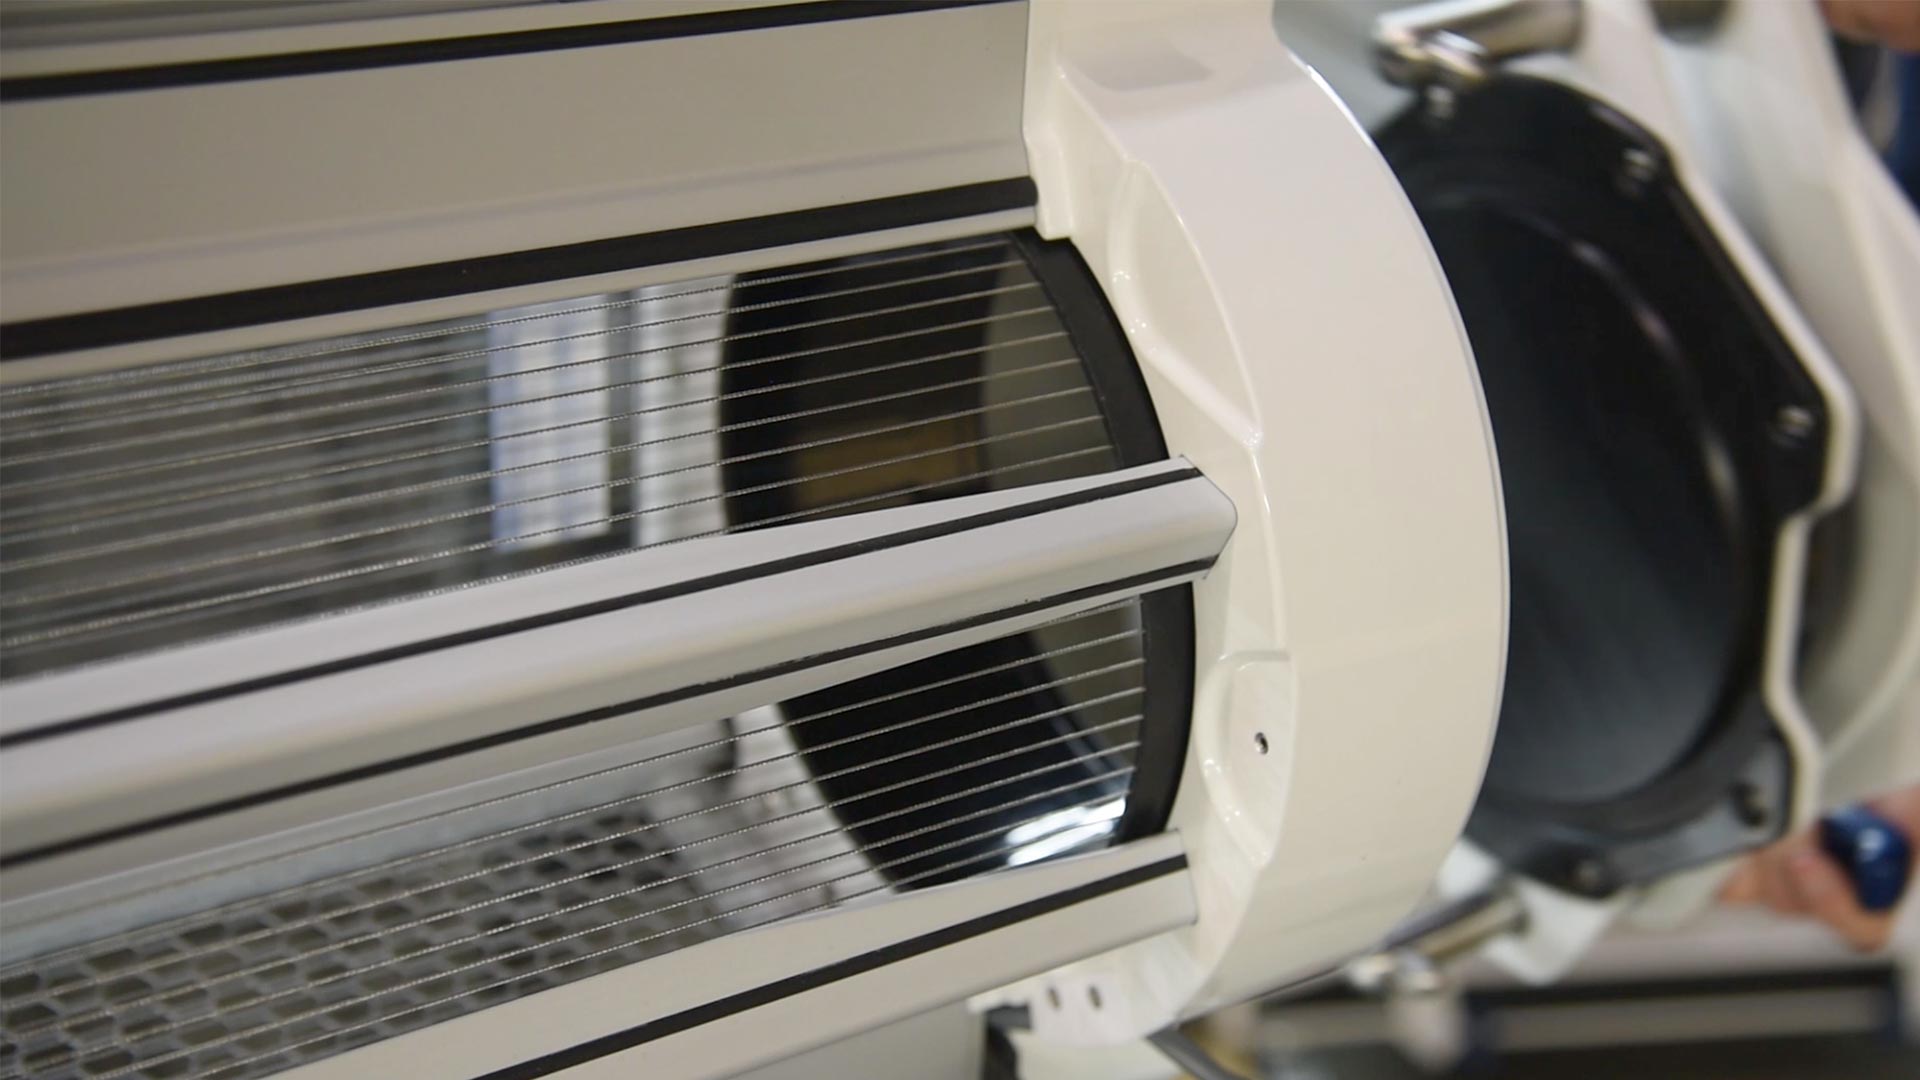
Once you've released all the air out, you can remove the Spring Jack by turning the handles outwards.
Make sure you have a good grip because it is a heavy piece of equipment and it will want to fall out once unlocked.
16
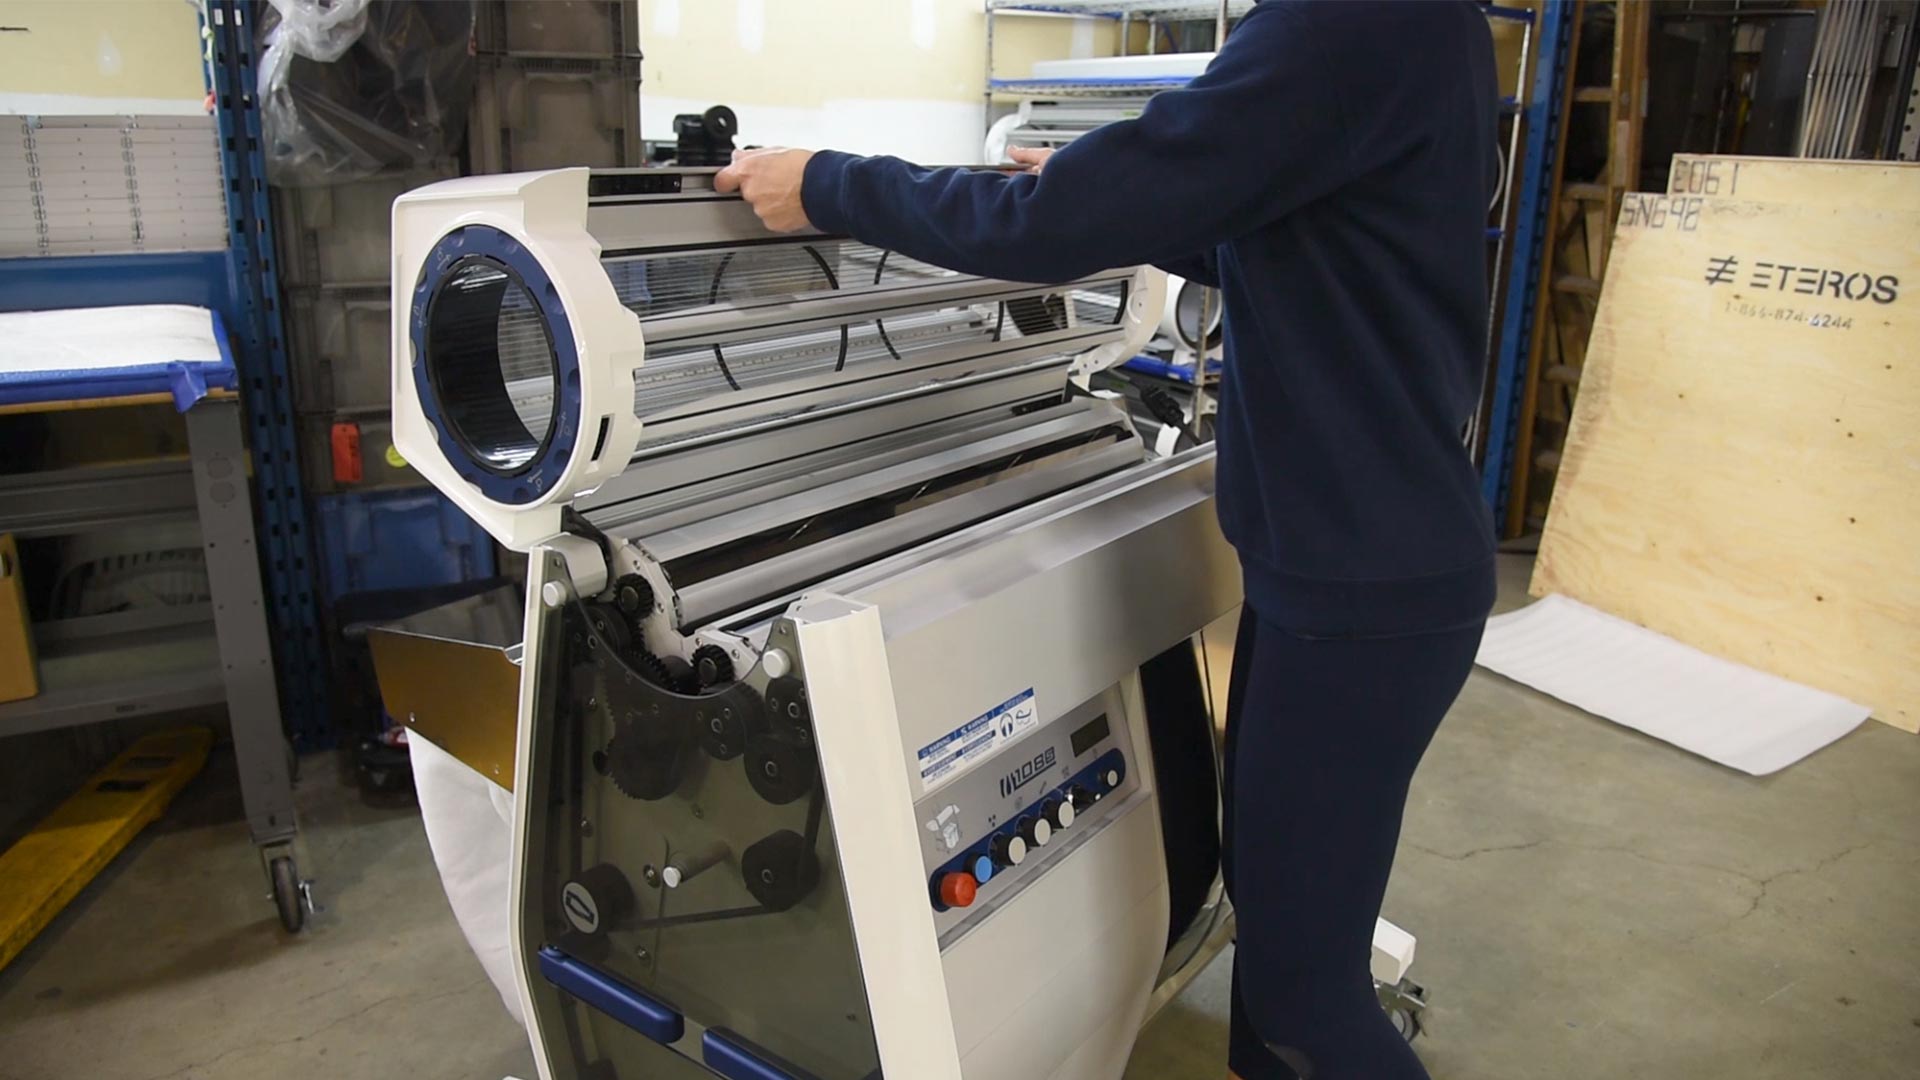
Now you can close the lid. Don't slam the lid, but make sure you don't lightly close the lid either.
17
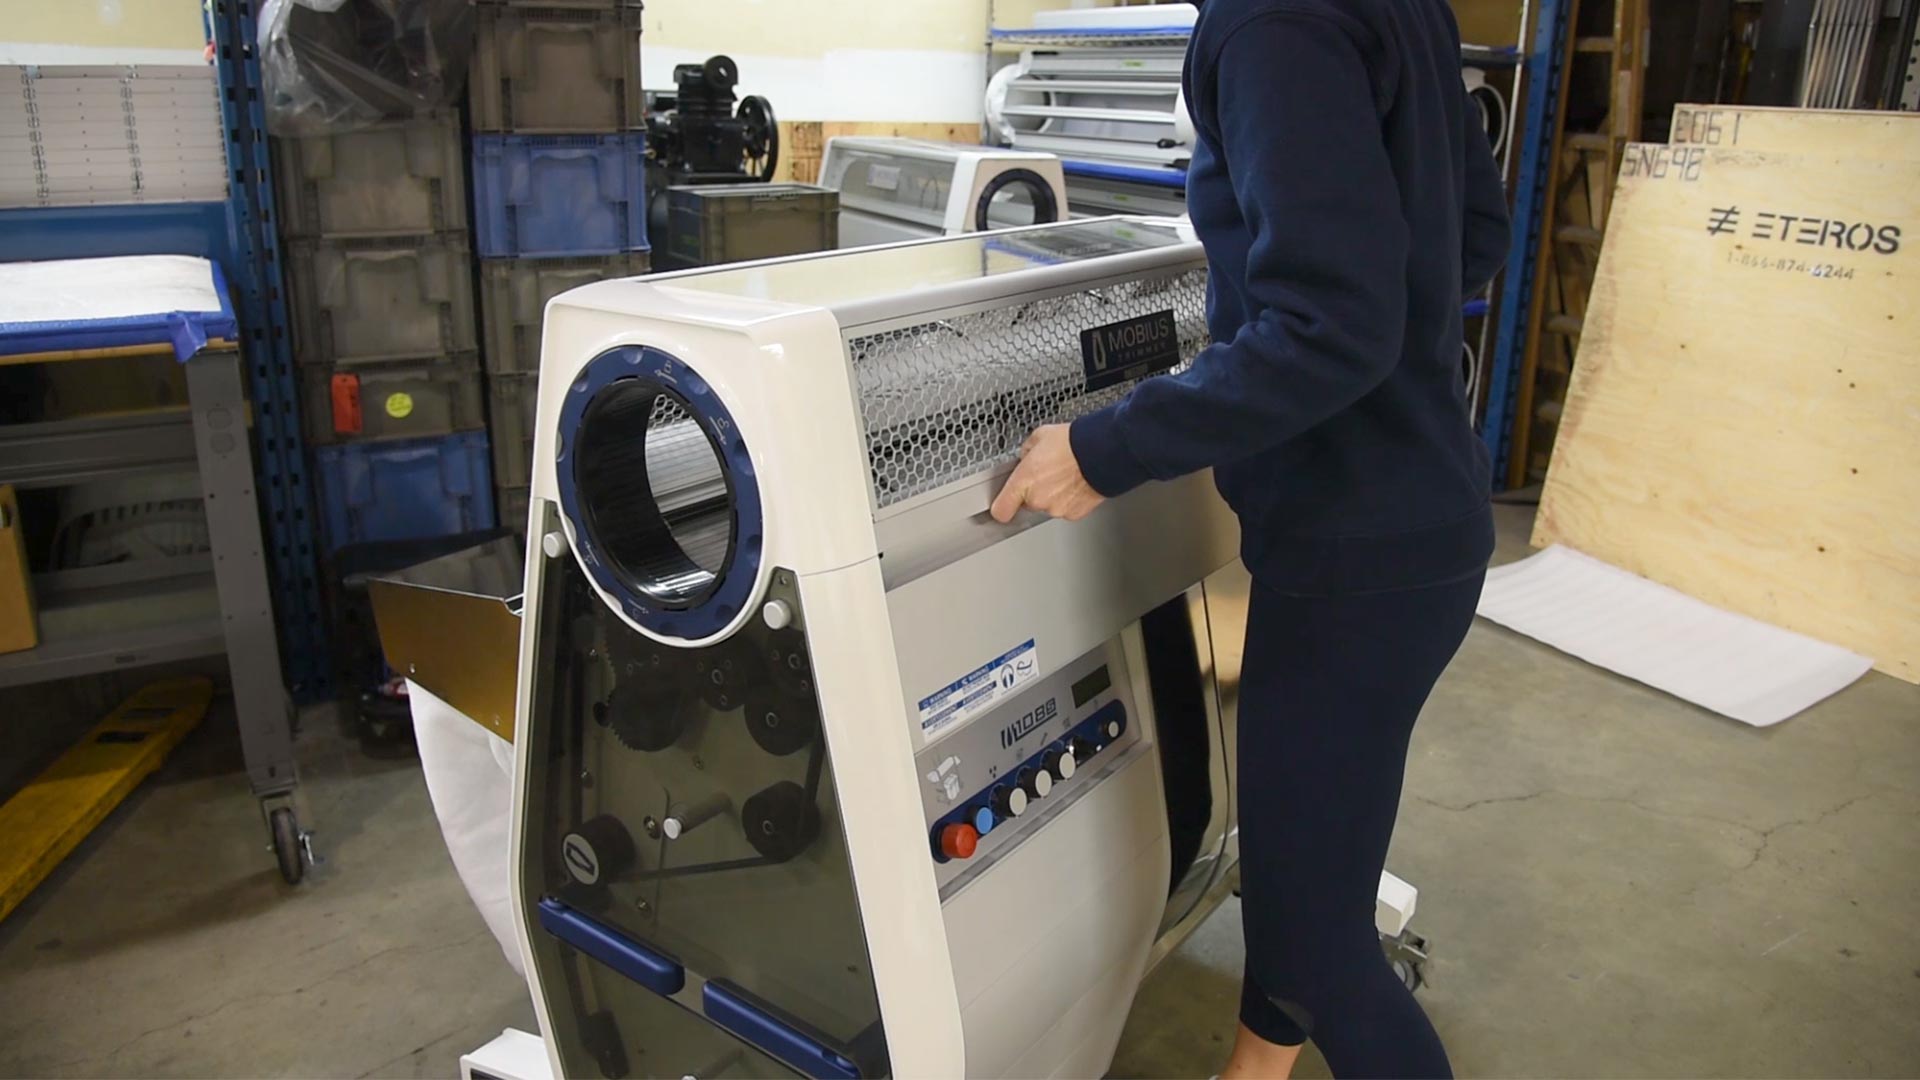
Ensure the lid is properly closed by moving it up and down. If not, open it up again by using the latches.
18

Now you can plug the machine in. Look at the plug and line up the female to the male parts of the plug. Once attached twist to lock the plug into the outlet.
19
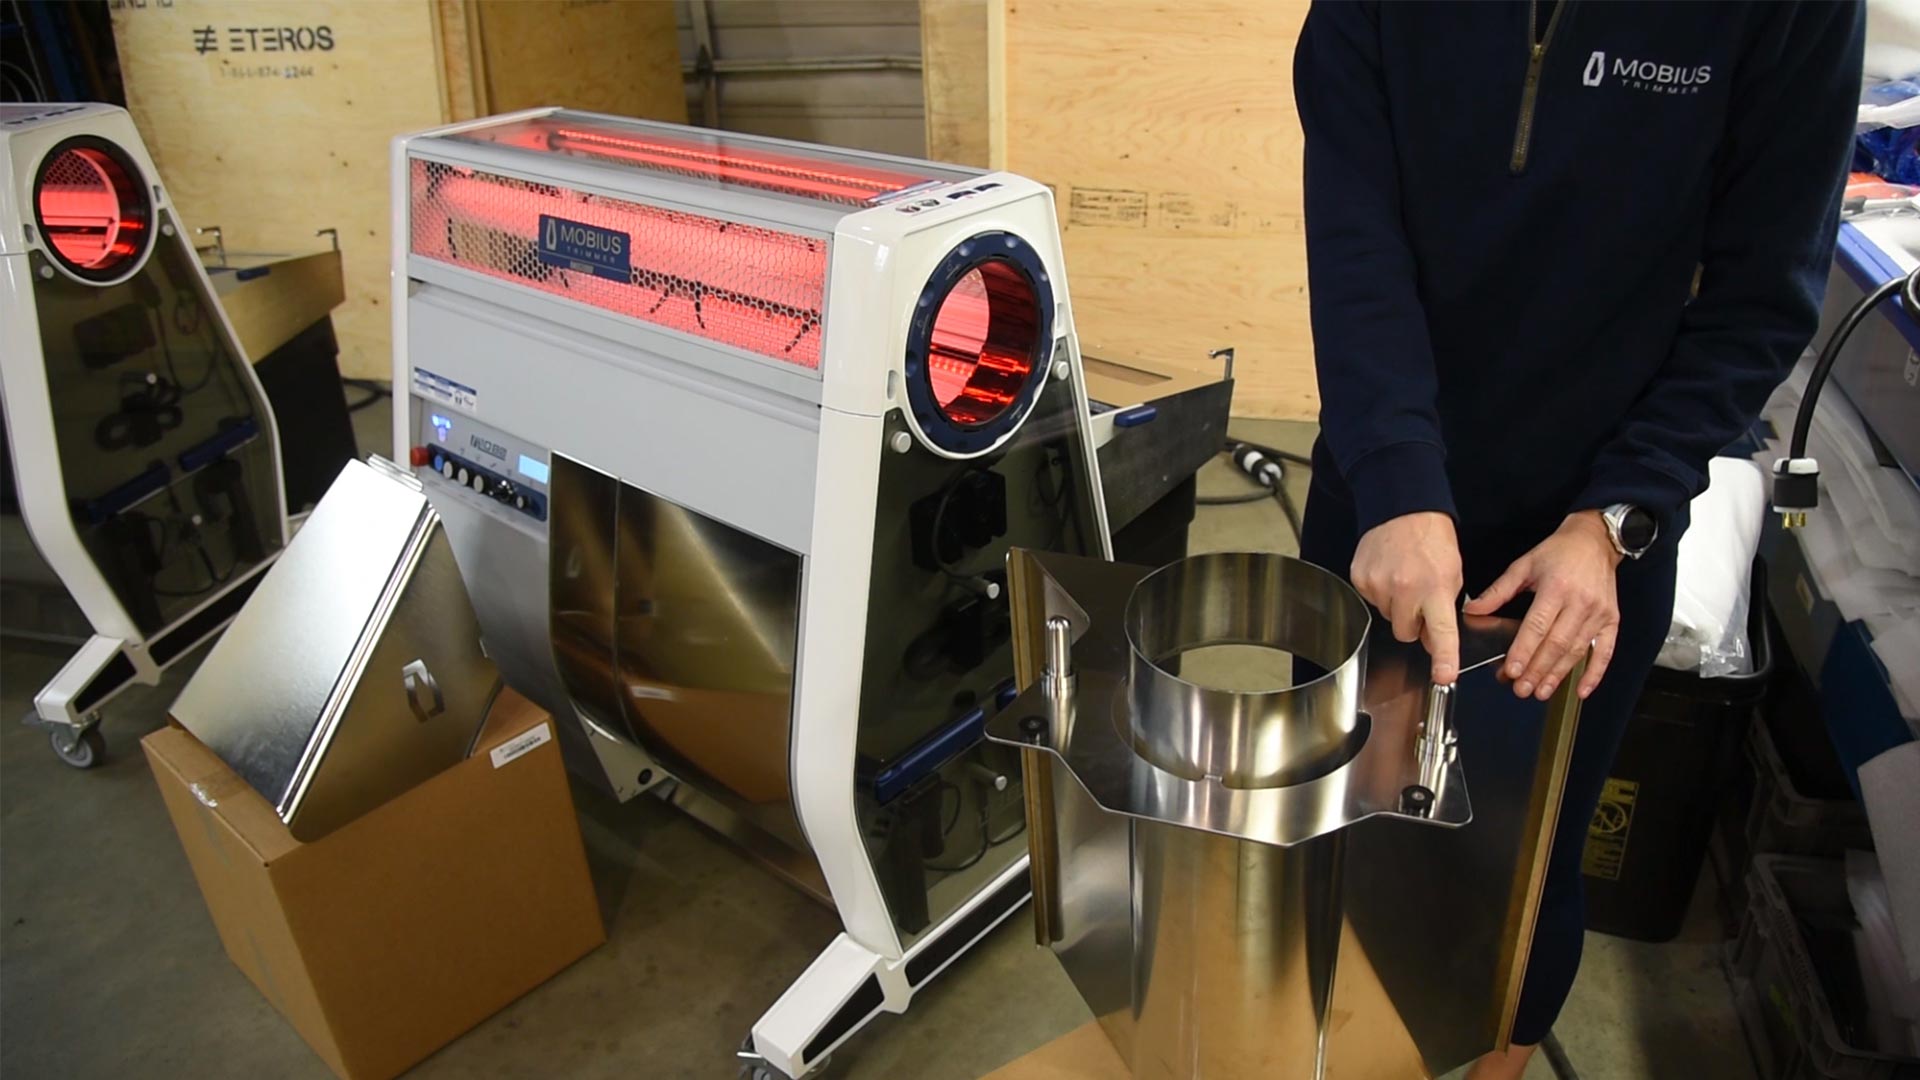
Unpack your infeed and outfeed hoppers. Install your infeed hopper by lining up the prongs to the holes on the machine.
20
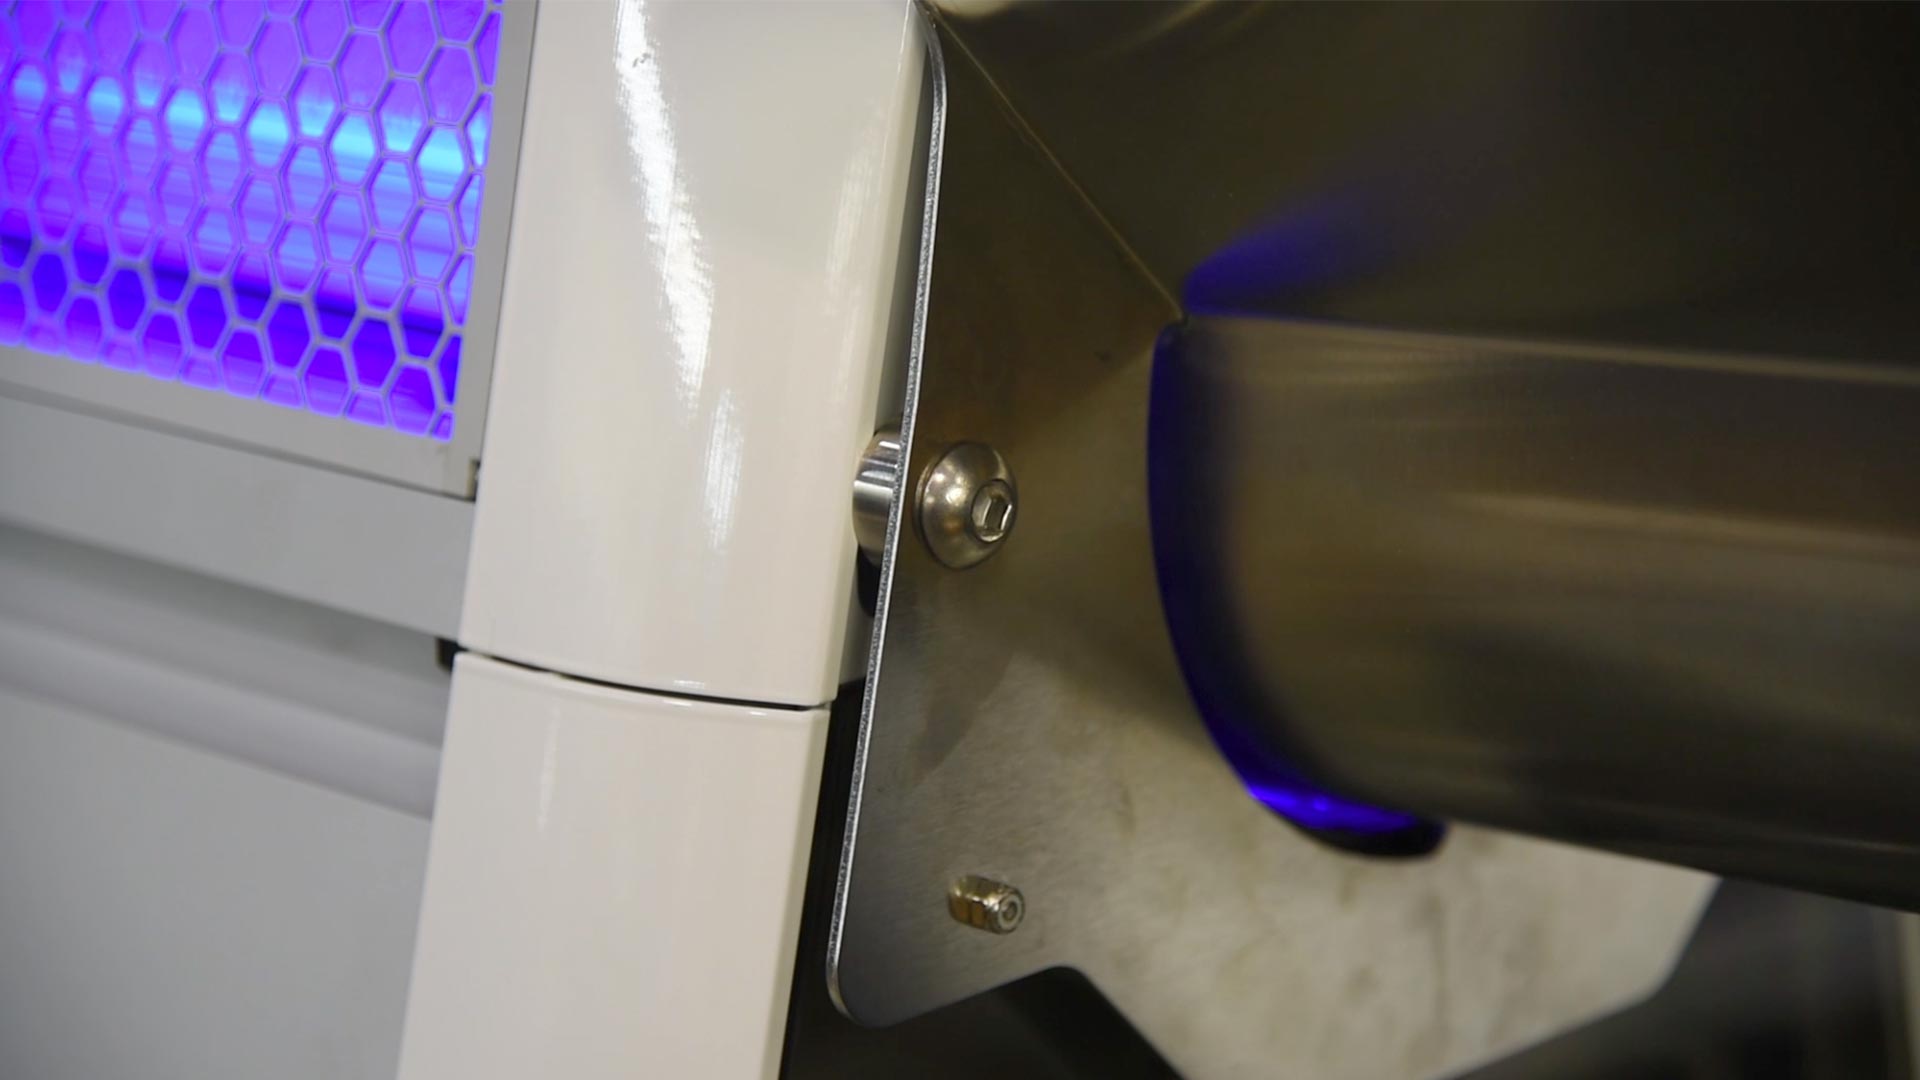
As you line up the prongs with the holes on the machine, push the hopper in fully and it will set into place.
21
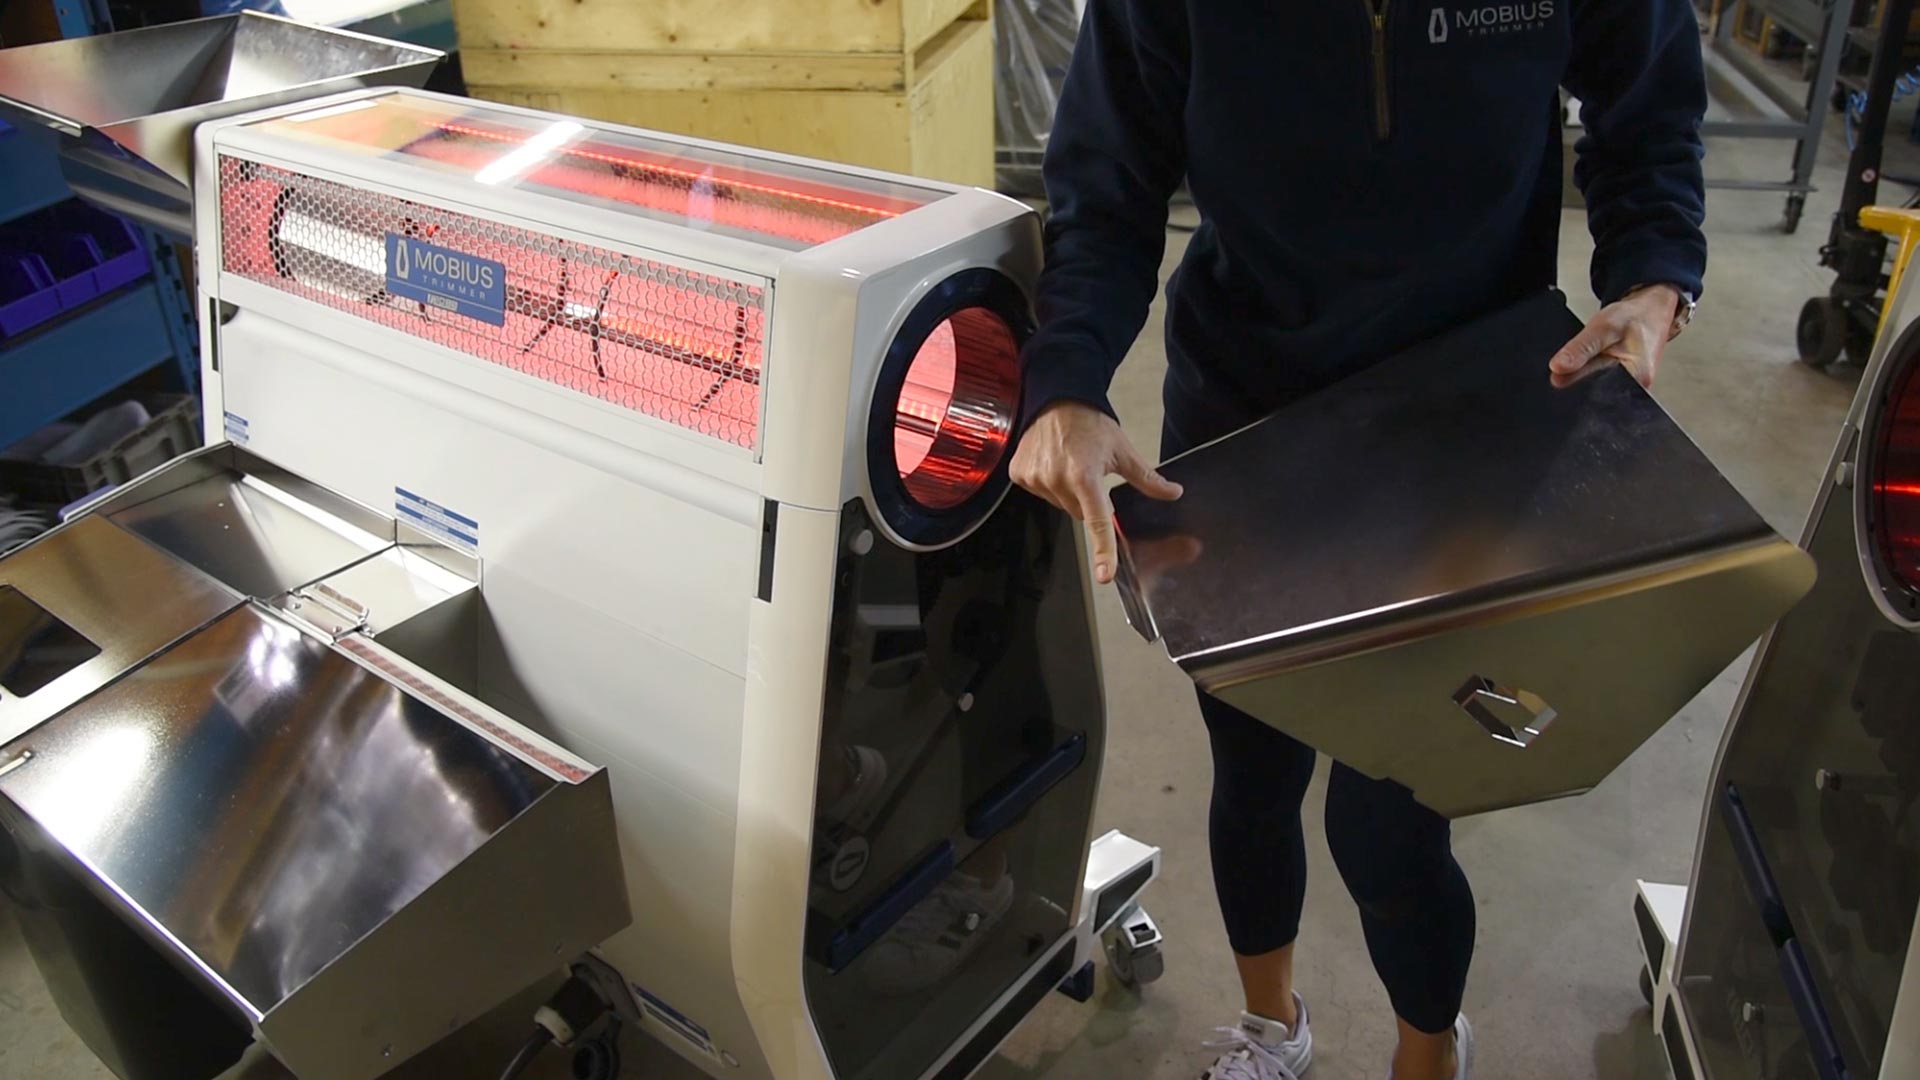
Now, grab your outfeed chute. Locate the lip on the outfeed chute and it fits into a slit near the top lip of the outfeed side of the machine.
22
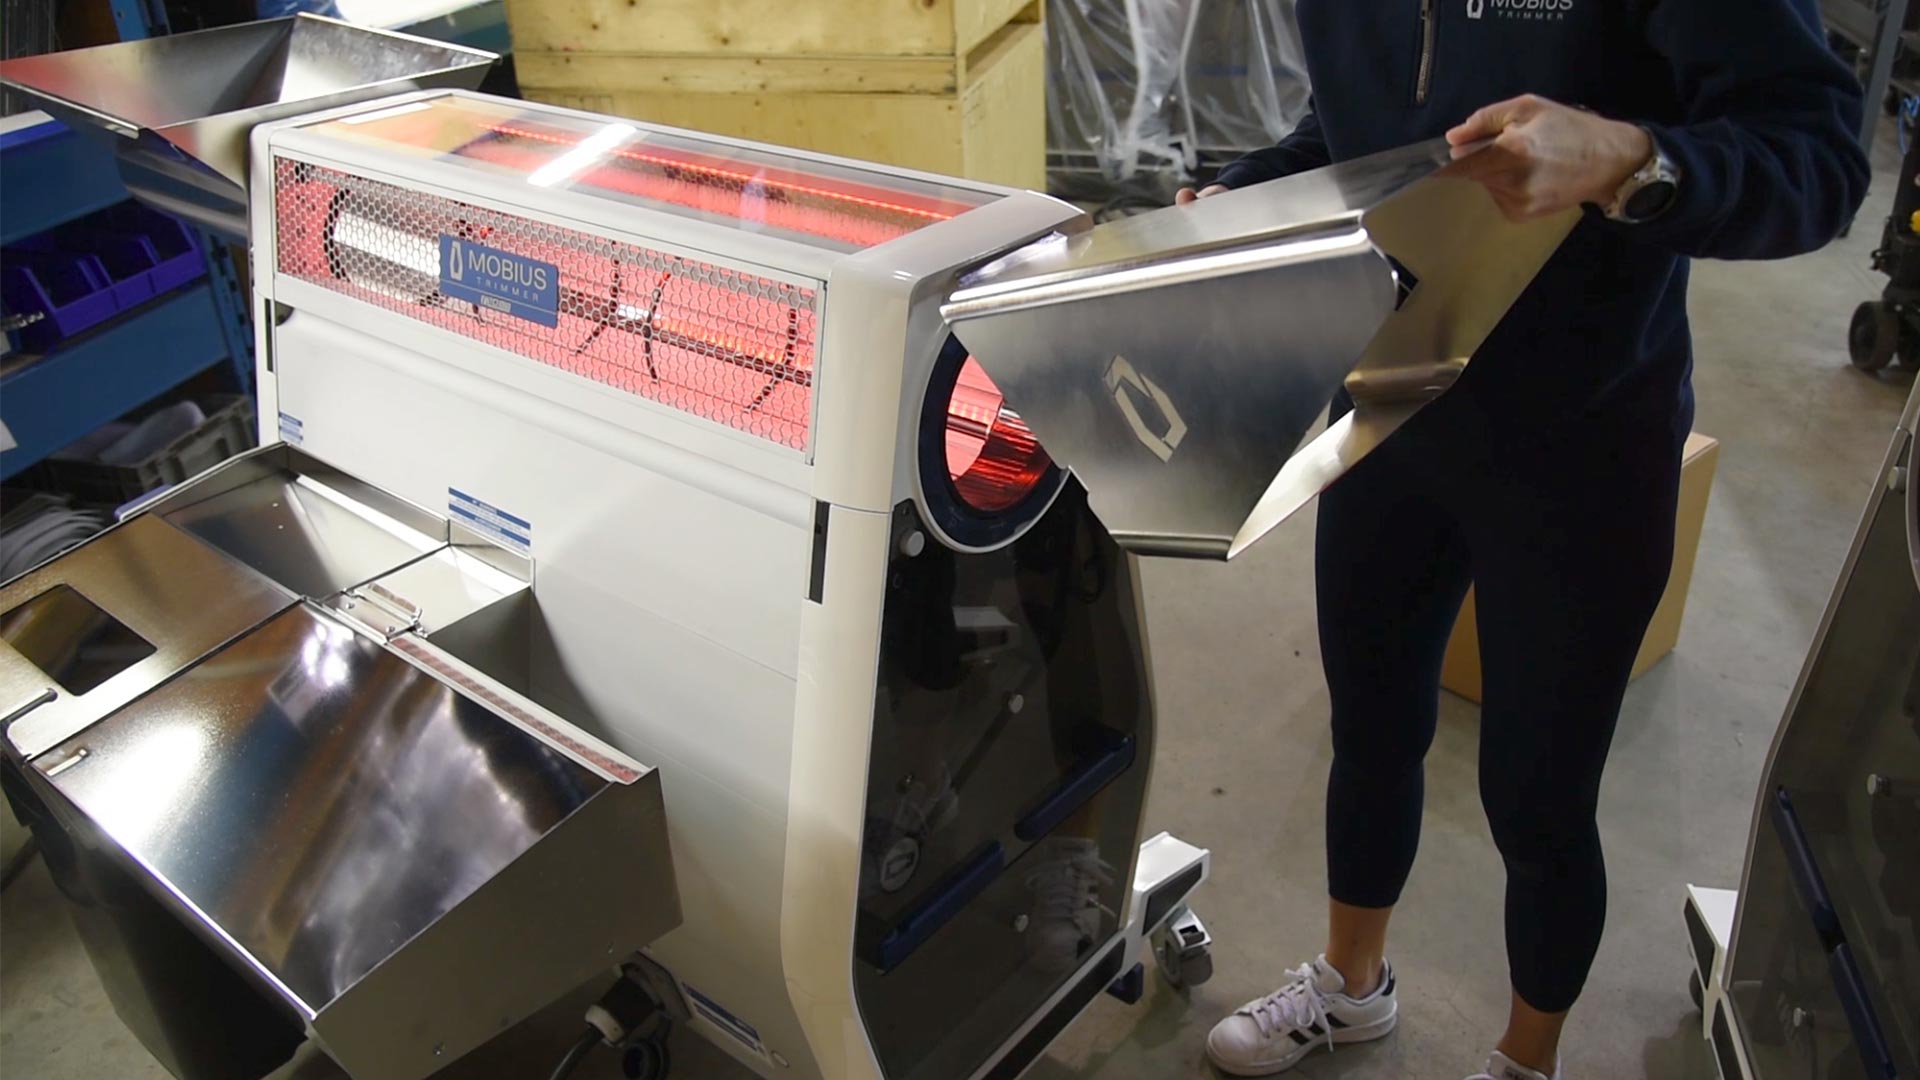
To install it, locate the lip on the upper side on the edge that connects to the machine and hook it into the ledge on the lid. To install it properly, it needs to be put in on an angle.
23
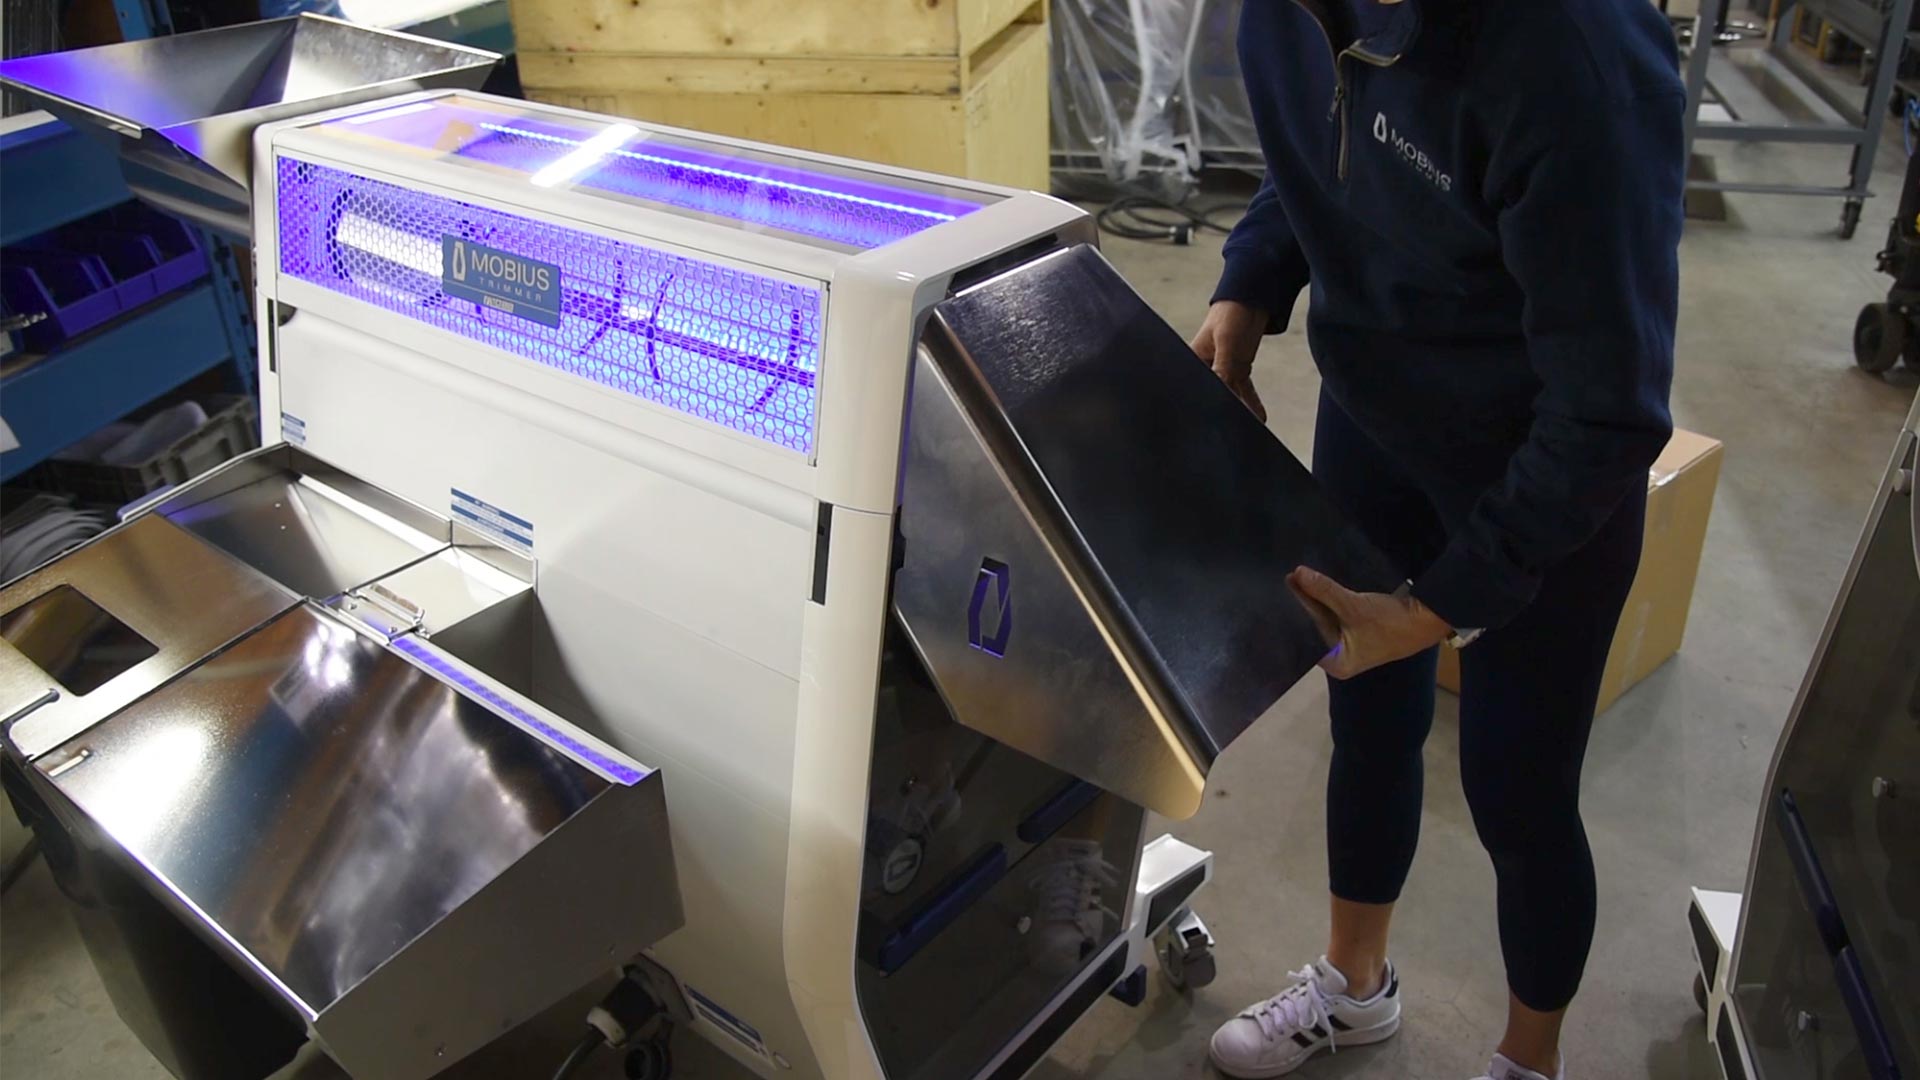
Once the outfeed chute is in, let it gently swing downwards until it rests against the machine.
24
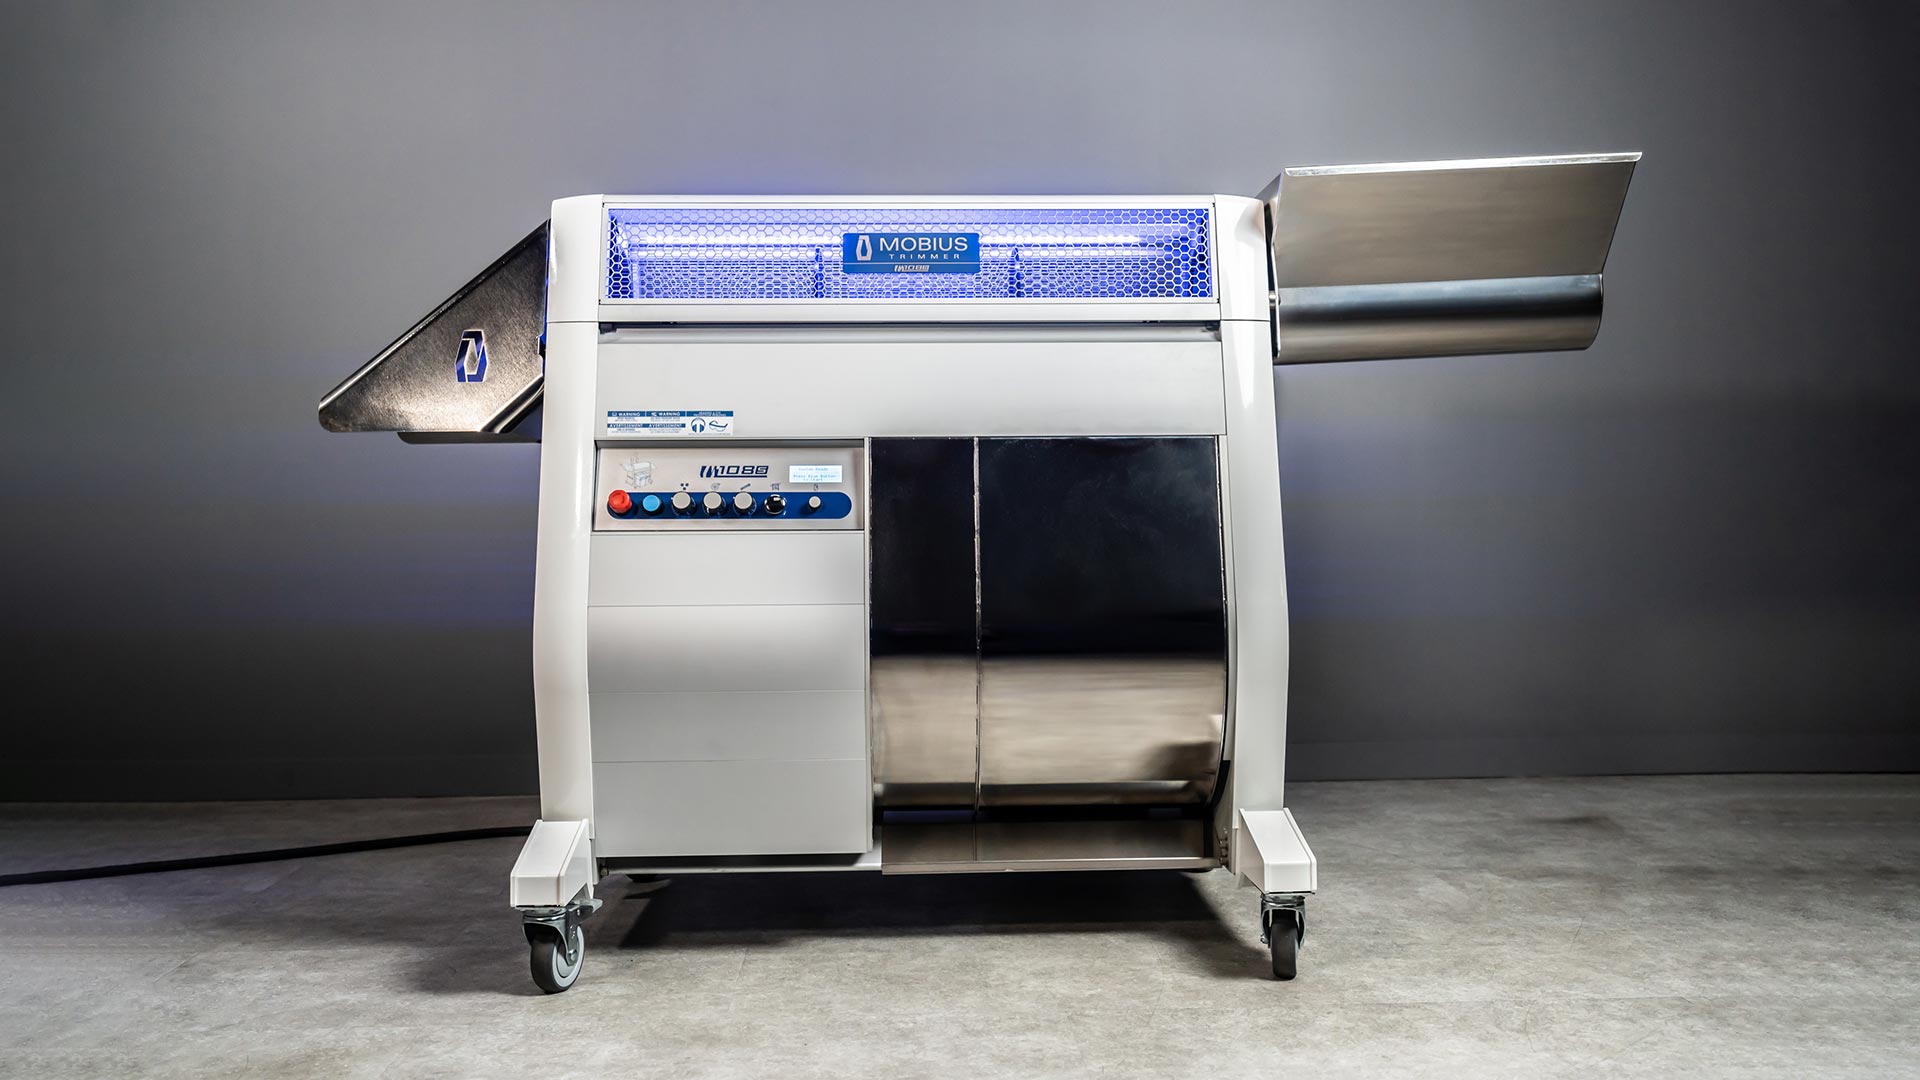
Done. Now you are ready to start trimming.

