Understanding the Control Panel
Mobius M108S Trimmer
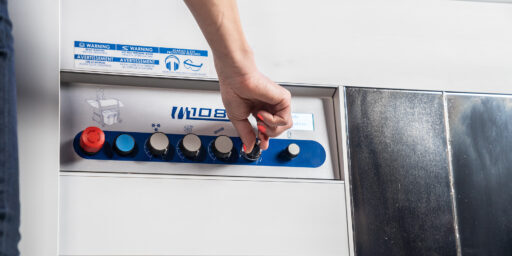
Control Panel
Understand your Control Panel on your M108S
Step by Step
01
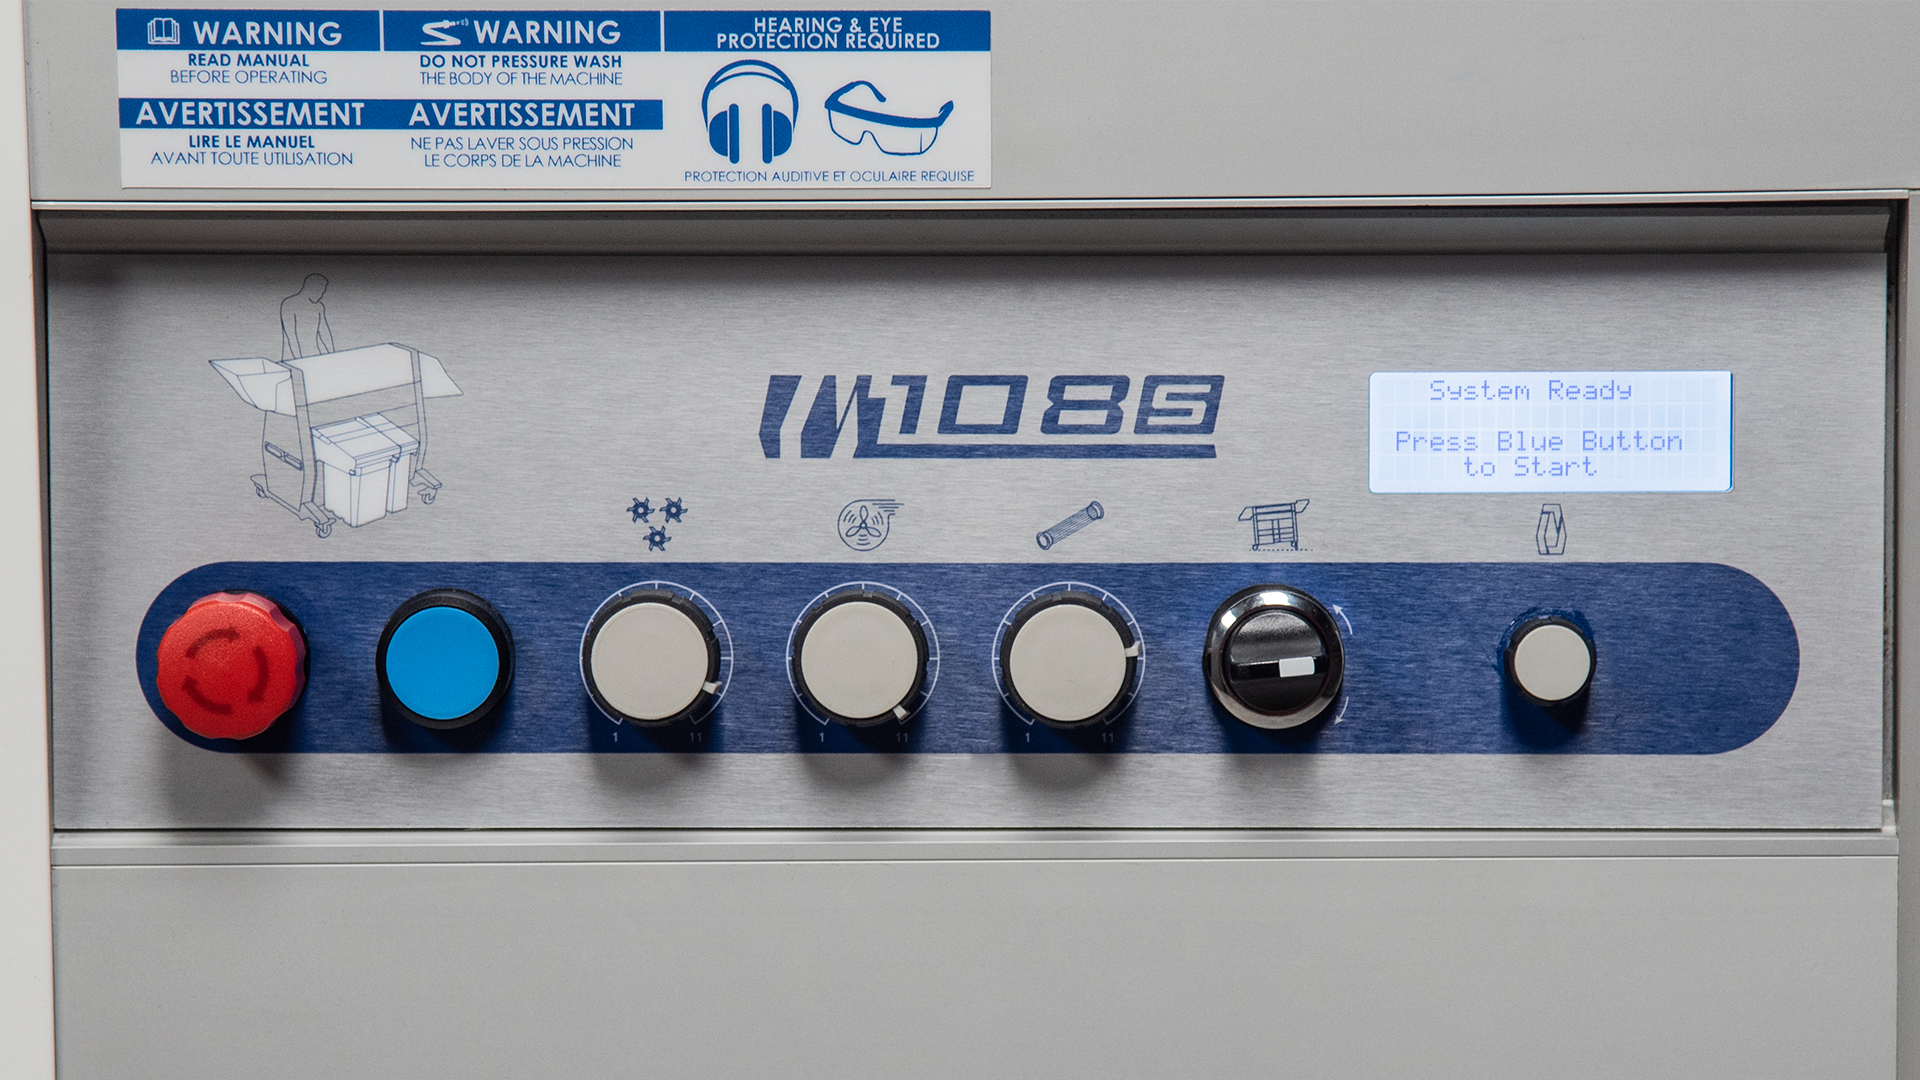
On the control panel you have 7 knobs that you need to know.
From left to right:
E-stop / Start Button / Blade Speed / Vacuum Intensity / Tumbler Rotation Speed / Tilt Angle Adjustment /
LCD Screen navigation tool
02
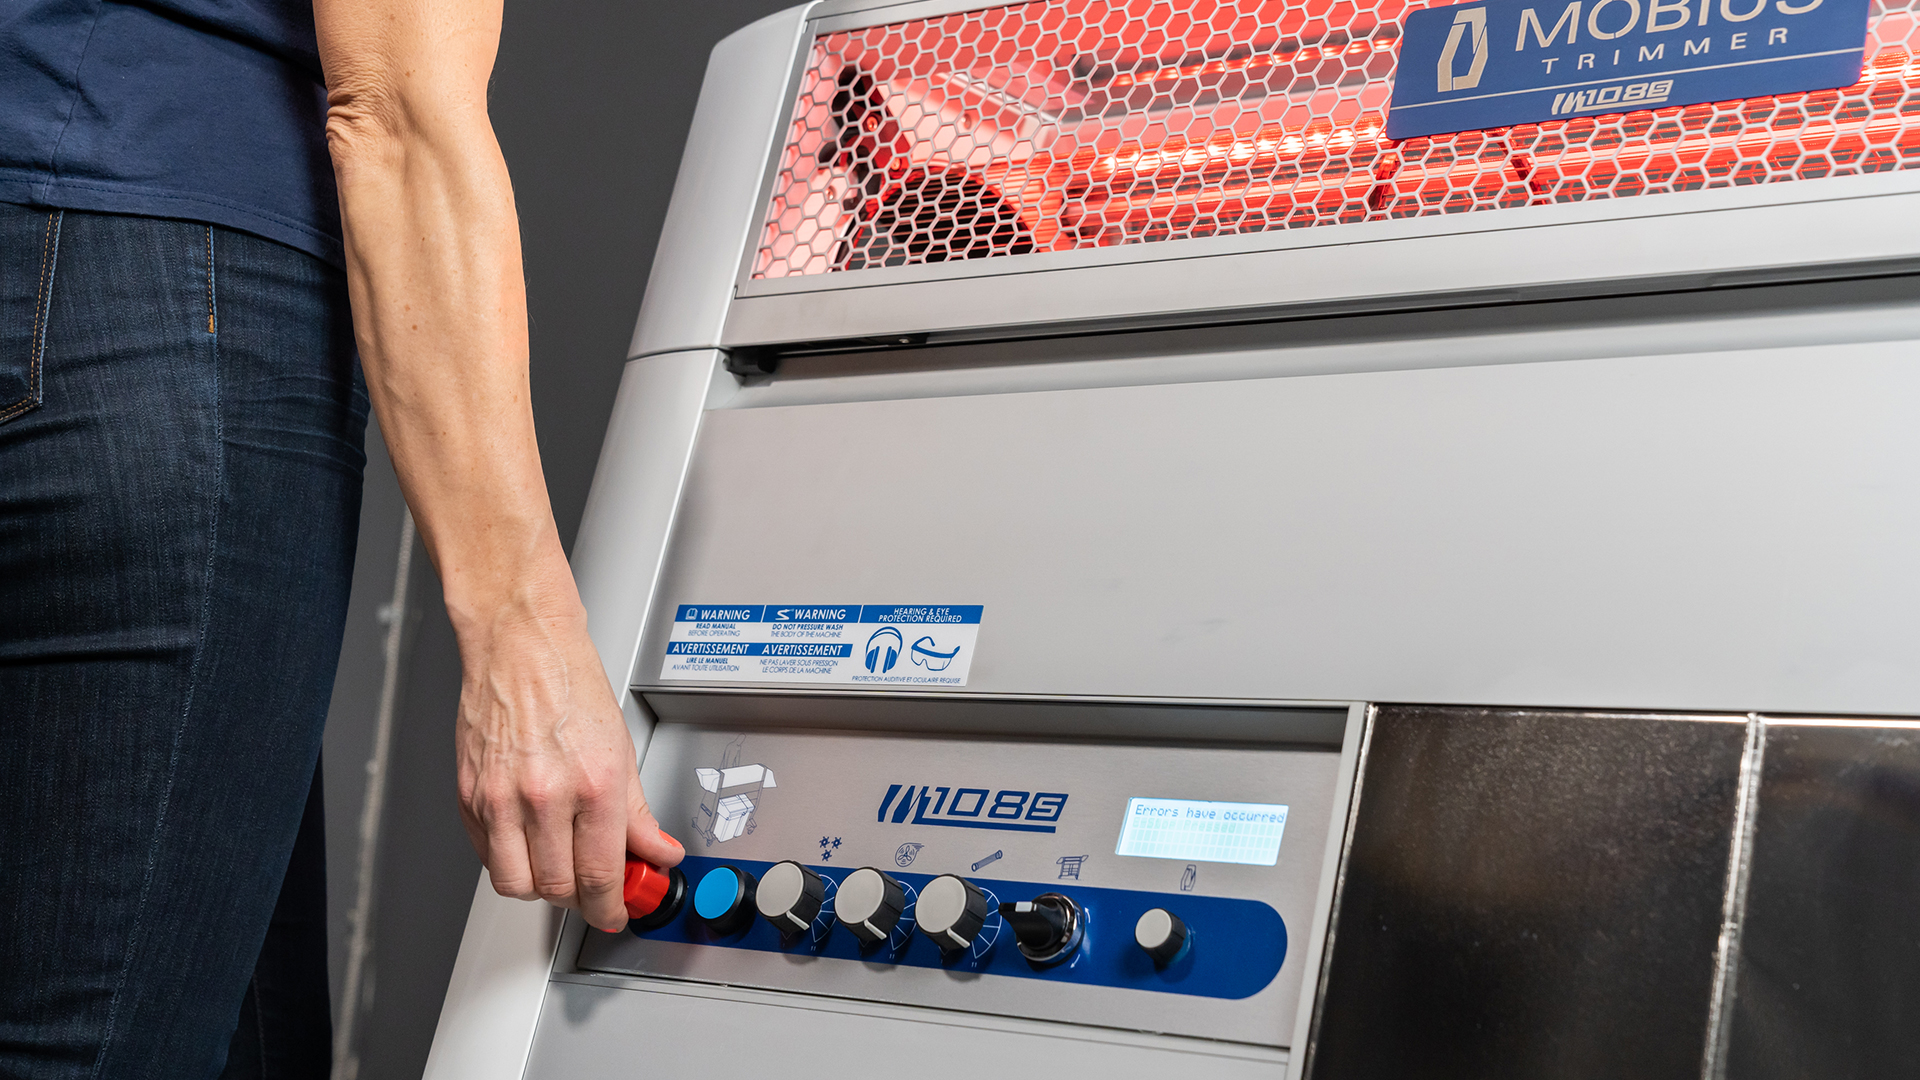
The red E-STOP button will be pushed in when your M108S is delivered. Twist right to release.
03
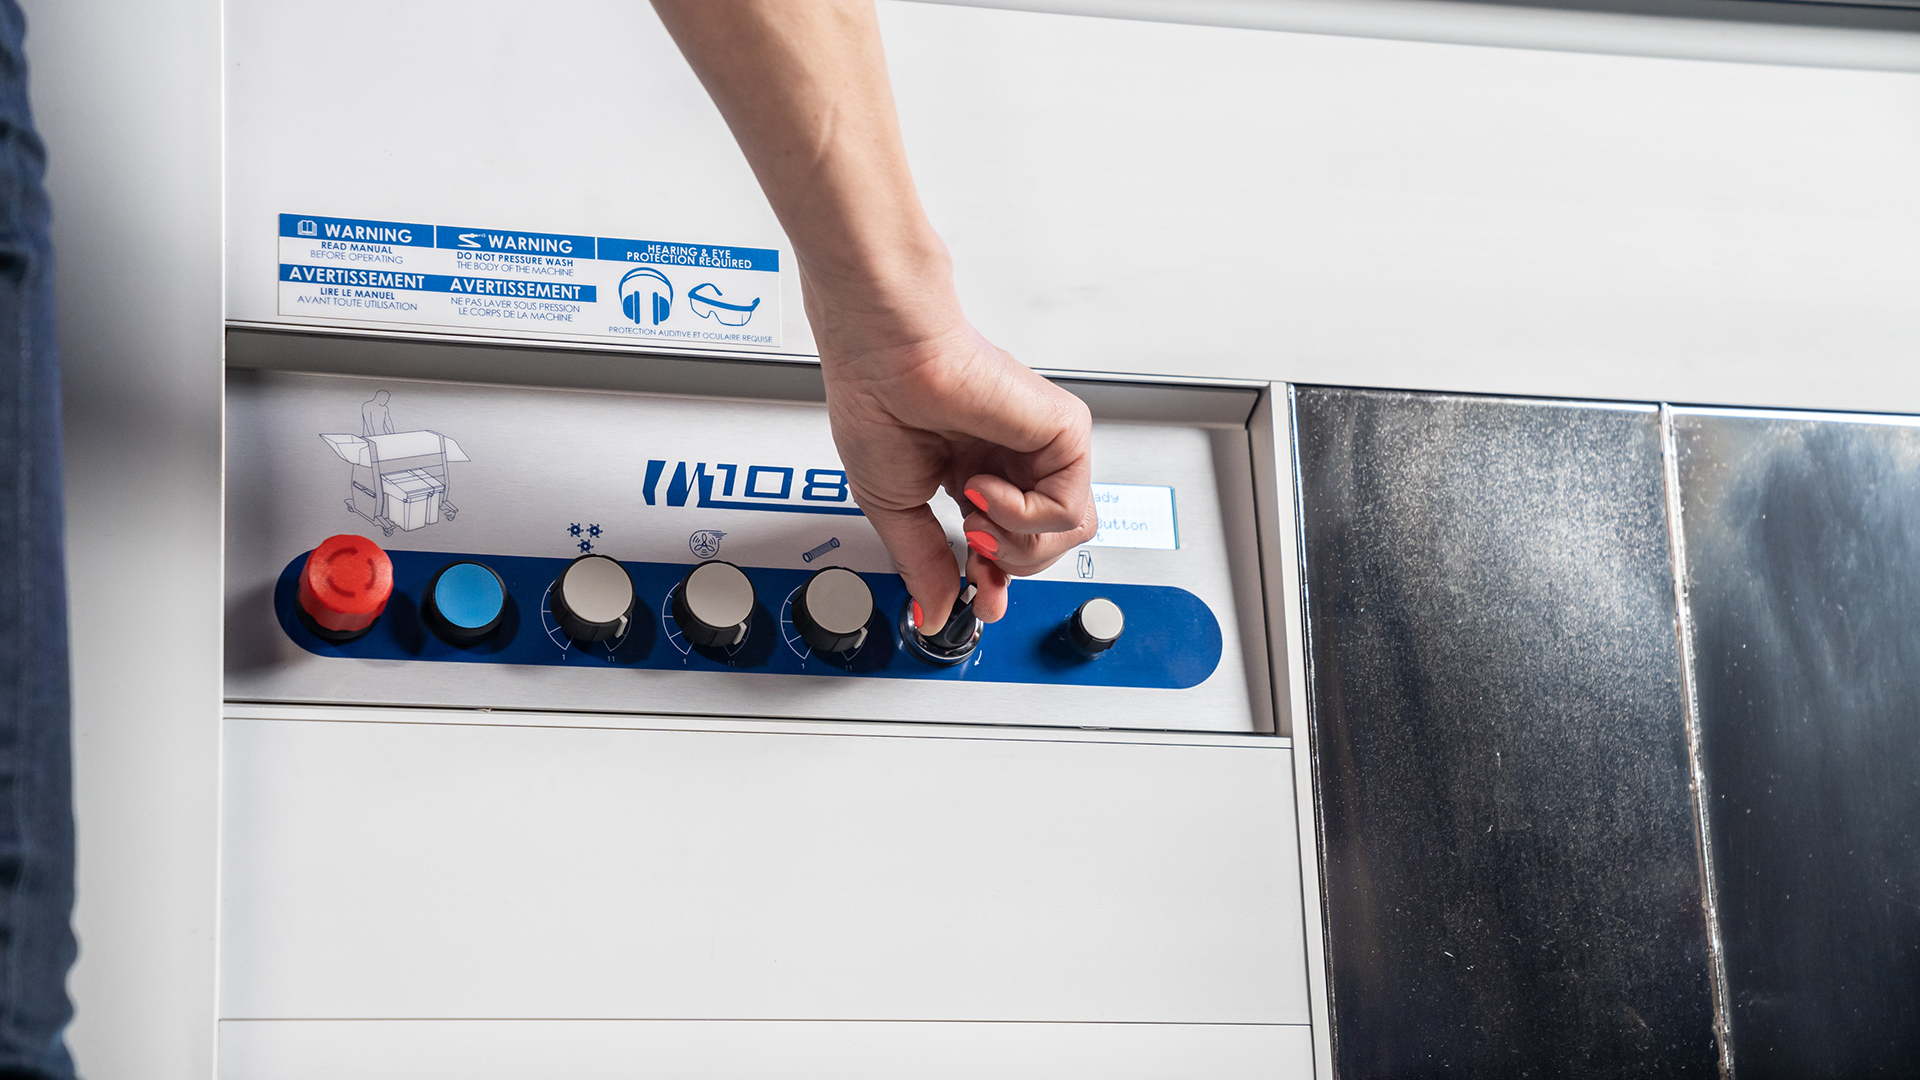
To adjust the machine tilt, you can use the switch towards the right of the panel. Raise the machine to the desired height,
Remember: The higher the tilt, the faster product will move through the M108S.
04
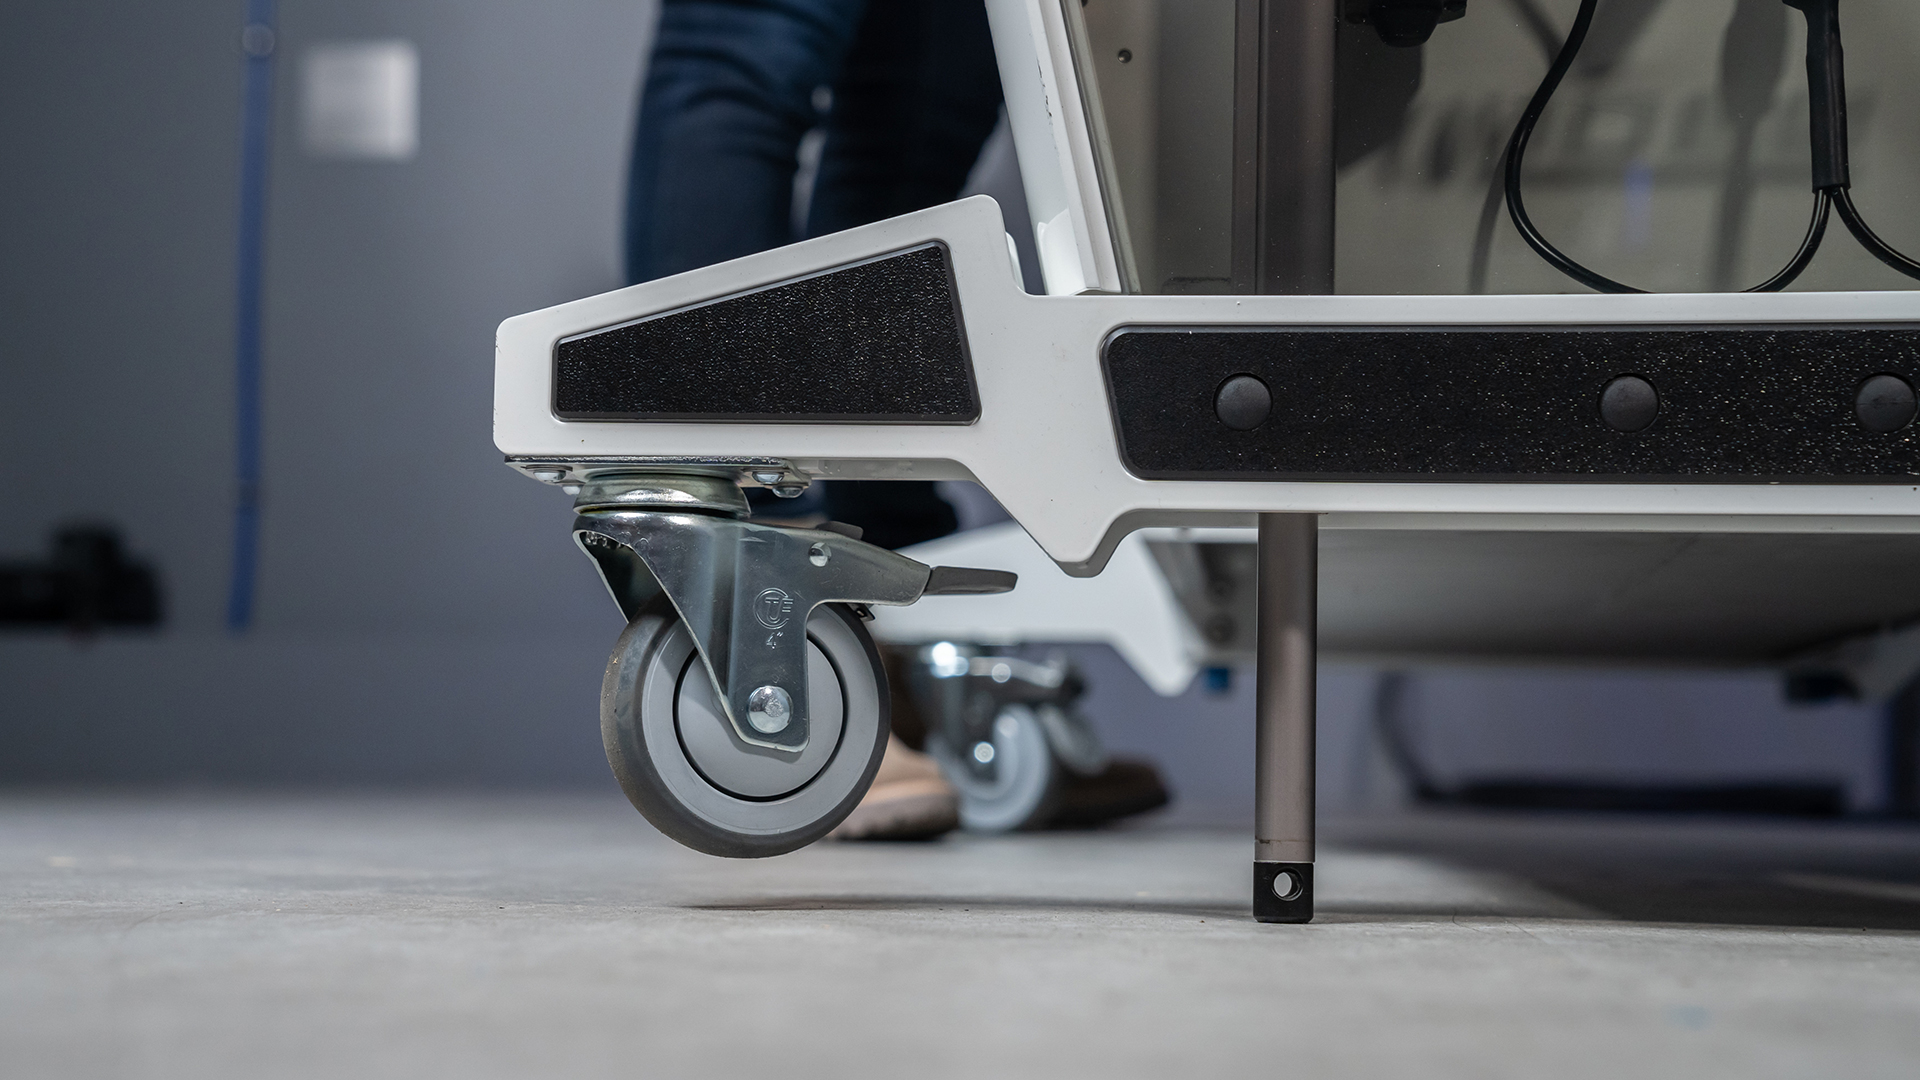
As you initiate the machine tilt on the control panel, the two linear actuators will protrude from the body of the machine and will start lifting the machine up.
05
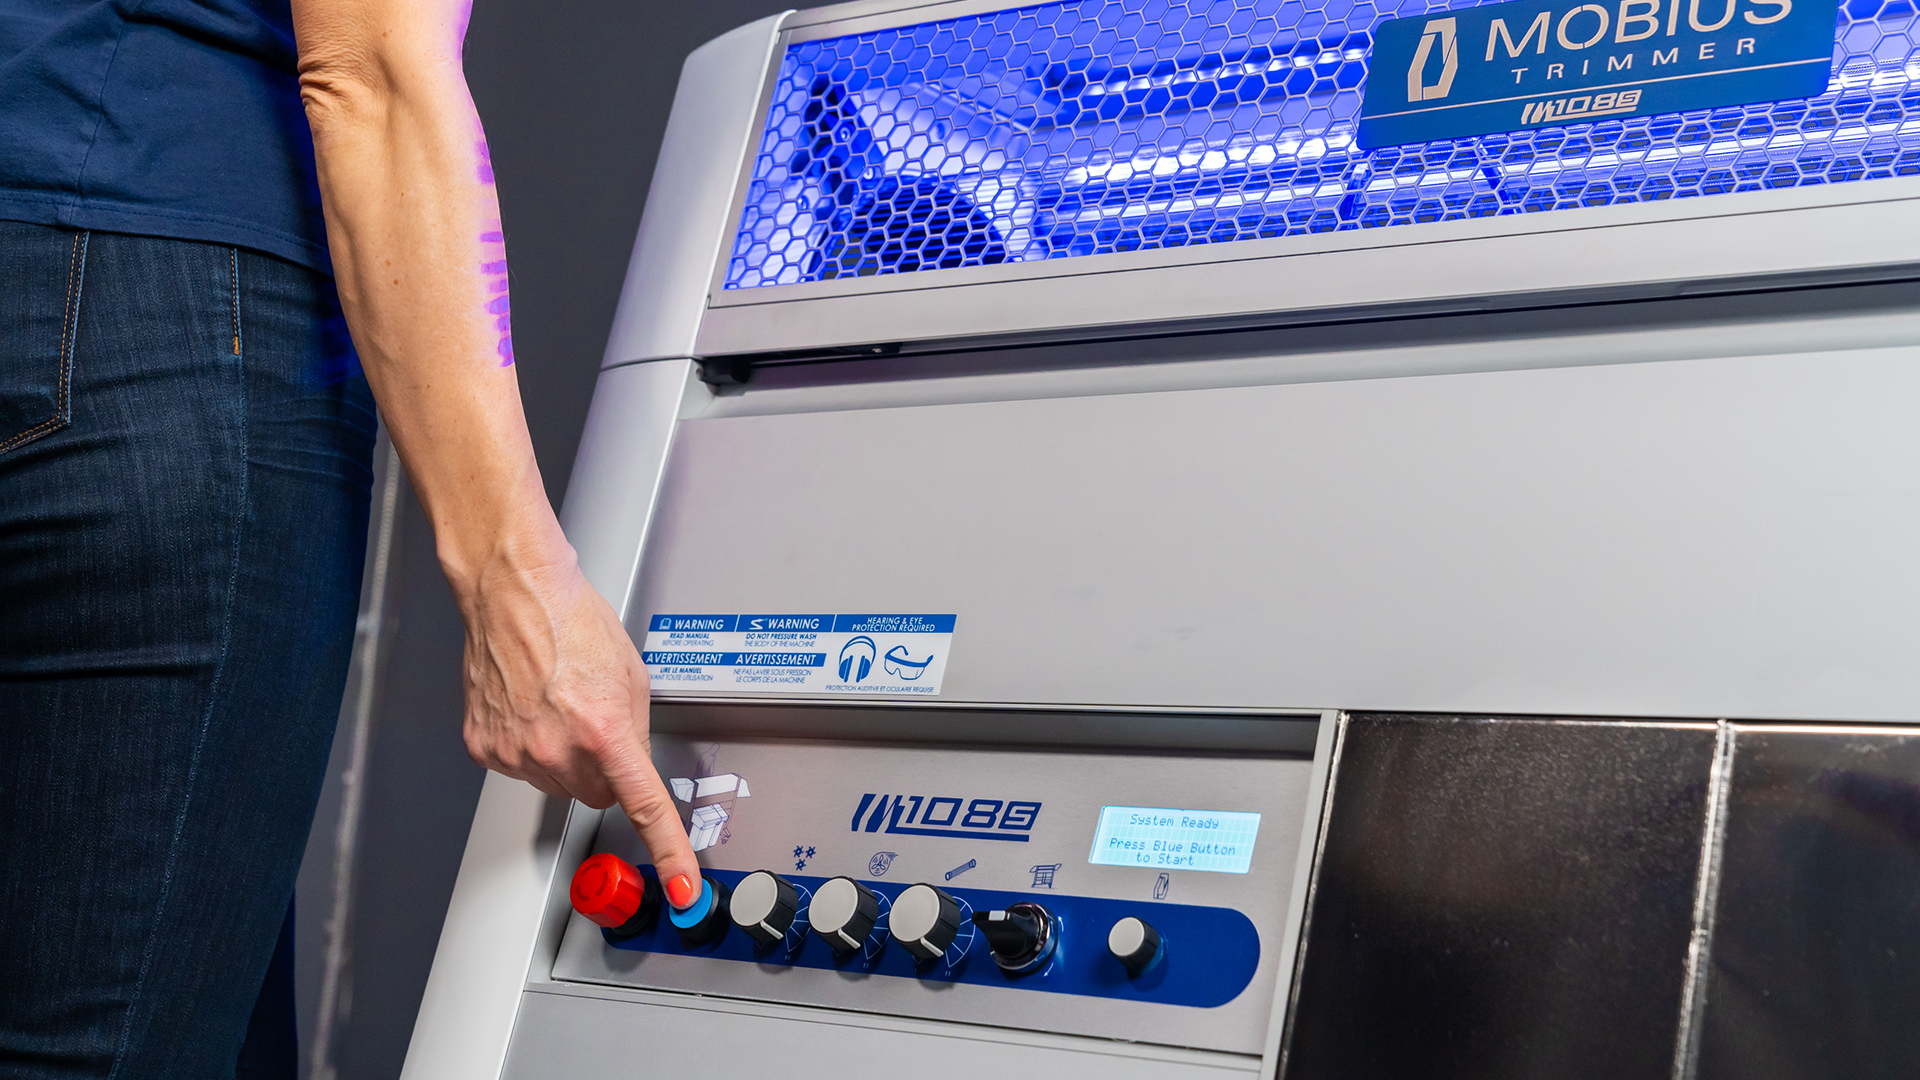
When you want to commence your operation, you will want to press the blue START button.
06
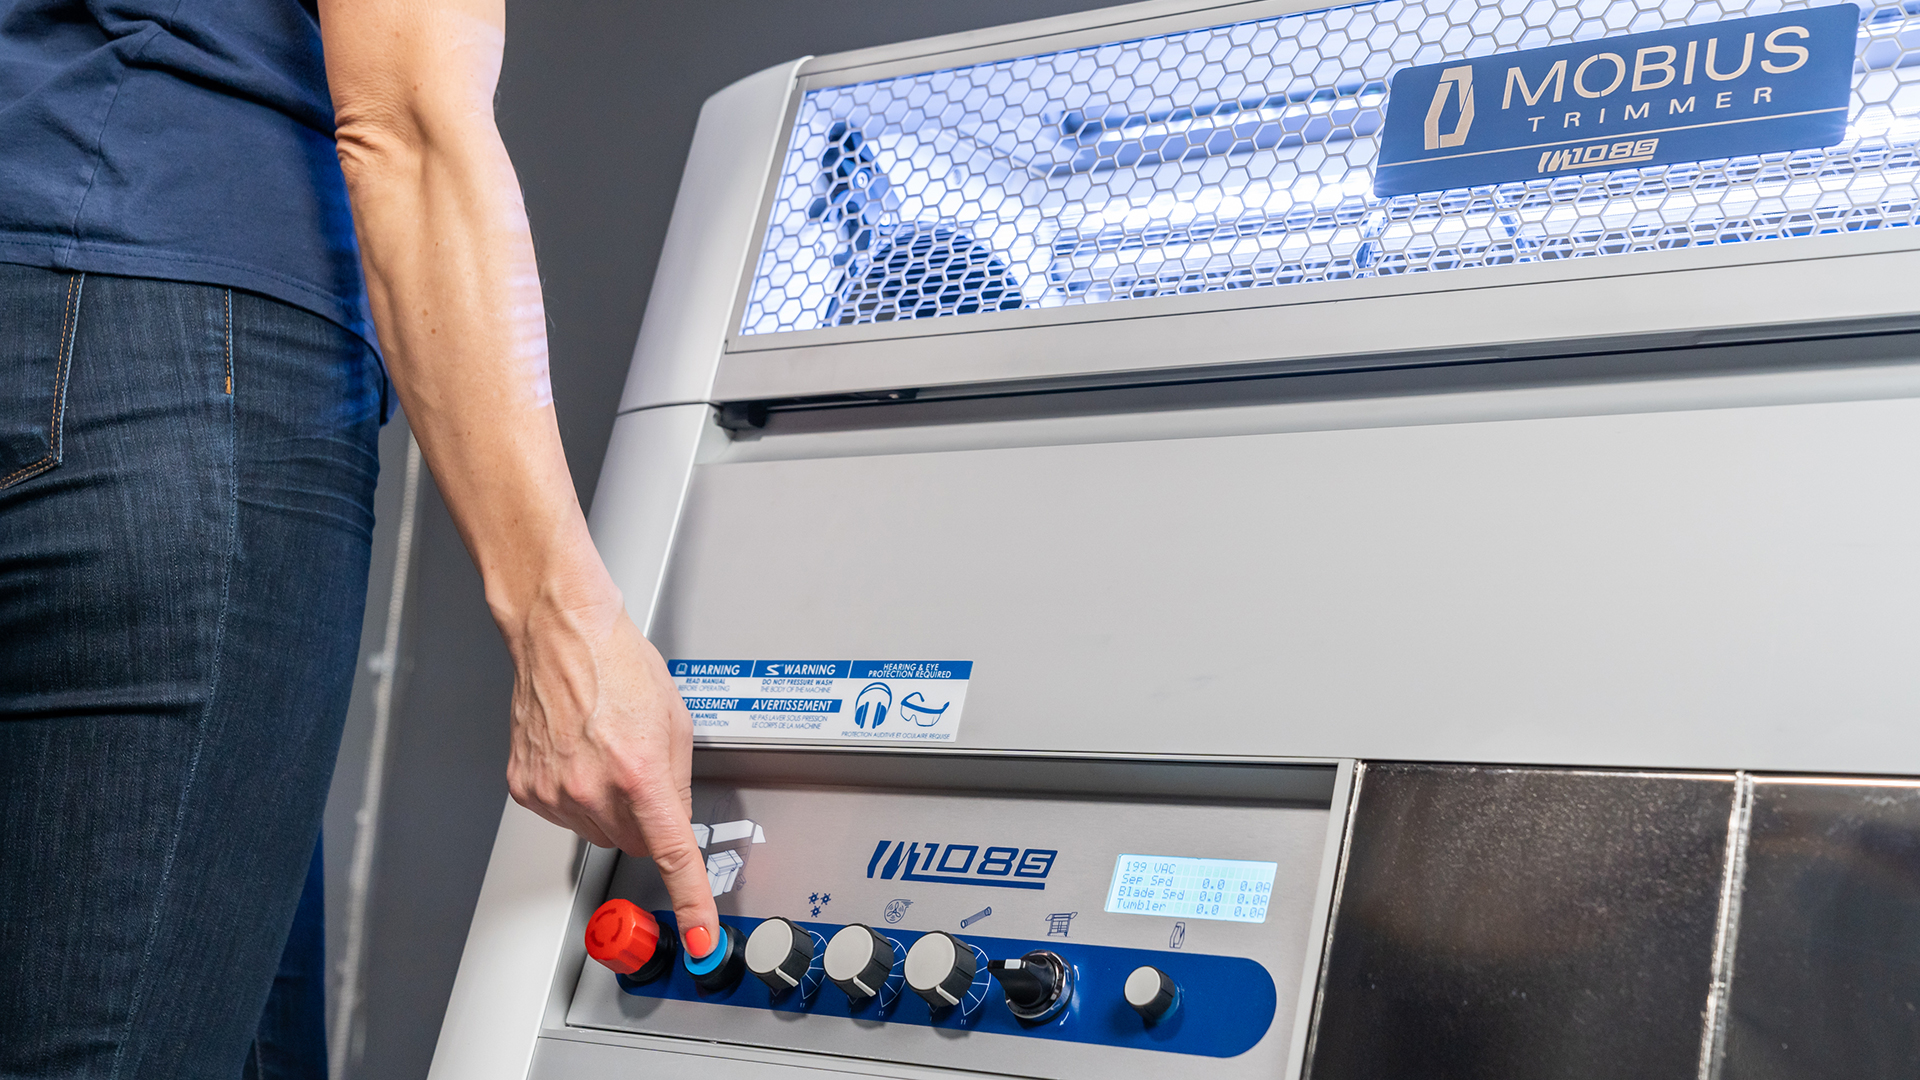
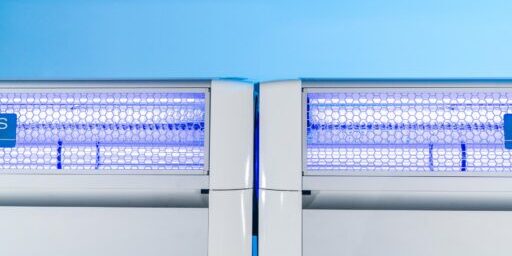
As you initiate the blue START button, the light on the machine will turn from blue to white. White means that your Trimmer is ready to operate.
07
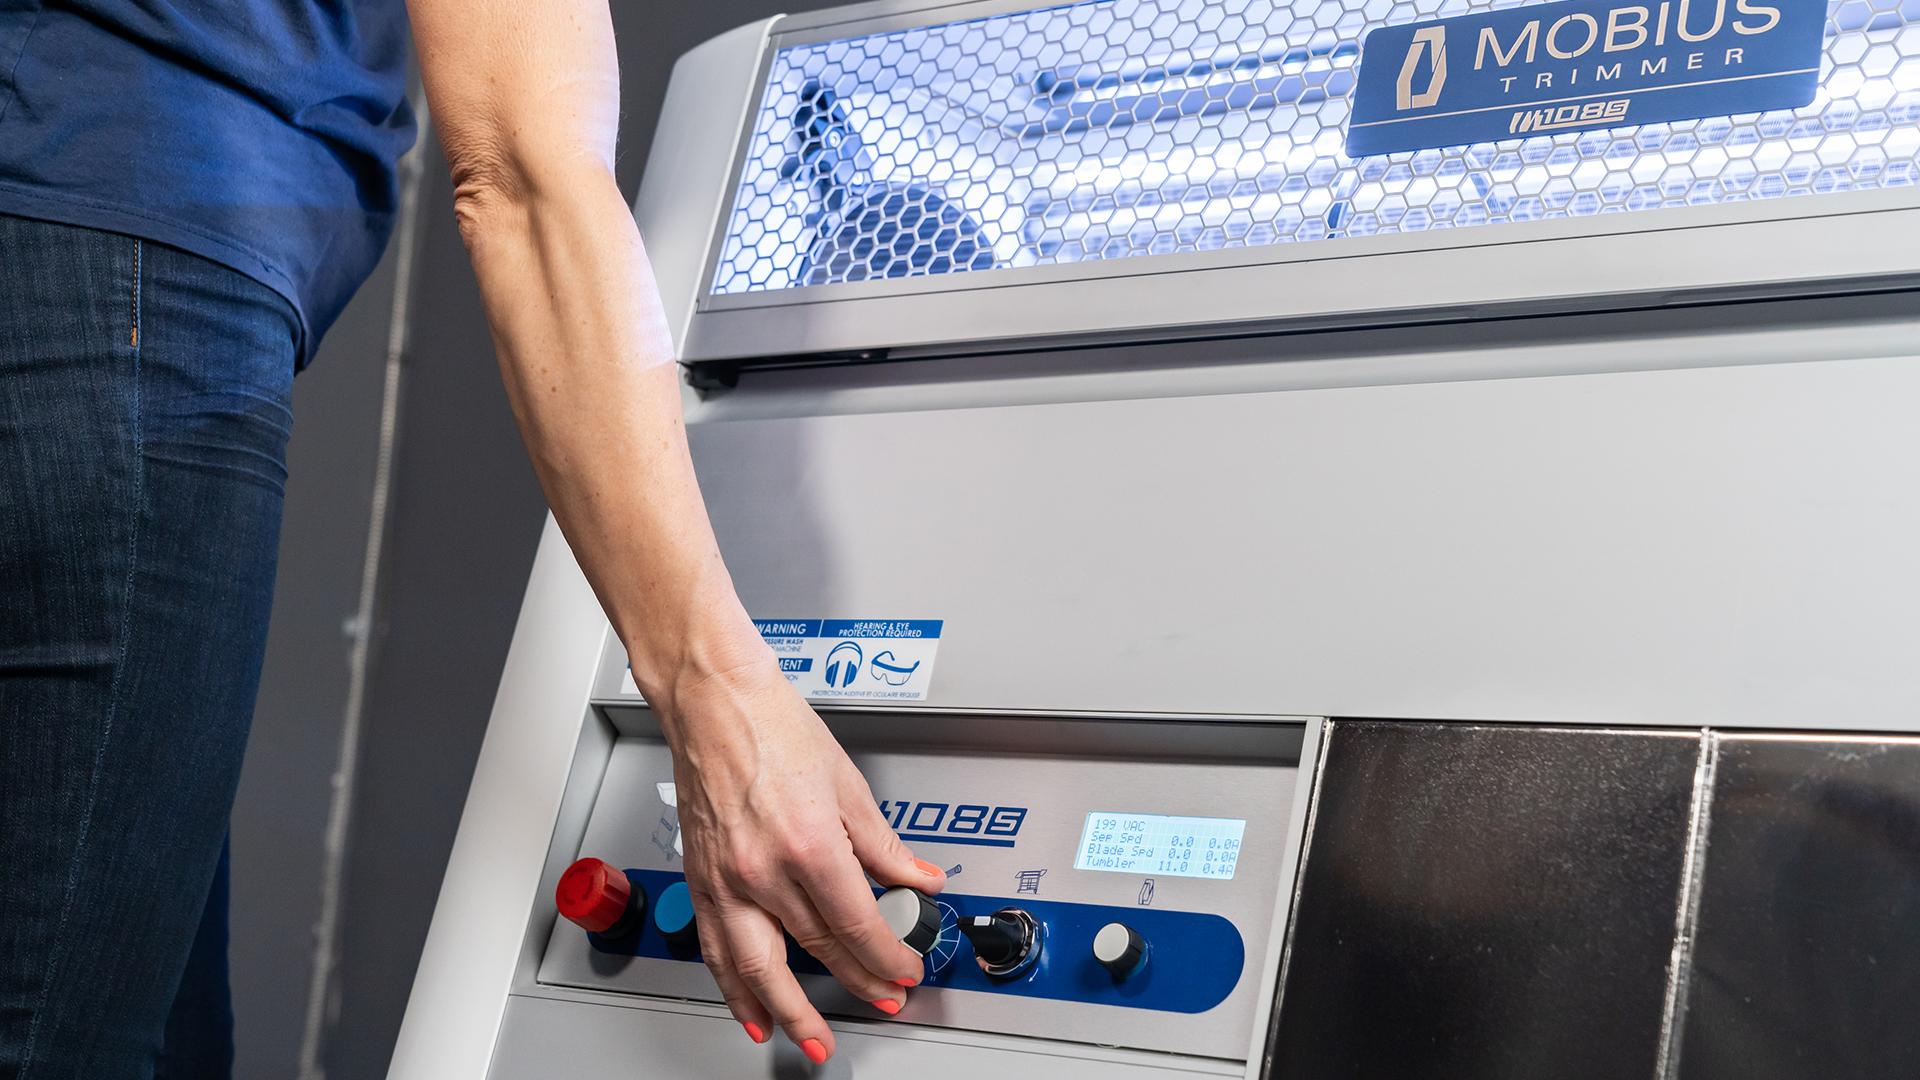
All three adjustment knobs operate in the same way. In this photo we are adjusting the Tumbler Rotation Speed.
To manipulate the tumbler rotation speed, you have to pull the knob out then turn it for your ideal speed.
Speed varies from 1-11.
08

As you increase the speed of the tumbler, you will notice that the whole component will start spinning.
09
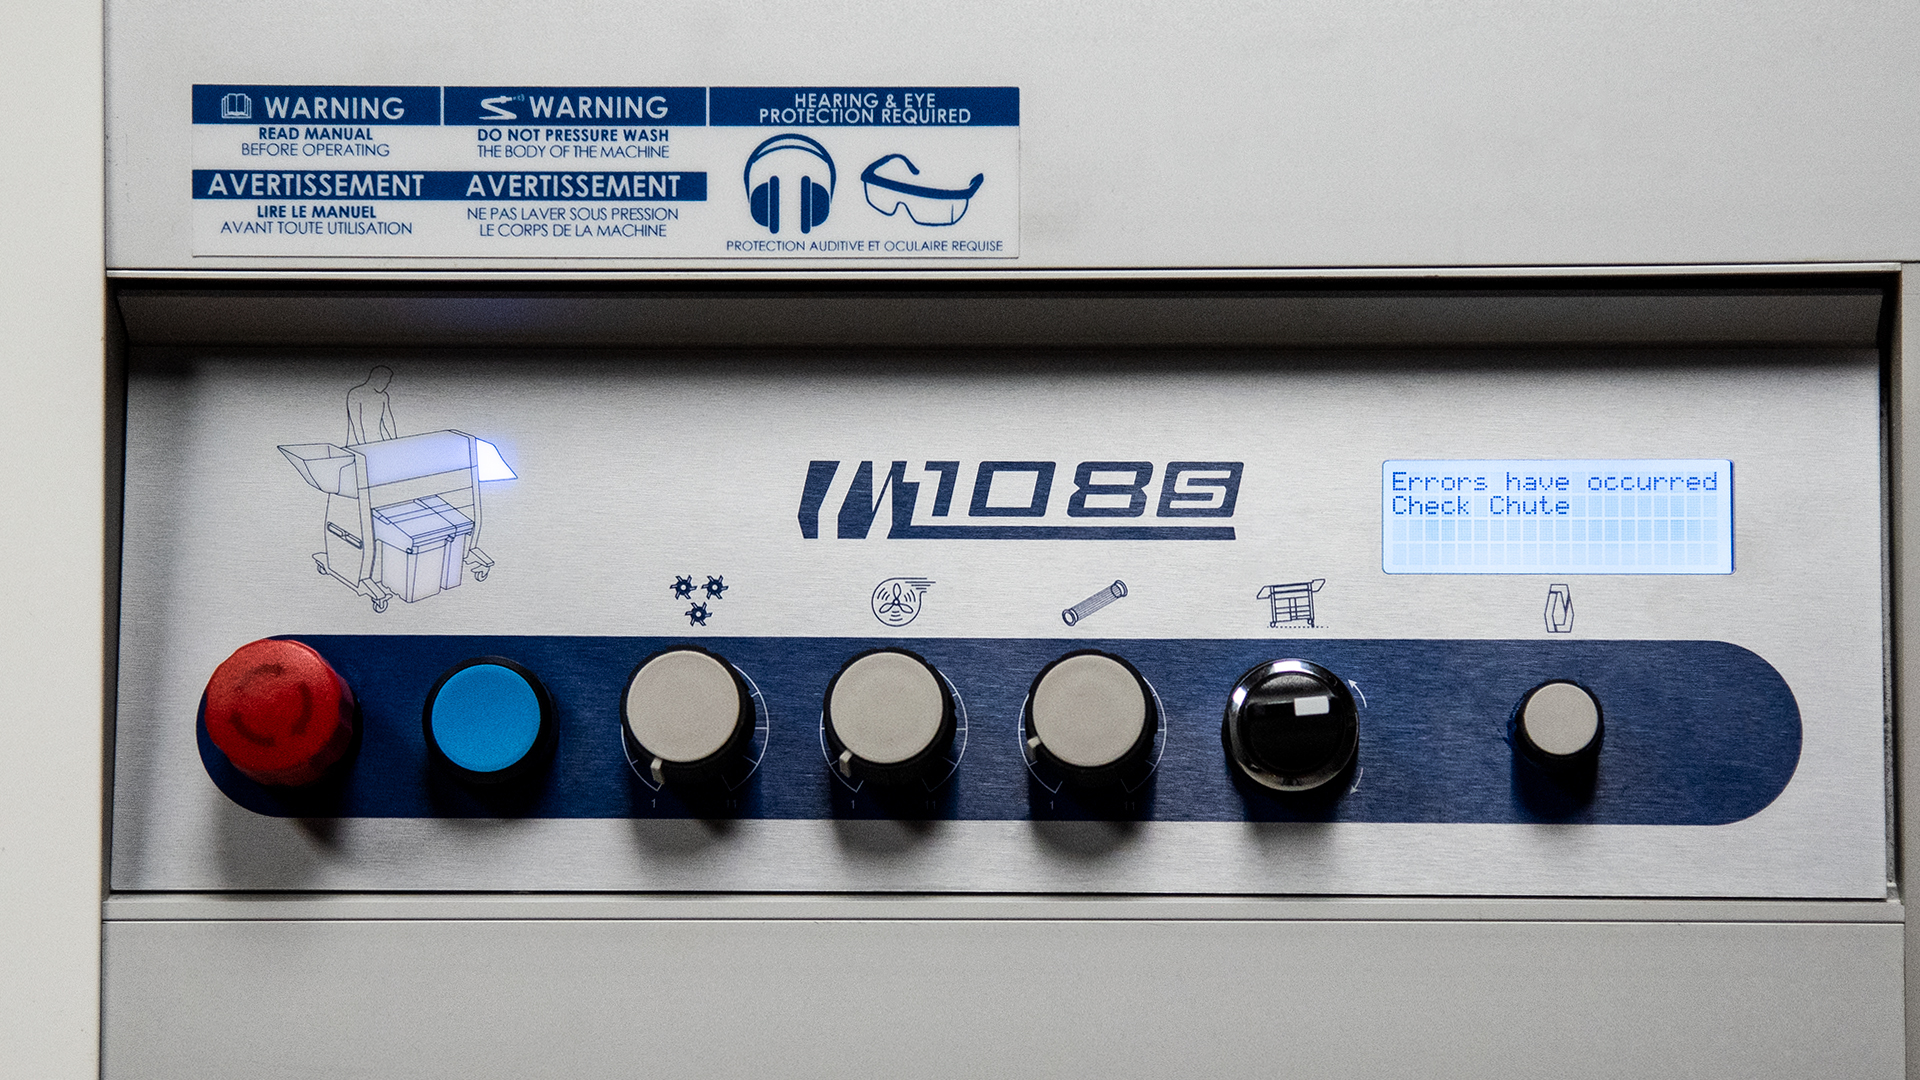
On the far left of the control panel, there is a diagram of the M108S. This is a visual indicator for errors of the unit.
In this case, the Conveyor Sensor Override Puck is disconnected to the sensor on the outfeed side of the machine. So the outfeed side of the machine is illuminated on the diagram. A message on the LCD screen will appear.
10
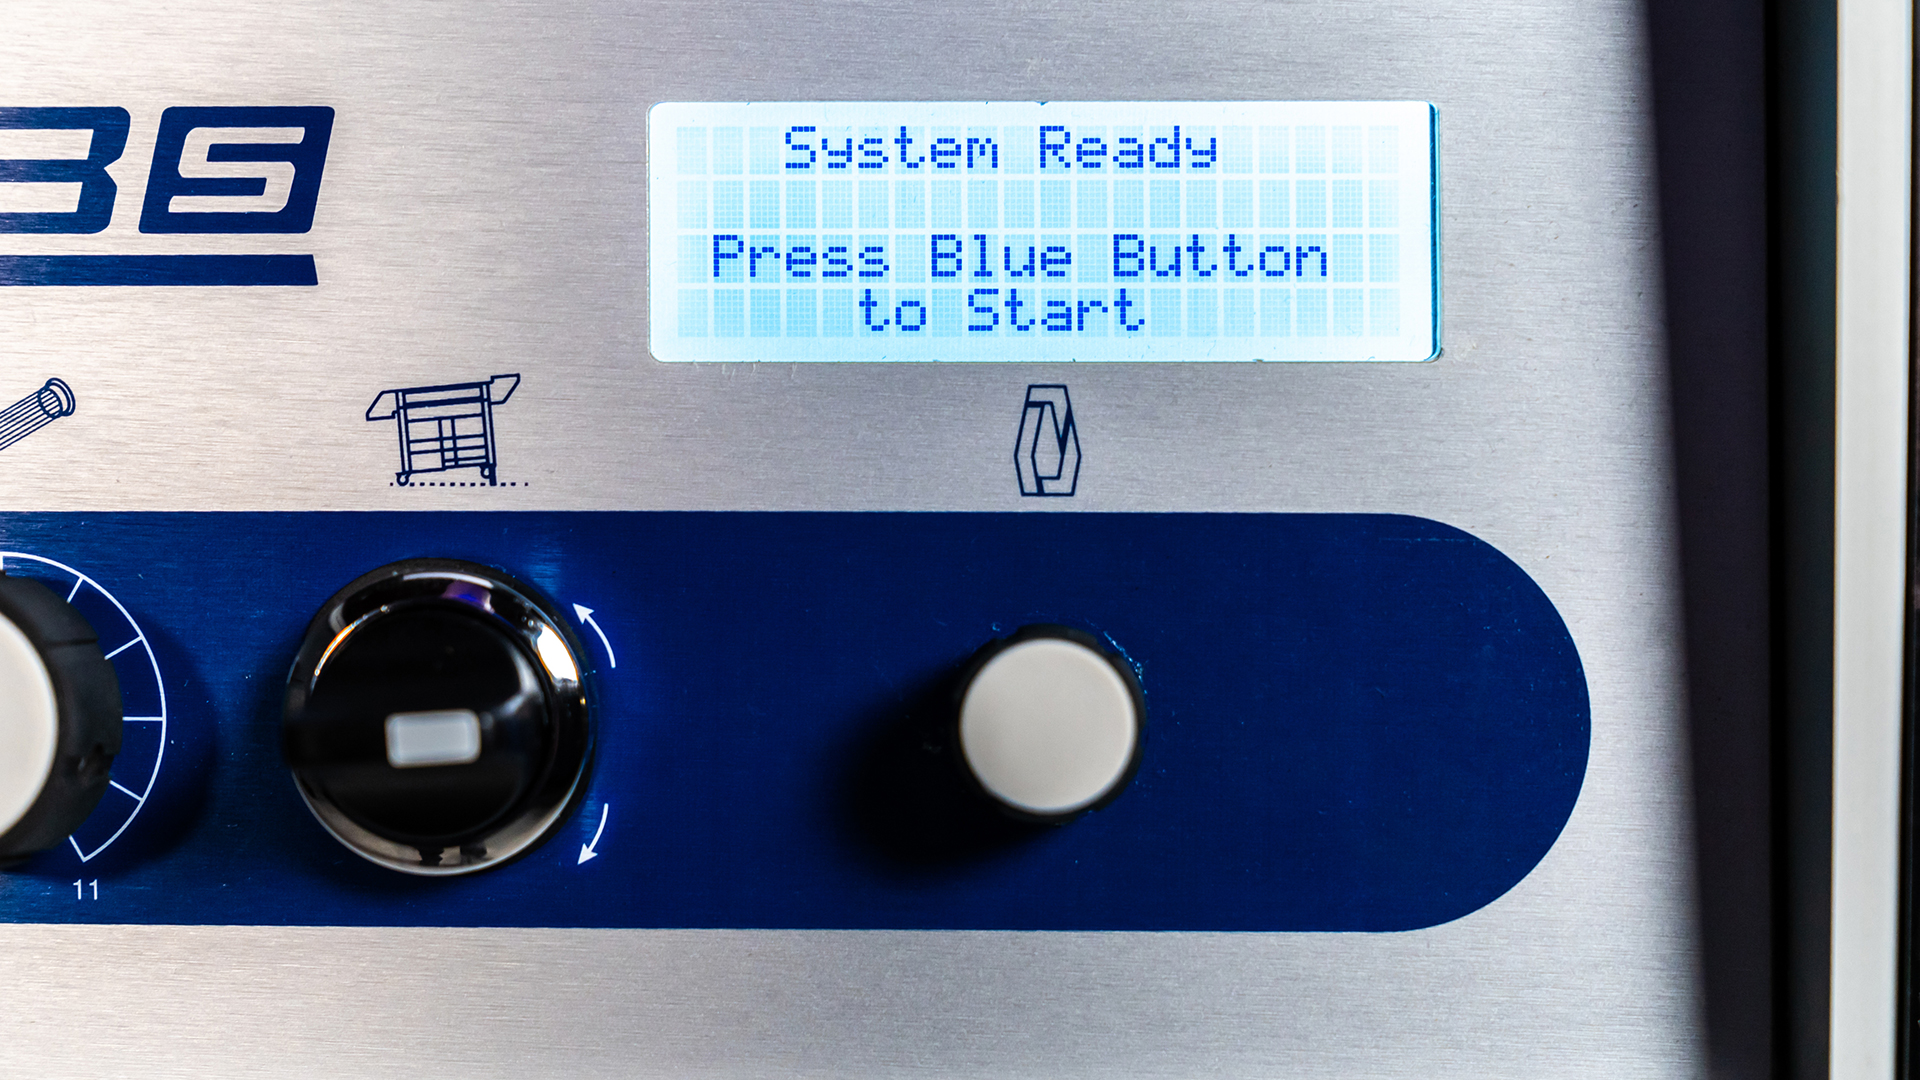
On the far right of the control panel you’ll see an LCD screen with a dial underneath. This screen relays important information to the operator, such as power draw on the various systems of the machine, operating hours, and errors.

