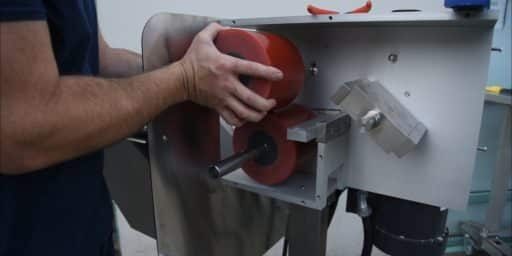
MBX Bucker Uncrating
Mobius MBX Bucker
Uncrating
How to remove the braces and get the bucker out of the shipping crate.
Step by Step
01
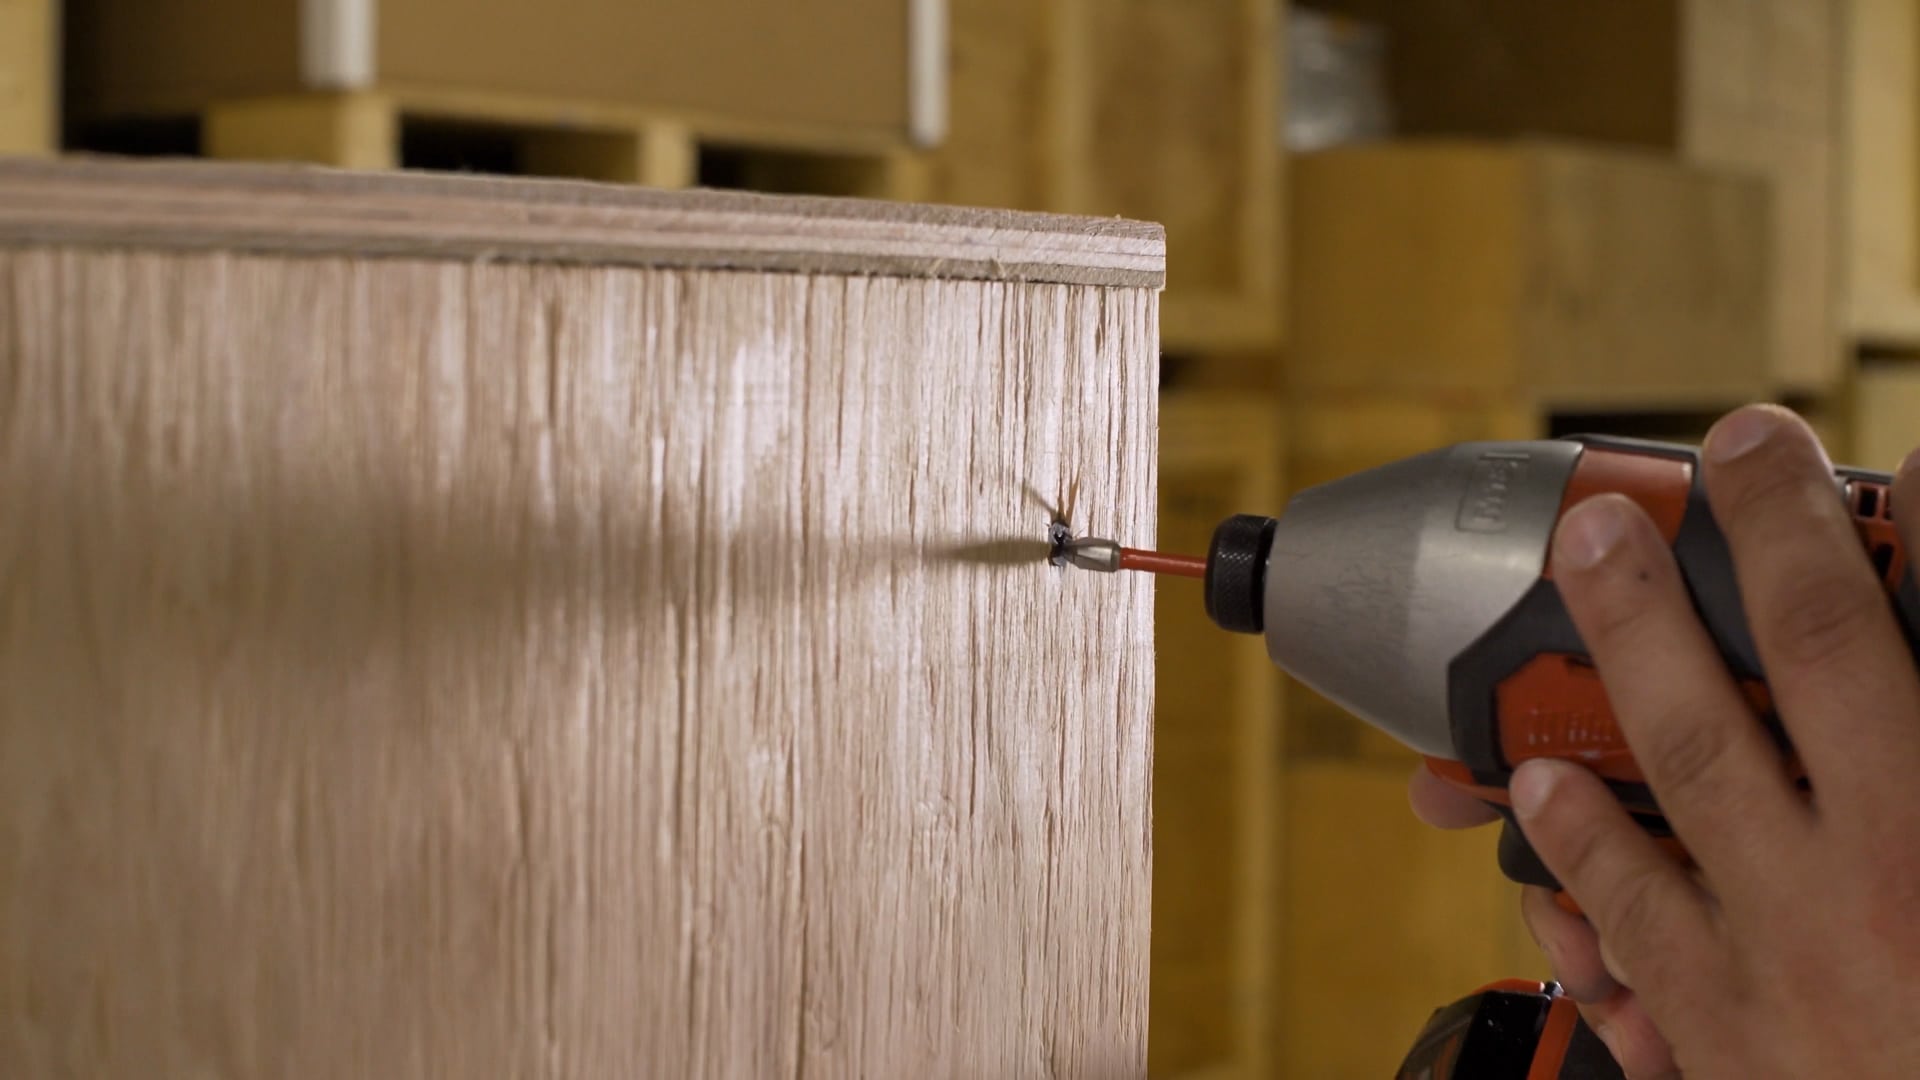
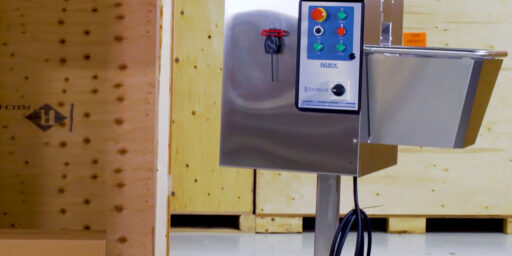
To uncrate the MBX, we only need to remove one side panel, so orient your crate with the side labeled “OPEN THIS END” facing your working area. The only tool you’ll need for the next steps is a drill with a Philips head bit.
02
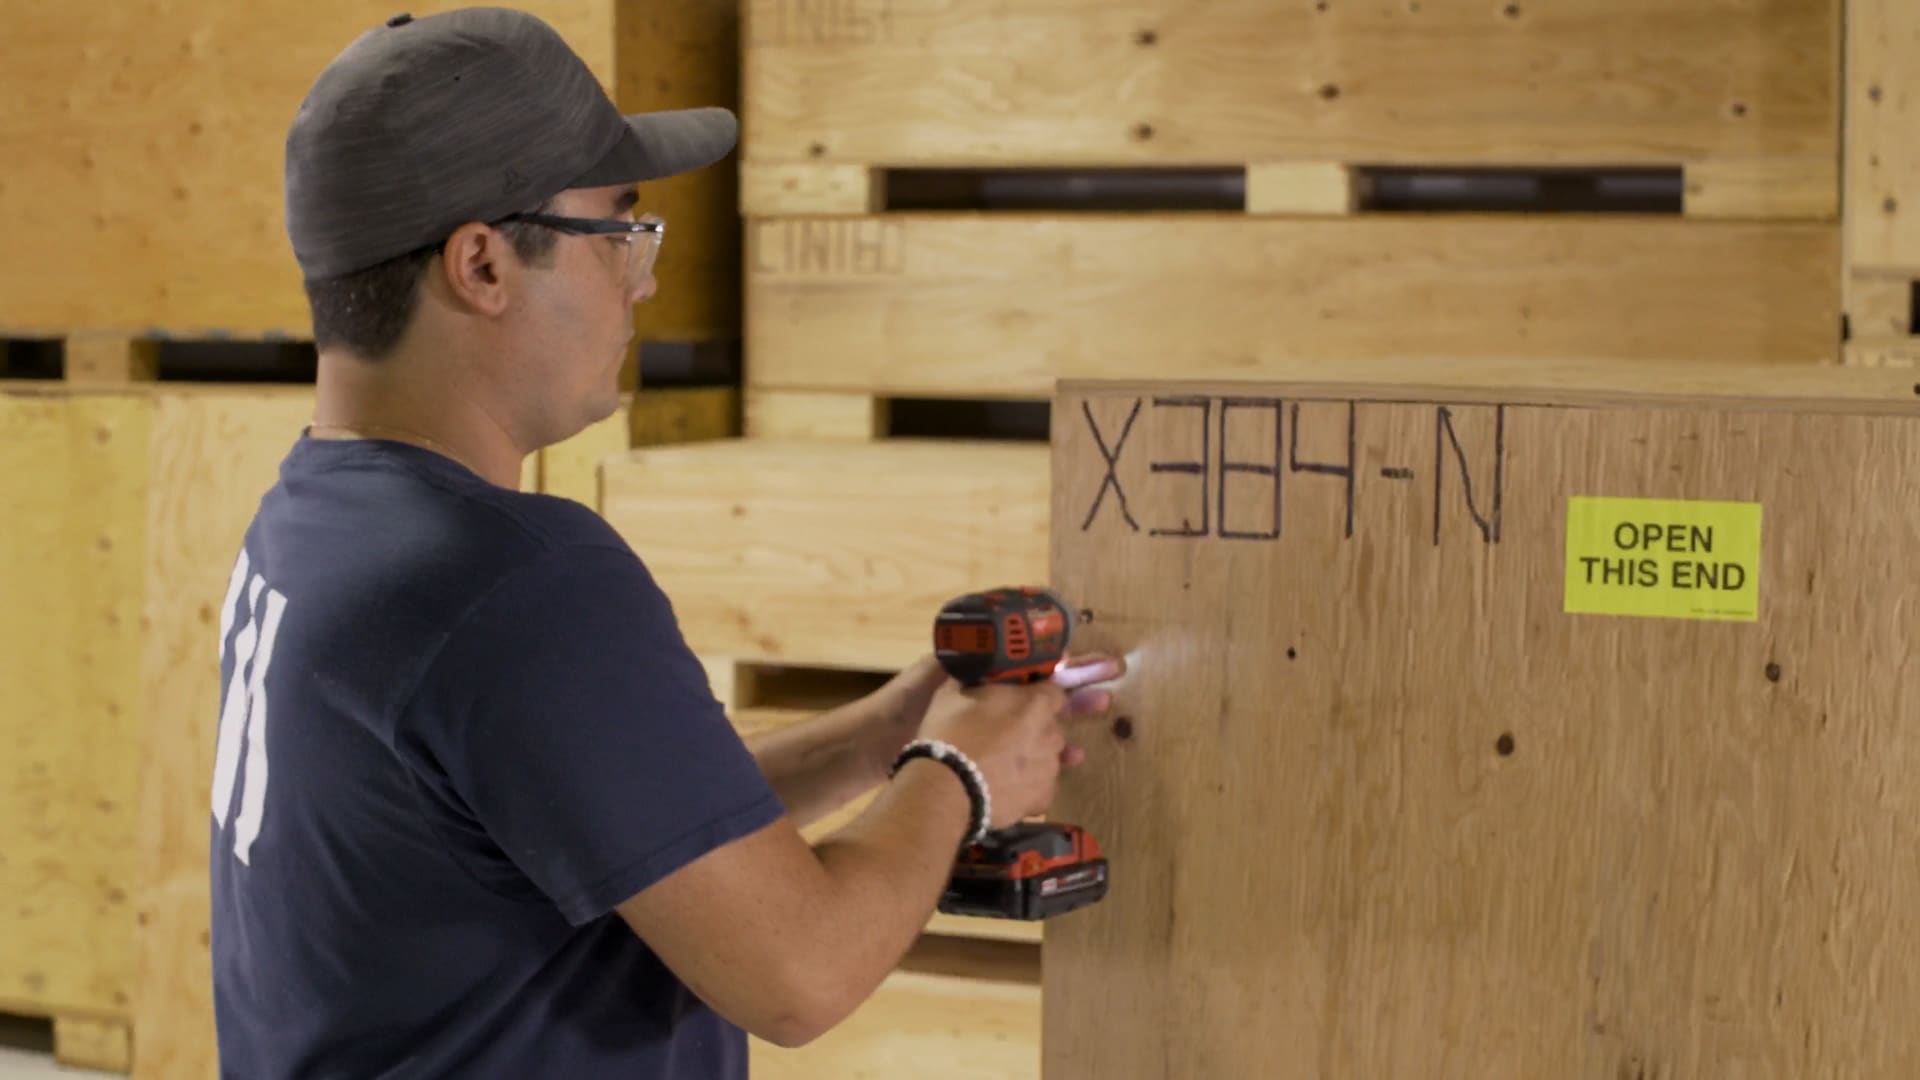
Remove the wood screws around the perimeter of the side panel and then finish up by removing the screw on the top panel that is securing the side panel in place.
03
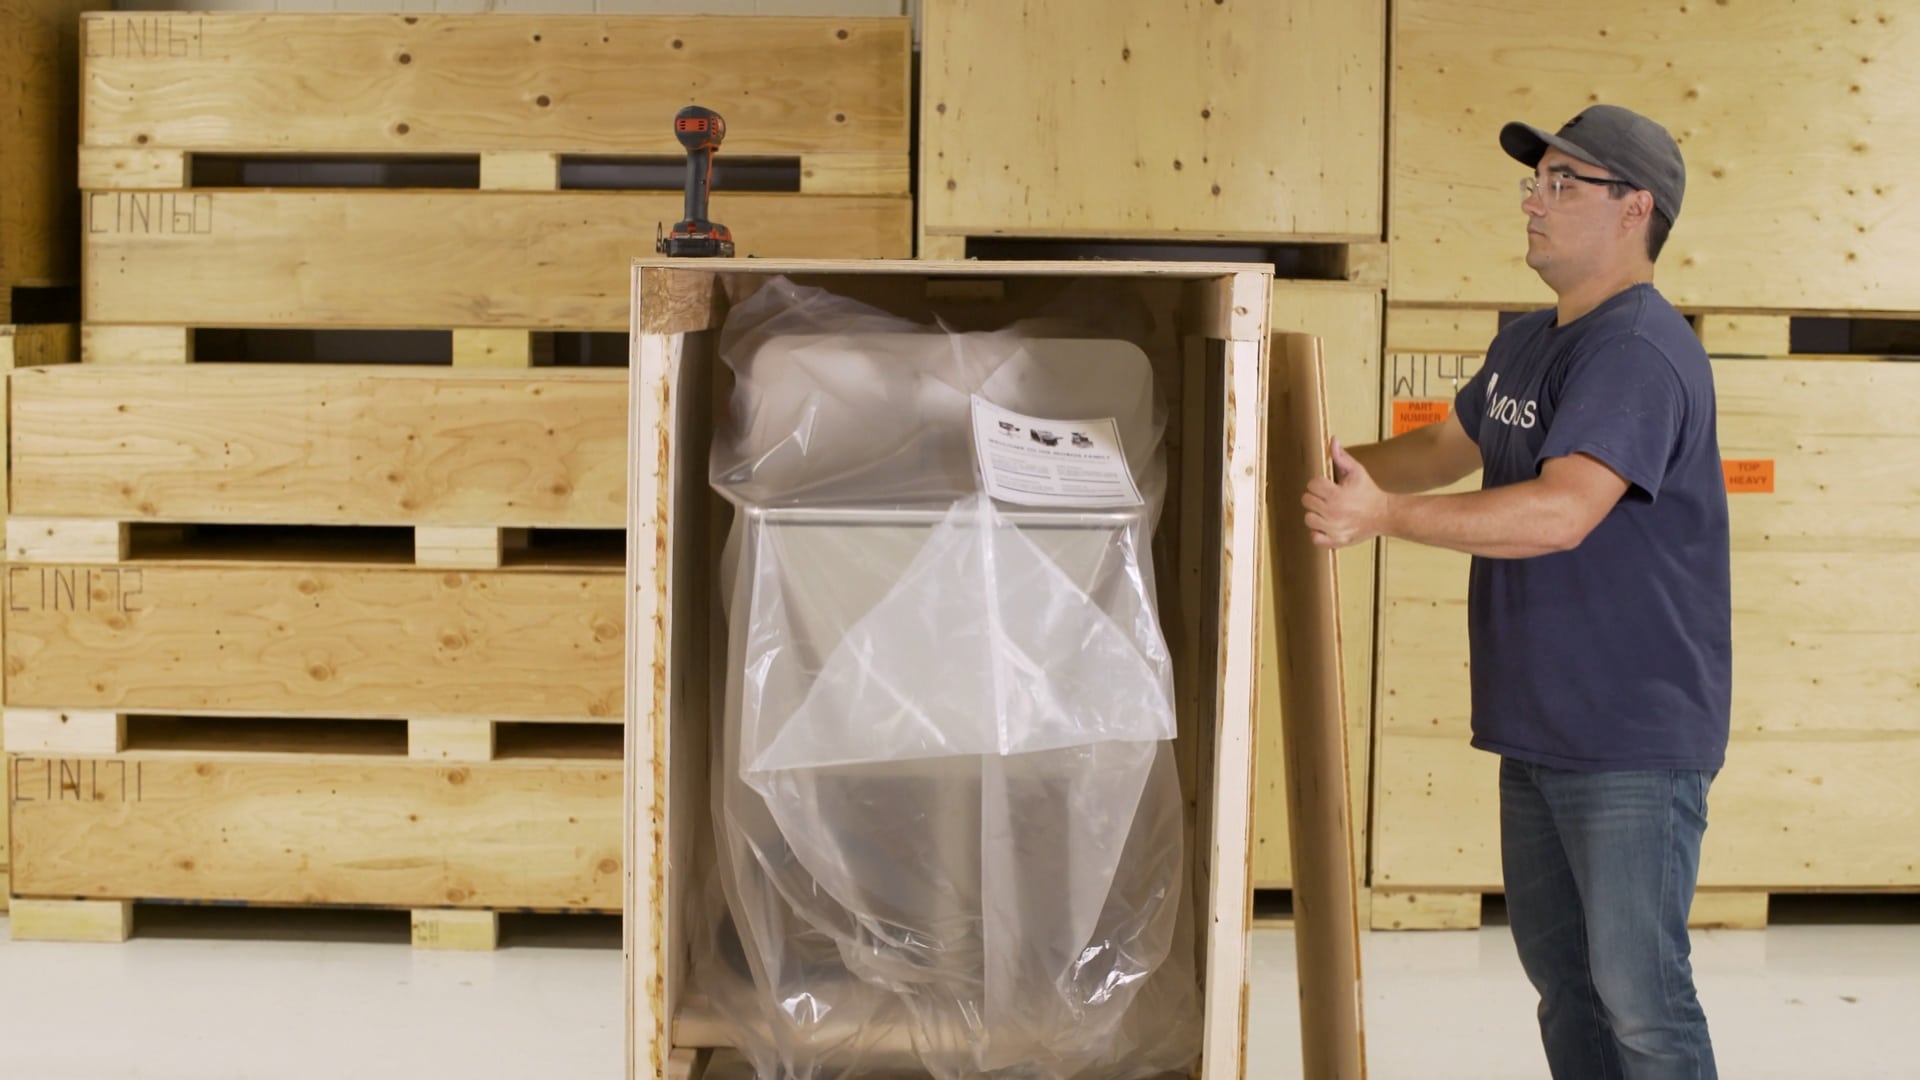
Remove the side panel and place to the side for later.
04
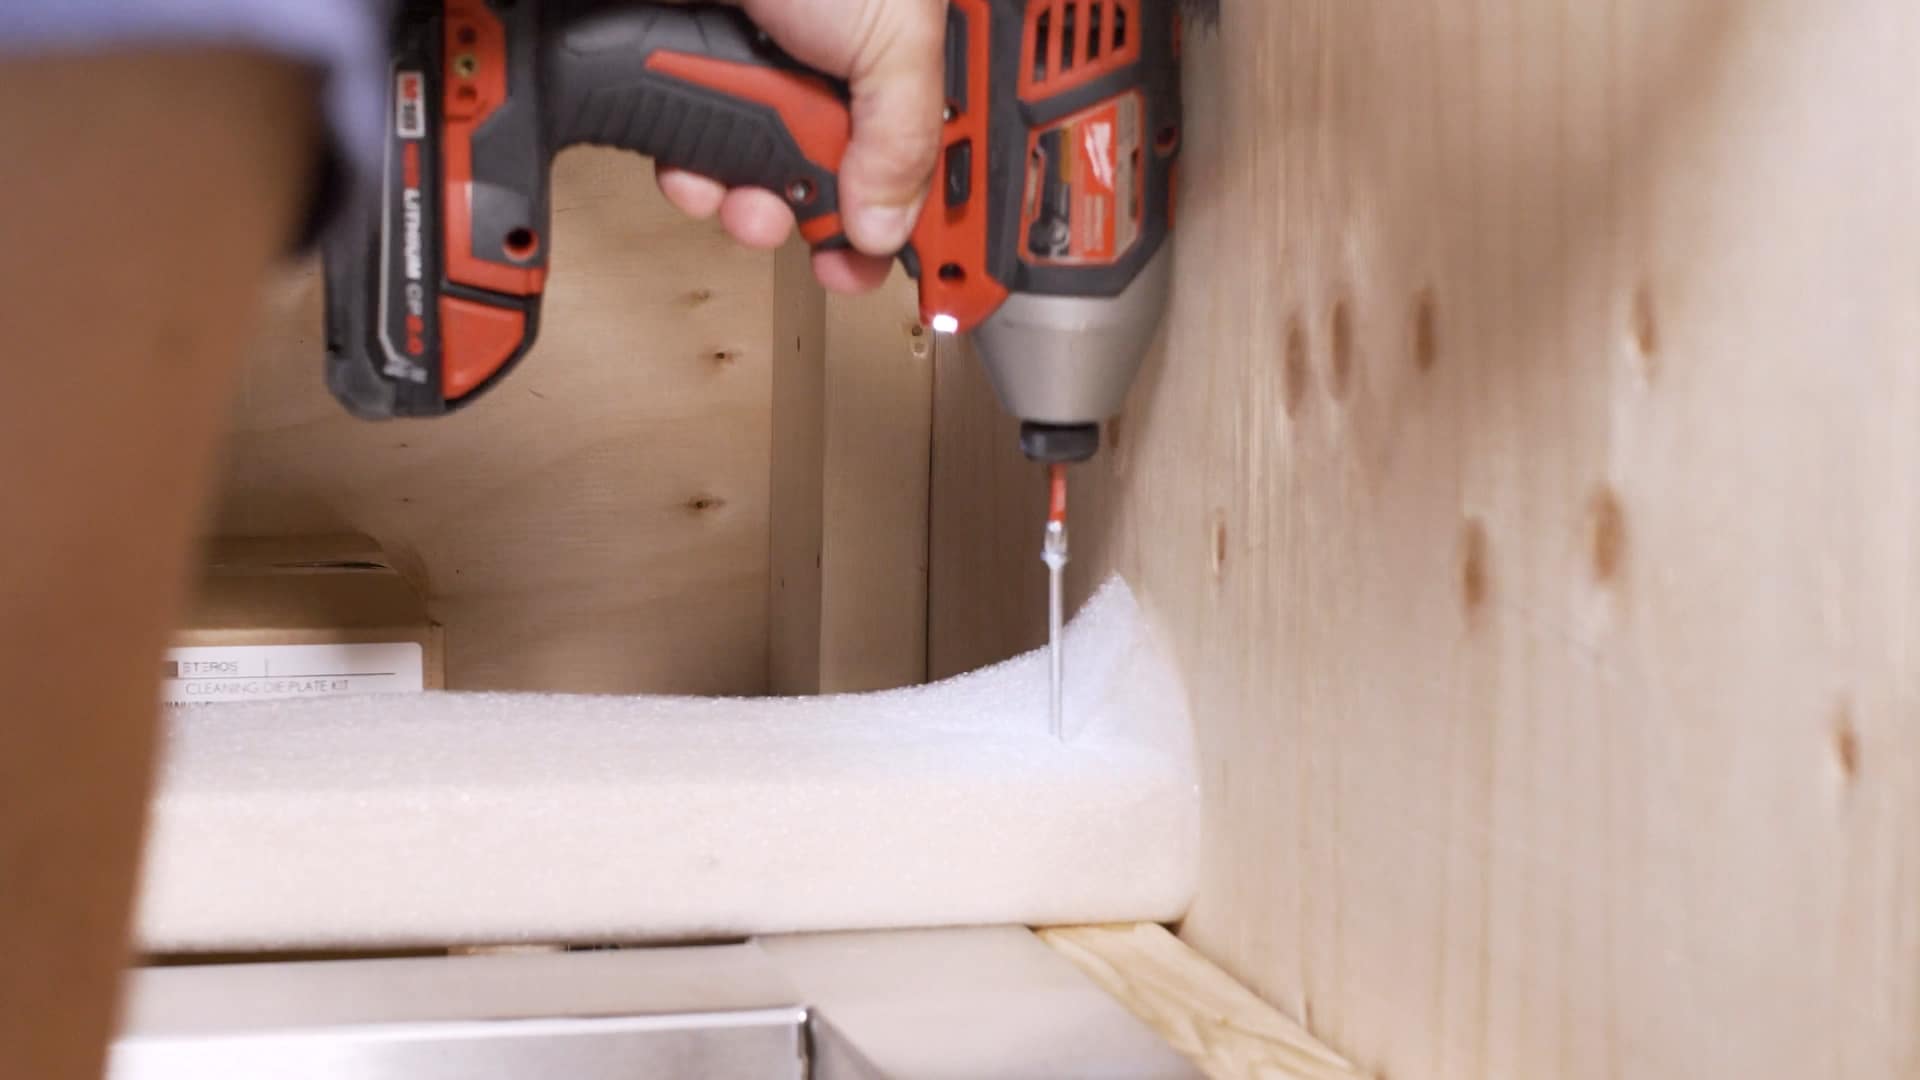
Next, remove the 2 x 4s that are securing the base of the MBX by removing the screws on the outside of the crate. There are two screws at the ends of each 2 x 4 that need to be removed.
05
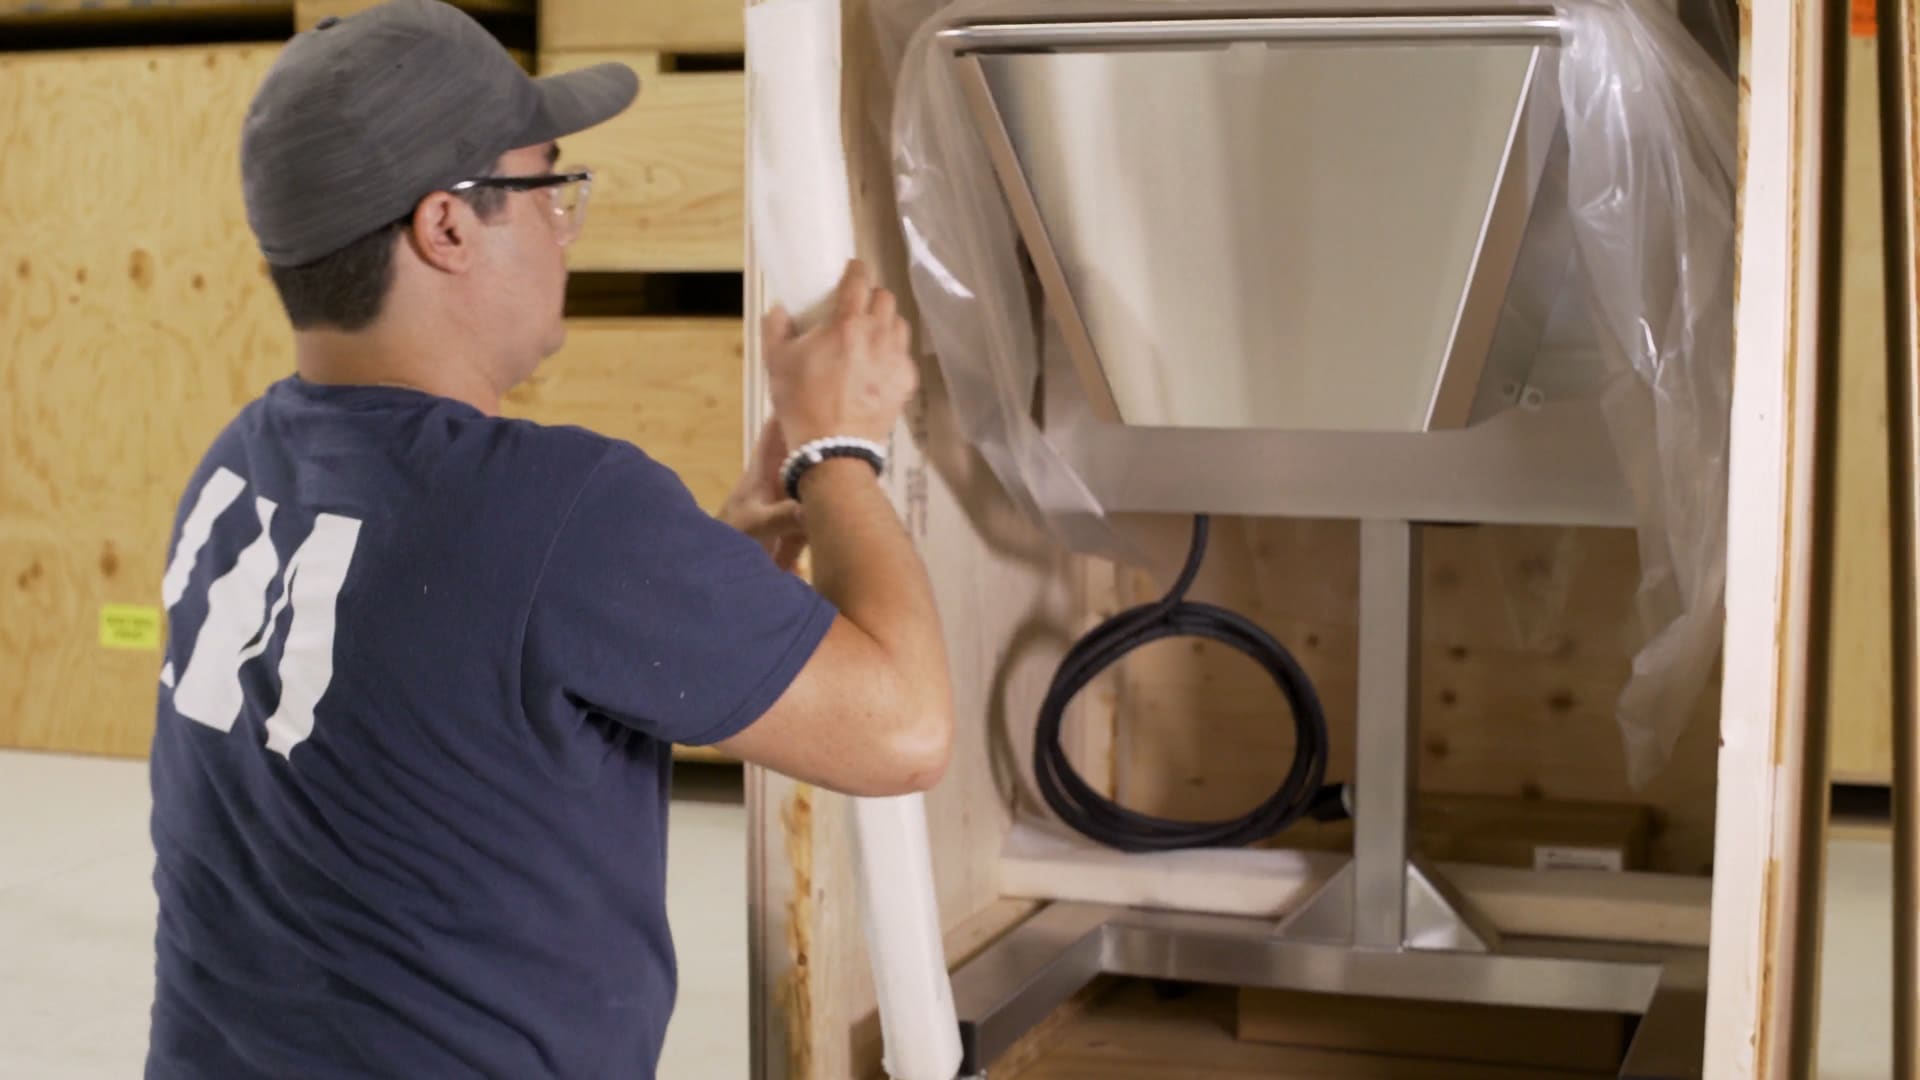
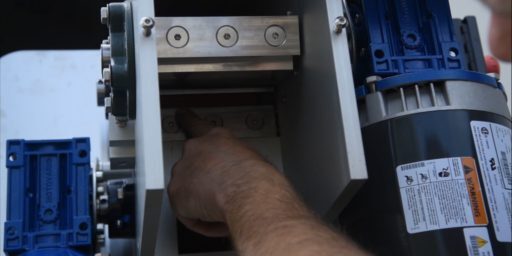
Remove and set aside the box with the cleaning die plates for the bucker.
06
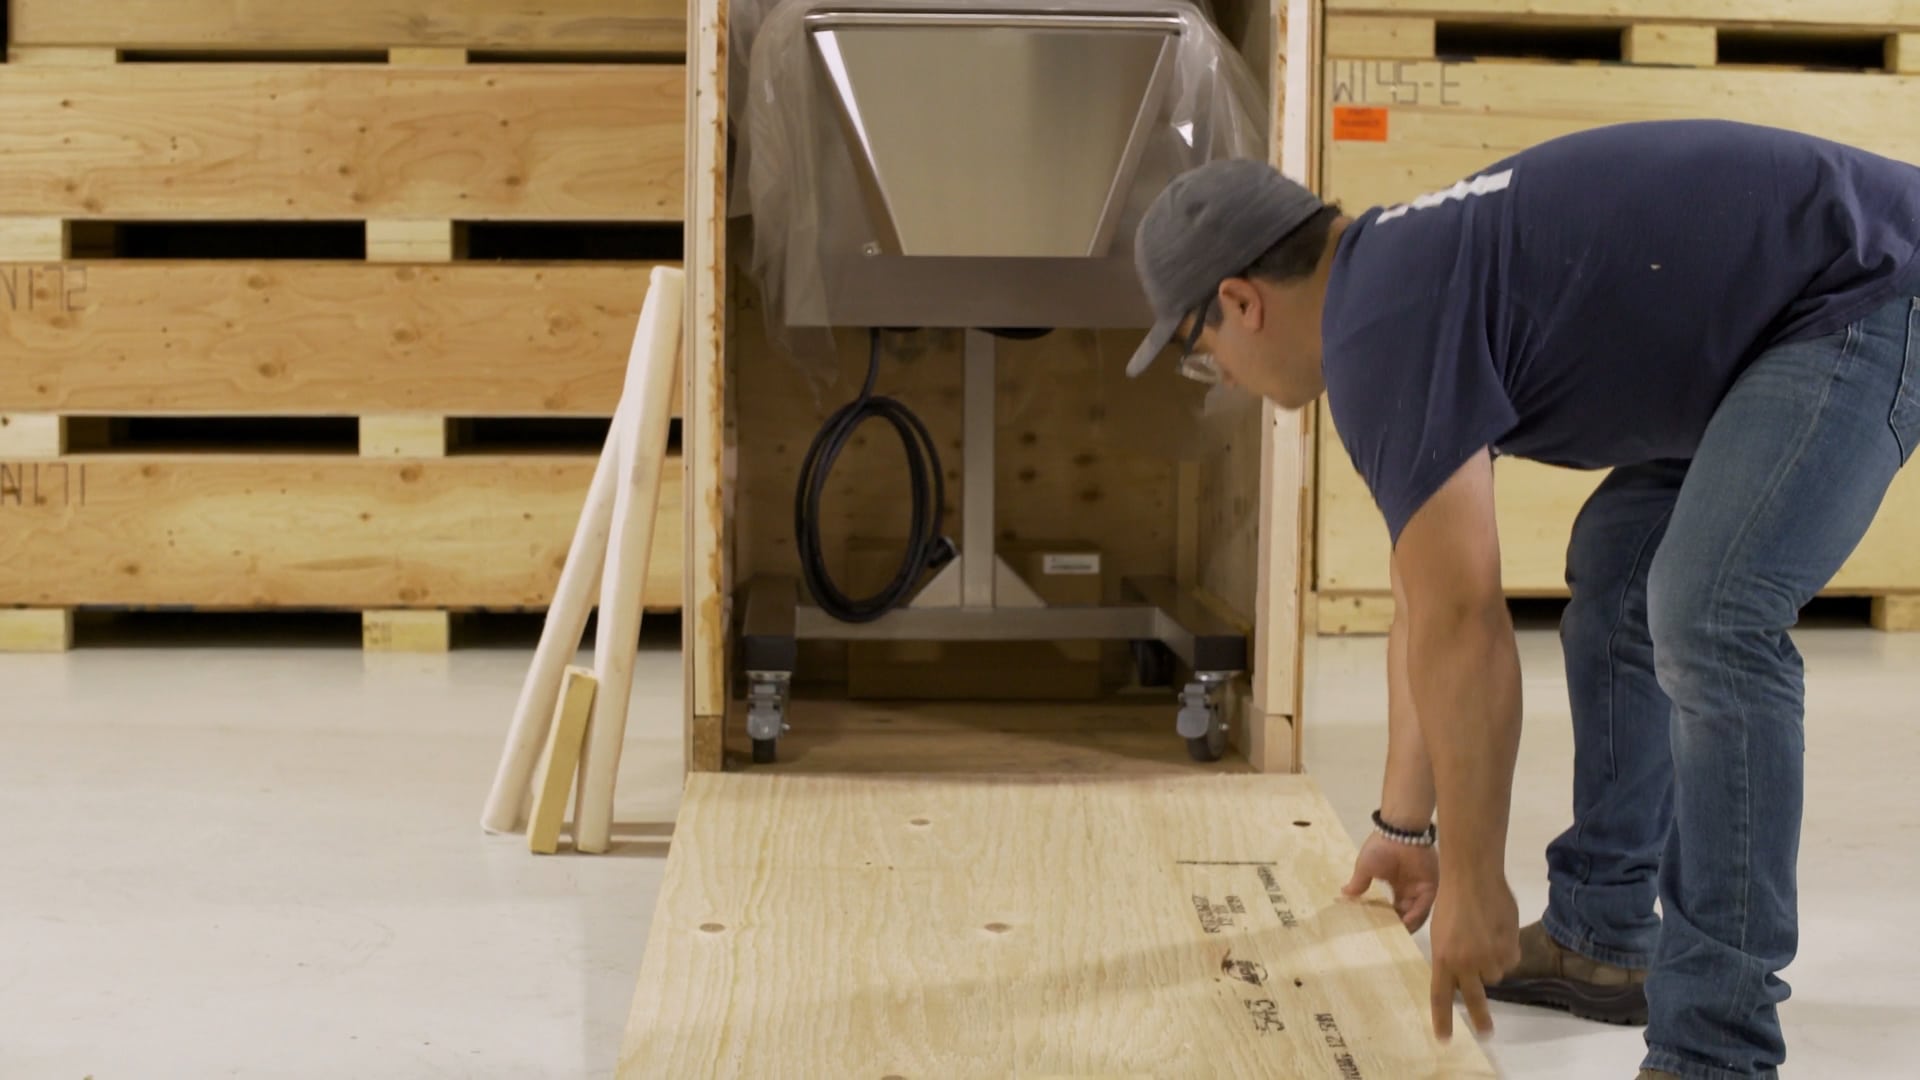
Now we are going to use the side panel as a ramp to roll the MBX out of the crate. We recommend using one of the screws you have removed to secure the ramp into place.
07
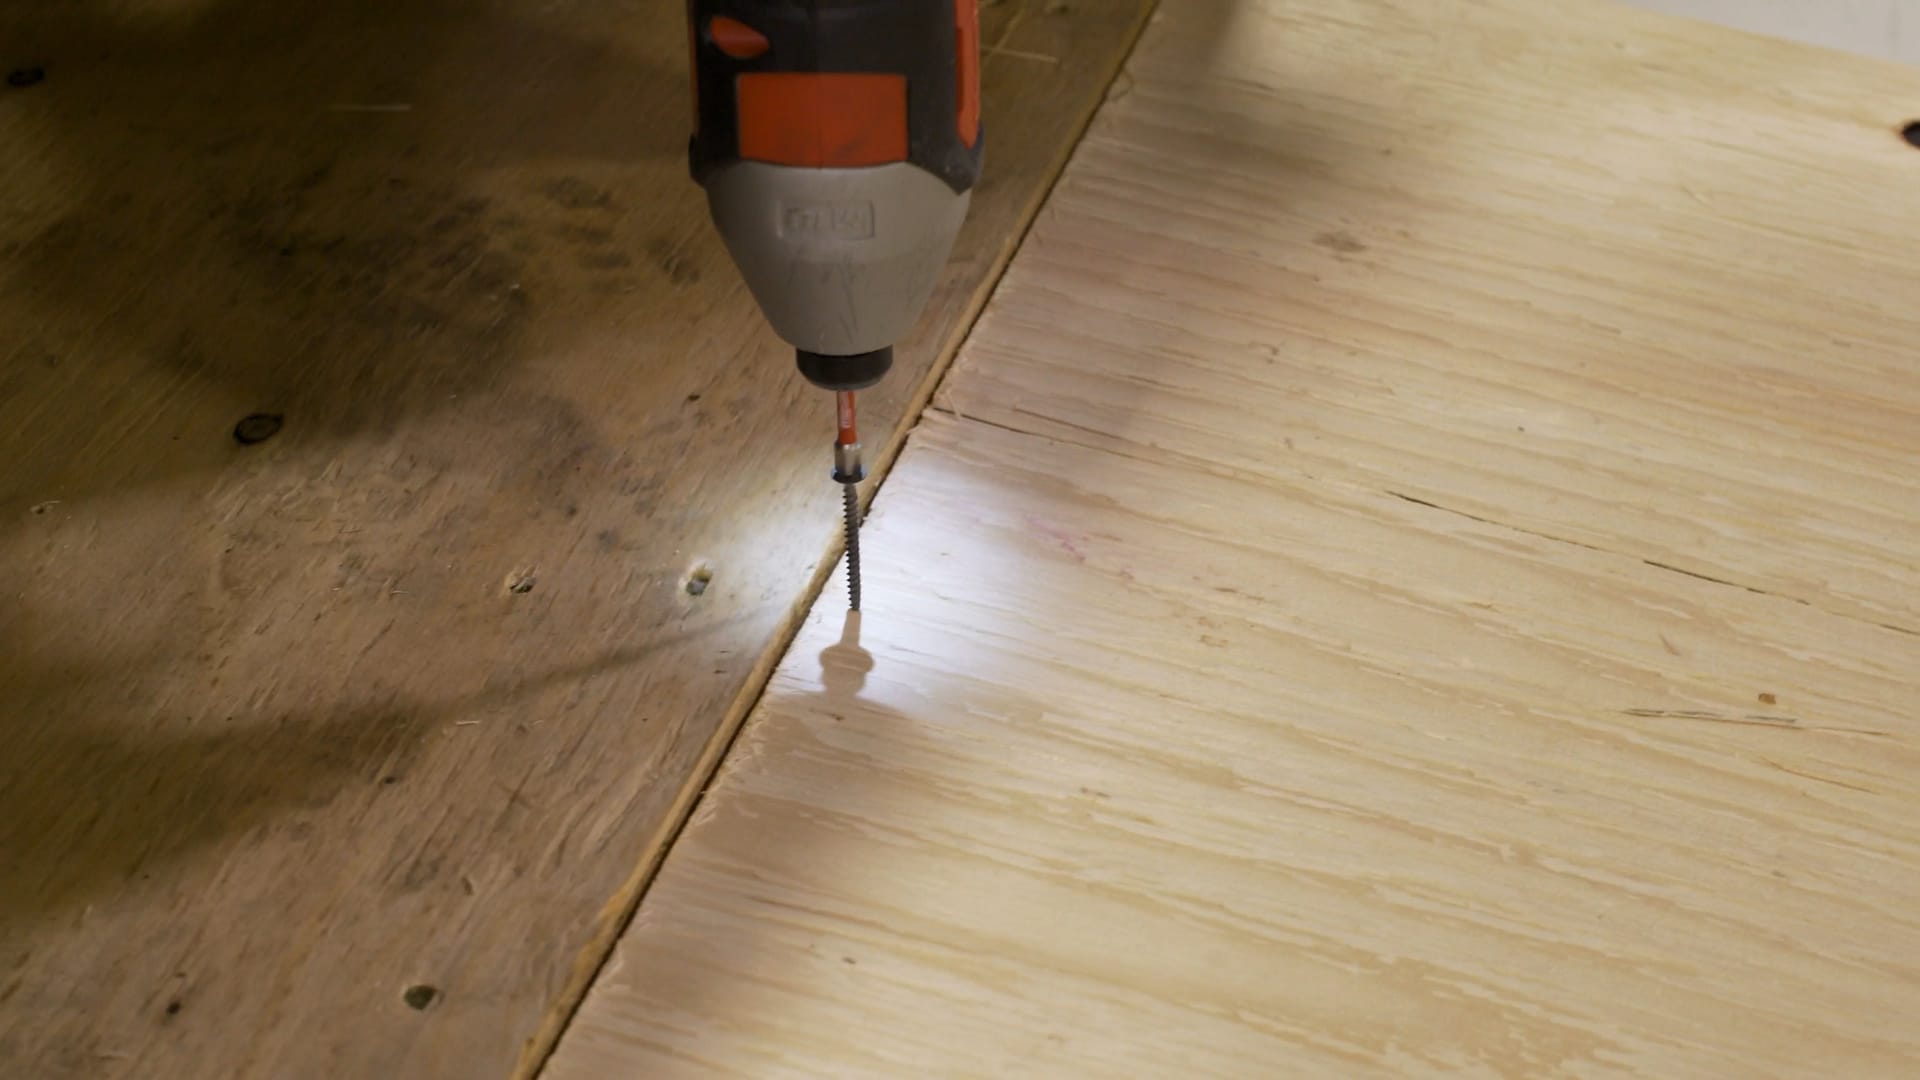
Place the side panel with the top wood block facing up and toward the machine, using the lip of the crate base for support.
08
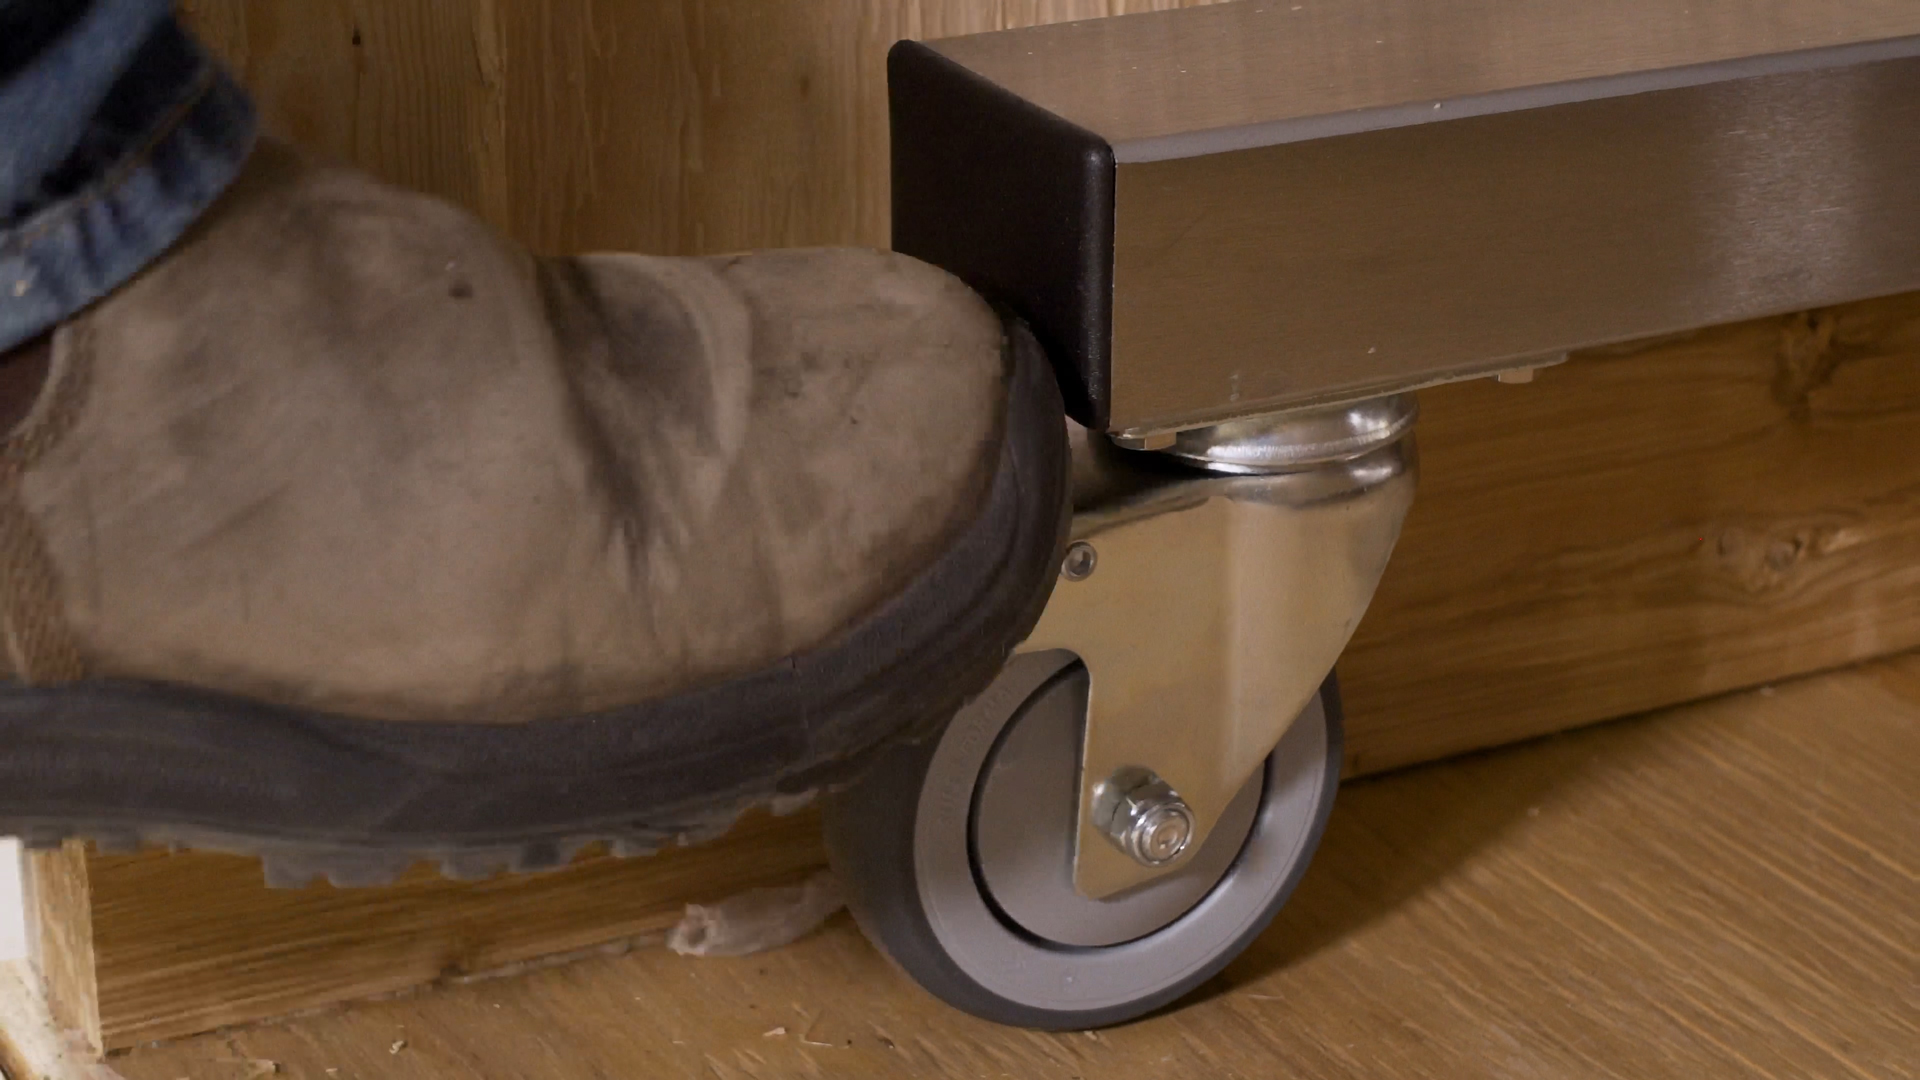
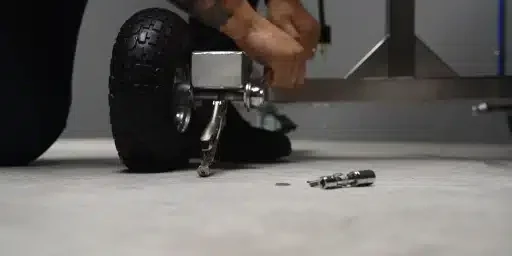
Now you can unlock the casters.
09
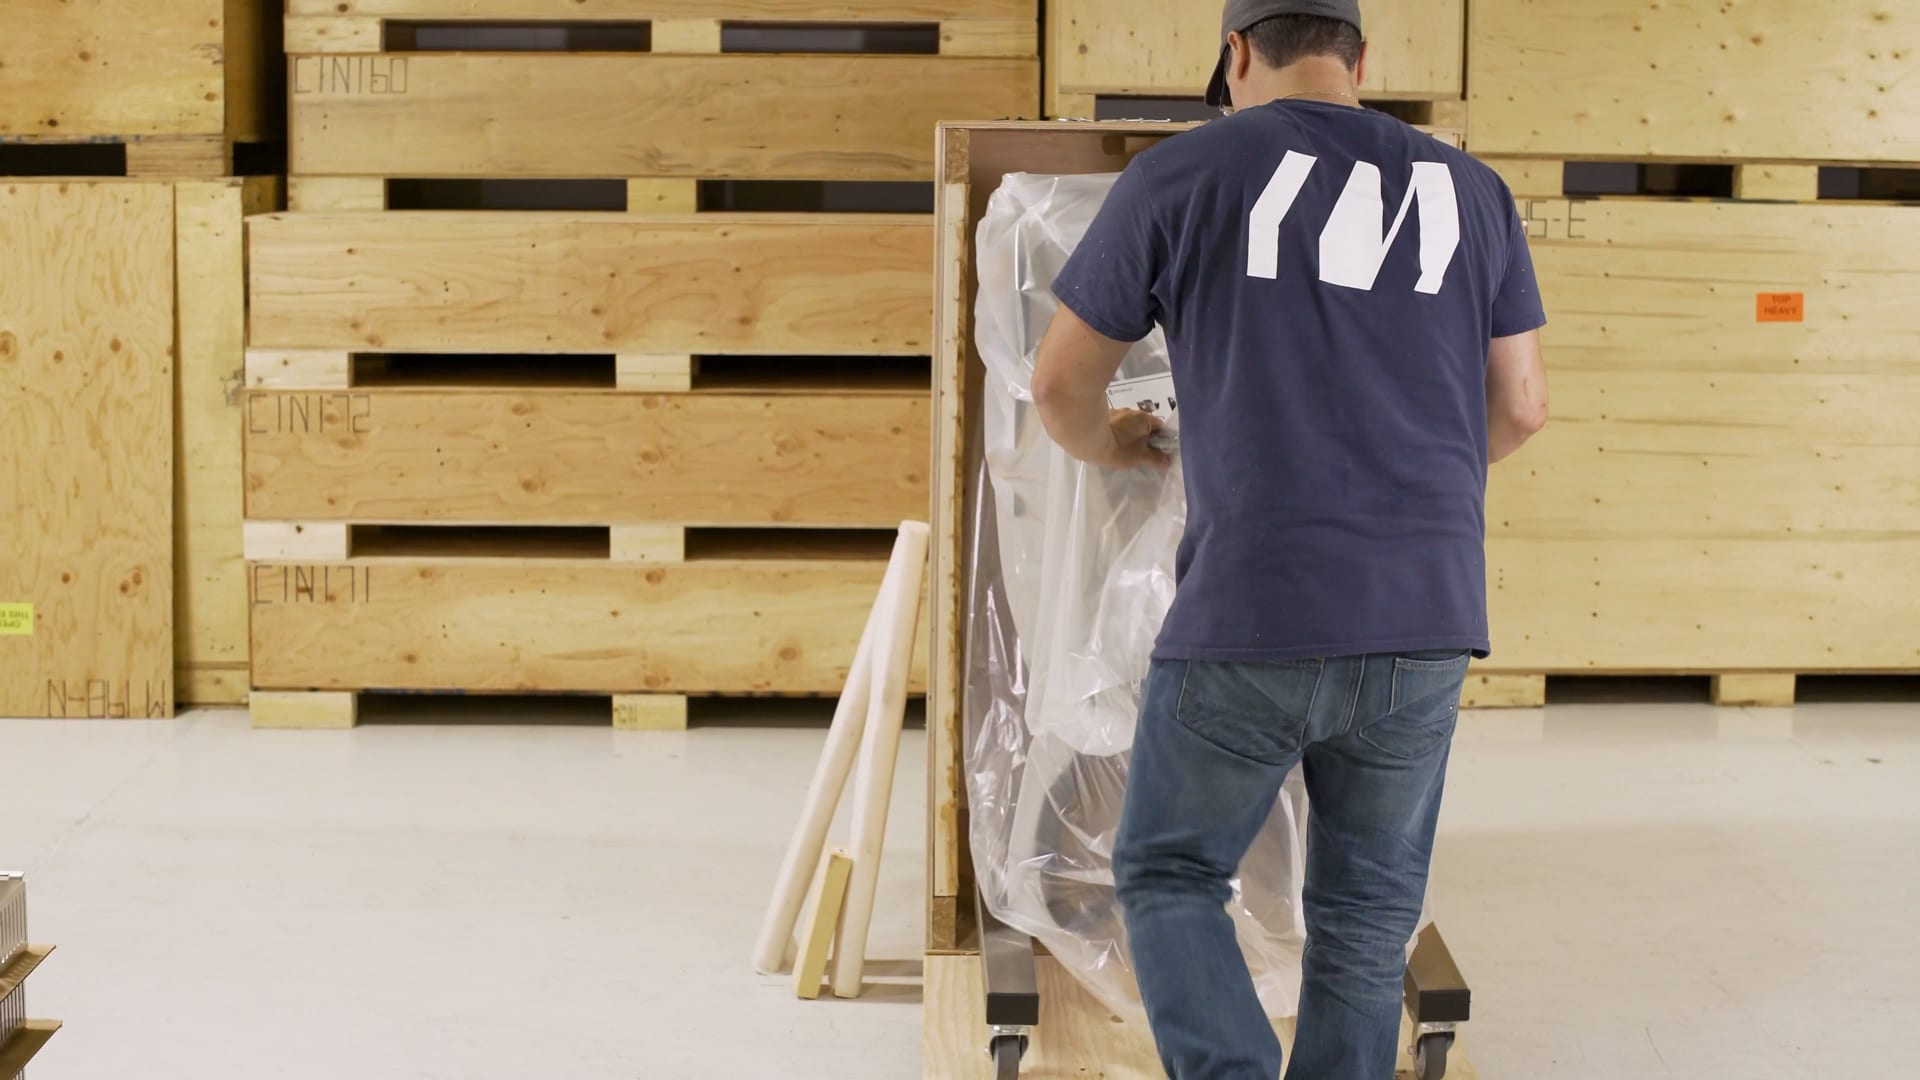
Roll your new Mobius MBX out of it's shipping crate.
10
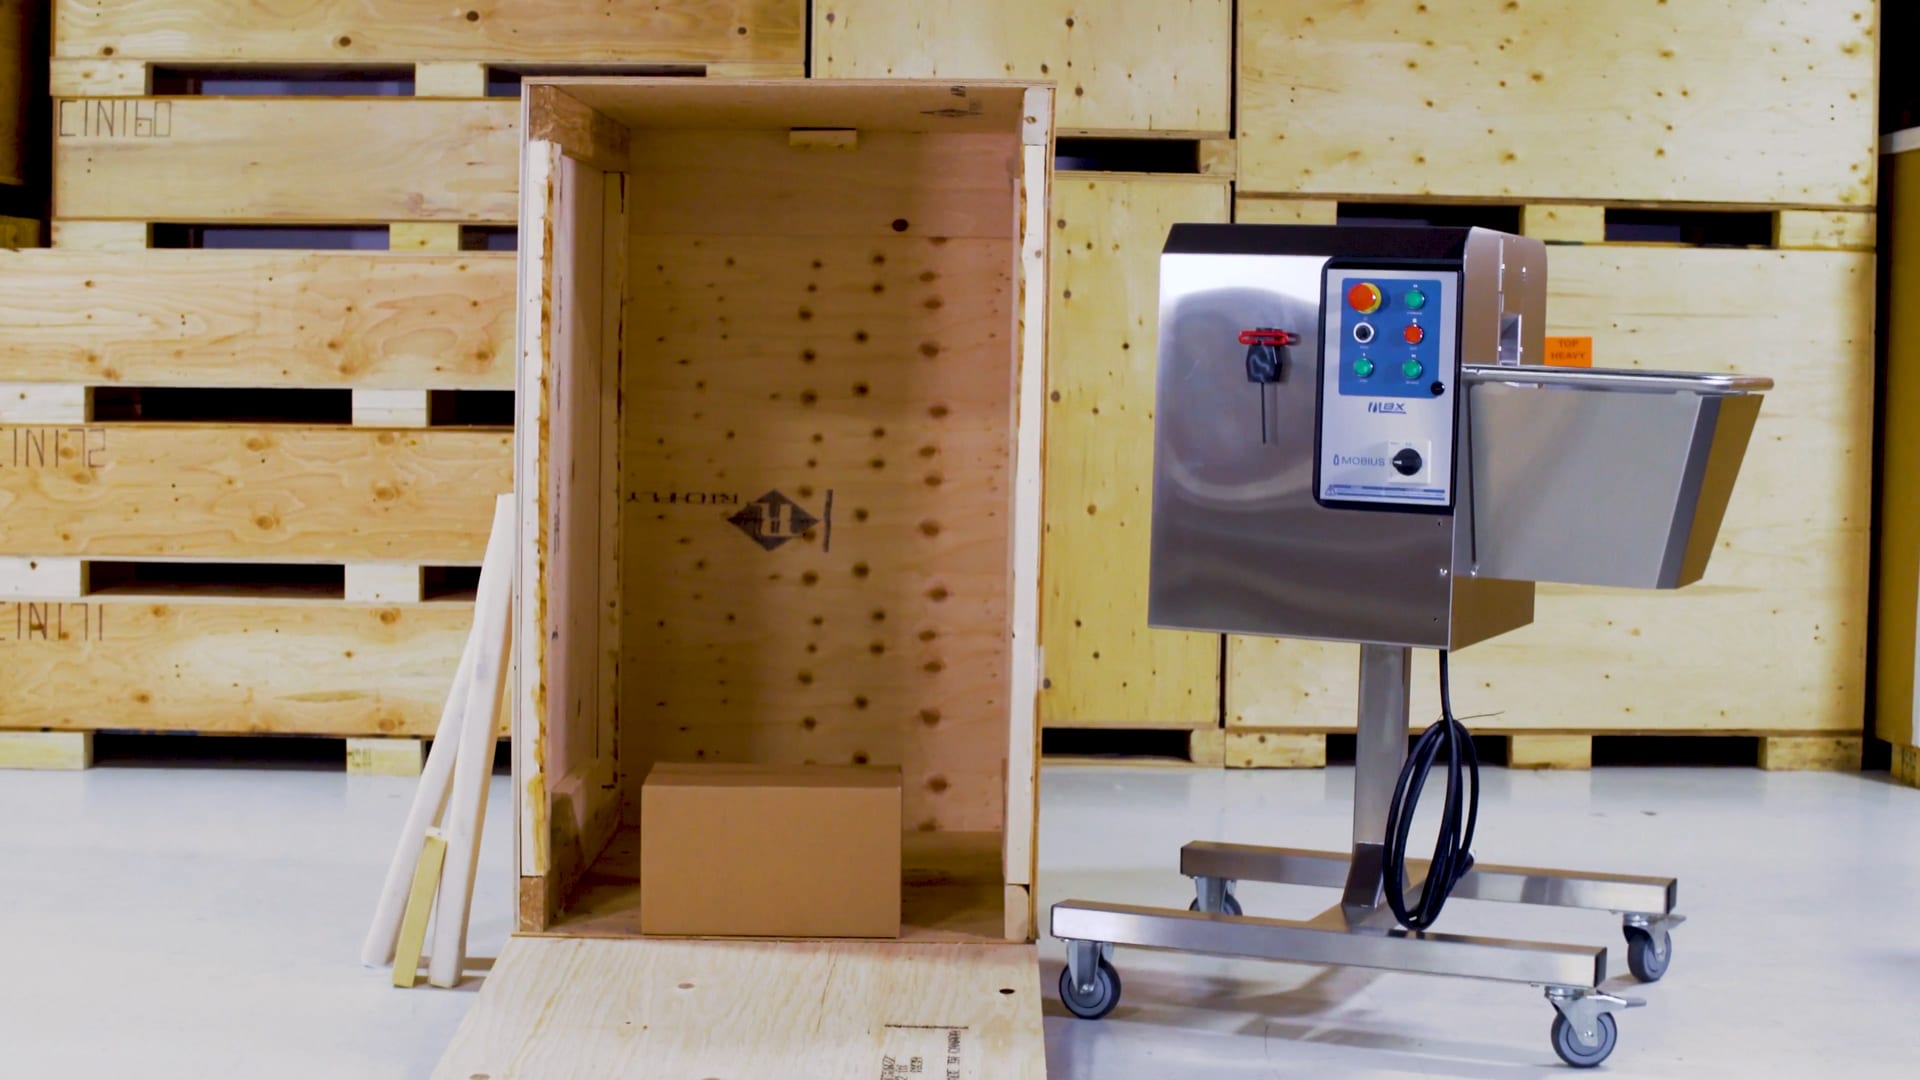
Your Mobius MBX Bucker is now ready to get to work.
