Curing Cannabis: Best Practices to Maximize Potency
Learn how to cure cannabis for a high-quality end product. We discuss why curing is needed, the proper conditions, and the steps for doing it well.
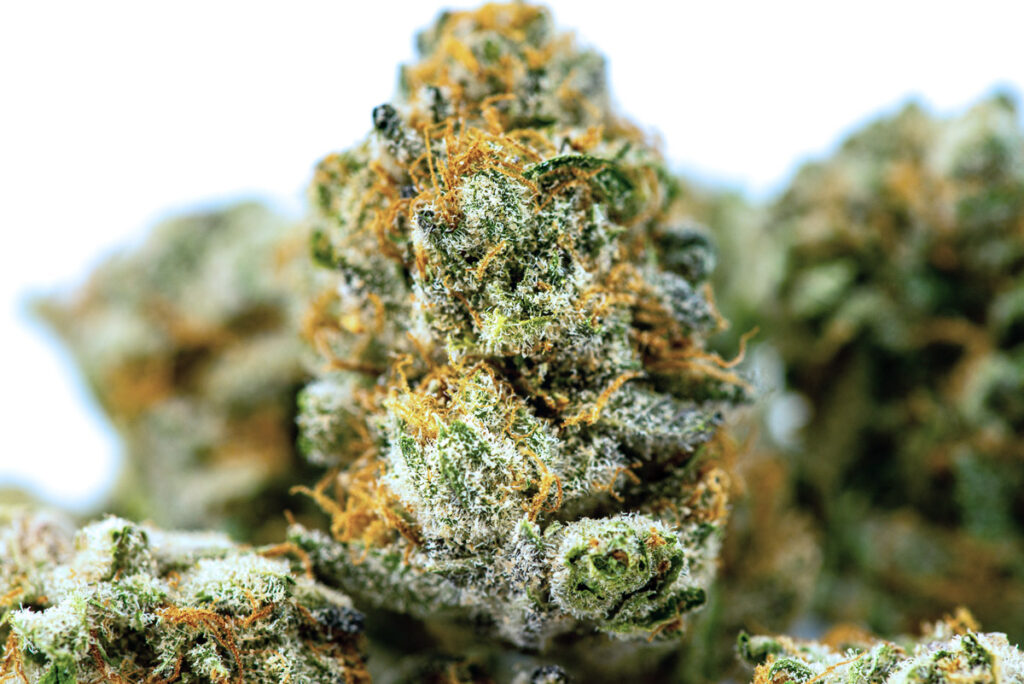
Properly curing cannabis is vital to ensure your harvest results in the highest quality product possible. Most professional growers consider curing just as important as the cultivation process.
Knowing how to cure cannabis correctly makes all the difference between high-quality flowers and concentrates and sub-par cannabis products. Once buds are harvested, dried, and trimmed, curing is the next and final step of the cannabis cultivation process.
How to Cure Cannabis: Attaining the Highest Potency and Best Quality Buds
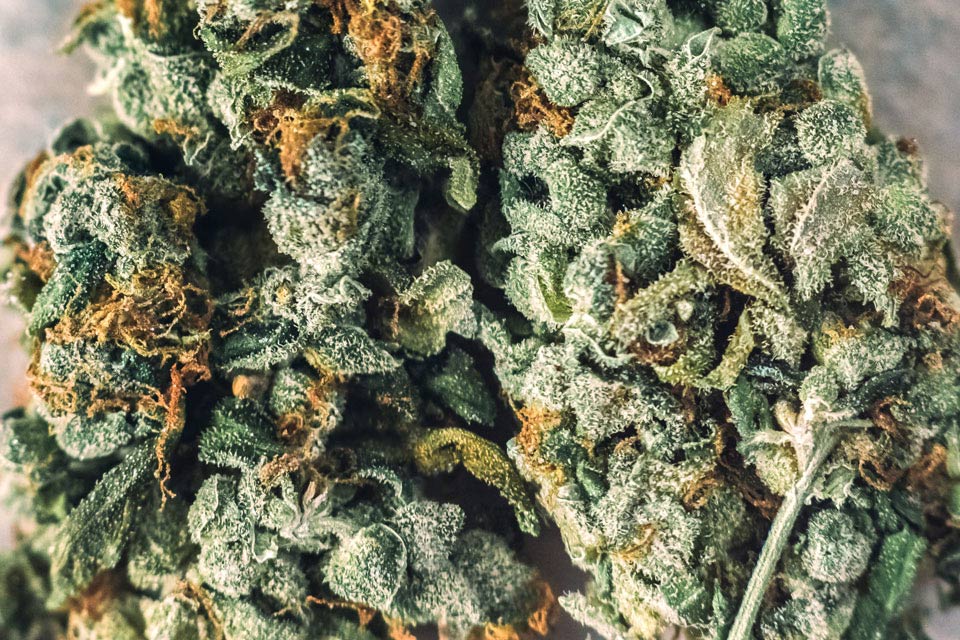
There are several reasons curing cannabis is considered so important. Knowing how to cure weed correctly will ultimately lend to the smooth, aromatic, and flavorful experience cannabis connoisseurs seek when smoking high-quality flowers.
A proper cure helps to retain cannabinoid levels (ensuring maximum potency) and extends product shelf life.
Curing cannabis also controls moisture by normalizing moisture content throughout the bud. During the curing process, water from the inside of the flower moves to exterior leaves that contain less moisture. This allows for a more consistent moisture content throughout the entire cannabis bud.
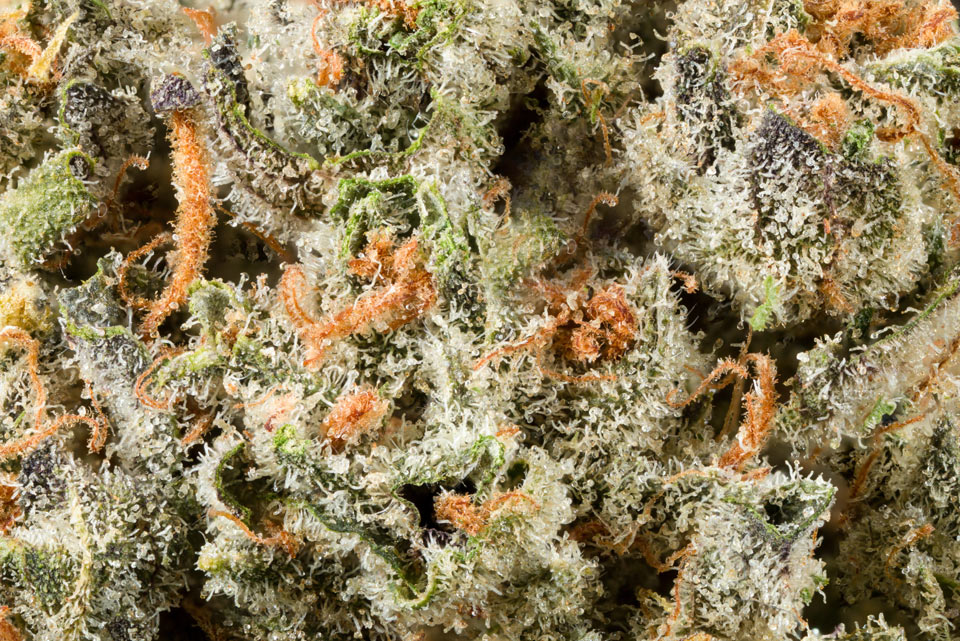
A proper cure also breaks down the cannabis plant’s primary metabolites, including sugar and chlorophyll, which is essential for a smooth smoking experience. Chlorophyll can’t break down fully when flowers are dried too fast, which results in buds that smell like hay or freshly mowed grass.
Terpenes are extremely sensitive to the curing process, and can evaporate when conditions are too dry. When cured below 55% humidity, terpenes dry out. Once they dry out, they’re gone for good, which can decrease the aroma, flavor, and quality of the bud. The proper curing conditions ensure the full terpene profile evolves.
Proper Conditions for Curing Cannabis
Equipped with an understanding of why curing cannabis is so important, the next step is to learn how to cure cannabis in the most optimal conditions. Properly curing weed depends on specific conditions, including:
- A closed environment (glass jars, totes, bins, or an entire room)
- Humidity
- Temperature
- Light
Here we’ll look at each in deeper detail for a better understanding of how to maintain proper conditions for the highest quality cannabis.
Closed Environment
The first step in curing cannabis is determining the ideal closed environment in which to place dried buds. There are a few different options, some much better than others.
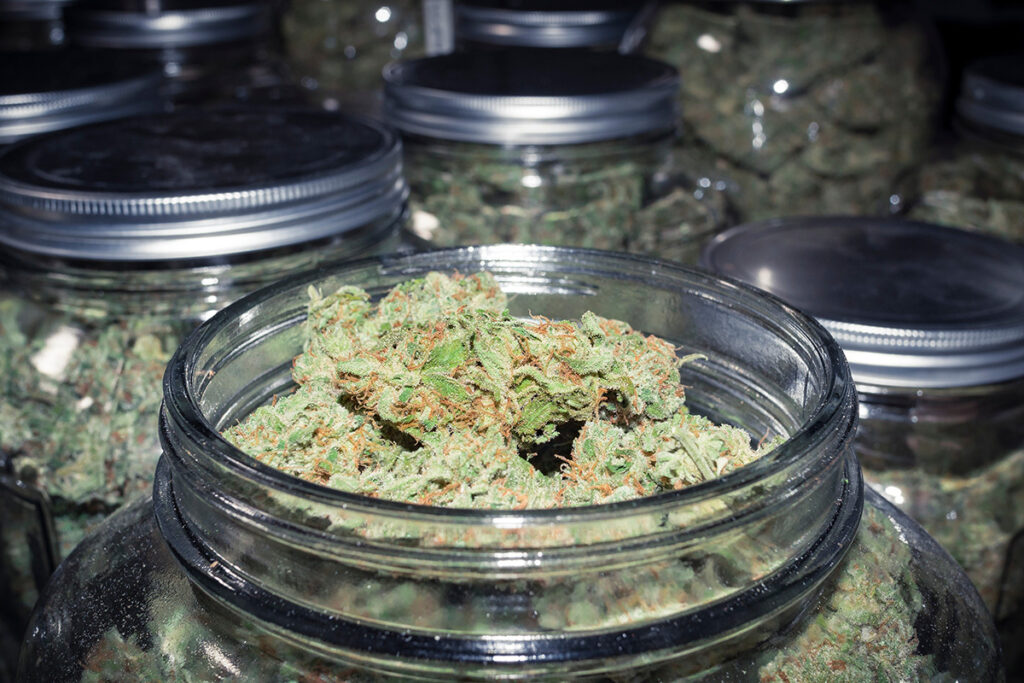
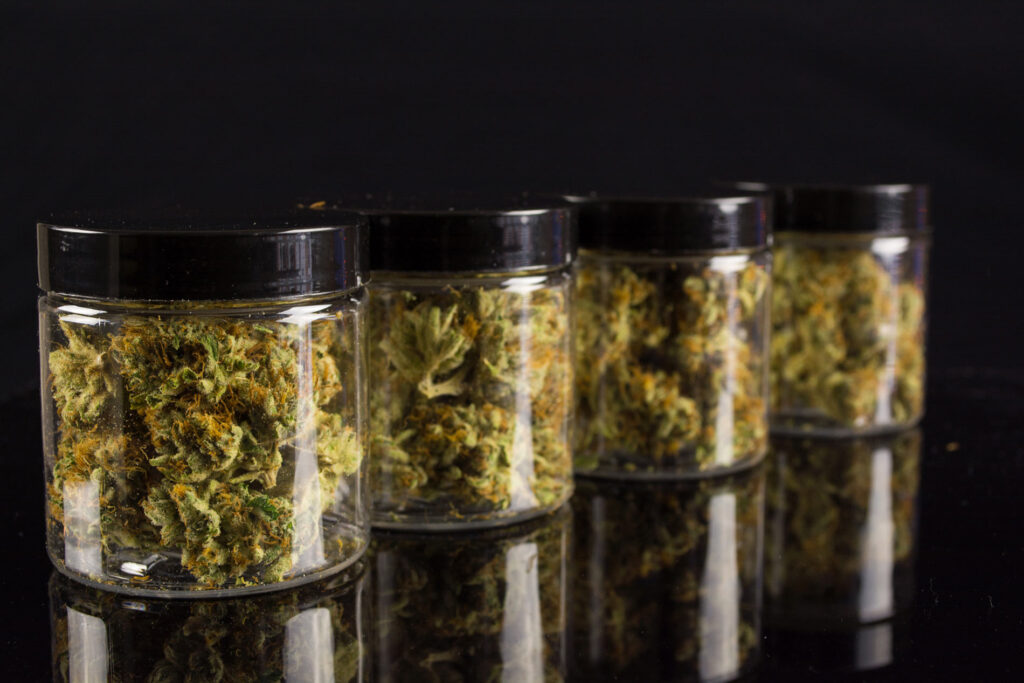
- Airtight Container An airtight container is the best option for properly curing cannabis. Glass jars, such as wide-mouth Mason jars, have been commonly used for decades when curing cannabis. Ceramic and metal jars also work for curing, as long as the container is airtight.
Avoiding plastic (including plastic containers and bags) is recommended as plastic allows oxygen to penetrate curing buds. While many growers choose to cure cannabis in large plastic totes, this method can decrease the quality of cured buds and increase the possibility of mold and mildew. If you do want to use plastic, make sure you’re using food grade plastic as non-food grade plastic can leach harmful chemicals into your buds. Not only can these chemicals decrease the quality of your product but can also be dangerous to human health.
Airtight containers should be placed in a dark, dry, cool place, with humidity levels inside the jar between 50%-60%. A hygrometer is commonly used to gauge humidity levels in airtight containers.
- Curing Room – Commercial growers harvesting large quantities of cannabis may consider setting up a curing room.
A curing room requires certain specifics to ensure buds are cured properly, including temperature, humidity, and light. Dried buds should be hung or spread out evenly on breathable screens. The ideal temperature for a curing room is between 60°-70°F. Humidity levels should fall between 50-60%.
The curing room should be kept dark, with lights only turned on briefly when checking on the curing process. Fans should also be incorporated into the curing room for proper airflow without the fans blowing directly on the buds. Proper airflow will help maintain ideal temperature and humidity levels, as well as keep the air from becoming too still. When air in a curing room becomes stagnant, moisture and heat pockets can form and stick around in buds, which can lead to inconsistencies in your buds and decrease the quality of your product.
Produce your highest-quality flower with Mobius.
How to Cure Cannabis: A Step-By-Step Guide
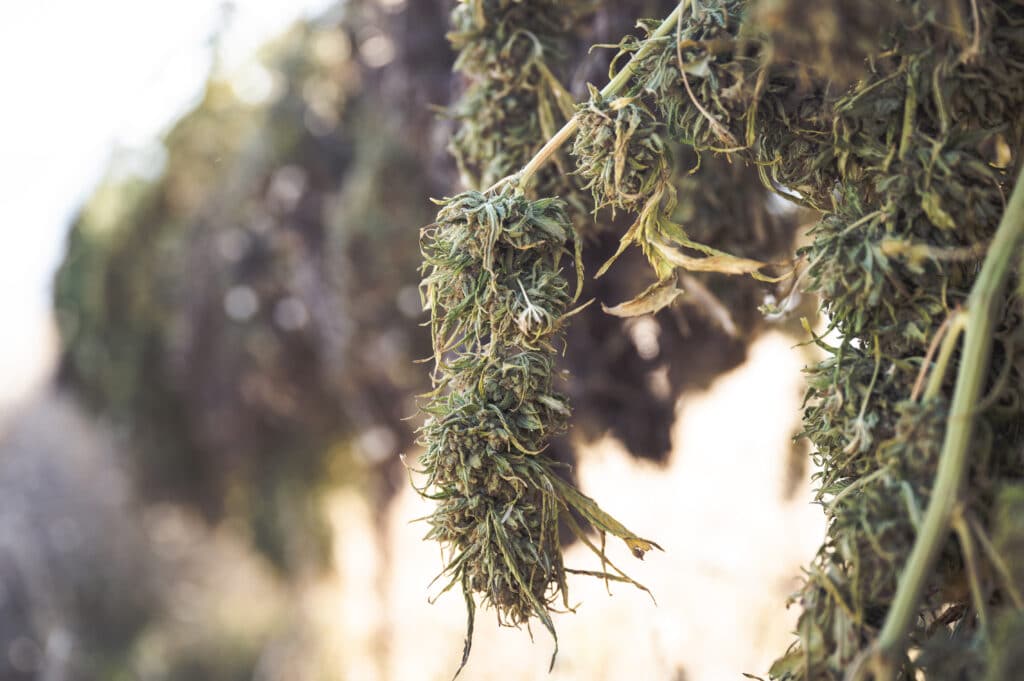
1. Dry Harvested Cannabis Buds
The first step of a successful cannabis cure is to prepare your buds by ensuring they’re dry. Before buds get placed in an airtight container or curing room, ensuring they contain the proper moisture content is key. Water activity level is the best way to measure moisture in flowers, as it shows whether or not cannabis can grow mold. Water activity refers to how much moisture is actively available for pathogens. While testing for moisture content (the amount of water in a substance measured by weight) is more common, checking water activity level is ideal and the most scientific method to ensure proper moisture levels when curing cannabis.
There are two methods for trimming harvested cannabis: wet trimming and dry trimming. Wet trimming involves trimming buds immediately after plants are cut down, while dry trimming involves letting plants dry and then trimming buds. Deciding on which trimming method works best for your production needs will also largely have to do with the type of trimming machine you have.
Regardless of whether wet trimming or dry trimming, buds should be dried in a dark room that’s around 60°F. Humidity levels when drying cannabis should range between 55-60%.
- Dry Trimming – When using the dry trimming method, you will hang freshly cut branches upside down from a drying line. Ensure that each branch has ample space between them, so buds aren’t touching one another. This allows for adequate airflow and limits the possibility of potential pathogen growth. The majority of growers remove fan leaves before the drying process, as it can slow down the time it takes buds to dry.
Drying cannabis with the dry trim method takes approximately 7-10 days. It’s important not to rush the process, as it can dramatically affect the quality of your final product. The drying process is complete when buds feel dry on the outside and stems snap instead of bend. Testing for moisture content at this point of the process is key, as many states have mandated moisture testing requirements. In California, for example, moisture levels must be between 5-13%.
Once dried, the buds get trimmed before beginning the curing process.
- Wet Trimming – Wet trimming involves trimming buds immediately after they’ve been cut from the plant. Once the fan and sugar leaves are carefully trimmed, the buds are placed on a drying rack. There are drying racks made specifically for drying cannabis, which are usually circular and mesh, allowing for ideal airflow. If you do choose to use drying racks, it’s vital to “bump” the buds, or rotate them during the drying process. This helps avoid a flat spot on the buds that can happen with this type of drying method. This is one reason why some people prefer hang drying freshly trimmed wet buds, which can easily be done by carefully tying stems to a drying line.
Drying wet trimmed cannabis is typically quicker than drying entire branches before dry trimming. On average, wet trimmed cannabis flowers will take 2-4 days to dry with ideal temperature and humidity levels. The drying process is complete when buds feel dry on the outside. Dried flowers should also be tested to ensure they contain the proper moisture percentage per your state’s moisture requirements.

2. Place Buds in the Proper Closed Environment
After the dried bud is trimmed, the next step of curing cannabis is to place them in a closed environment where they’ll cure.
- Airtight Container – If you’re using a glass jar or another airtight container, take dried, trimmed buds and fill your container approximately three-quarters full, making sure they aren’t tightly packed. If using a hygrometer, place it in the Mason jar with loosely packed buds. Once sealed, jars should be placed in a dark, cool, dry area.
- Curing Room – If you’re curing cannabis on a large scale and using a curing room, ensure your climate is conducive to the best cure possible. Humidity levels should be between 50-60%, and temperature should be between 60°-70°F. Breathable screens should be set up and ready to go once the buds are dry. Place the dry buds evenly on screens, ensuring they aren’t too crowded or lying on top of one another. Fans should be turned on without blowing directly on buds. Lights should be turned off, leaving the buds to continue the curing process in the dark.
Attentive technicians can deliver perfectly trimmed cannabis, removing leaves without affecting the surface of the cannabis flower. This increases quality, potency, and marketability.
3. Monitor Humidity, Temperature, and Airflow
A big part of knowing how to cure cannabis is understanding how to monitor humidity, temperature, and airflow. It’s a very simple process that ensures the marijuana buds are cured for maximum potency and quality.
When curing in airtight containers such as Mason jars, checking your buds the day after they’re placed in the container is essential. You’ll want to check your hygrometer to make sure the humidity has stayed between 50-60%.
If the environment has a humidity level higher than 65%, take the lids off for a day so buds can dry back out, and then reseal them. This is something you’ll want to do anytime you notice humidity levels have risen above 65%.
During the first week, lids should be removed once or twice a day for about five minutes, then tightly resealed. This is known as “burping” and is a critical part of the curing process. Burping allows for excess moisture to escape and refreshes oxygen levels.
After the first week, burping should occur every few days and continue through the fourth week. If your buds smell like ammonia when you remove lids, this indicates that they’re too wet and mold is beginning to form. This can be easily remedied by removing the lids for an entire day to allow buds to dry back out.
Note: If curing large quantities of cannabis from a commercial grow in a curing room, it’s still vital that buds are monitored throughout the curing process. Continue to check humidity levels, airflow, and room temperature daily for the first week and every few days for the subsequent few weeks to follow. Make sure lights are turned off when leaving the room.
4. Give It Time
Properly curing cannabis can take anywhere from a few weeks to a month or two. Many cannabis cultivators find that curing for three or four weeks is ideal, while some growers prefer to cure even longer. A longer cure will result in improved flavor, aroma, and potency, although curing for a few weeks will still result in a high-quality product.
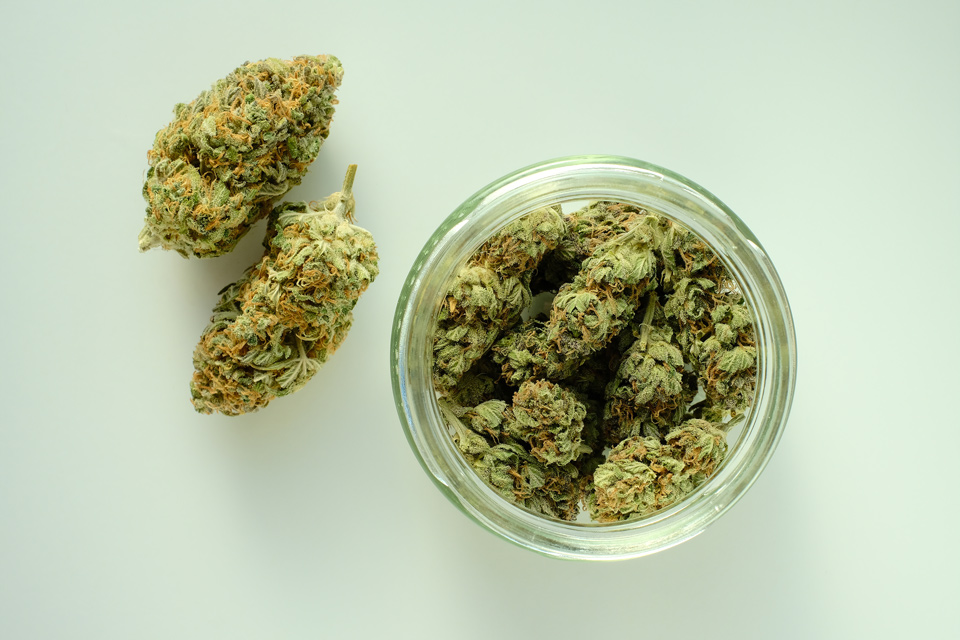
How to Store Cured Cannabis
When stored properly, cured cannabis can maintain potency and quality for up to two years or more. To maintain quality, cannabis should be stored in airtight containers in a cool, dry, dark space. Keep in mind that light and heat can both degrade cannabis compounds like cannabinoids and terpenes, which will ultimately affect the quality and potency of your product.
Some producers may choose to nitrogen pack cannabis for storing, which basically involves replacing nitrogen with oxygen in storage packages. Cured cannabis is placed in unsealed packaging, and then food-grade nitrogen is put into the packing which gets rid of oxygen and any moisture in the air. Because nitrogen flushing can be time-consuming and expensive, a large majority of producers choose to vacuum seal their cured cannabis instead.
If you’re growing more than one strain on a large scale, it can be easy to lose track of which strain is which. This is when the seed to sale process can be extremely beneficial, as it tracks cannabis plants from seed through growing, harvesting, curing, testing, and packaging before being sold in a dispensary. If you’re not cultivating cannabis on a commercial scale but have grown more than one strain, make sure to label each container separately before storage.
Here’s How Mobius Equipment Can Help You Prepare for Your Cannabis Cure
A quality cure starts with properly prepared buds. Mobius is here to help.
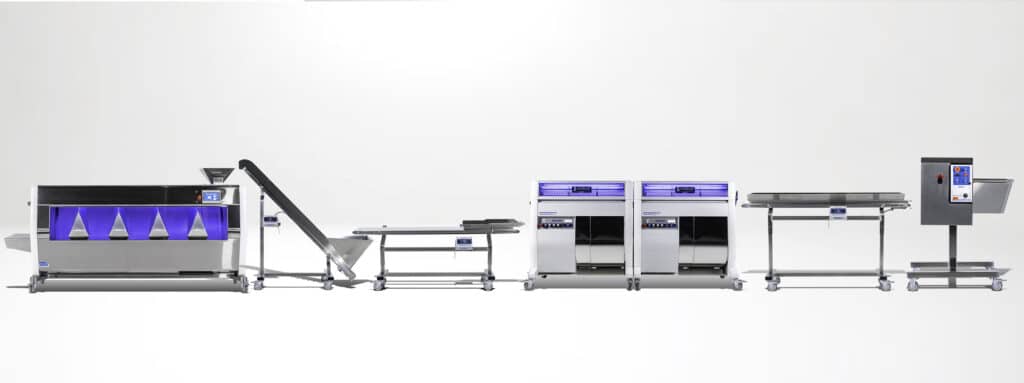
For commercial growers cultivating large quantities of cannabis, the Mobius MBX Bucker can gently and effectively remove buds from their stems and reduce the amount of byproduct waste. Designed with commercial growers in mind, the MBX Bucker can strip up to 150 lbs. of cannabis flowers per hour.
Cannabis must be trimmed before being cured, and the Mobius cannabis trimmers are designed for cultivators who insist on the highest quality trimmed cannabis. Mobius trimmers offers the most technologically advanced machine trimmers in the industry, allowing for hand trim quality at industry-leading feed rates, whether wet or dry trimming.
Faster bucking and trimming allows curing to commence more quickly, allowing for a longer cure period, while still reducing the time it takes for your product to reach the consumer market.
While it’s something that’s sometimes overlooked, knowing how to cure cannabis is a vital part of any grow. Curing your cannabis correctly will make all the difference in the quality and potency of your product.
For more tips on maximizing potency and processing your harvest, contact us today.


