Lid Removal & Installation
Mobius M108S Trimmer
Lid Removal & Installation
In this guide, we'll walk you through the removal and installation of the M108S Lid.
Step by Step Lid Removal
01
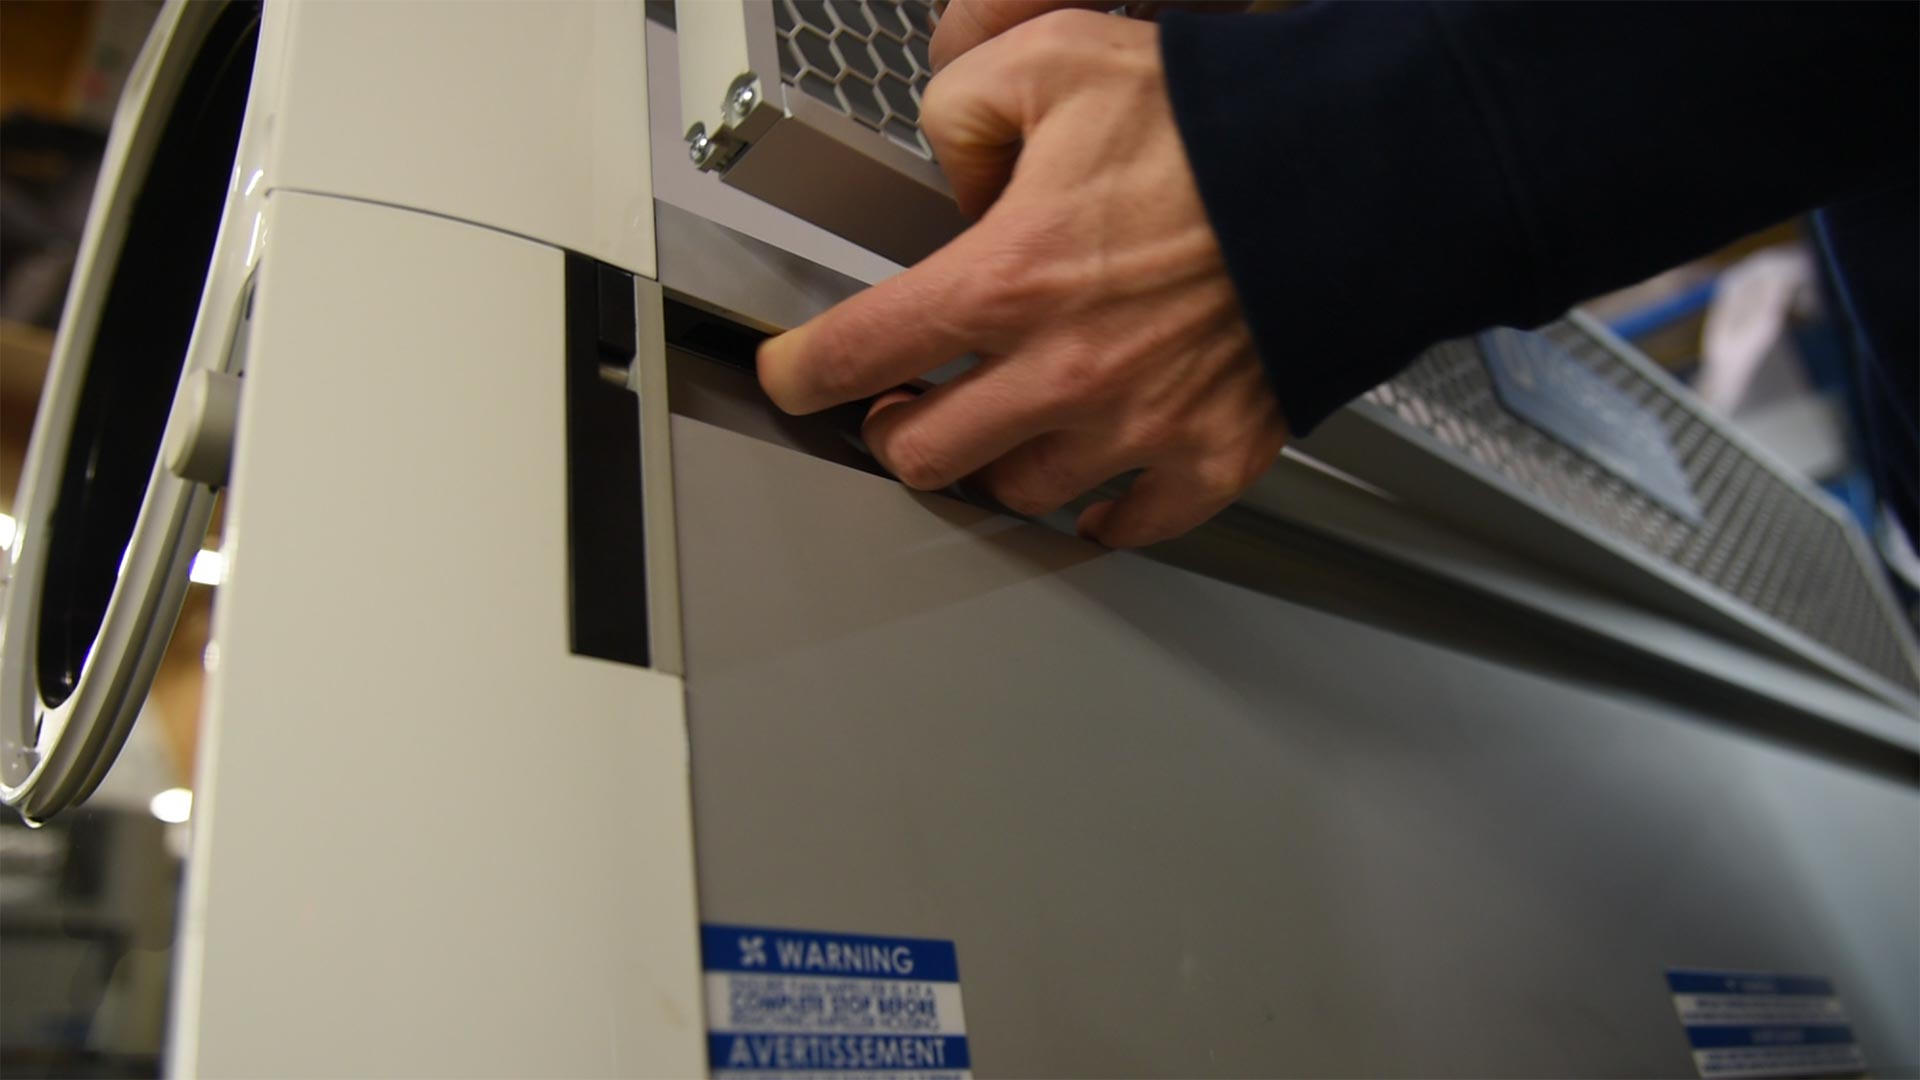
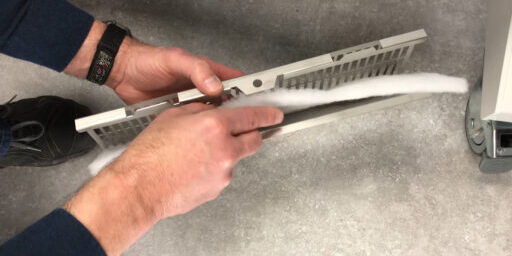
Push the latch and remove the screens on either side of the lid.
02
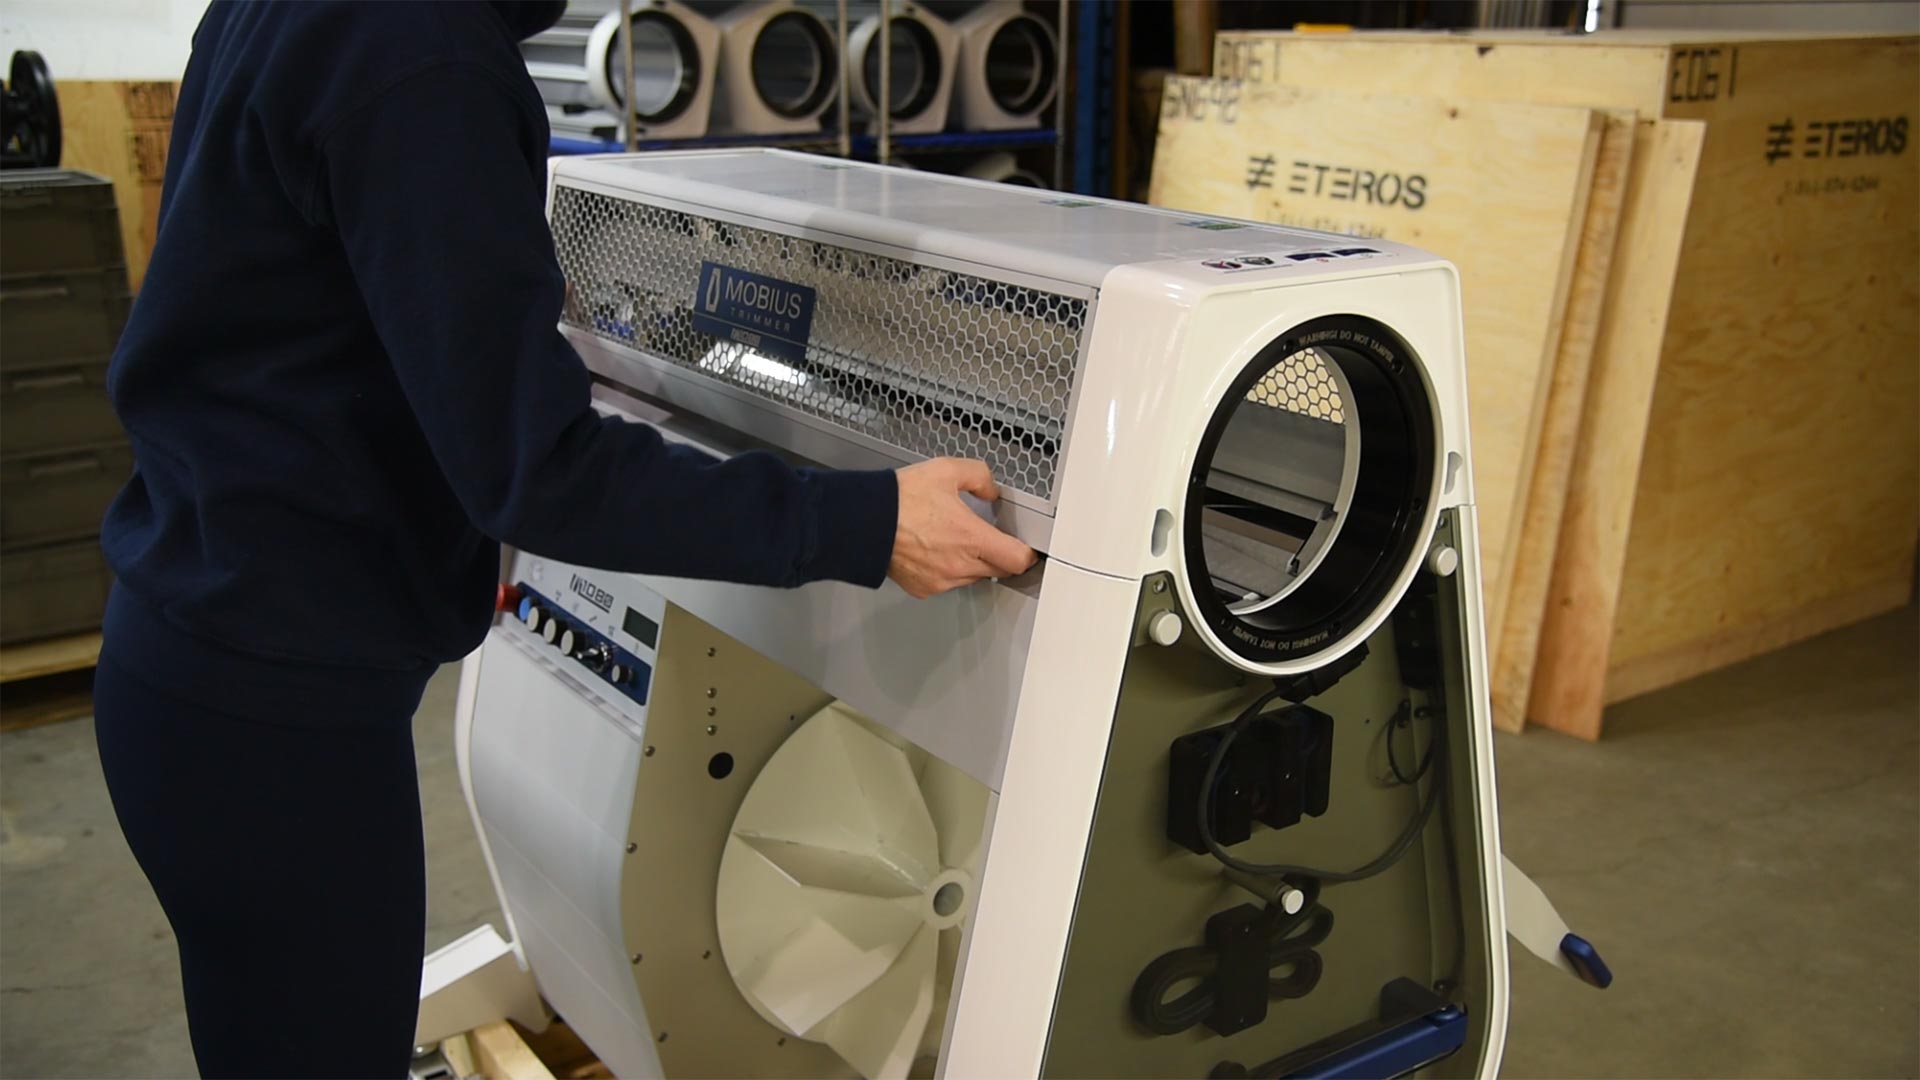
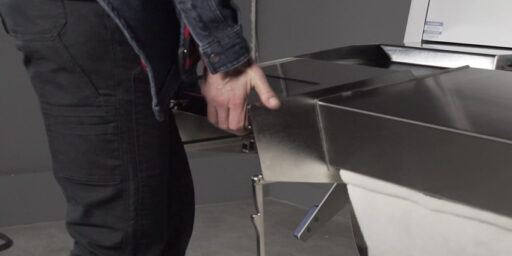
Using the latches again, push them towards each other to open the lid of the machine.
03
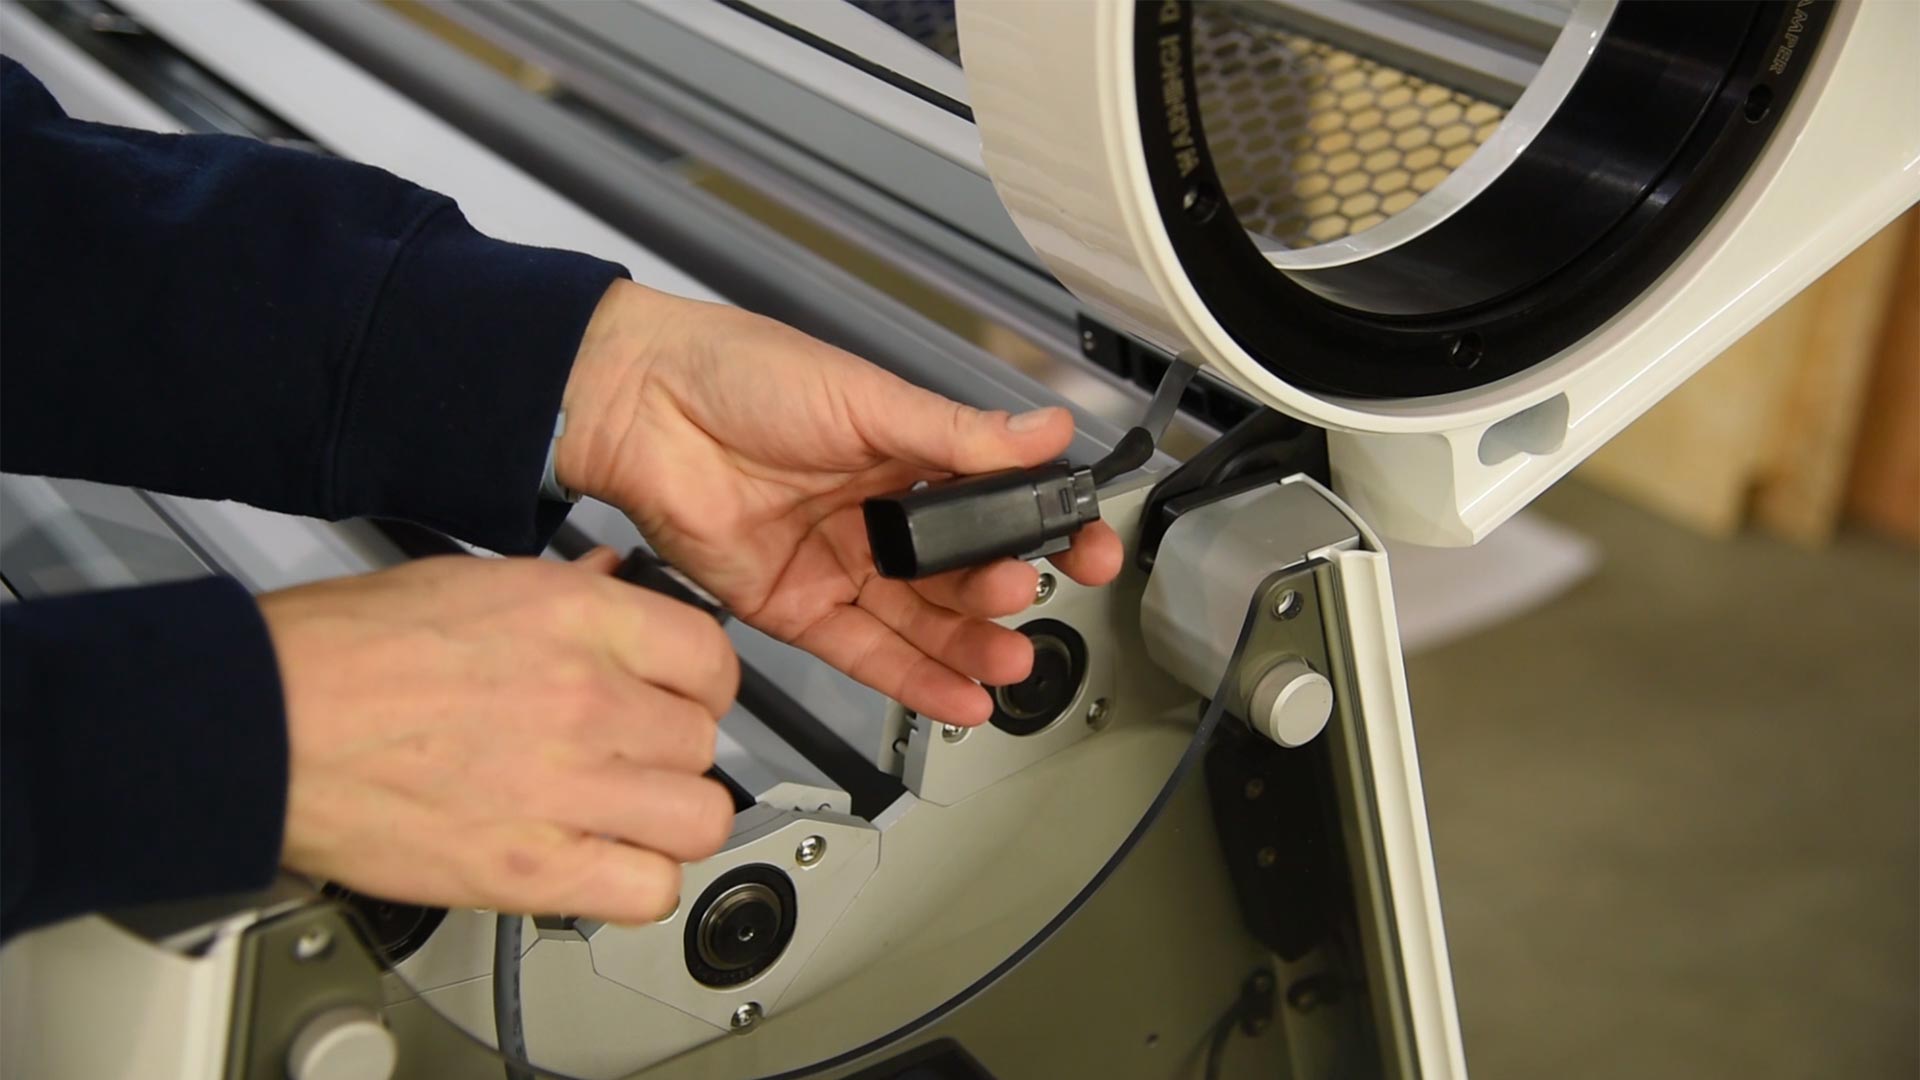
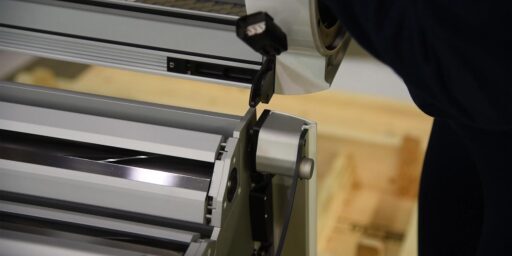
Disconnect the cable that attaches the lid to the M108S body.
04
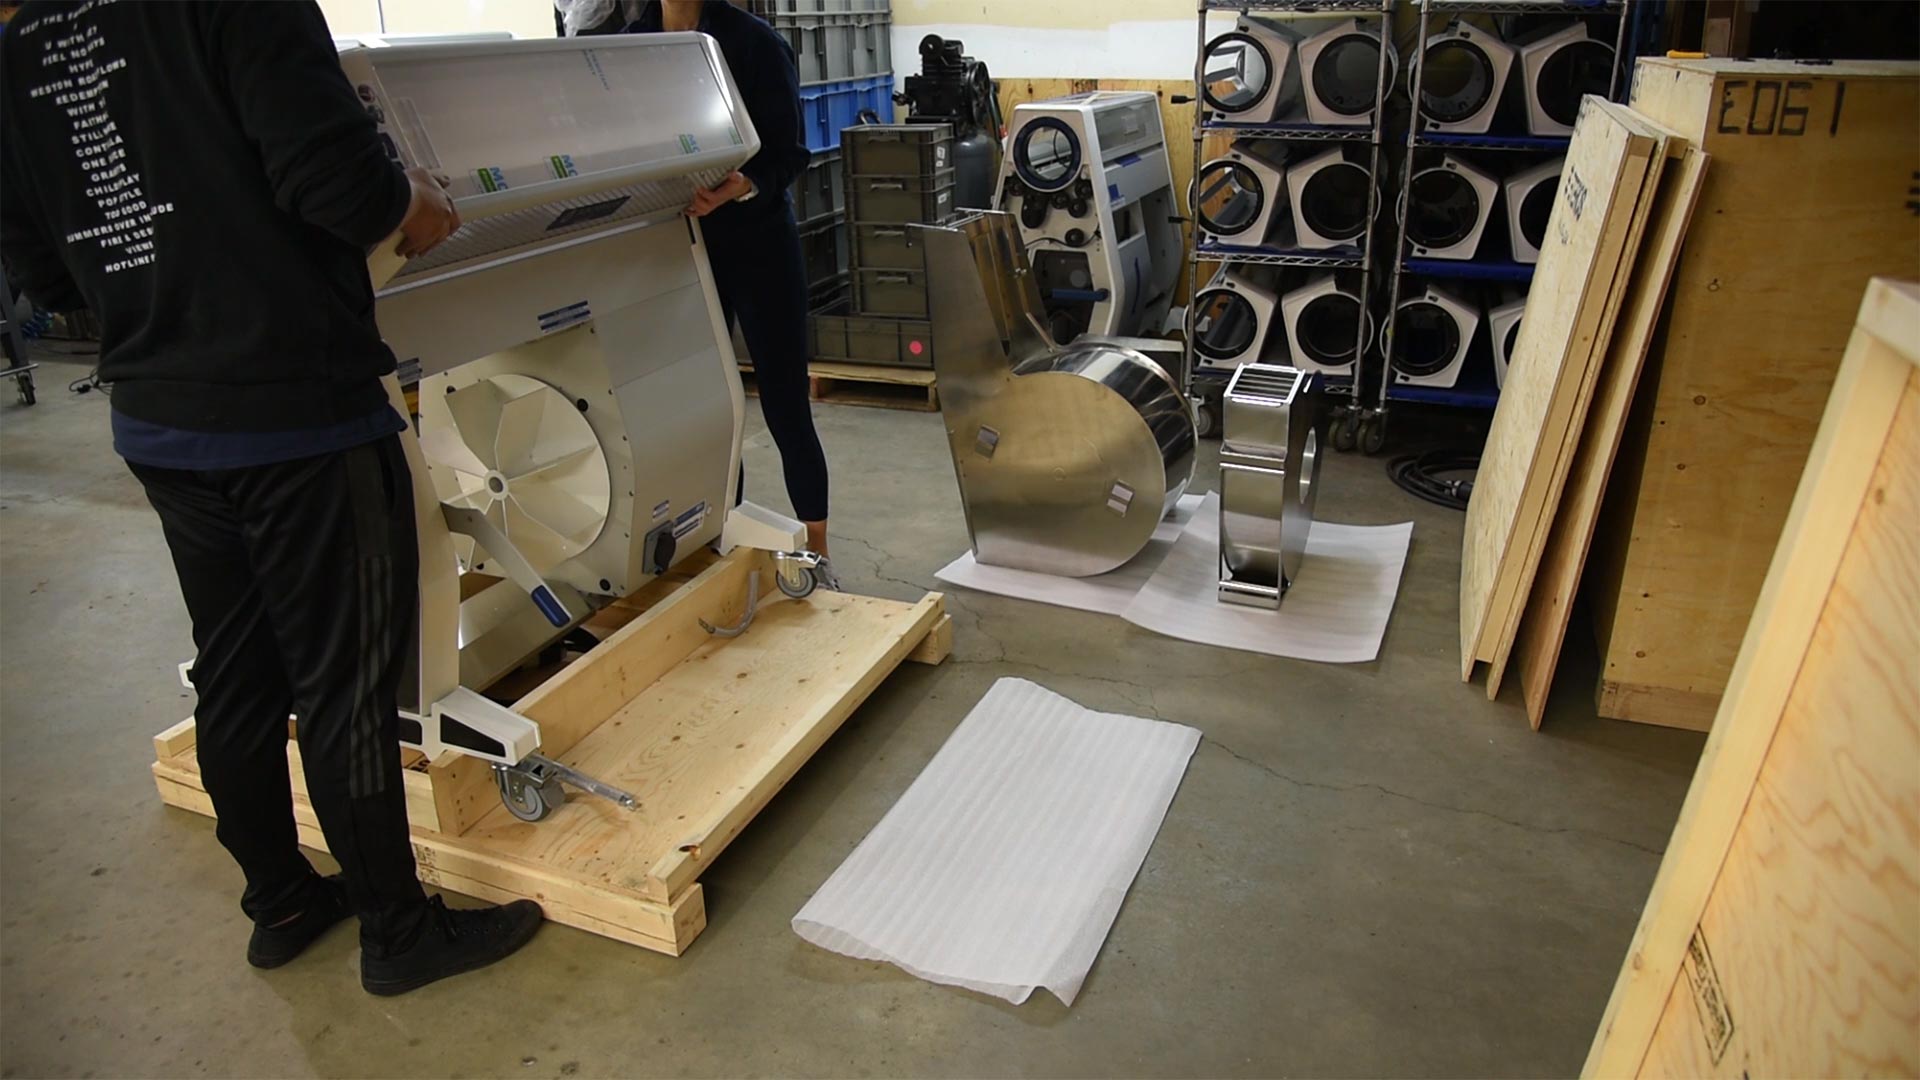
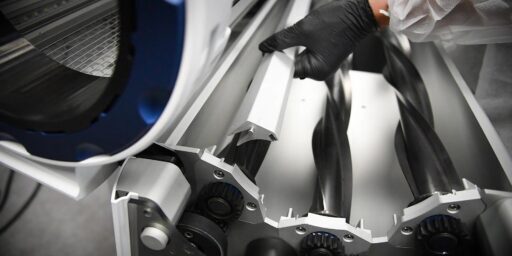
While pulling up on the lid, slowly rotate it forward until you can feel the lid release. Then pull up gently to separate the lid from the body.
Step by Step Lid Installation
05
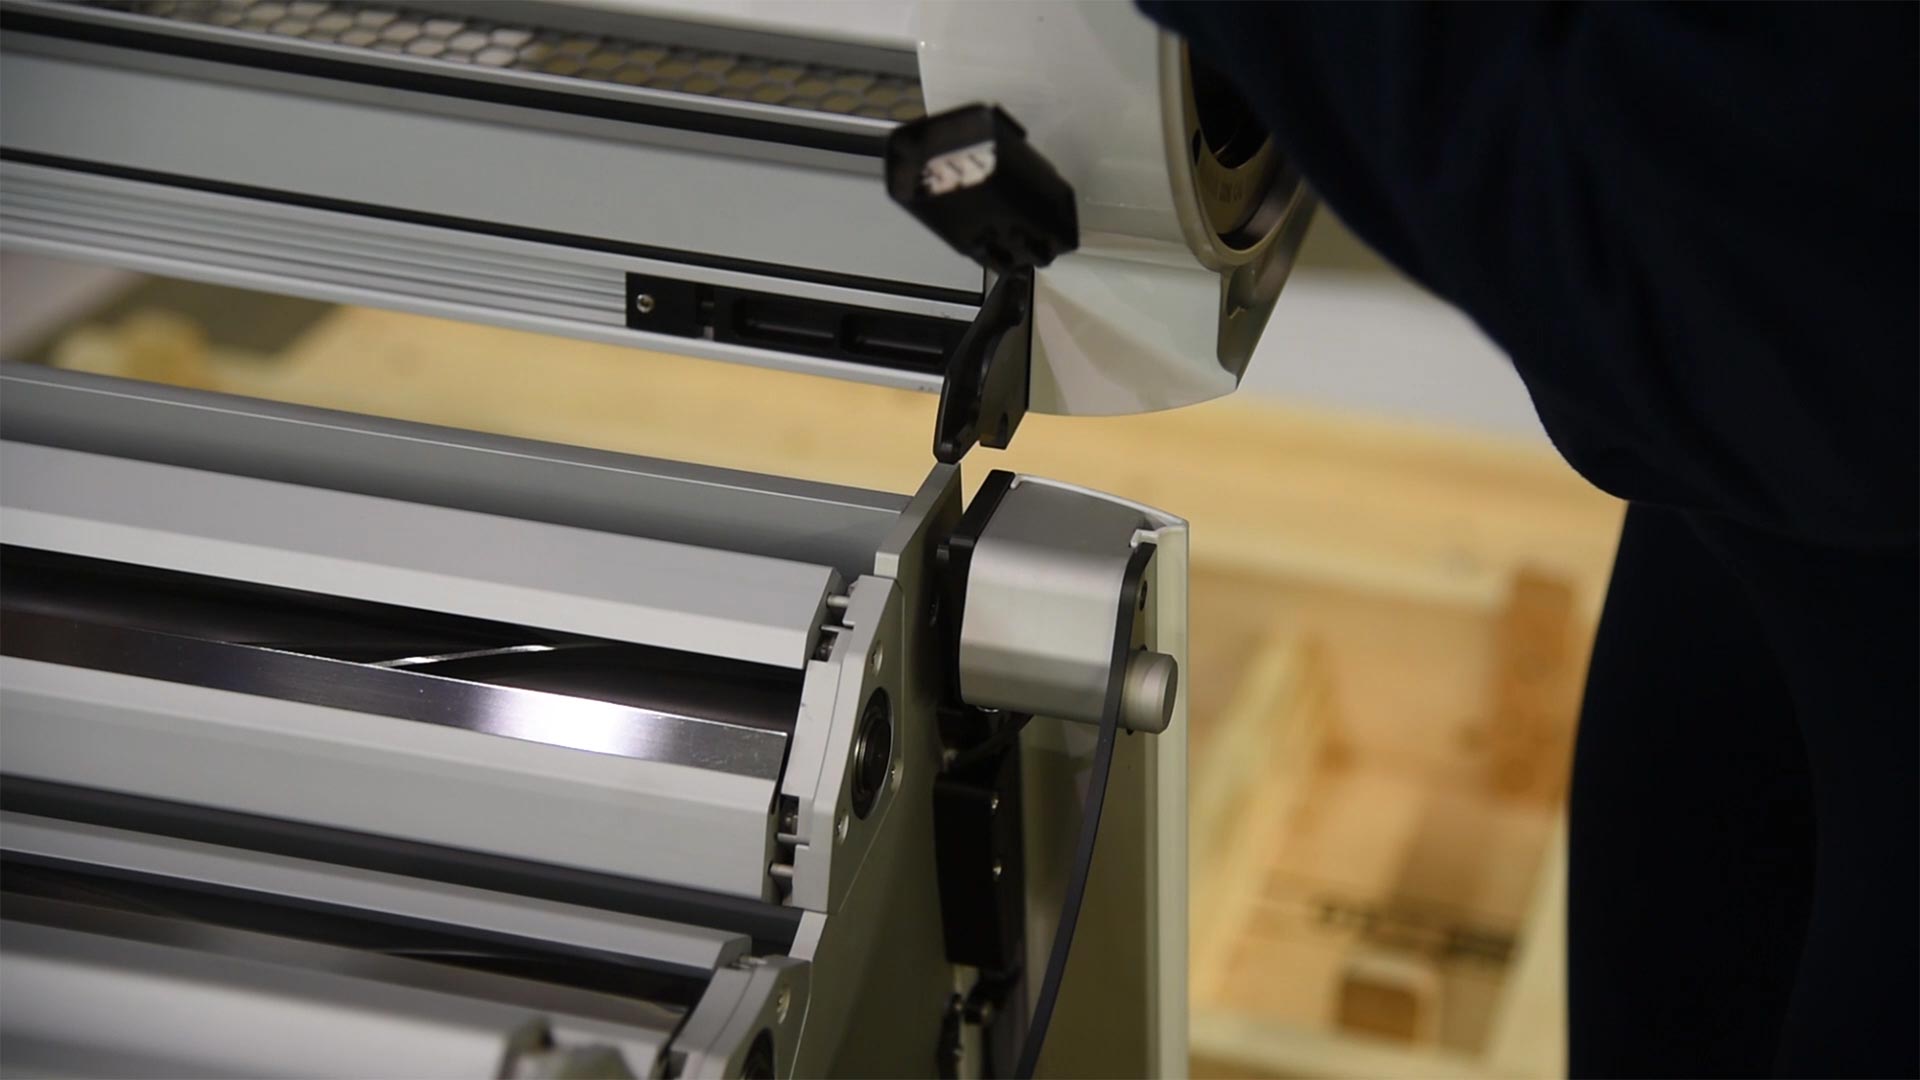
To re-install place the lid hinges so they are sitting on the body hinge.
06
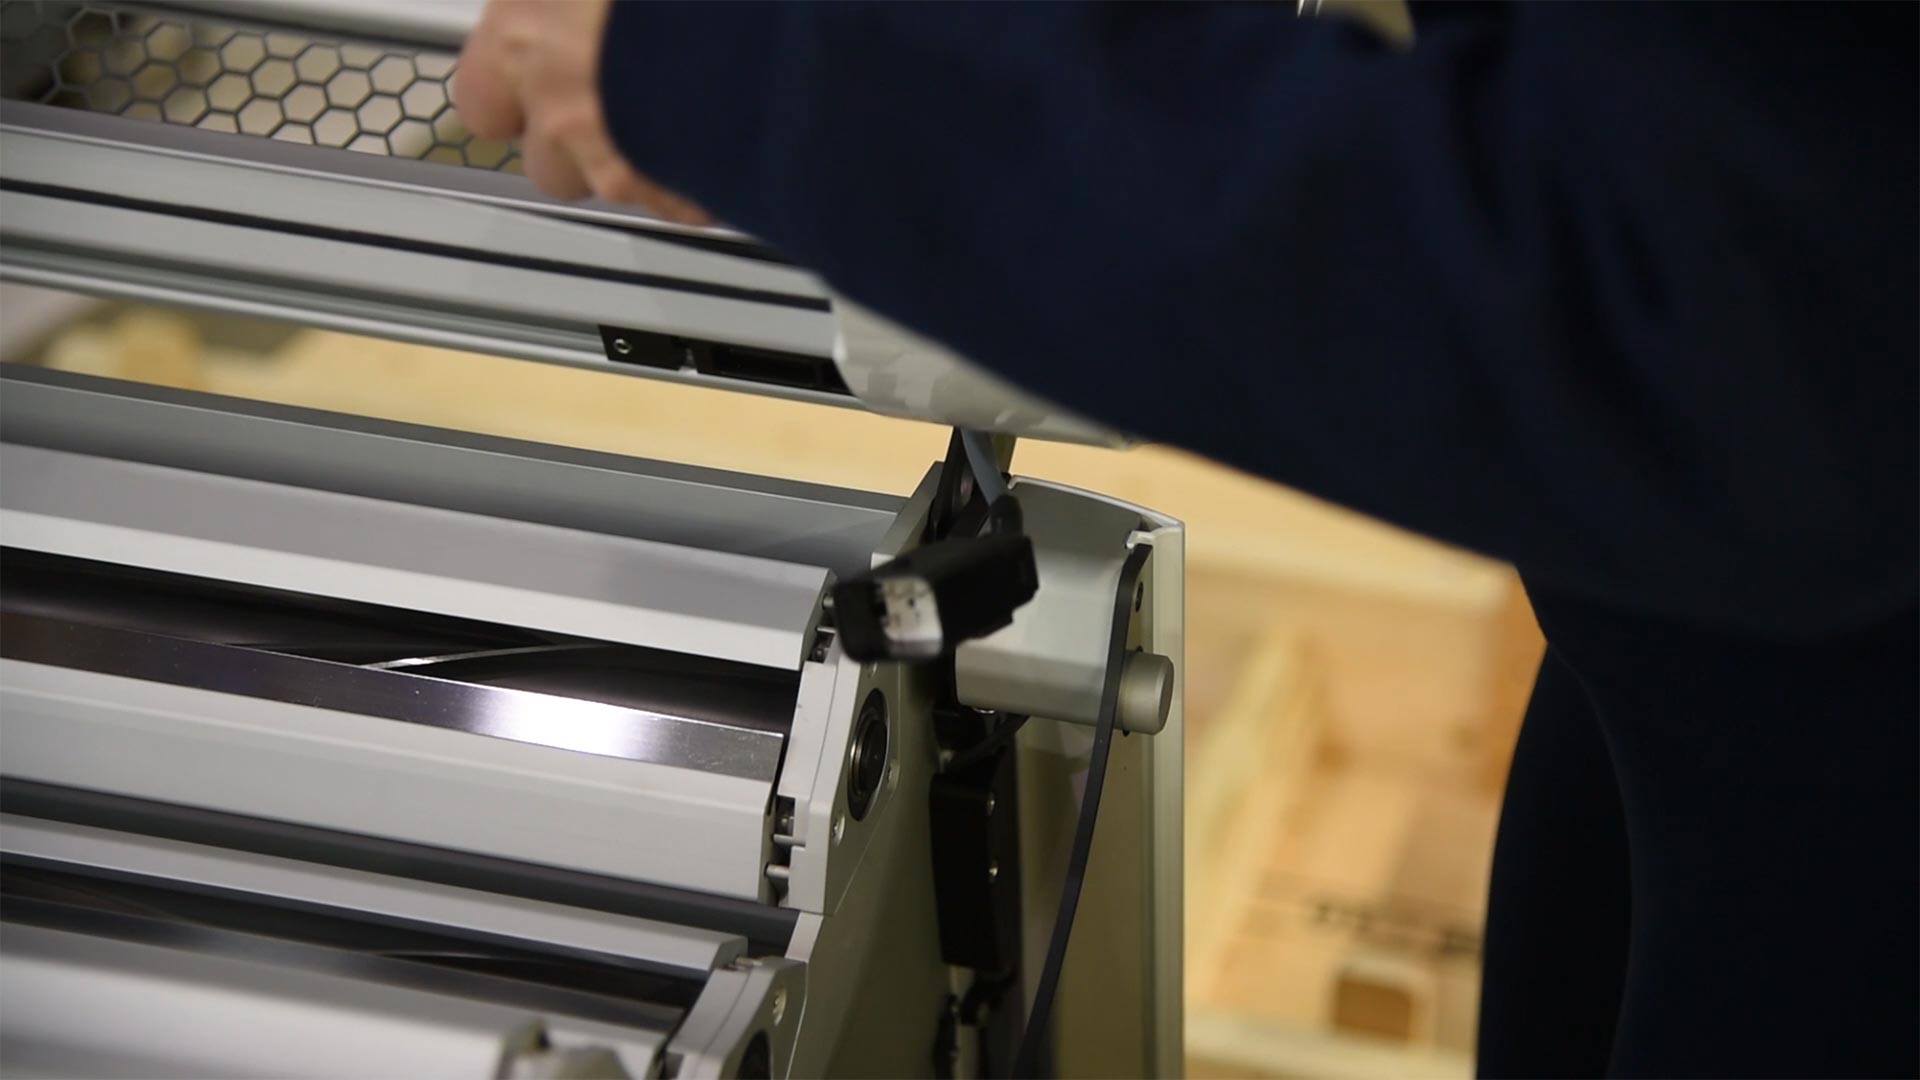
Slowly rotate the lid forward as though you are closing it. You will feel the lid slide forward into the hinge.
07
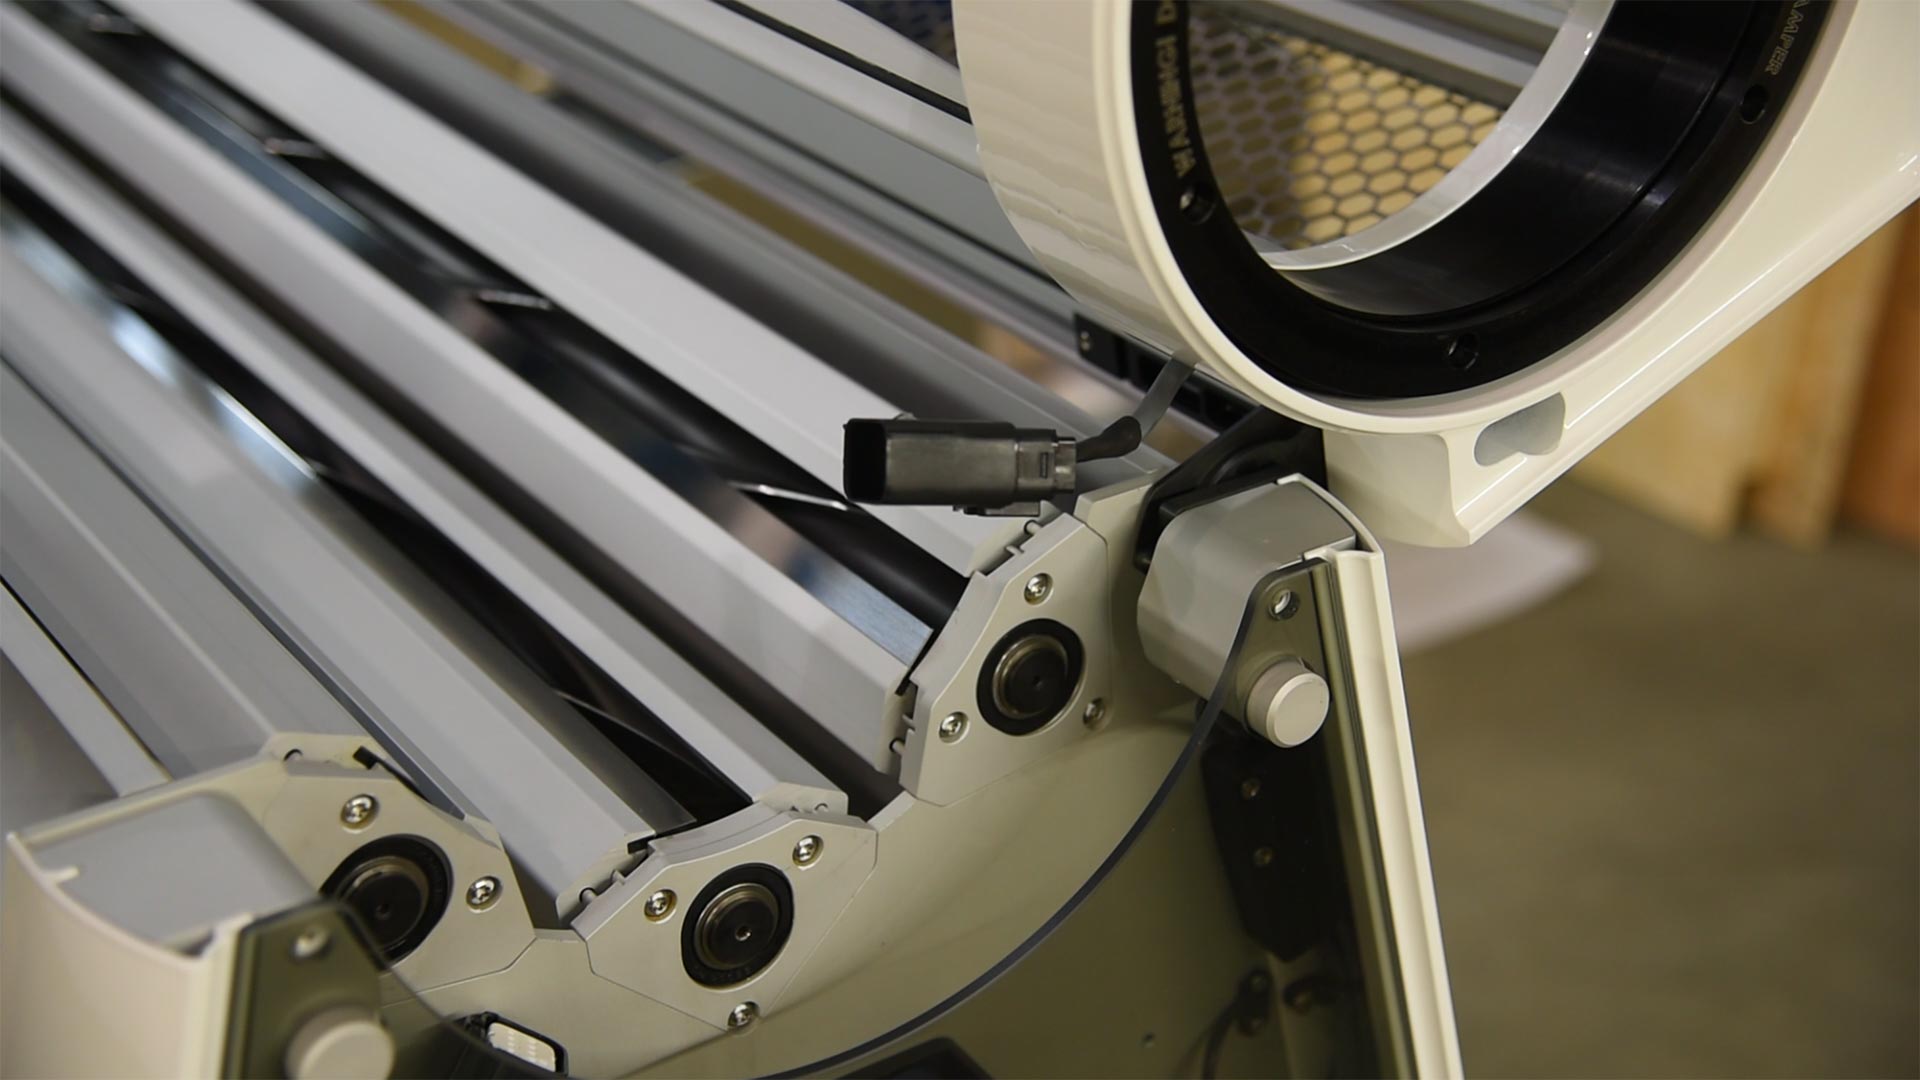
Slowly rotate the lid backward in the opening motion. The lid should slide the rest of the way into the hinge.
08
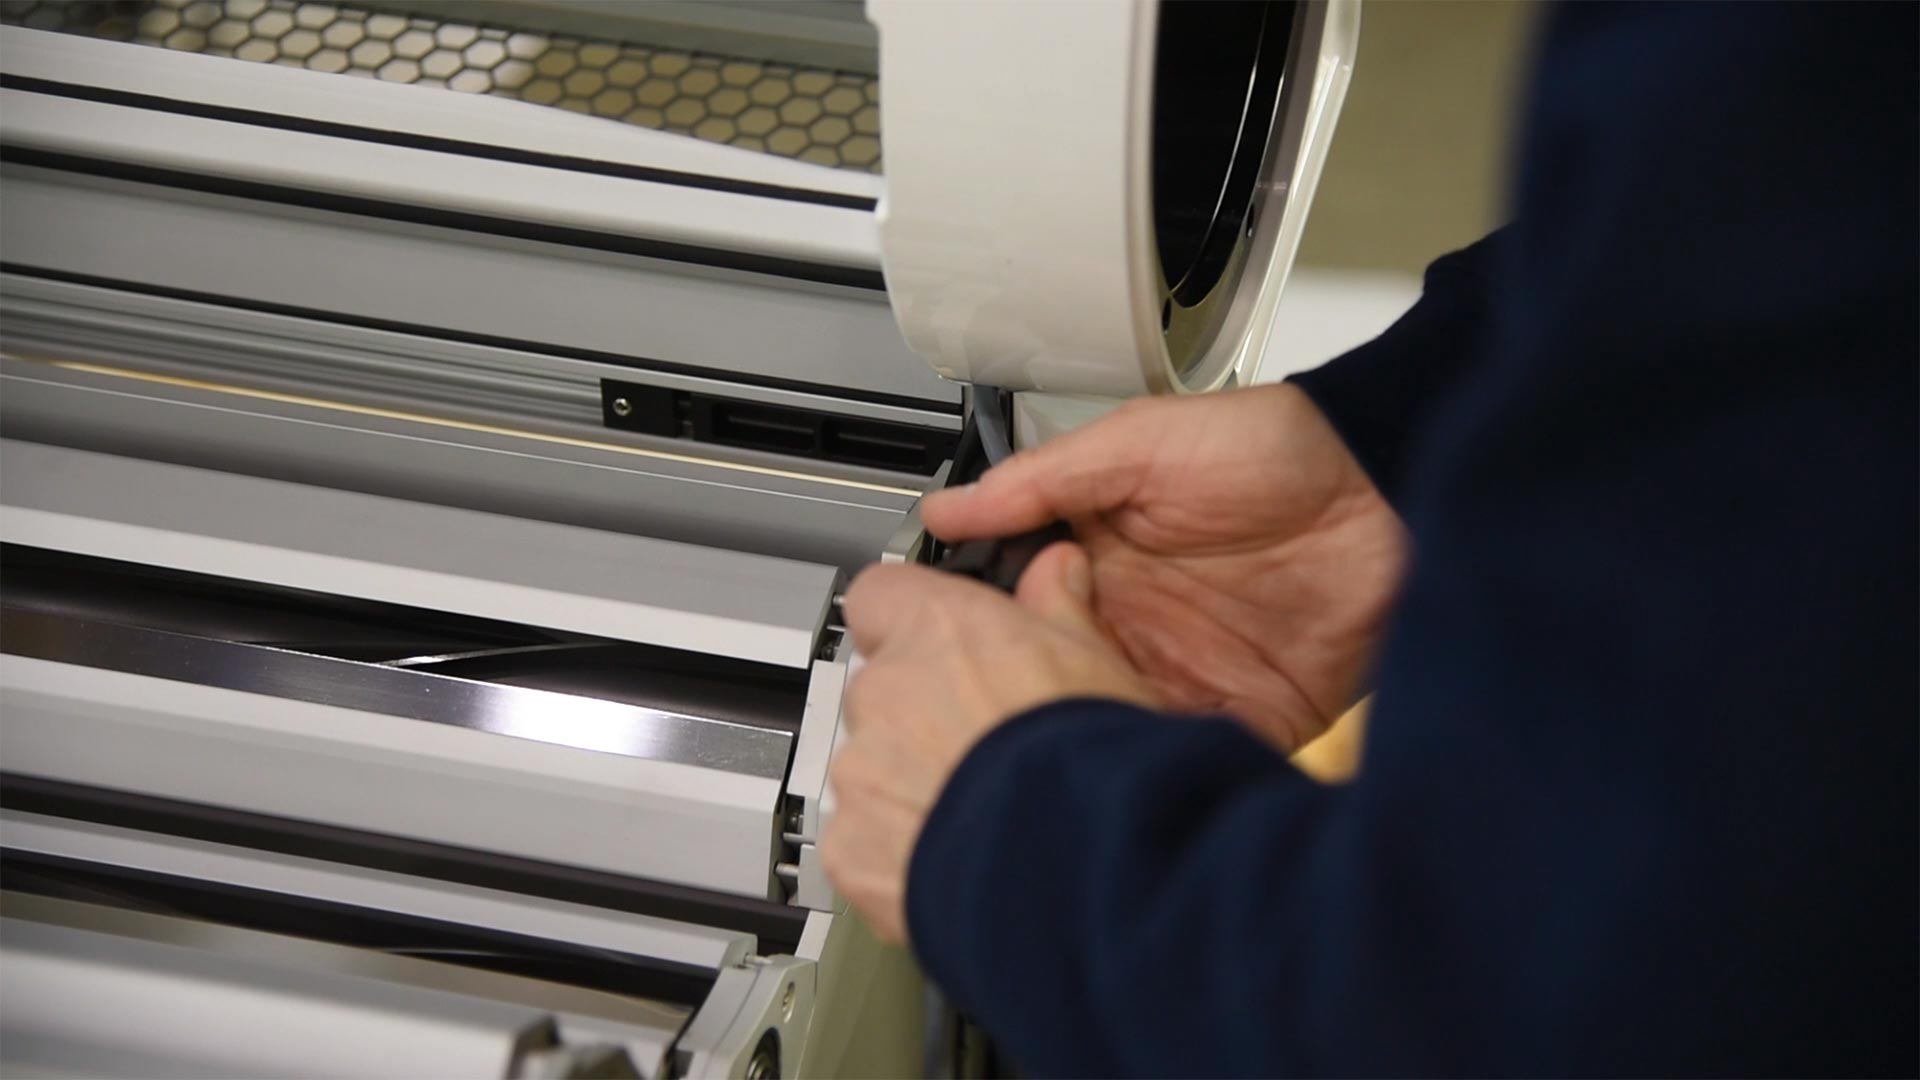
Reconnect the lid wiring harness.
09
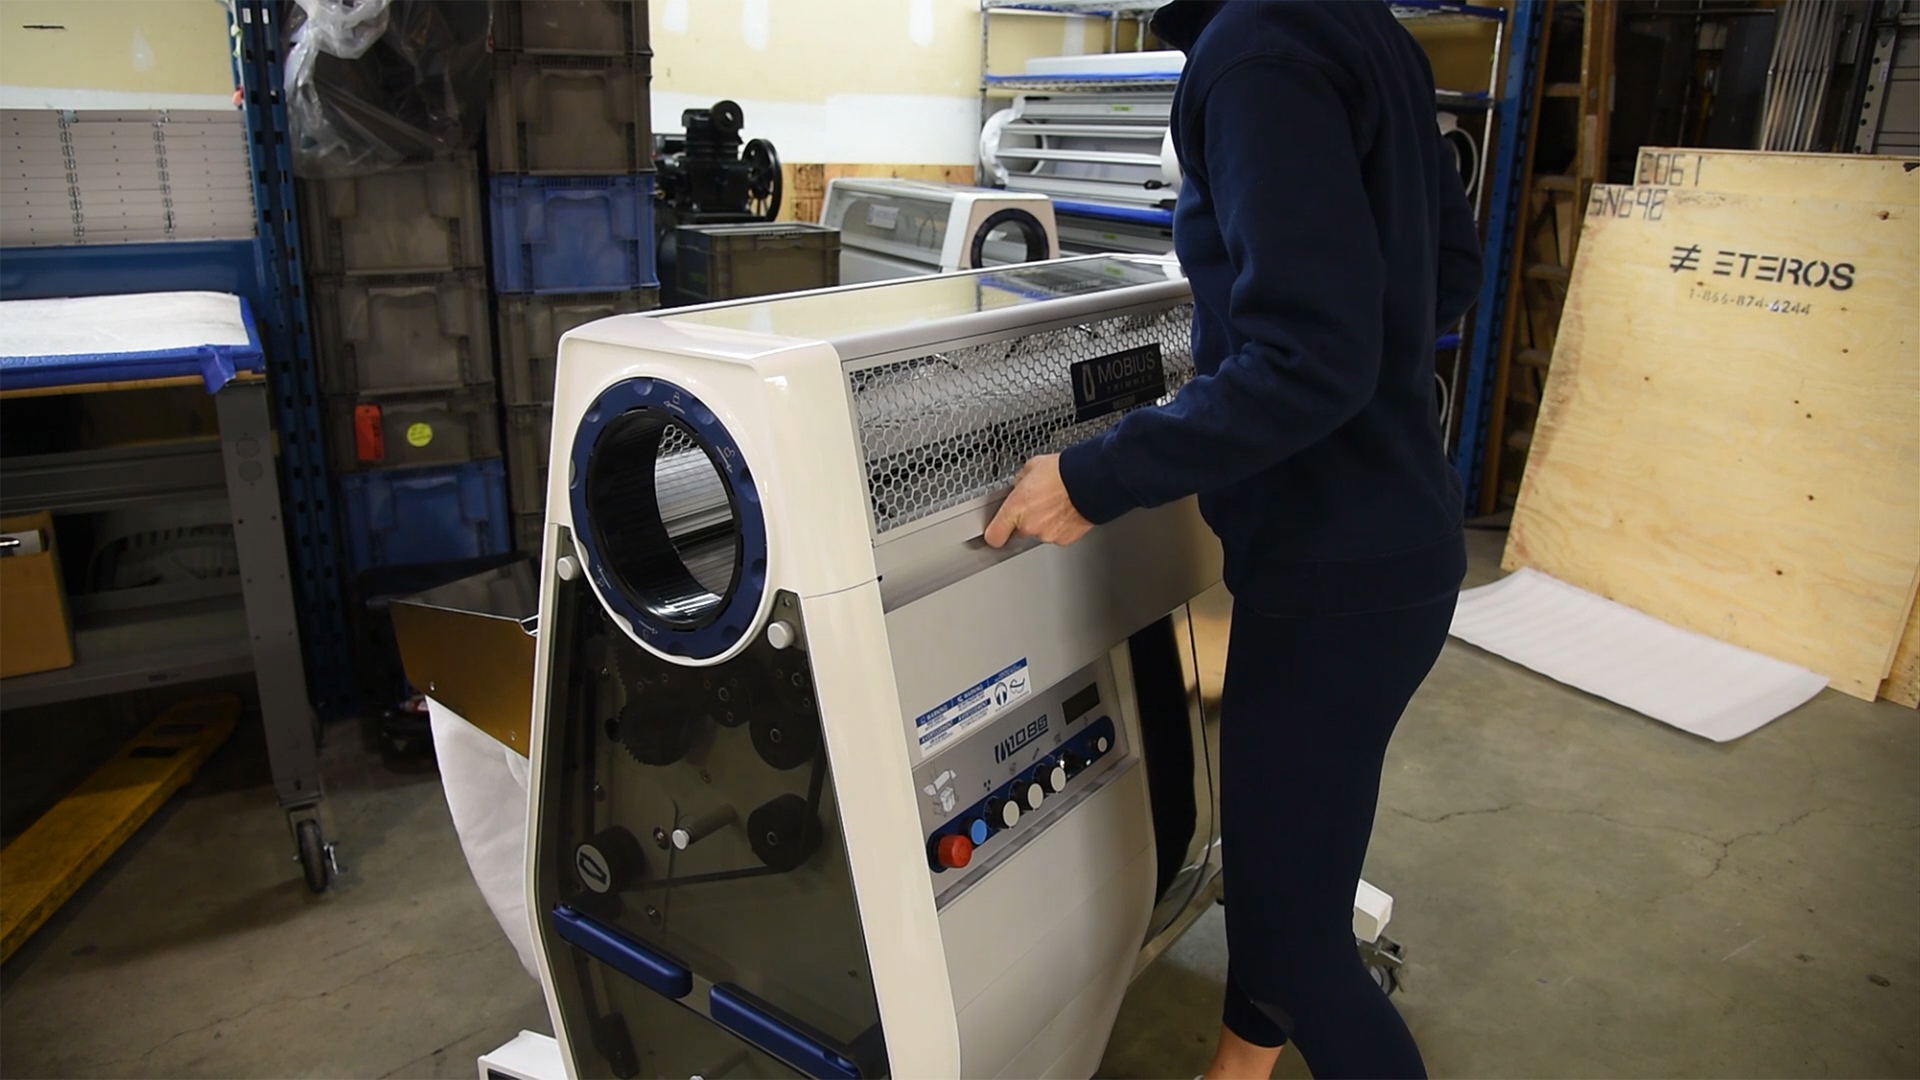
Now, you can close the lid.


