Separator Installation
MOBIUS M108S Trimmer
Separator Installation
Learn How to Remove and Install the M108S Stainless Steel Separator
Step by Step Disassembly
01
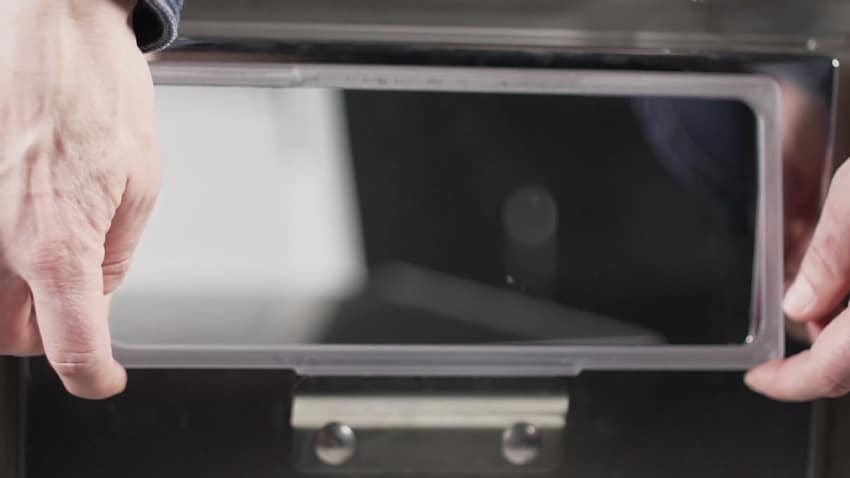
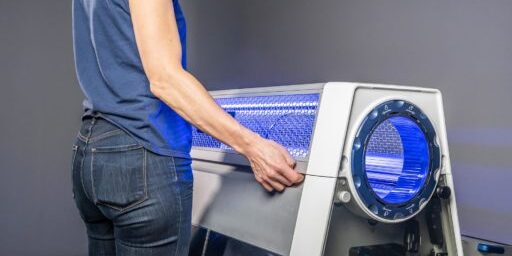
With the main body sitting in a stable position, install the window by pushing the top slotted edge upwards and moving the window into place.
02
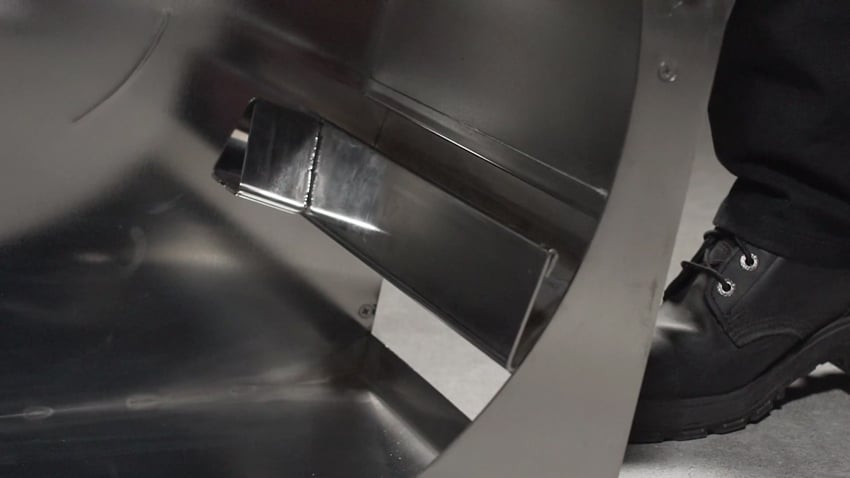
The window only goes in one direction, so if you find that it is not fitting, flip it around and try from a different direction.
03
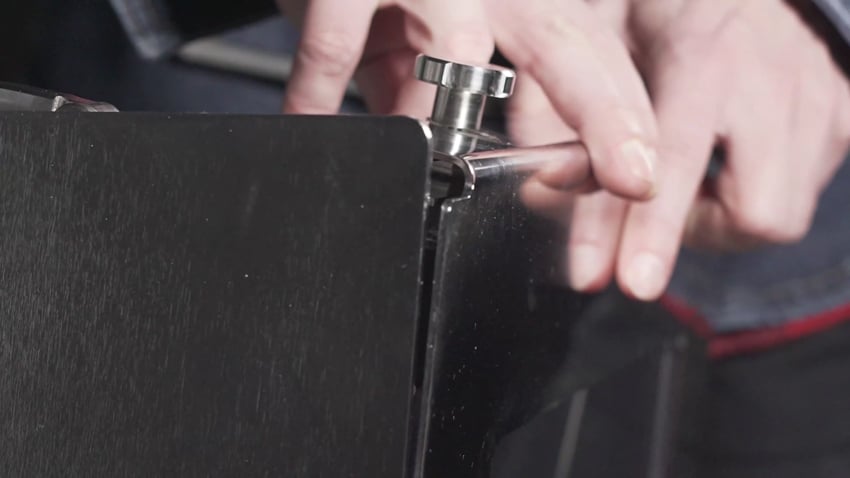
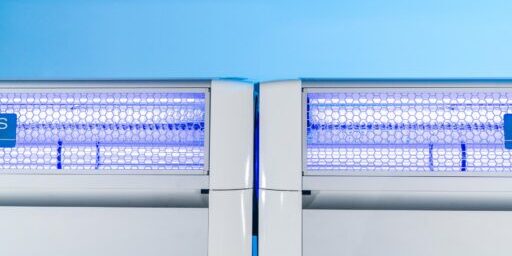
The top section is then secured into place with two tension knobs. It is vitally important that the facia and window form a tight fit with the separator body. Once assembled, the separator must be air tight so that maximum vacuum and trim quality can be achieved.
04
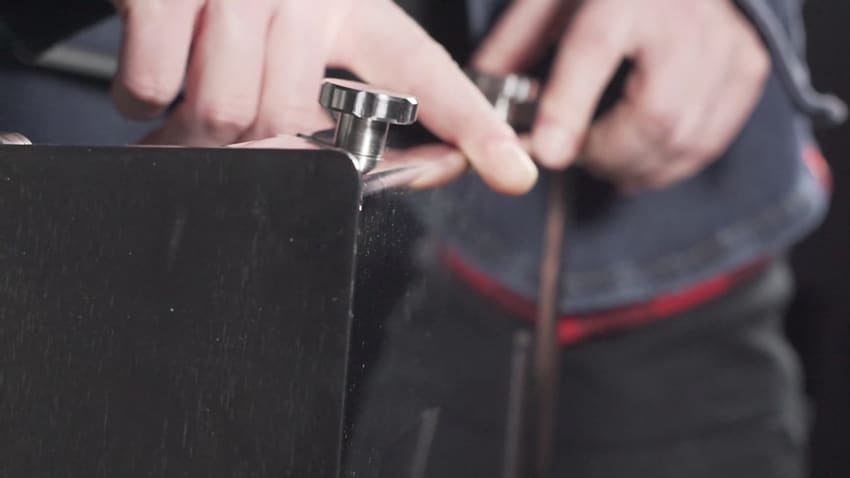
Installing the facia in a way that leaves an air gap around the window will result in reduced vacuum and compromised trim quality.
05
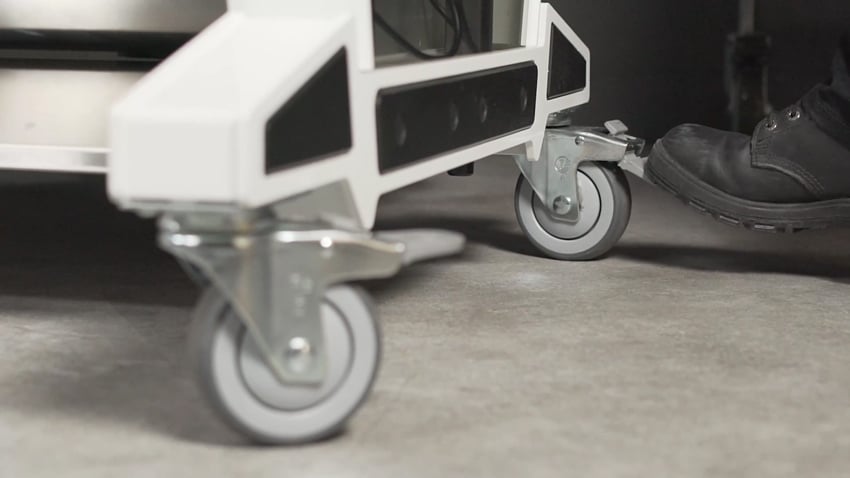
Ensure that at least two of the casters are locked so that the trimmer does not move as you are installing the separator.
06
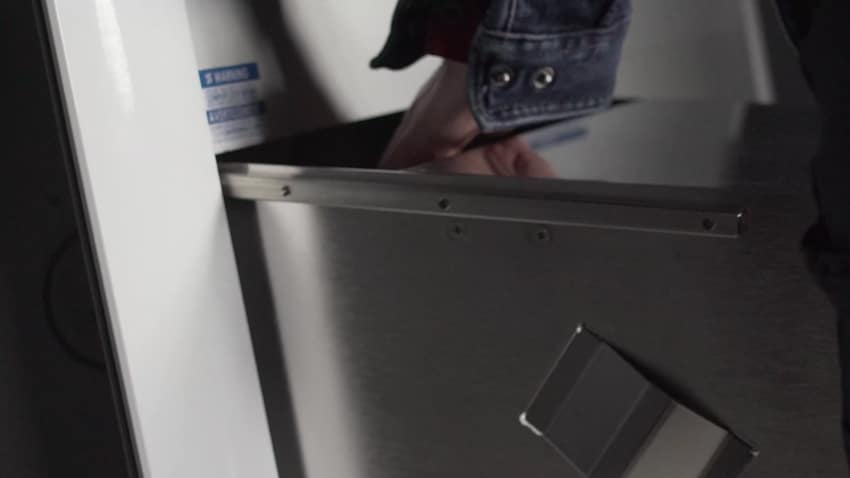
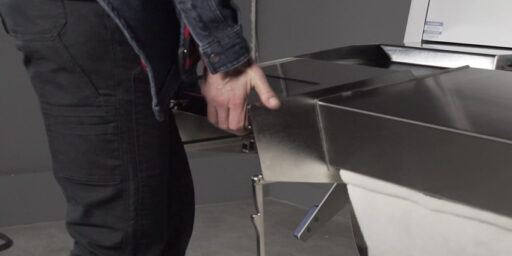
Gripping the separator using both hands, position it between the fan housing and hockey stick.
07
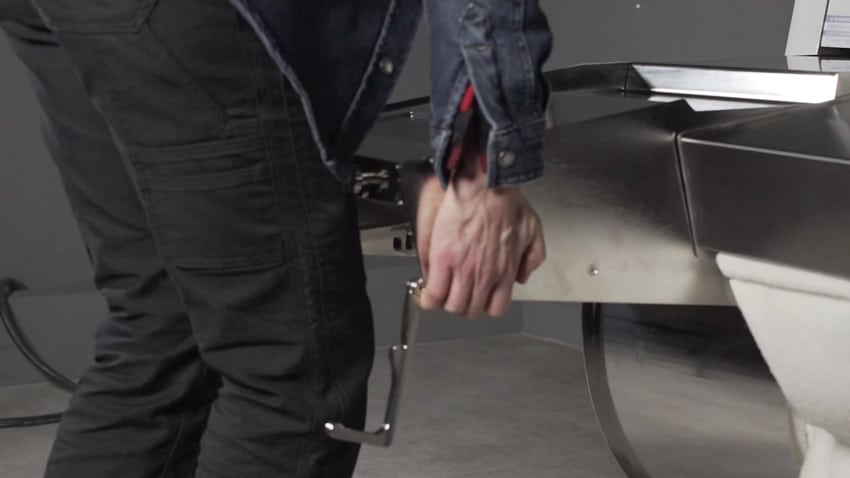
With the top side of the separator approximately parallel with the floor, begin sliding the separator into place, recognizing that the guide rail on the left side of the separator will be sliding on top of the support rail on the body of the machine.
08
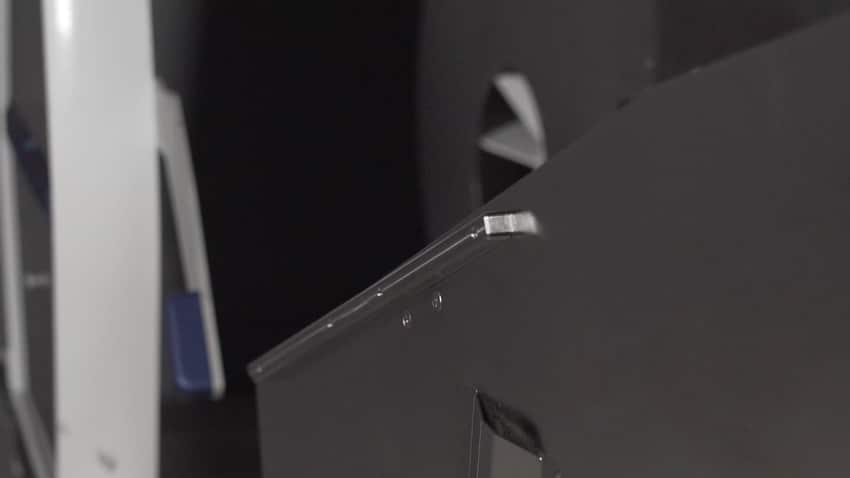
When the separator is fully in place, it is supported on one side by the support rail and on the other side by the fan housing.
09
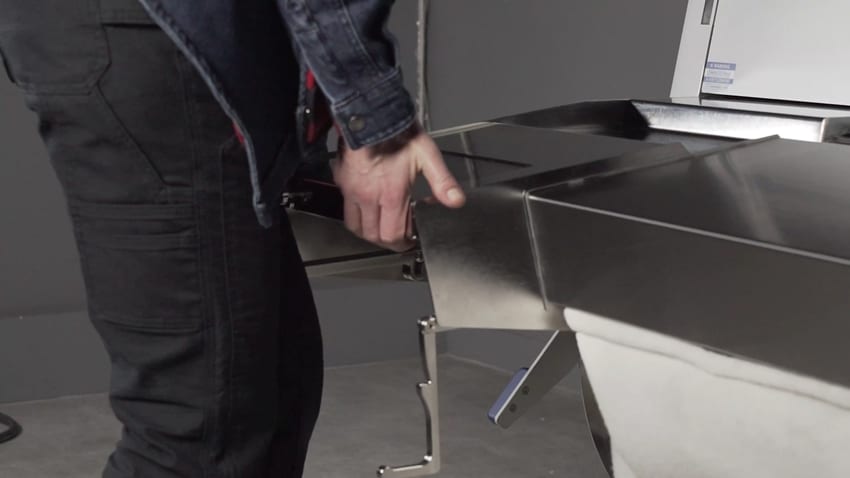
Because the separator is not fully installed, there is no support coming from the fan housing yet, which can cause the separator to tilt to one side. If you’ve ever found it challenging to install your separator, this is why.
10
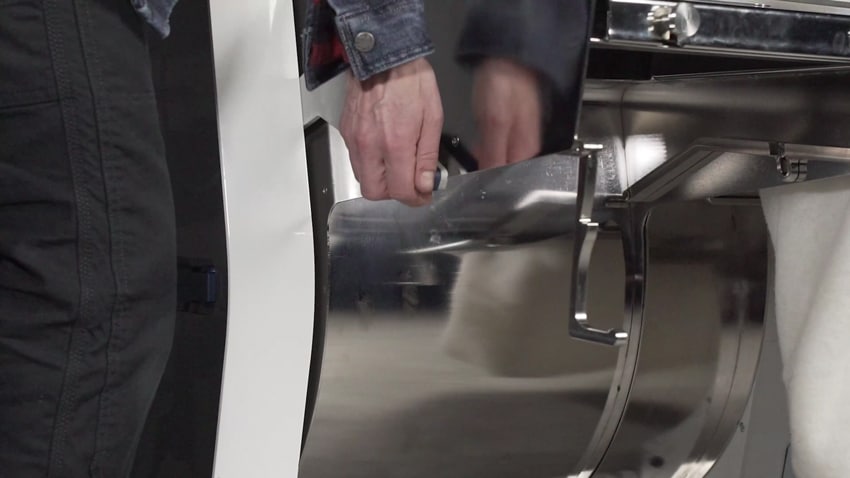
Finish the installation process by pulling up on the hockey stick to lock the separator into place.
11
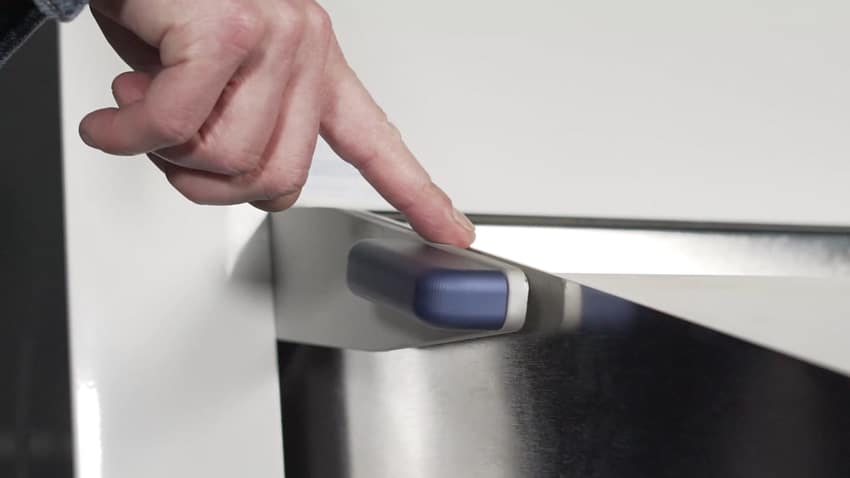
The top edge of the hockey stick will be parallel with the top side of the separator. That’s all there is to it!
