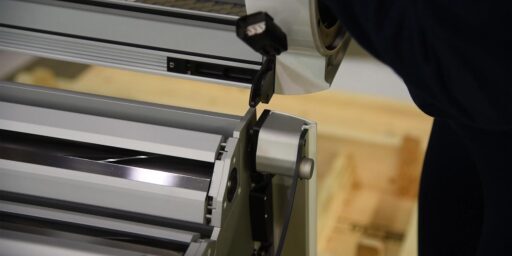
Putting the M108S Into Service Position
Mobius M108S Trimmer
Service Position
Putting your M108S Trimmer into Service Position
Step by Step M108S Servicing Position
01
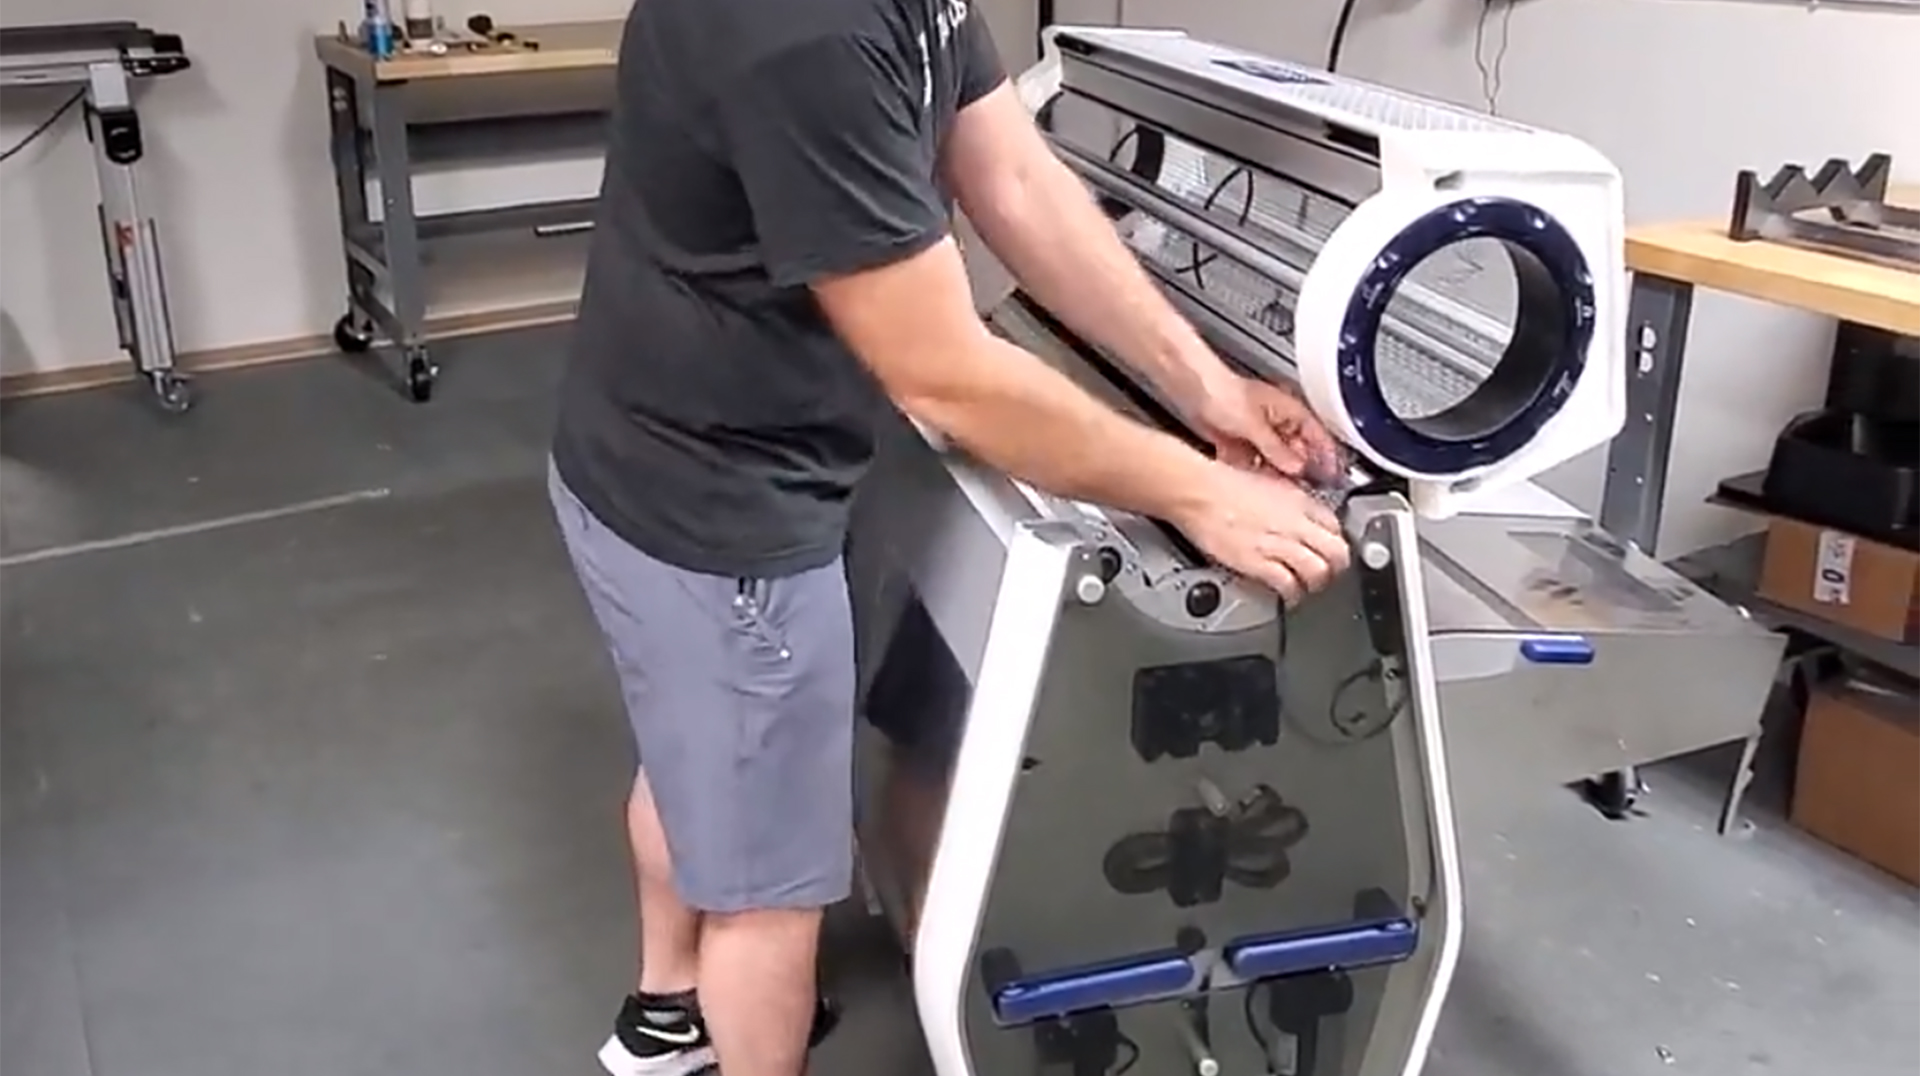
Disconnect the power cord from the machine. Open the lid, disconnect the connection between the lid and the body and remove the lid. If you need further instruction for this step, see our Lid Removal & Installation video guide.
02
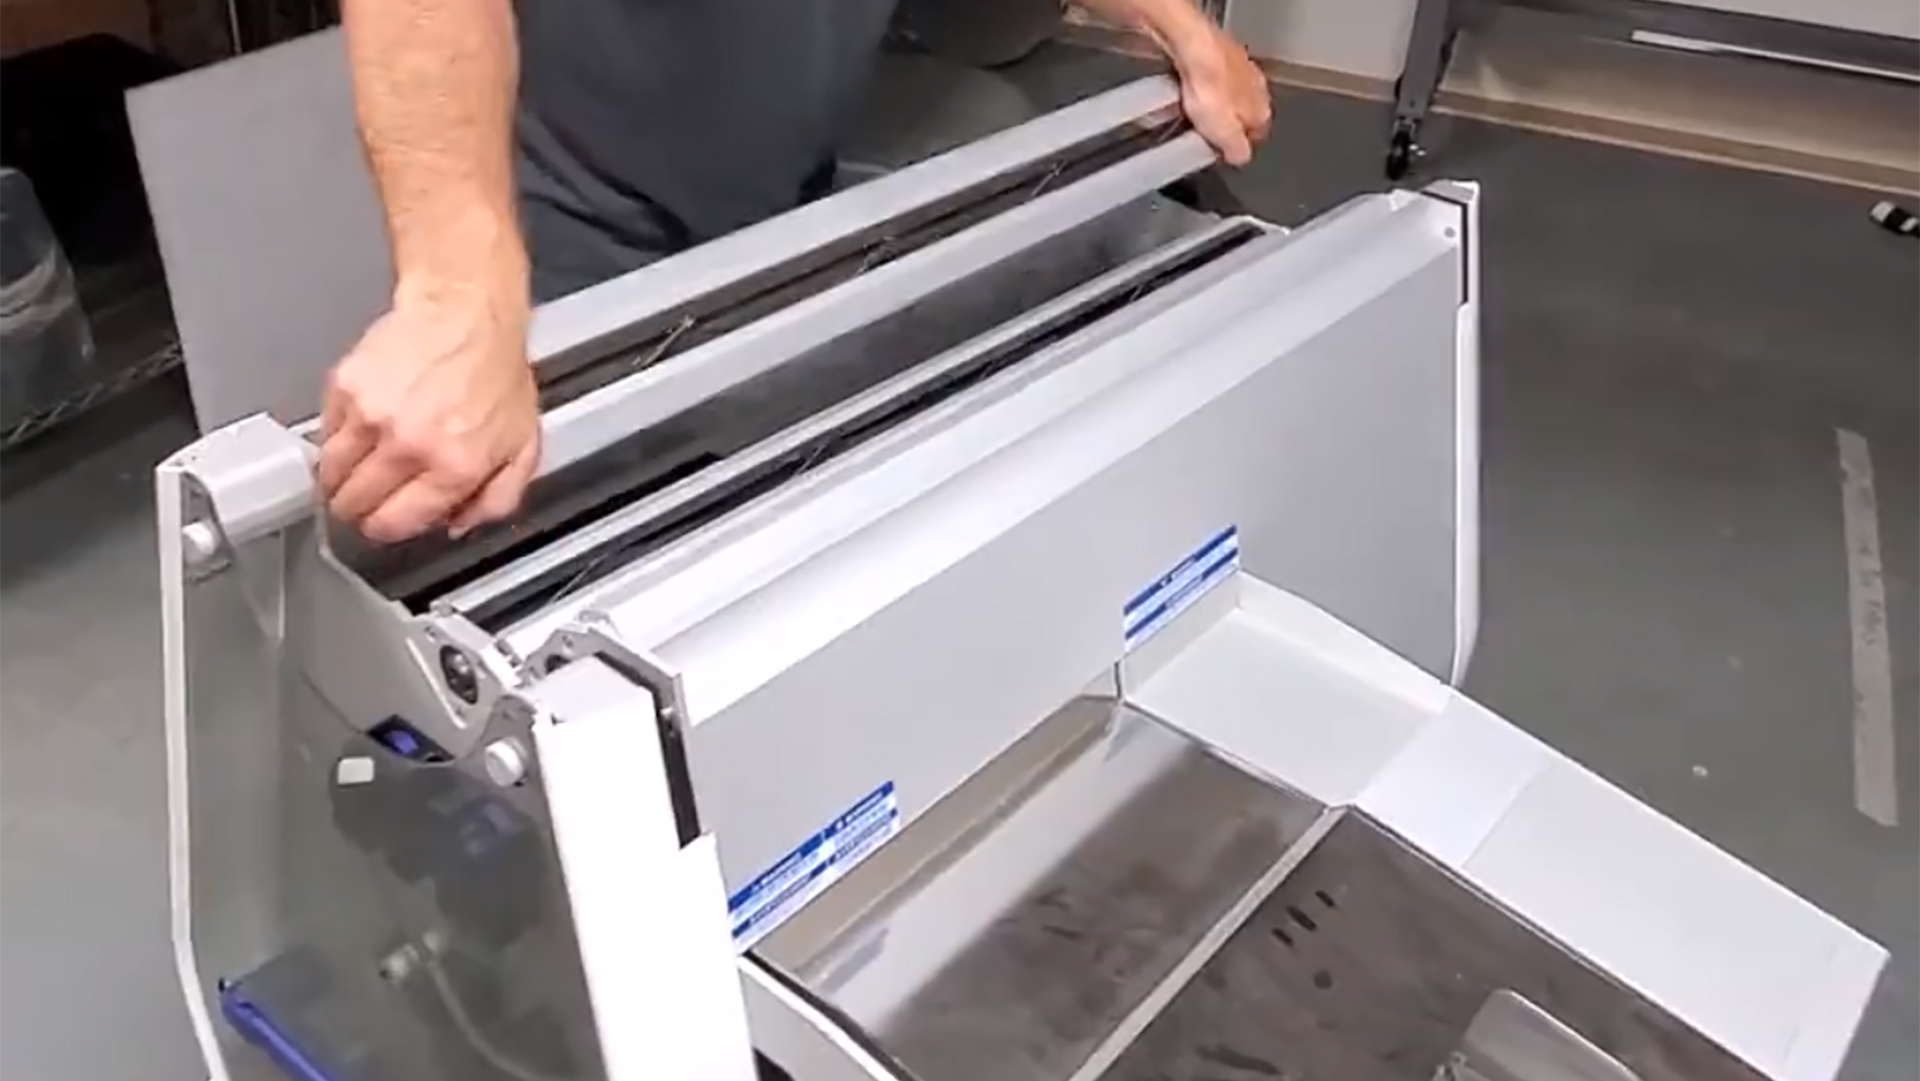
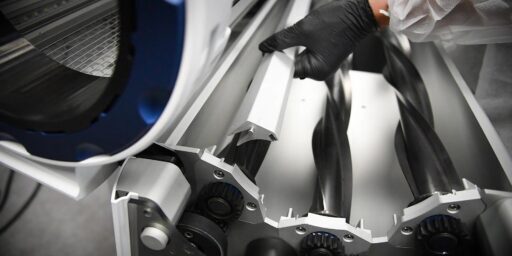
Remove each of the three sets of blade cartridges, placing them in our blade racks (if possible) or somewhere they won’t be damaged.
03
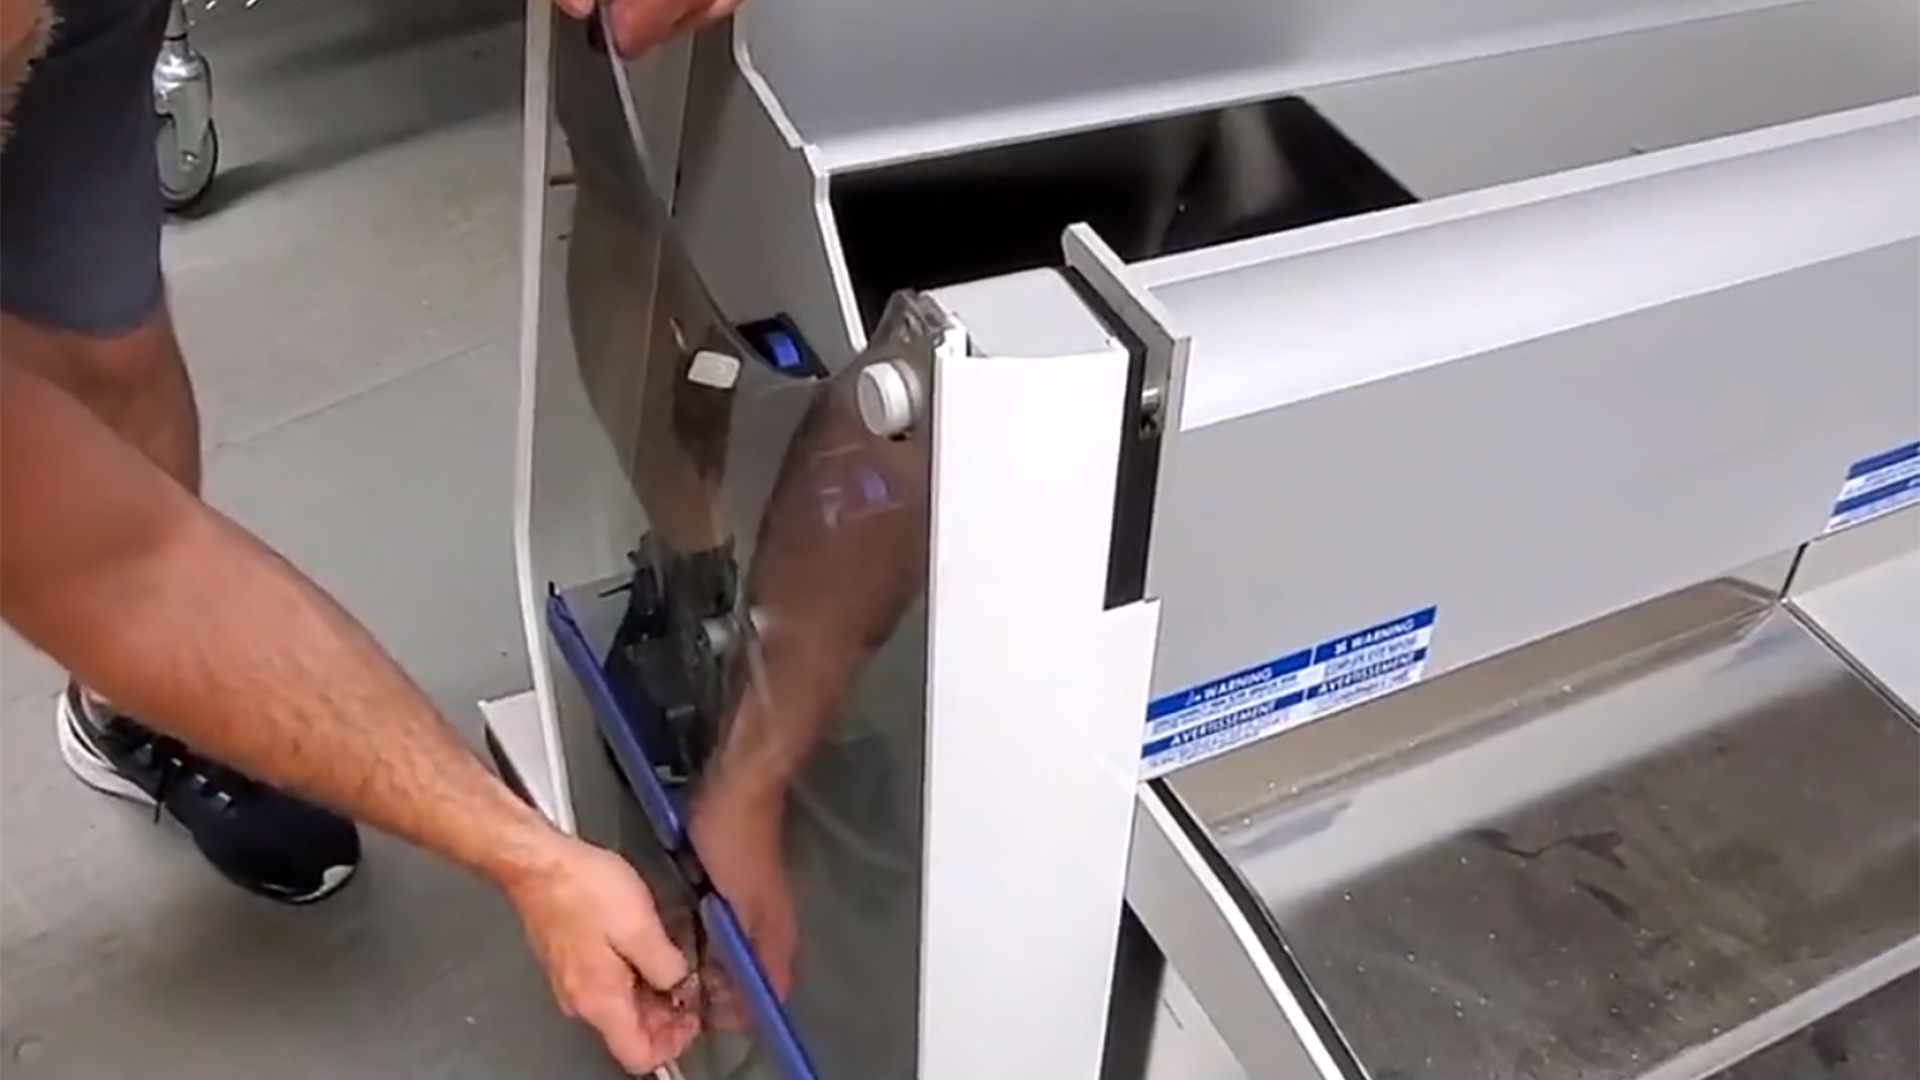
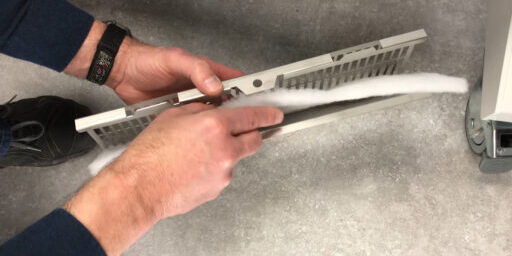
Remove each of the side panels by unscrewing the small silver side panel retainers.
04
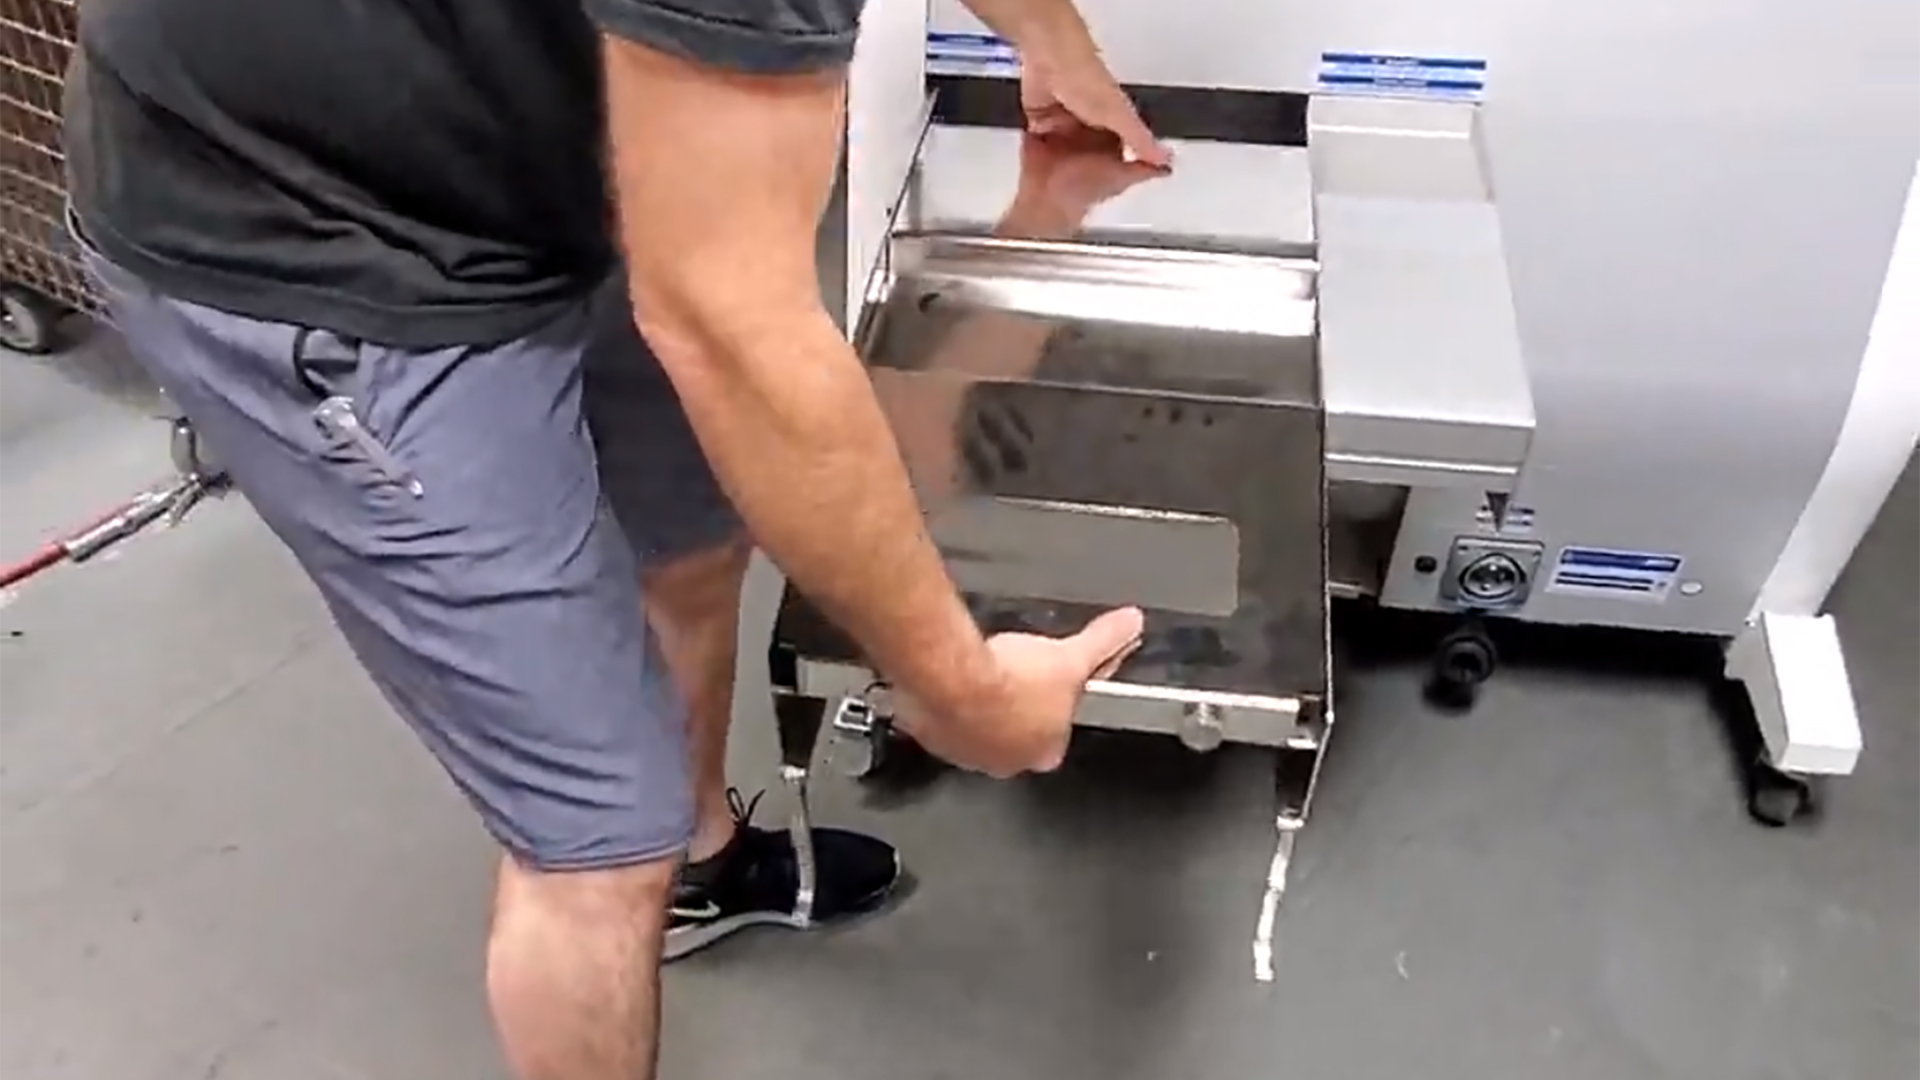
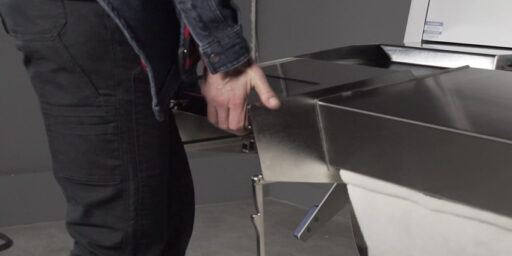
Push down on the ‘hockey stick’ to disengage the separator, then remove the separator and fan housings. If you need further instructions on either of these steps, please see our Separator Removal & Installation guide, and our Fan Housing removal guide (within the Uncrating video).
05
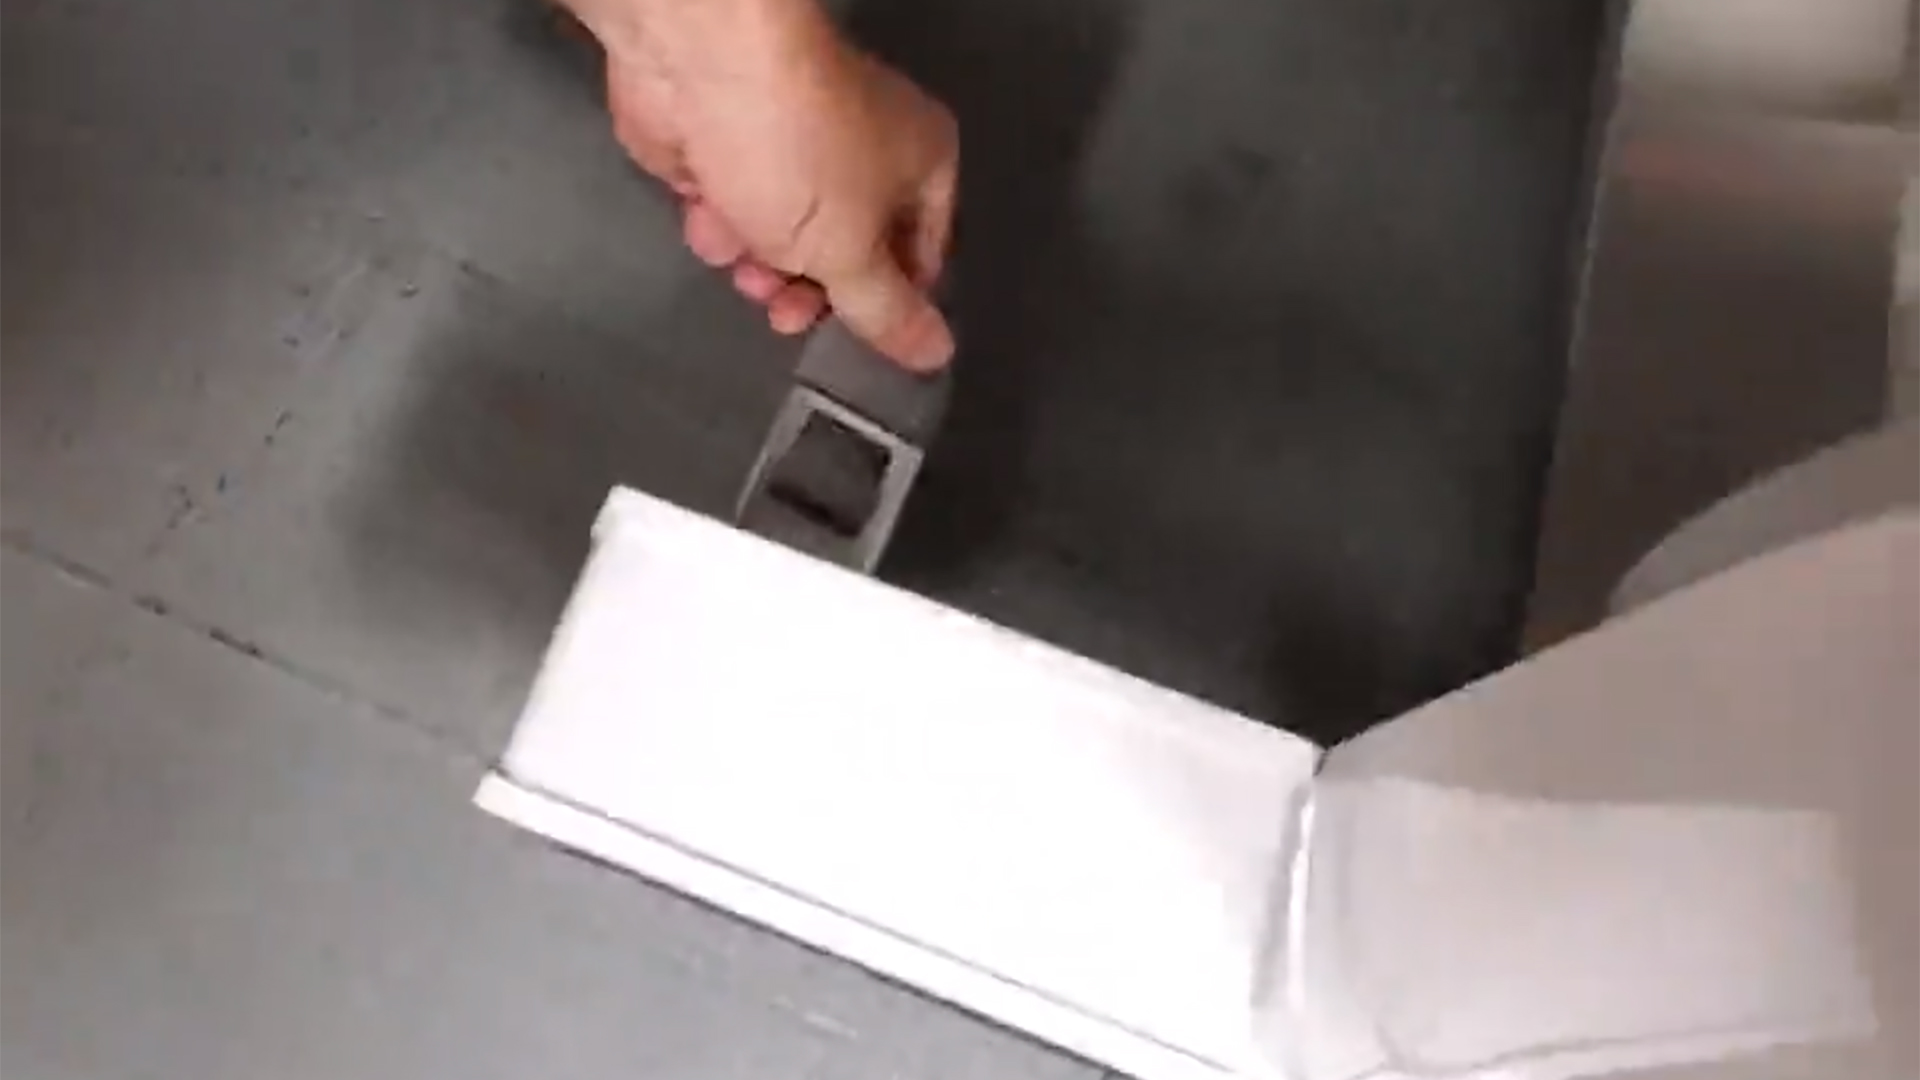
Lock the wheels on the outfeed side of the machine. Place a protective piece of foam on the floor, and add the black sensor override pucks to sensors on each side of the body of the machine. Rotate the handles out, and tip the M108S on its side.
06
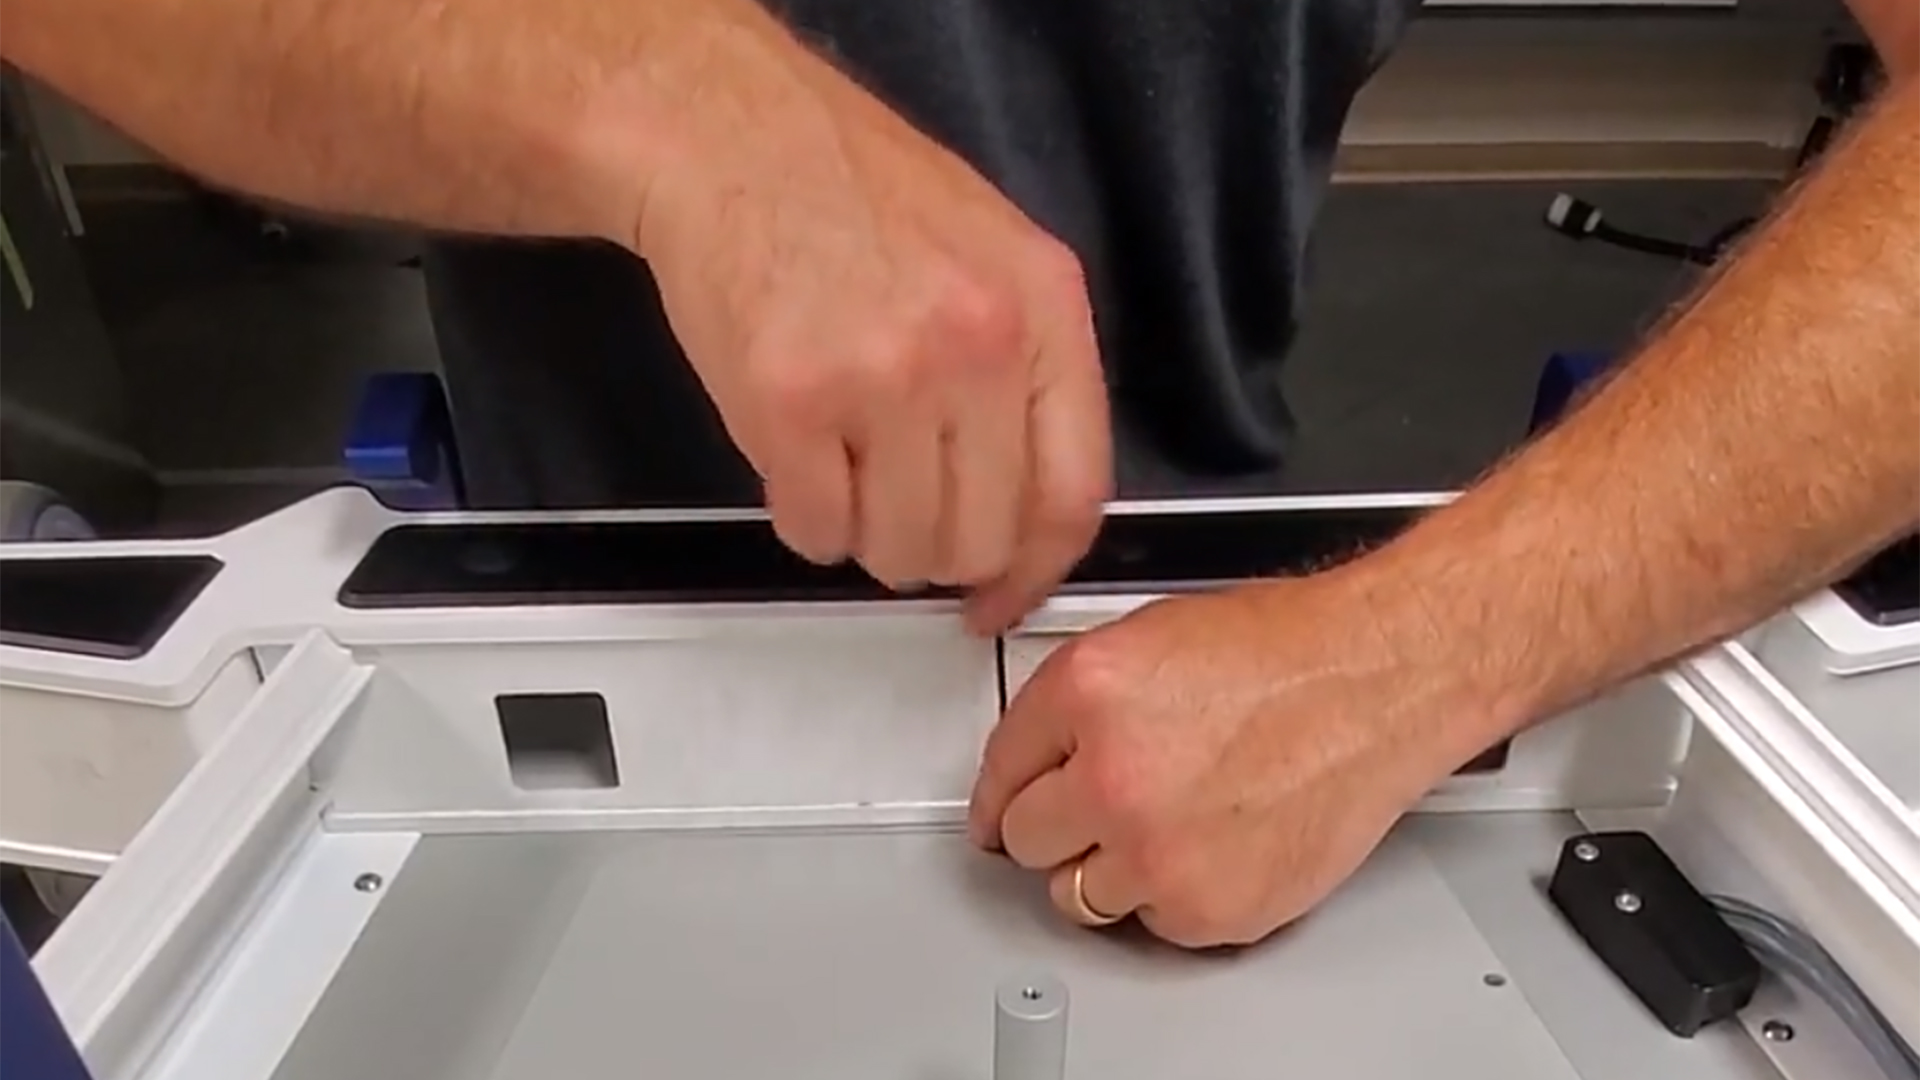
Remove all 6 screws on the electrical box panel to open up access to this area. Next, remove the first and third screw on either side of the control panel and pop it out. You now have access to the electronics and motor on the M108S.
